How to Put a Picture on a Shirt: Your Ultimate DIY Guide to Custom T-Shirt Printing at Home
Learn how to put a picture on a shirt at home with this ultimate DIY guide! We’ll walk you through the best methods including iron-on transfer, heat-press technique, sublimation printing, and vinyl application. From choosing the right fabric to preparing your artwork and applying your design correctly, this guide helps beginners and hobby creators successfully print custom T-shirts with professional-looking results.
Blog Post Contents
Ever dream of wearing your favorite photo, an inside joke, or a unique design that truly expresses you? Learning how to put a picture on a shirt can transform a plain garment into a personal statement, a memorable gift, or even a brand-new hobby. While the idea might sound complicated at first, the truth is, creating your own custom apparel is surprisingly accessible and deeply rewarding. This ultimate guide will demystify the process, offering you clear, step-by-step instructions for various DIY methods, ensuring you can bring your creative visions to life right from your home.
This guide will cover everything from the simplest iron-on transfers to more advanced techniques like heat transfer vinyl, fabric painting, and even basic screen printing. You'll learn the essential materials, key considerations for each method, and expert tips that guarantee a professional-looking finish. As Mason Ellis Grant, a seasoned DIY enthusiast and textile art instructor with years of hands-on experience in personalizing apparel, often emphasizes, "The joy of wearing something you've created yourself is unmatched. And with a little guidance, anyone can achieve fantastic results." By the end, you’ll be equipped to choose the perfect method for your project, confidently execute your design, and proudly wear your personalized masterpiece.
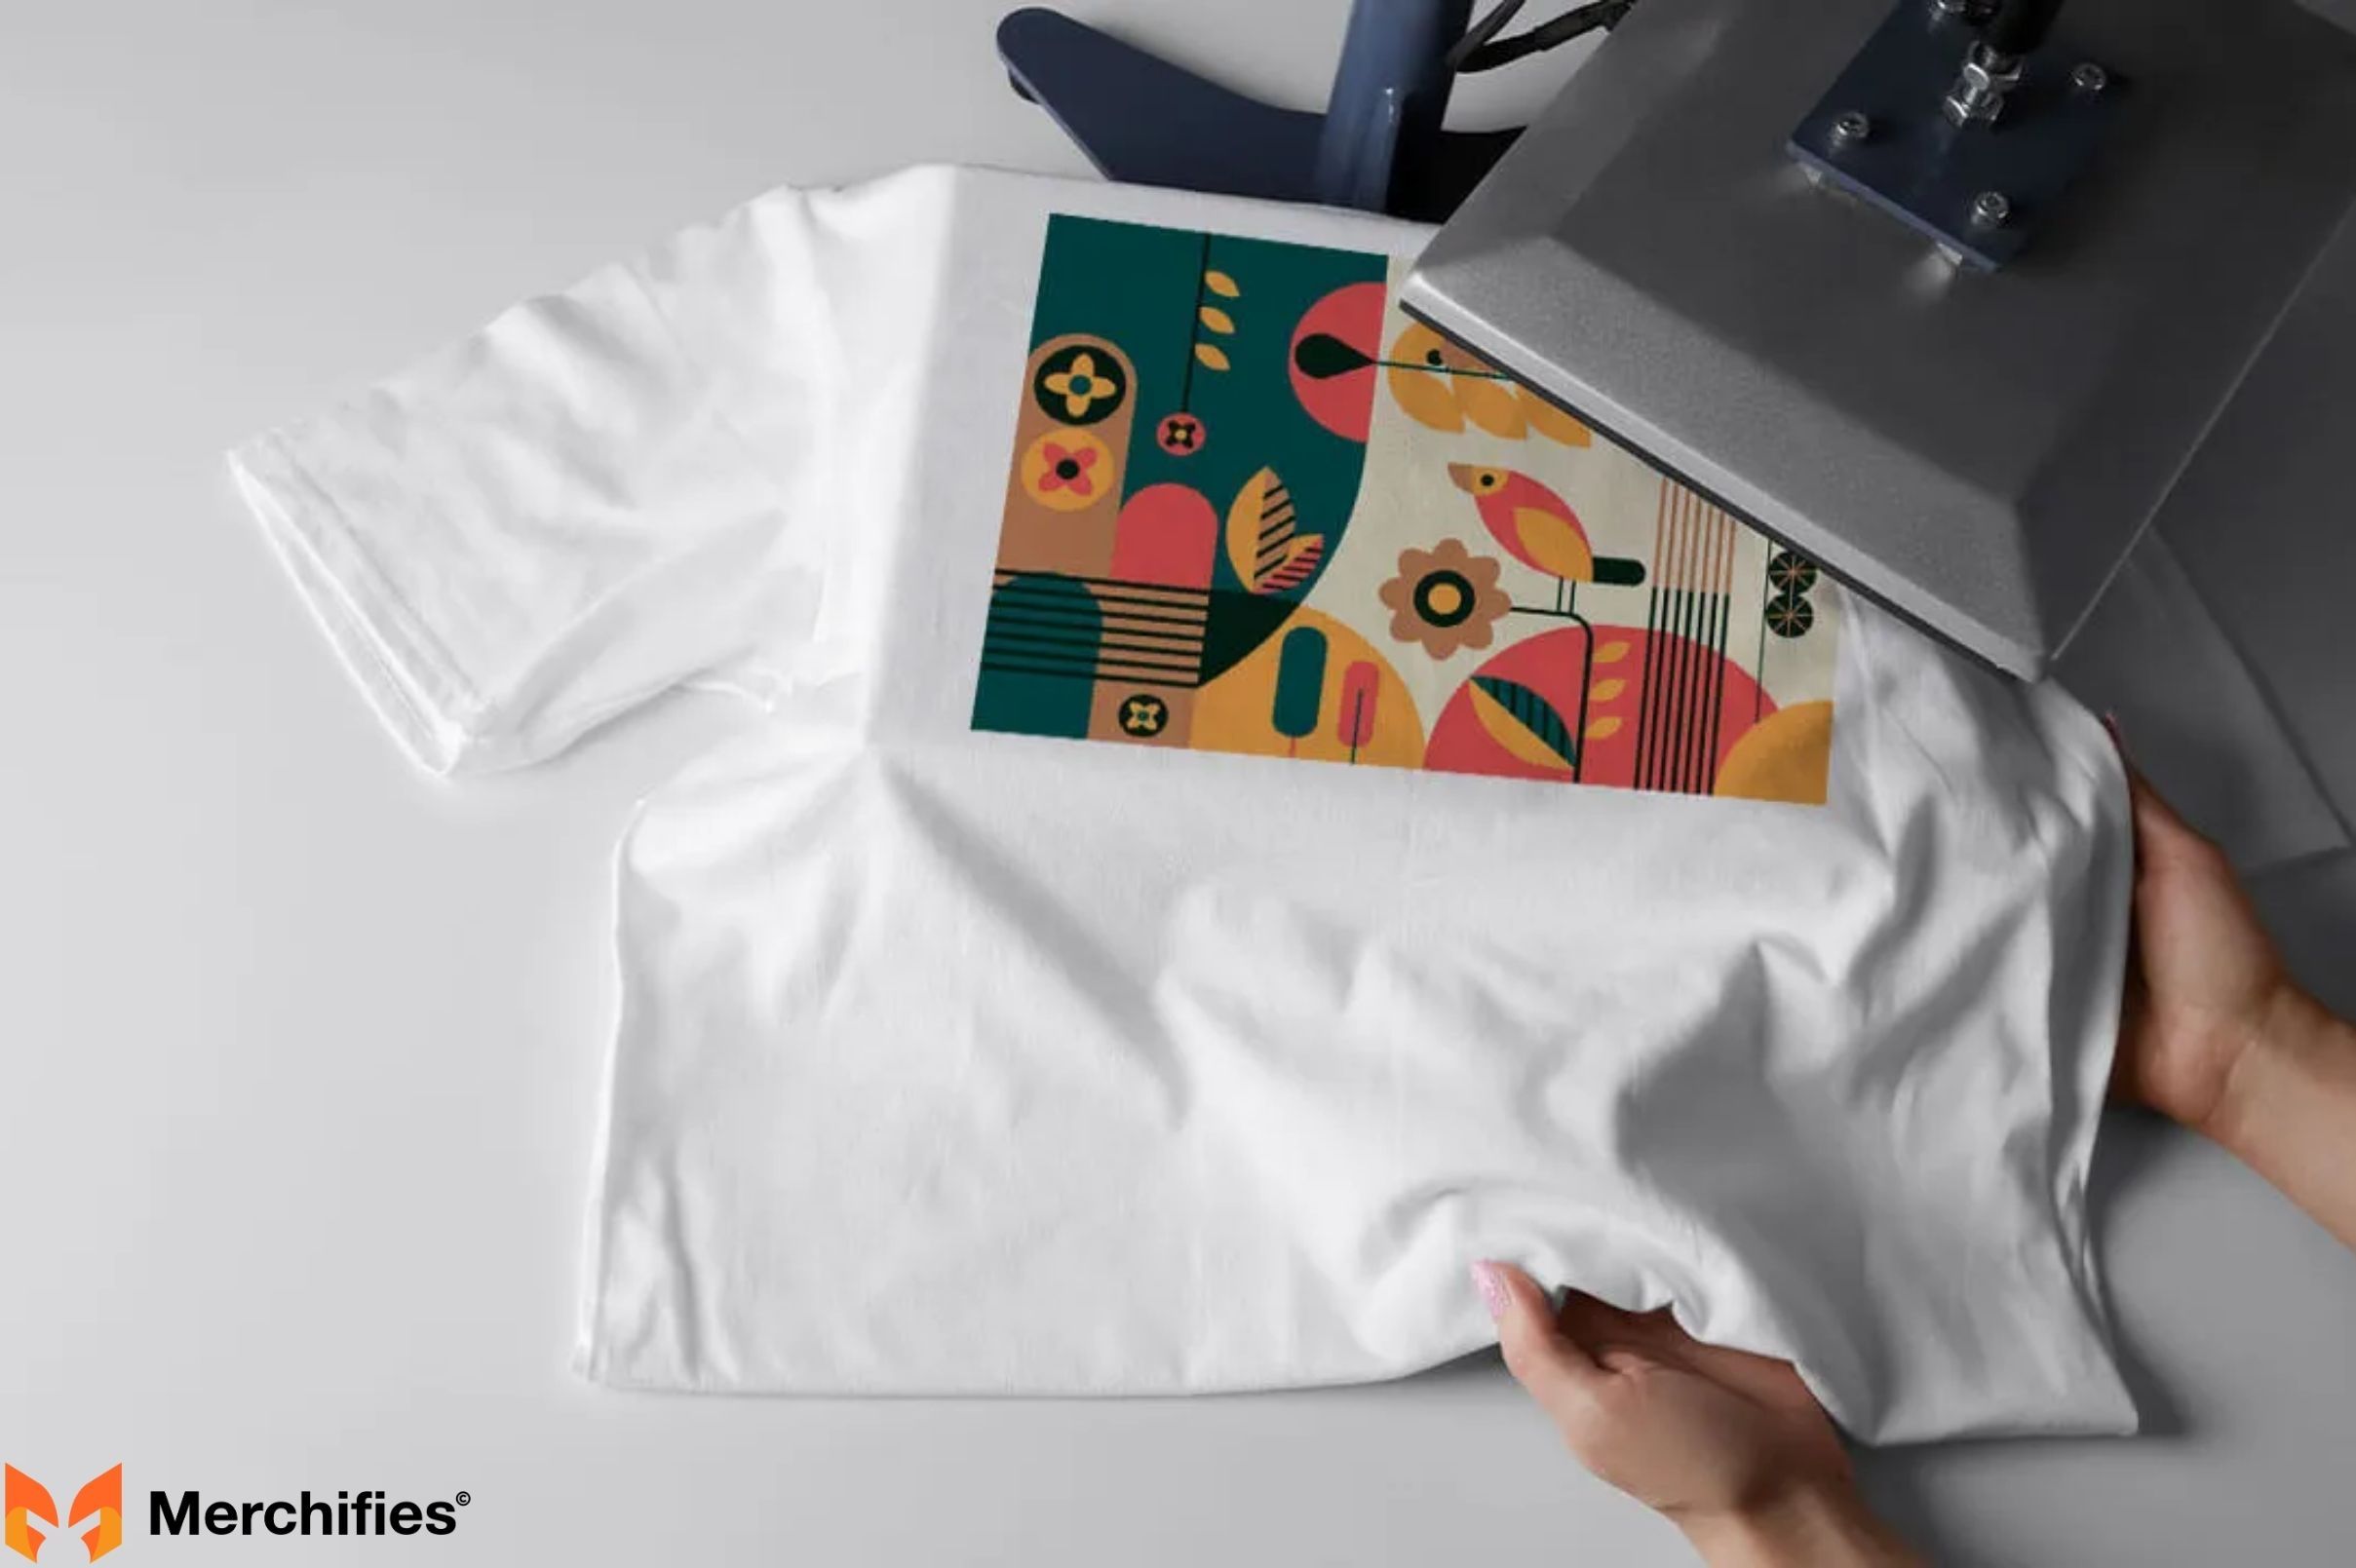
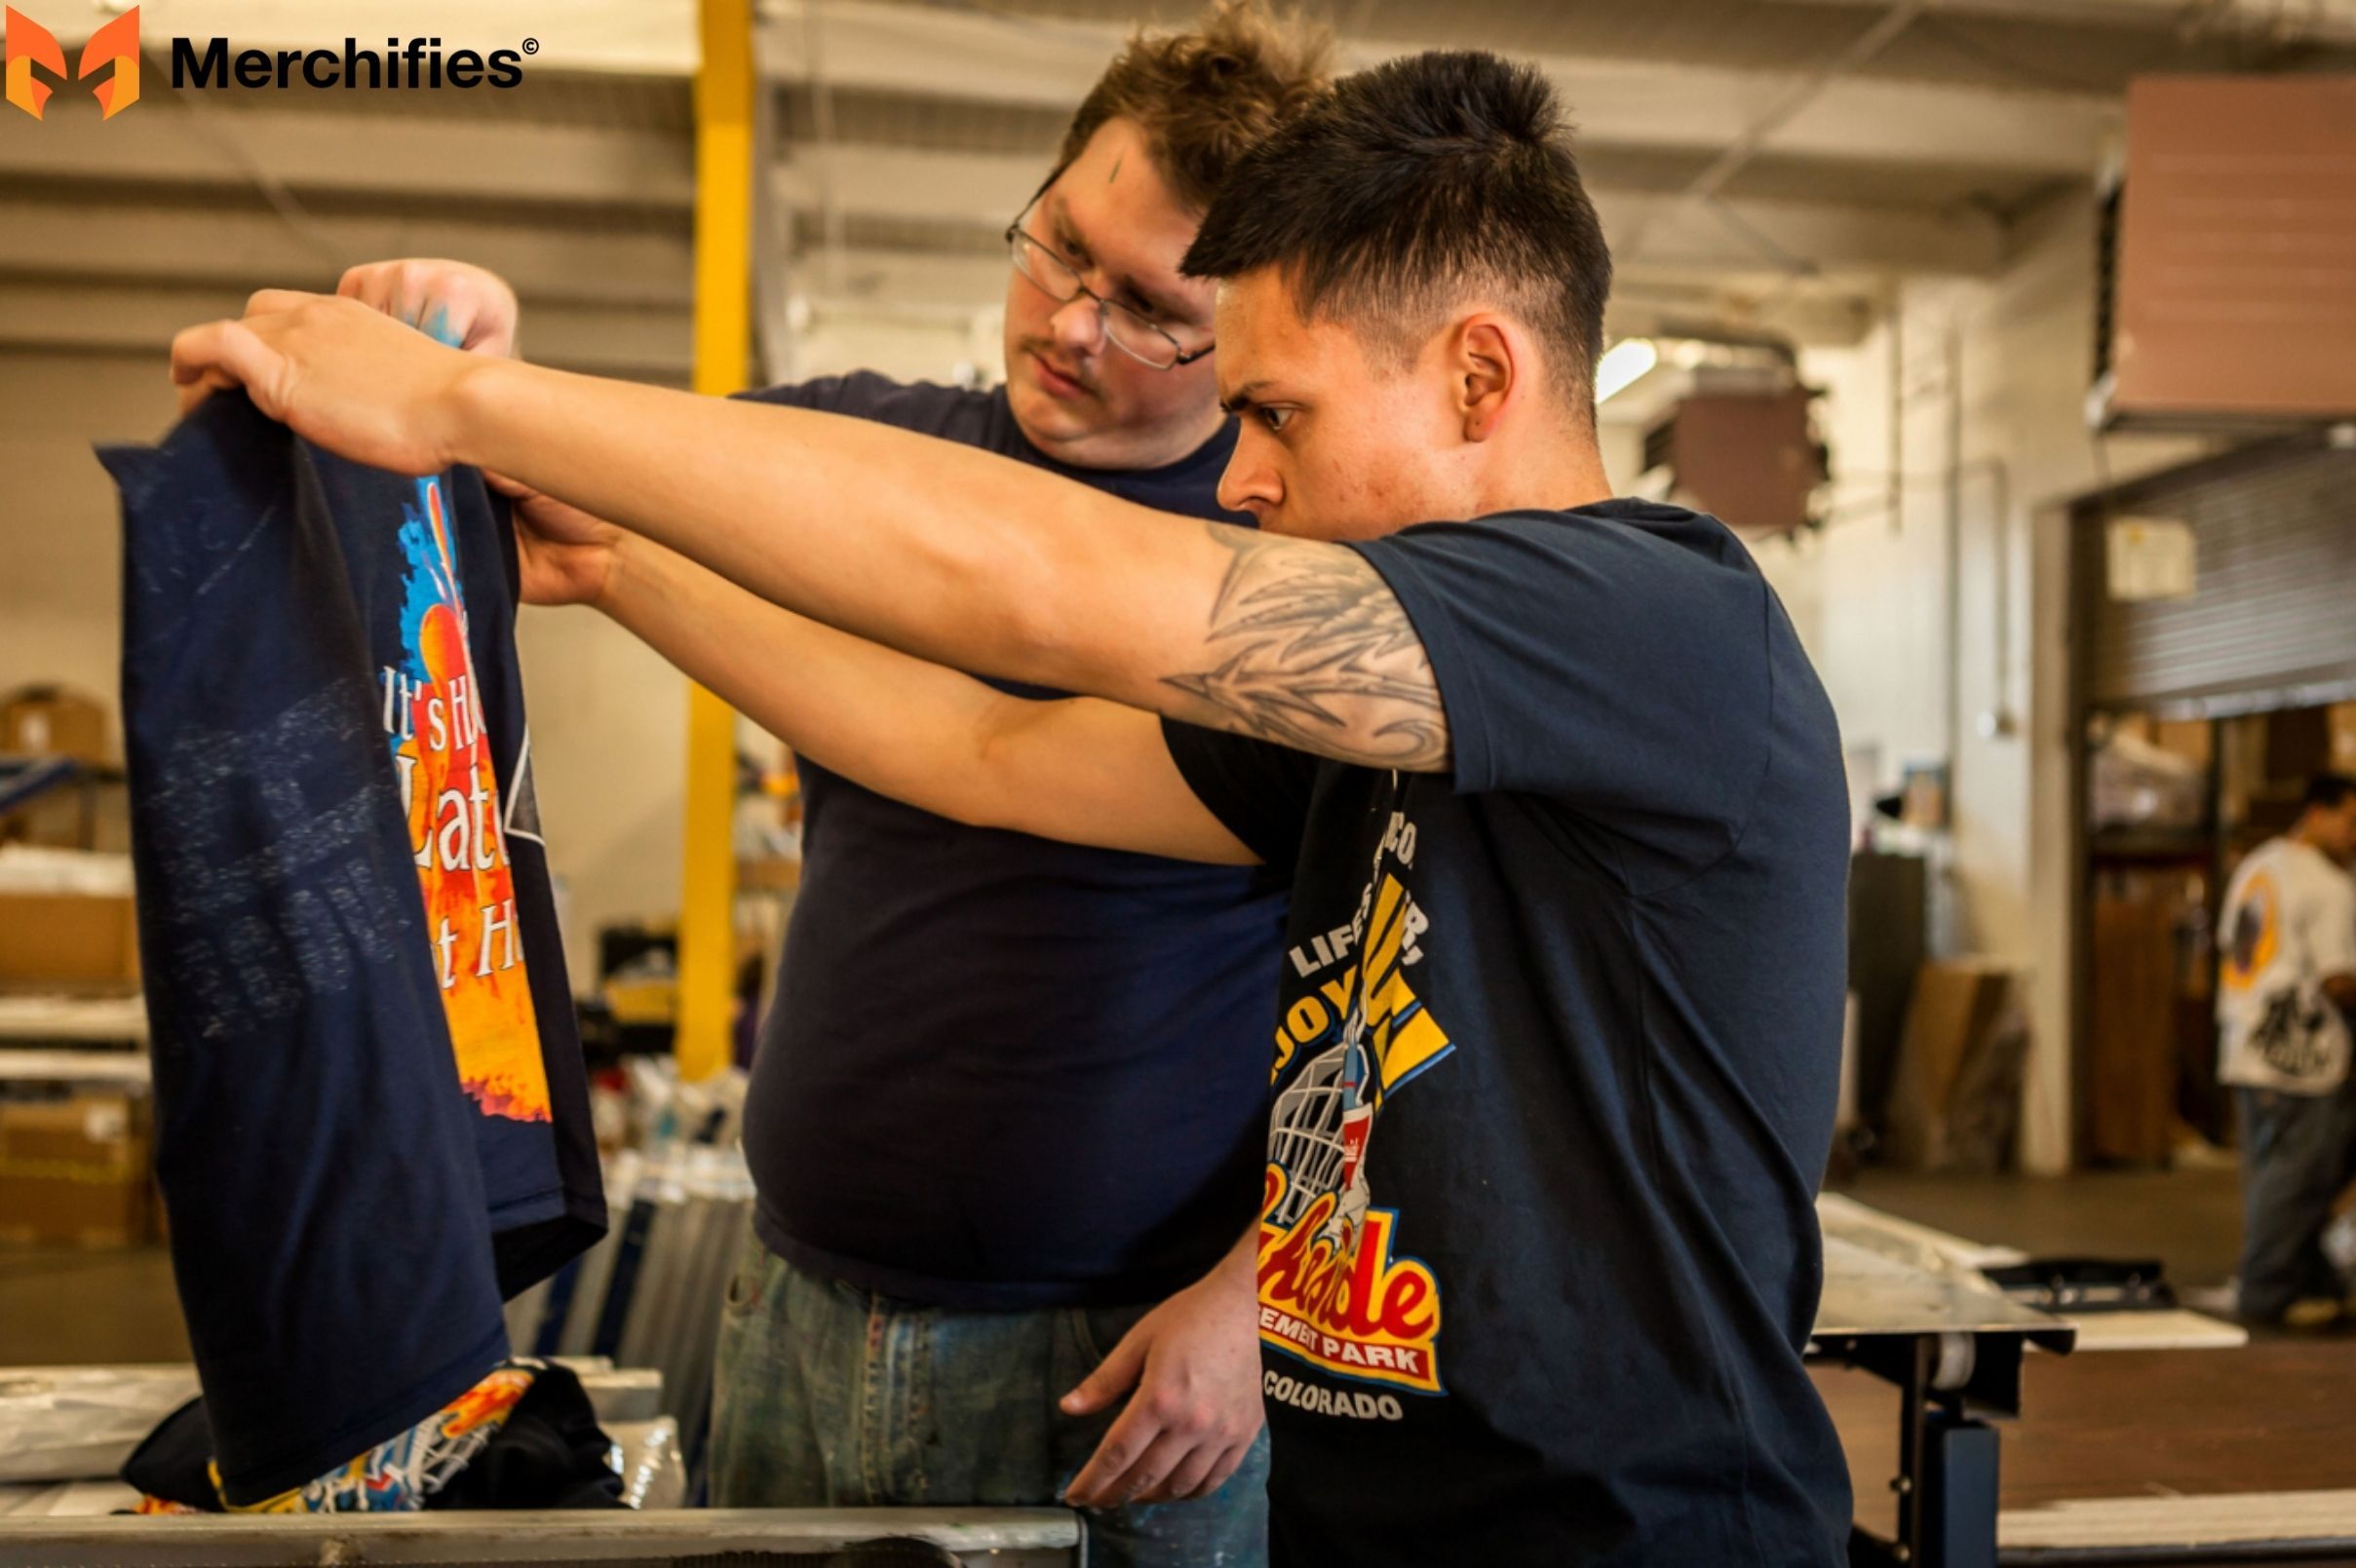
How to Iron a Picture onto a Shirt: The Easiest DIY
This method is arguably the most straightforward way to put a picture on a shirt, making it perfect for beginners and anyone seeking quick, vibrant results. Iron-on transfer paper allows you to print any image directly from your home printer and adhere it to fabric using simple heat.
What it is: Iron-on transfer paper is a specially coated paper designed to receive ink from an inkjet or laser printer. When heat is applied (typically with a household iron or heat press), the printed image transfers from the paper and bonds permanently to the fabric.
When to choose this method: This is ideal if you want to put full-color photos, complex graphics with gradients, or intricate designs onto a shirt without needing specialized cutting machines or advanced artistic skills. It’s perfect for one-off projects, personalized gifts, or quick event shirts.
How to Iron a Picture onto a Shirt The Easiest DIY
Materials You'll Need:
Inkjet or Laser Printer (check paper type for compatibility)
Iron-On Transfer Paper (ensure it's for light or dark fabrics, as needed)
T-shirt or Fabric Item (pre-washed and dried)
Iron (a standard household iron is fine, or a heat press for best results)
Scissors
Pillowcase or thin cloth (for protecting the design and iron)
Hard, flat, heat-resistant surface (e.g., a wooden table or countertop – avoid ironing boards due to their uneven surface)
Materials You'll Need to Iron a Picture onto a Shirt
Step-by-Step Instructions:
Prepare Your Design: Use photo editing software (even basic programs work) to size your picture to fit your shirt. Ensure the resolution is good for printing.
Mirror Image: This is a crucial step! For most transfer papers (especially those for light fabrics), you must mirror or "flip" your image horizontally before printing. If you don't, any text will appear backward on your shirt. Some papers for dark fabrics may not require mirroring – always check your specific product instructions.
Print Your Design: Load the transfer paper into your printer according to its instructions (usually print on the unlined, blank side). Select the highest quality print setting (e.g., "photo paper" or "iron-on transfer") and ensure it's set to print at 100% scale, not "fit to page."
Cut Out Your Design: Once printed, carefully cut out your design, leaving a small border (1/4 inch) around the image. The less excess white paper you leave, the less visible the transfer edge will be on your shirt.
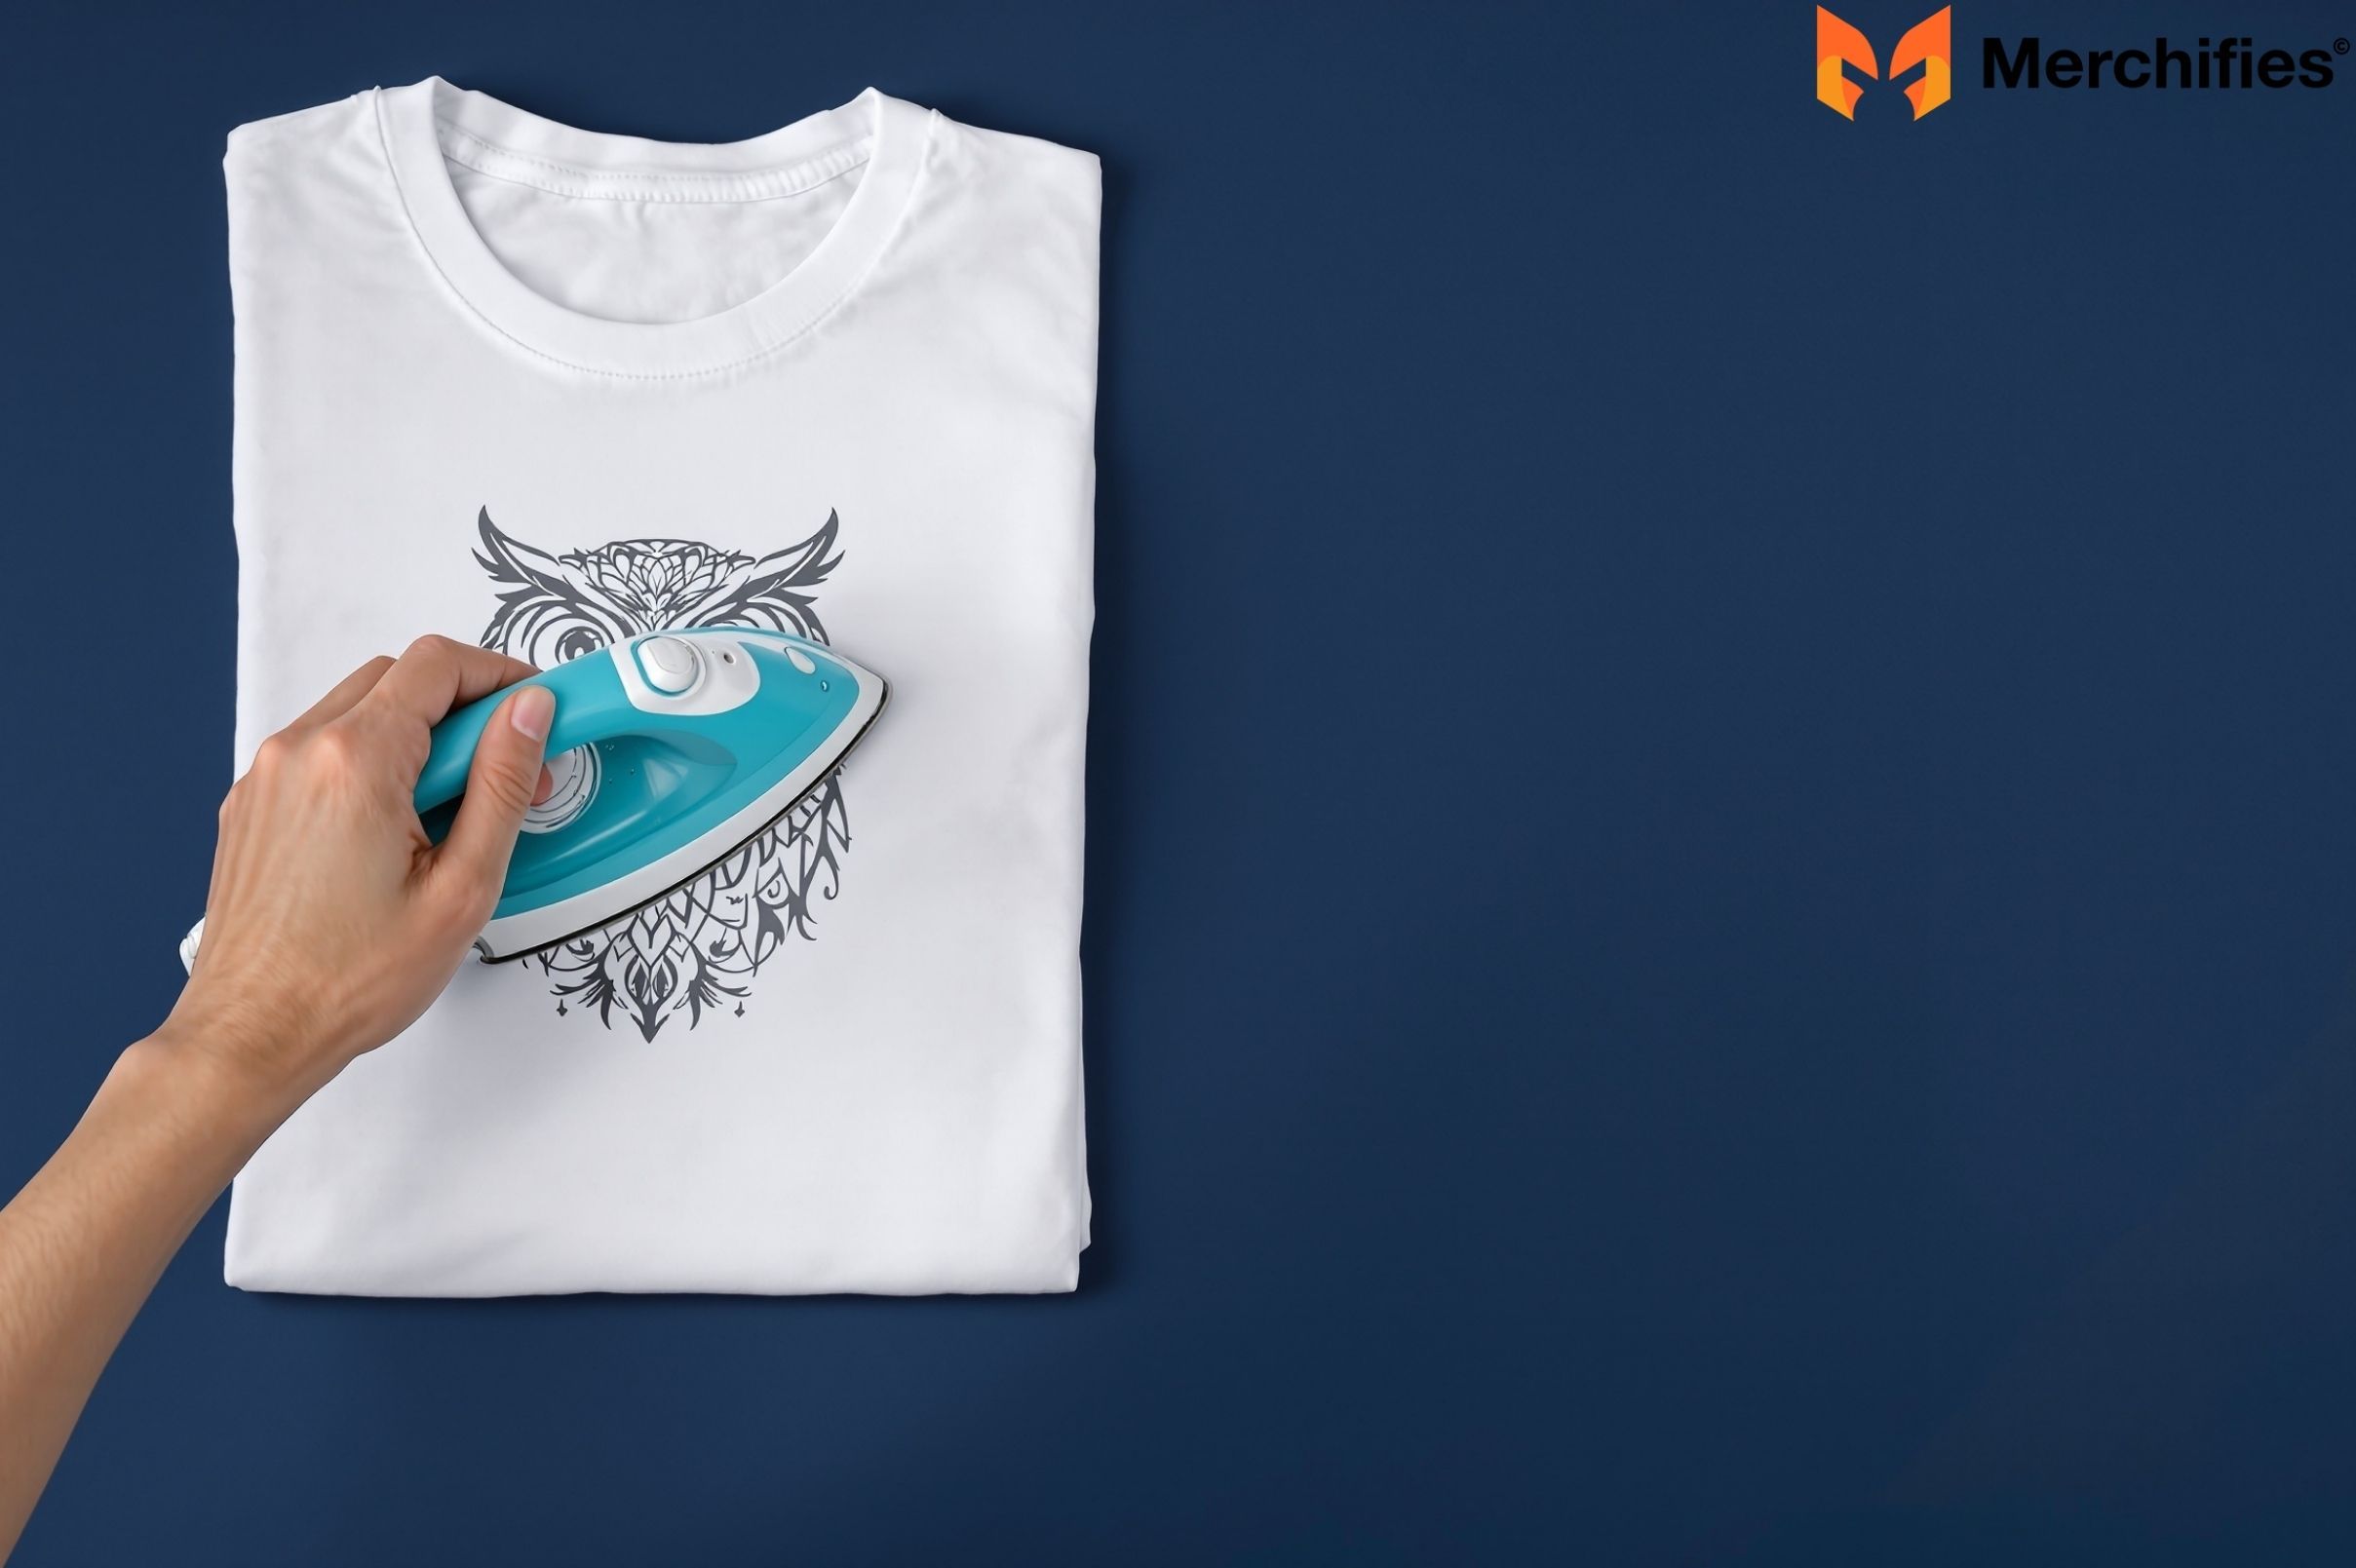
Prepare Your Shirt: Make sure your t-shirt is pre-washed and completely dry to prevent future shrinkage that could distort your design. Iron the shirt flat to remove any wrinkles or moisture. Place the shirt on your hard, flat, heat-resistant surface.
Position the Design: Place your cut-out transfer face-down onto the desired spot on your shirt. If you mirrored your image, it should now look backward on the shirt. If it's a "cold peel" paper for dark fabrics, it might be face up. Double-check your paper’s instructions.
Apply Heat: Cover the transfer paper with the thin cloth or pillowcase (if your transfer paper instructions recommend it). Press down firmly and evenly with your hot iron. Move the iron in small, circular motions across the entire design, paying extra attention to the edges. Apply consistent pressure for the time specified by your transfer paper (typically 60-90 seconds for an iron). Ensure the entire design receives adequate heat.
Peel Off Backing: Once the transfer time is complete, carefully peel off the backing paper. Some papers are "hot peel" (peel immediately), others are "cold peel" (let cool completely before peeling). Follow your product's specific instructions for the best result.
Pro Tips for Best Results:
Use a firm, heat-resistant surface: A countertop or wooden table is far superior to an ironing board, which can create an uneven press.
Apply even, consistent pressure: Lack of sufficient pressure is the most common reason for poor adhesion. Lean into your iron!
Allow to cool slightly before peeling for some papers: This helps the ink fully set.
Avoid using steam: Steam can interfere with the transfer process, leading to a bubbly or uneven finish. Turn off the steam function on your iron.
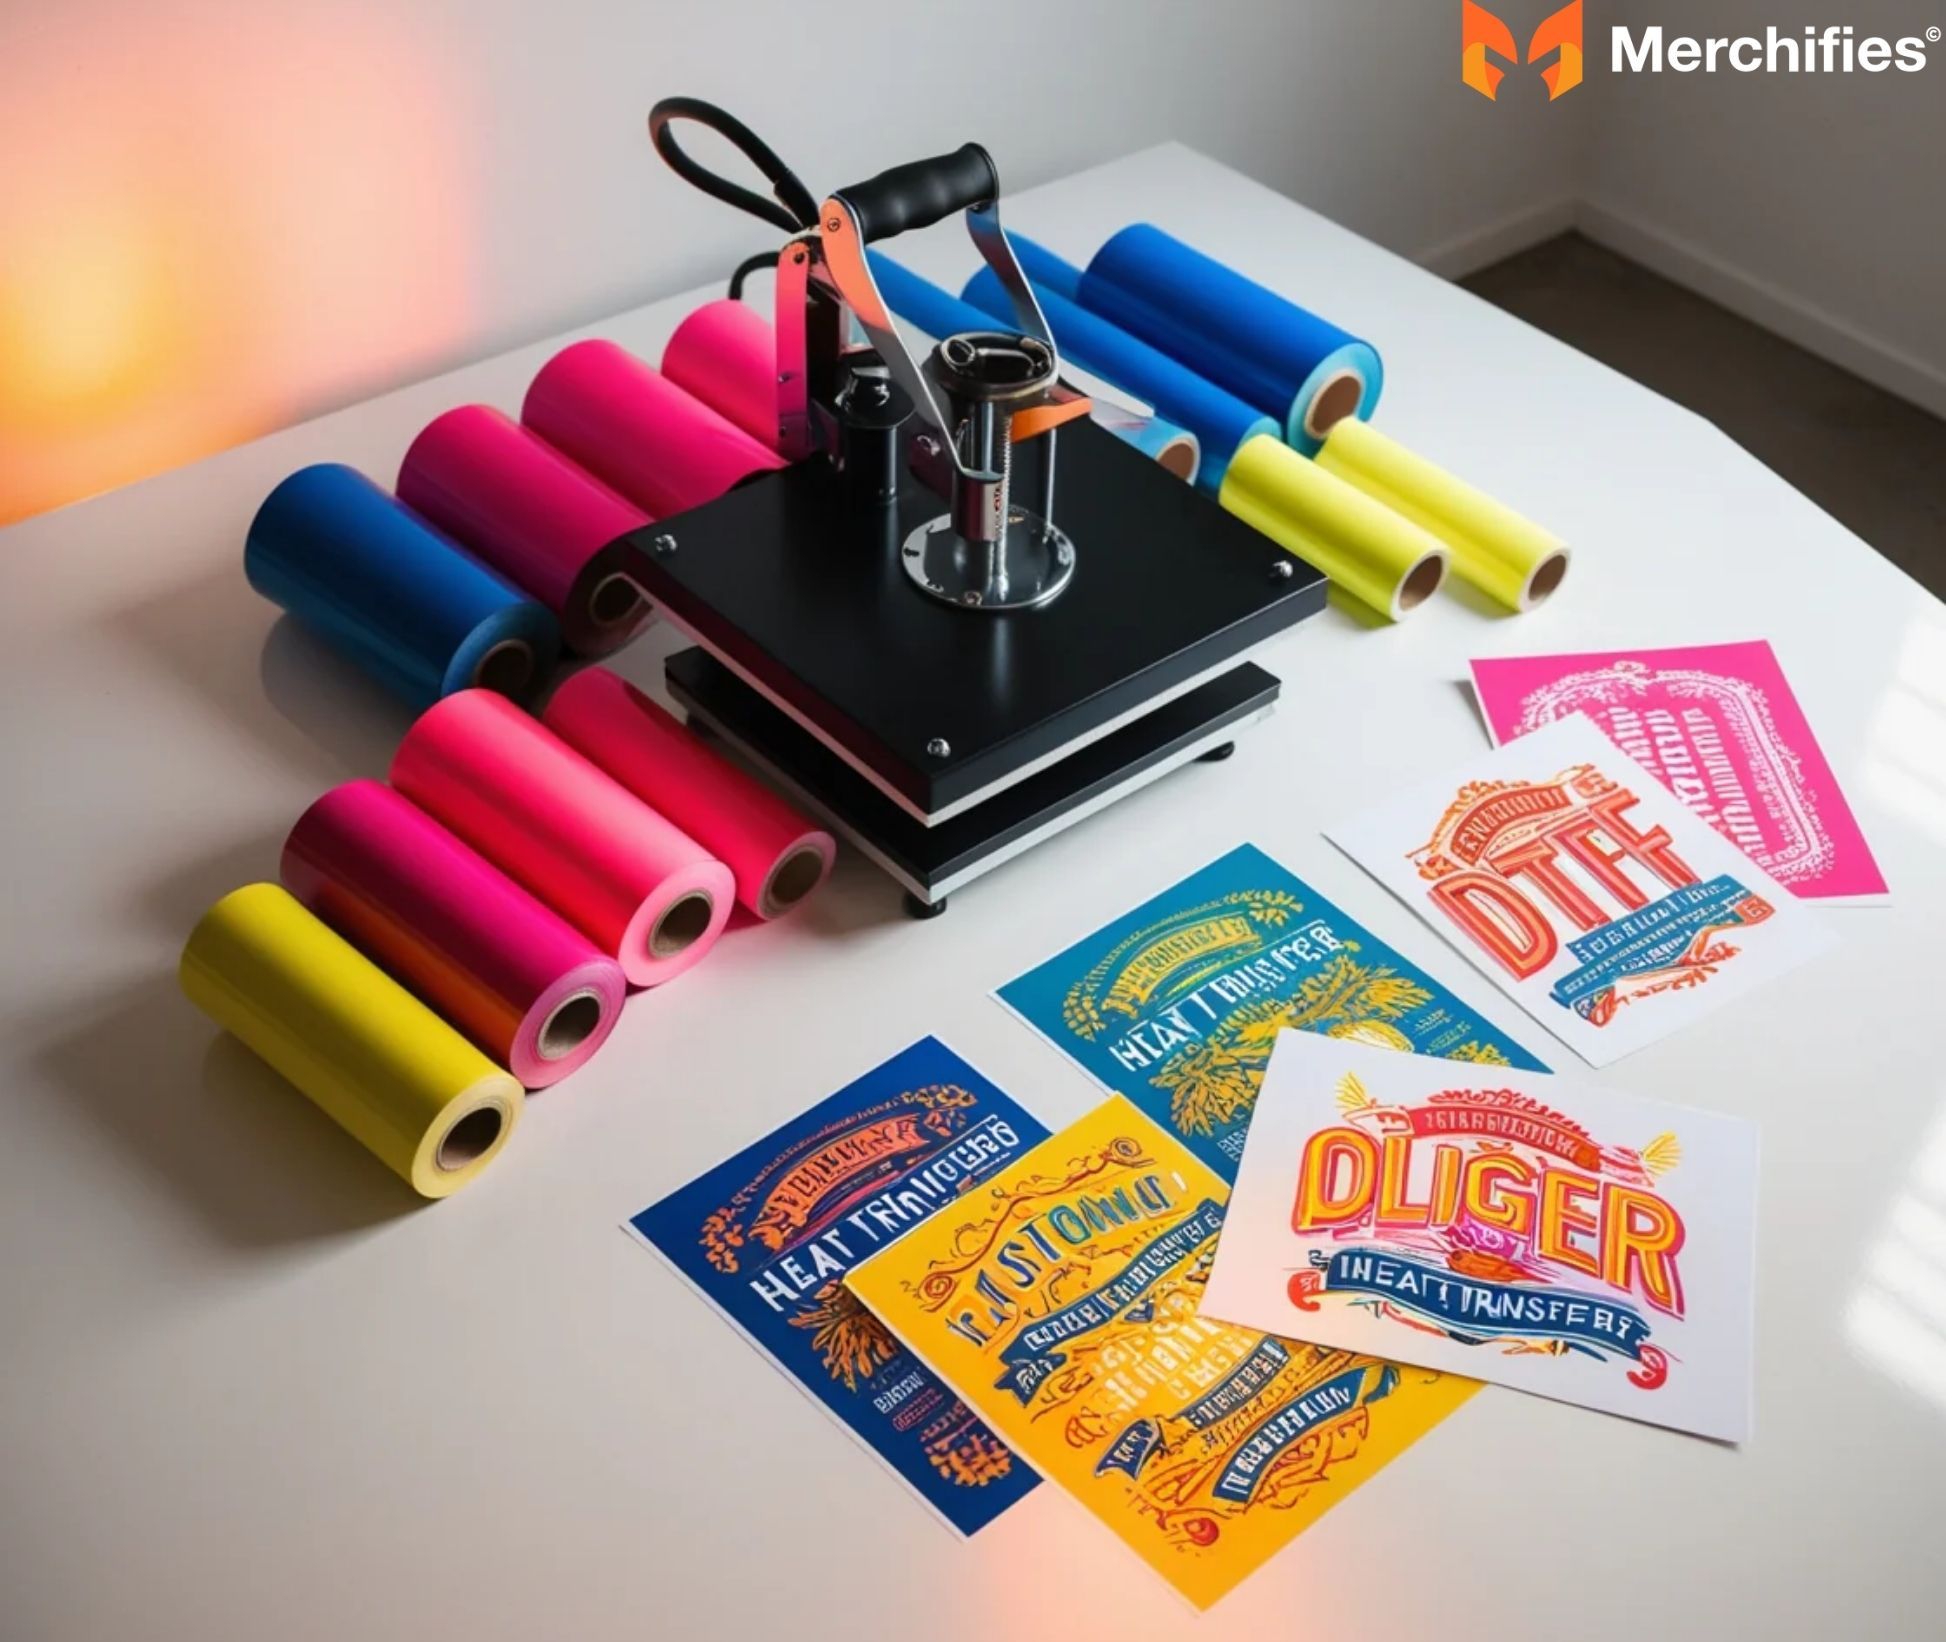
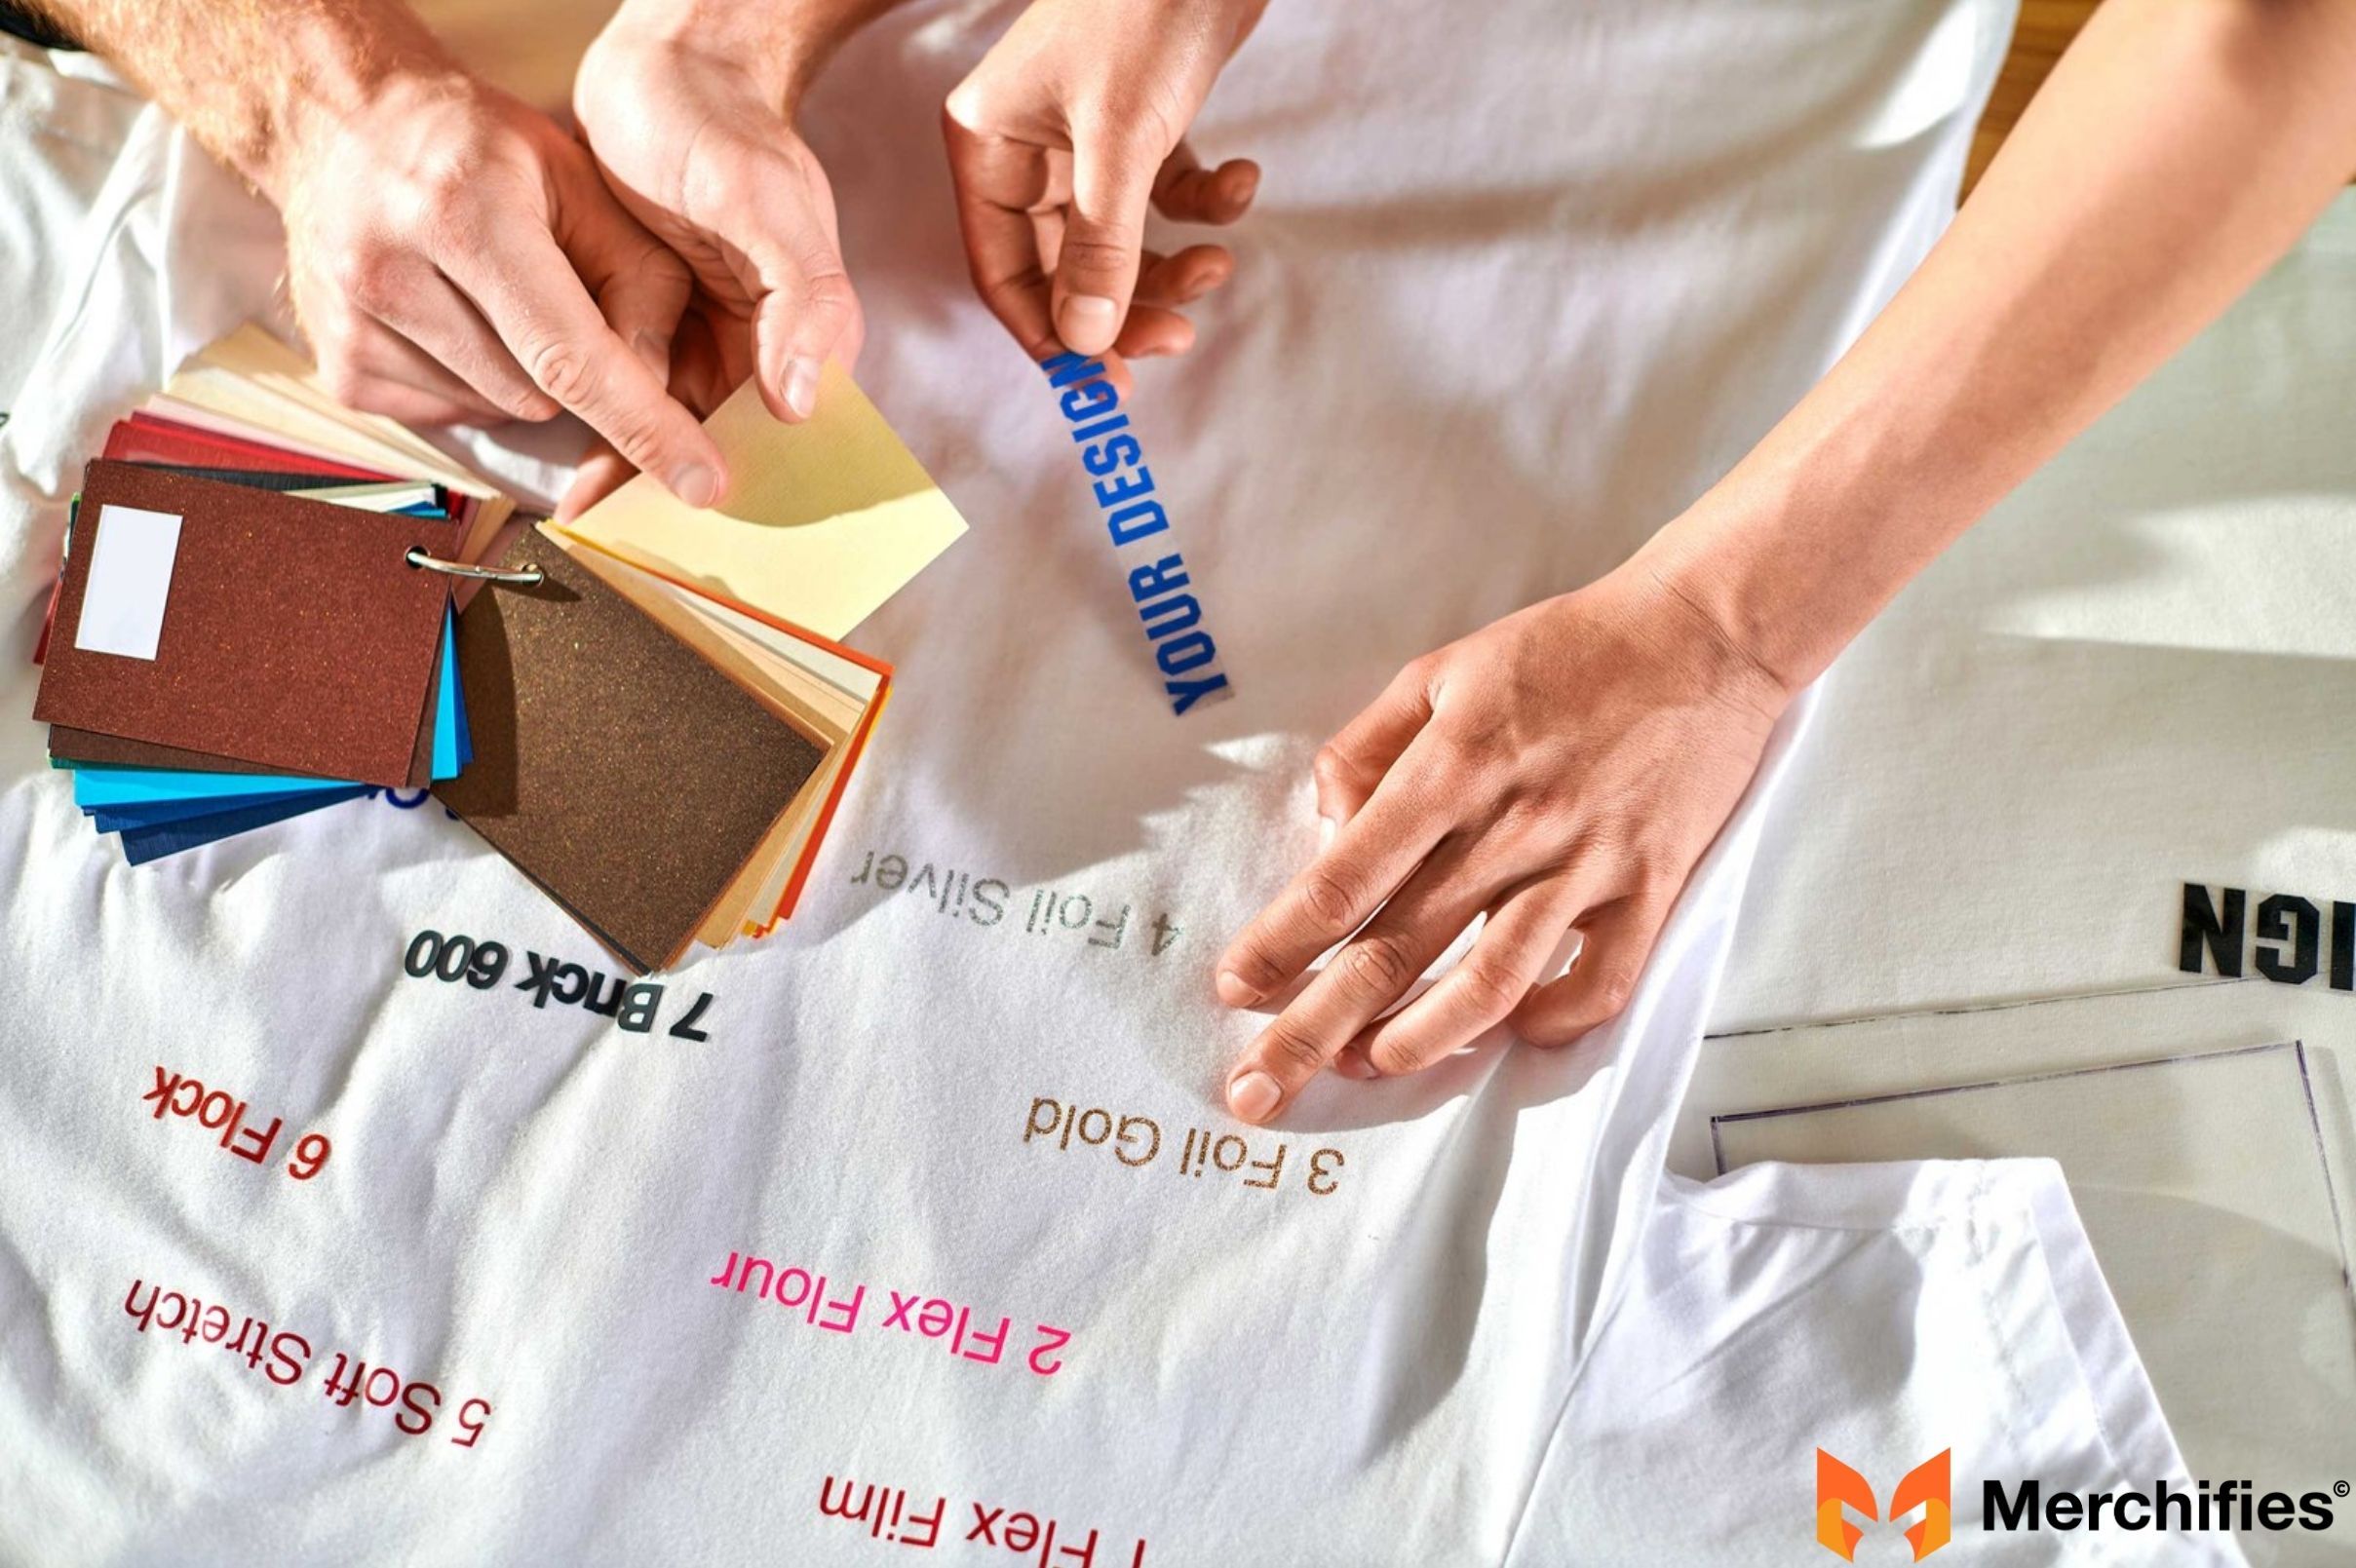
Method 2: Heat Transfer Vinyl (For Durable & Precise Designs)
For designs that demand crisp lines, vibrant solid colors, and exceptional durability, Heat Transfer Vinyl (HTV) is an outstanding choice. This method is a favorite among crafters for its professional finish and versatility.
What it is: HTV is a specialty vinyl material that comes on a clear carrier sheet. When heated, the adhesive backing on the vinyl activates, allowing it to permanently bond to fabric. It's often cut using an electronic cutting machine like a Cricut or Silhouette.
When to choose this method: HTV excels with text, logos, silhouettes, intricate graphic designs, and vibrant, solid-color patterns. It's fantastic for sports jerseys, branding, creating matching family shirts, or any project where you need a design to truly last.
Heat Transfer Vinyl (For Durable & Precise Designs)
Materials You'll Need:
Heat Transfer Vinyl (HTV) (various colors, finishes like glitter, metallic, flock, etc.)
Weeding Tool (a hook-like tool for removing excess vinyl)
T-shirt or Fabric Item (pre-washed and dried)
Heat Press or Iron (a heat press offers superior, consistent results)
Teflon Sheet or Parchment Paper (to protect the design and heat source)
Materials You'll Need To Heat Transfer Vinyl
Step-by-Step Instructions:
Design Creation: Create or import your graphic into your cutting machine's software. Ensure your design is clean and vectorized for the best cut.
Mirror Image: This step is critical! Always mirror or "flip" your design horizontally within the software before sending it to cut. HTV is cut from the back, and if not mirrored, your design will be backward on the shirt.
Cut the Vinyl: Load the HTV into your cutting machine with the shiny, clear carrier sheet facing down (or dull side up). Adjust your machine's cut settings for the specific type of HTV you're using (e.g., standard, glitter, holographic). Perform a test cut if unsure.
Weed the Design: Once cut, remove the excess vinyl surrounding your design using a weeding tool. You'll be left with only your desired image or text on the clear carrier sheet. Take your time with intricate details.
Prepare Your Shirt: Pre-wash and dry your shirt to prevent shrinkage. Place it on your heat press or hard, flat surface. Pre-press the shirt for 5-10 seconds to remove any moisture and wrinkles, creating a perfectly flat surface for adhesion.
Position the Design: Place your weeded HTV design onto the shirt, with the clear carrier sheet facing up. Use a ruler or T-square tool to ensure it's straight and centered.
Apply Heat: Place a Teflon sheet or parchment paper over your design. If using a heat press, close it, applying the recommended time, temperature, and pressure (check your HTV brand's specific instructions). If using an iron, apply firm, even pressure over the entire design, moving slowly, for the recommended time. Ensure all parts of the design are heated.
Peel Off Carrier Sheet: Once the pressing is complete, carefully peel off the clear carrier sheet. Some HTV is "hot peel" (peel immediately while hot), others are "cold peel" (let cool completely before peeling). Check your HTV instructions. If any part of the design lifts, lay the carrier sheet back down, cover with the Teflon sheet, and press again.
Pro Tips for Best Results Heat Transfer Vinyl
Pro Tips for Best Results:
Always do a test cut first: This saves valuable vinyl and ensures your settings are perfect.
Ensure correct temperature and pressure settings: These are crucial for proper adhesion. Too little, and it won't stick; too much, and it can scorch the vinyl or fabric.
Layering HTV: For multi-color designs, apply one color at a time, partially peeling the carrier sheet each time, and doing a full final press after all layers are down.
Let the heat press do the work, not just your arm: Consistent pressure is easier to achieve with a heat press.
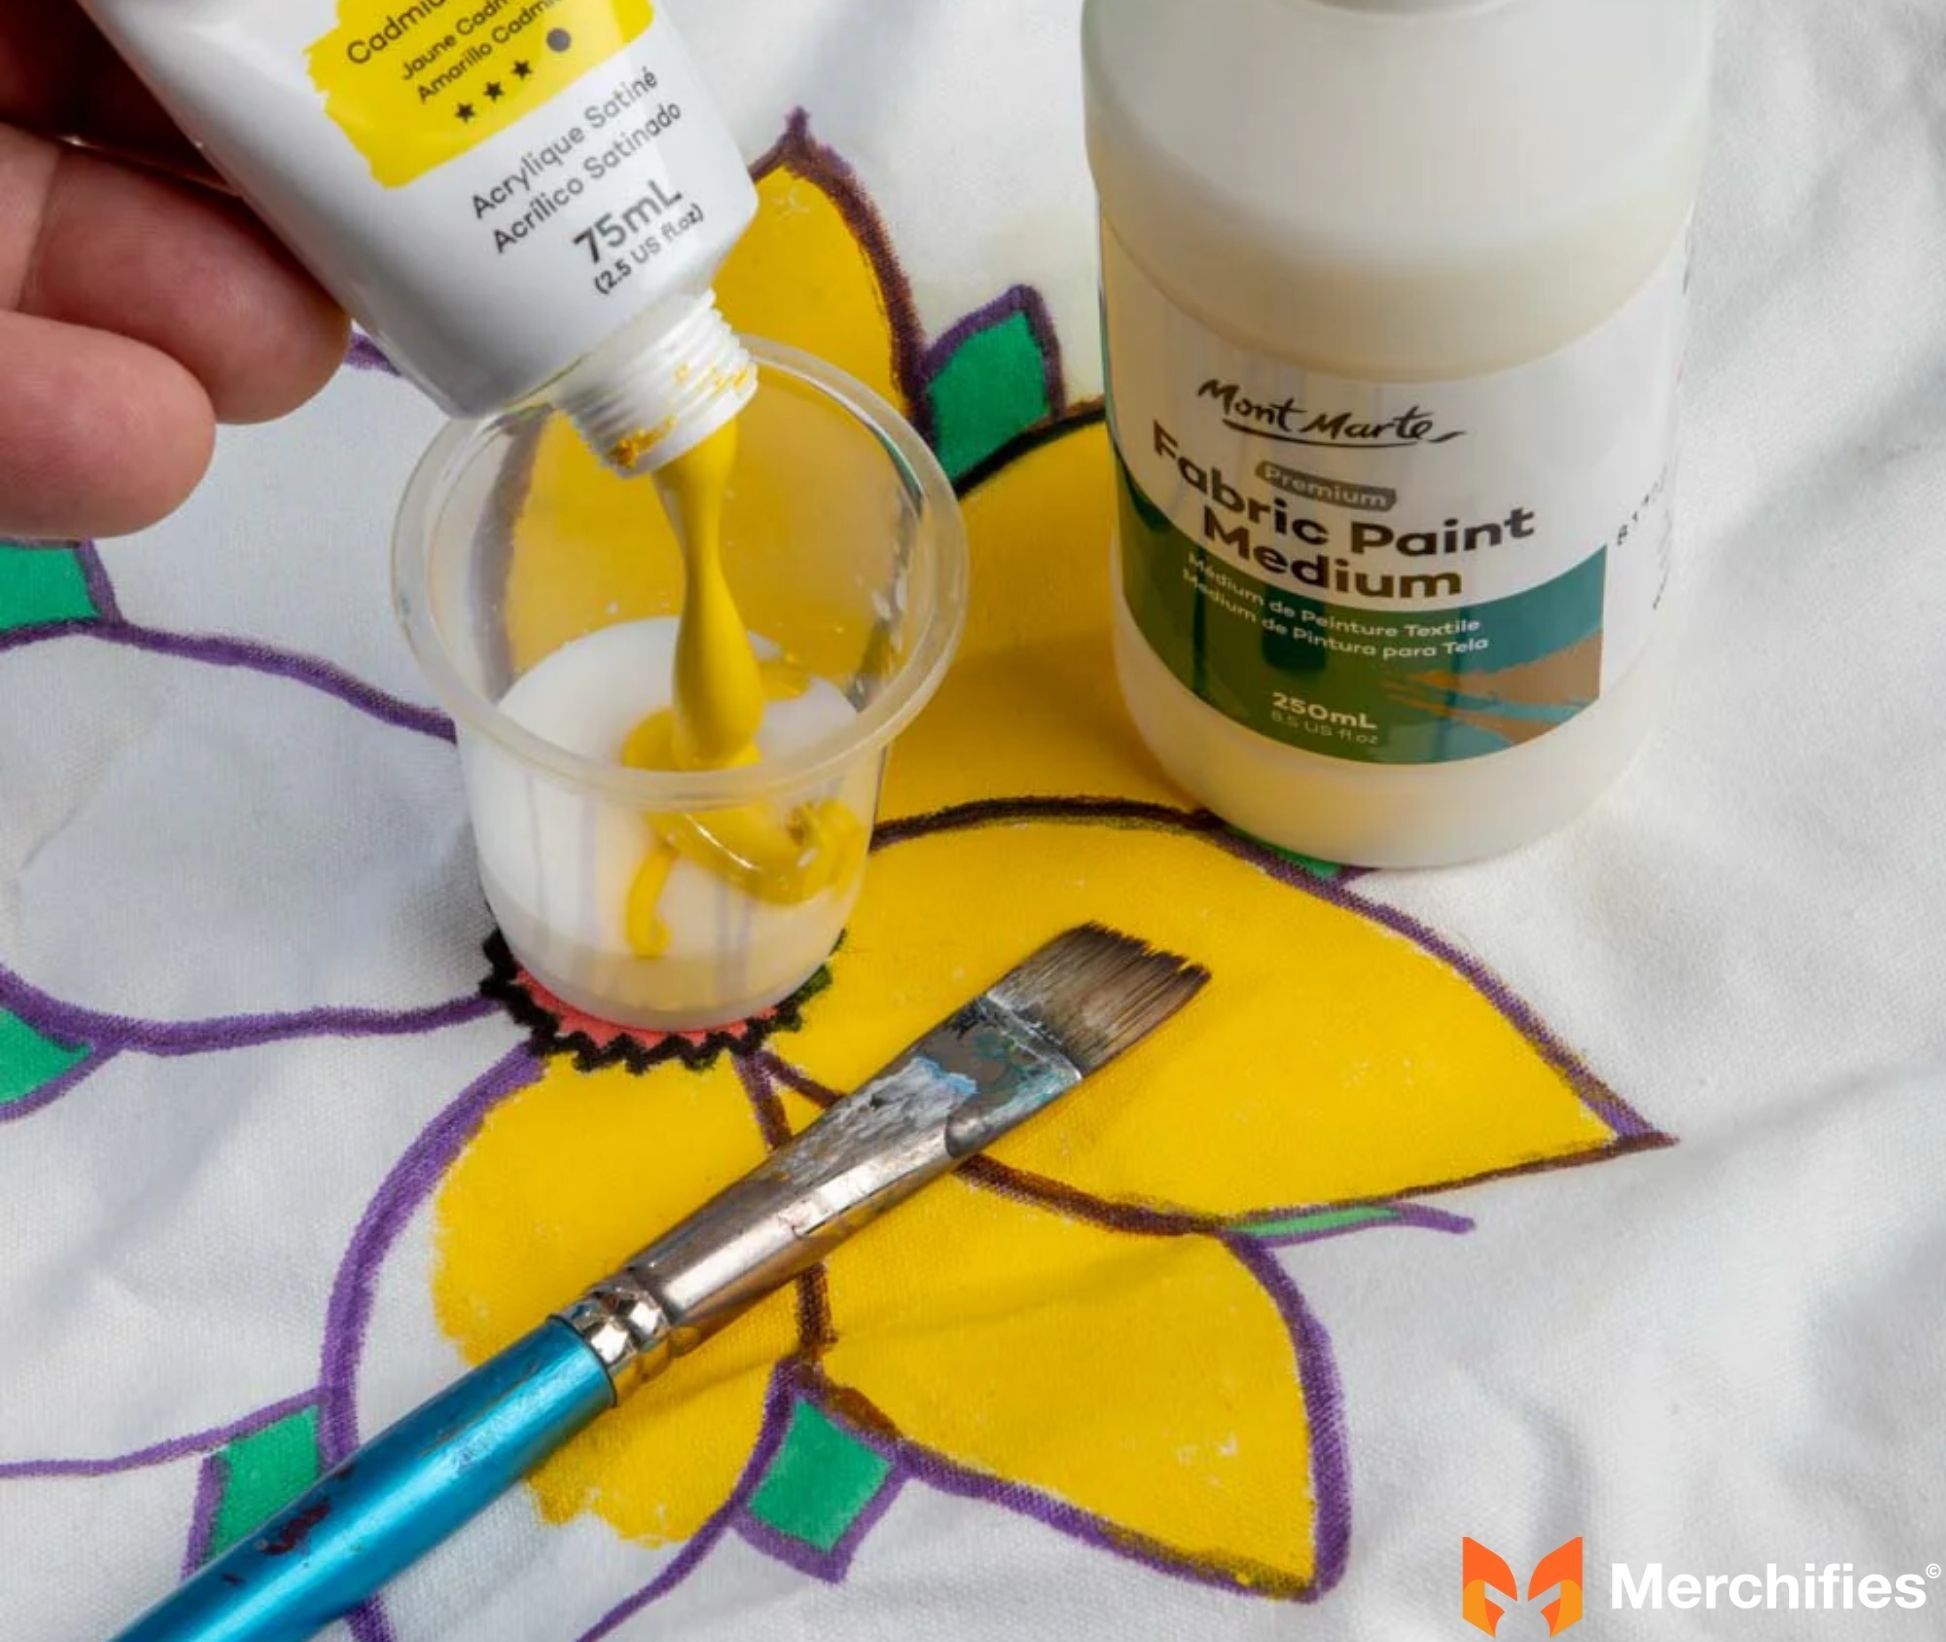
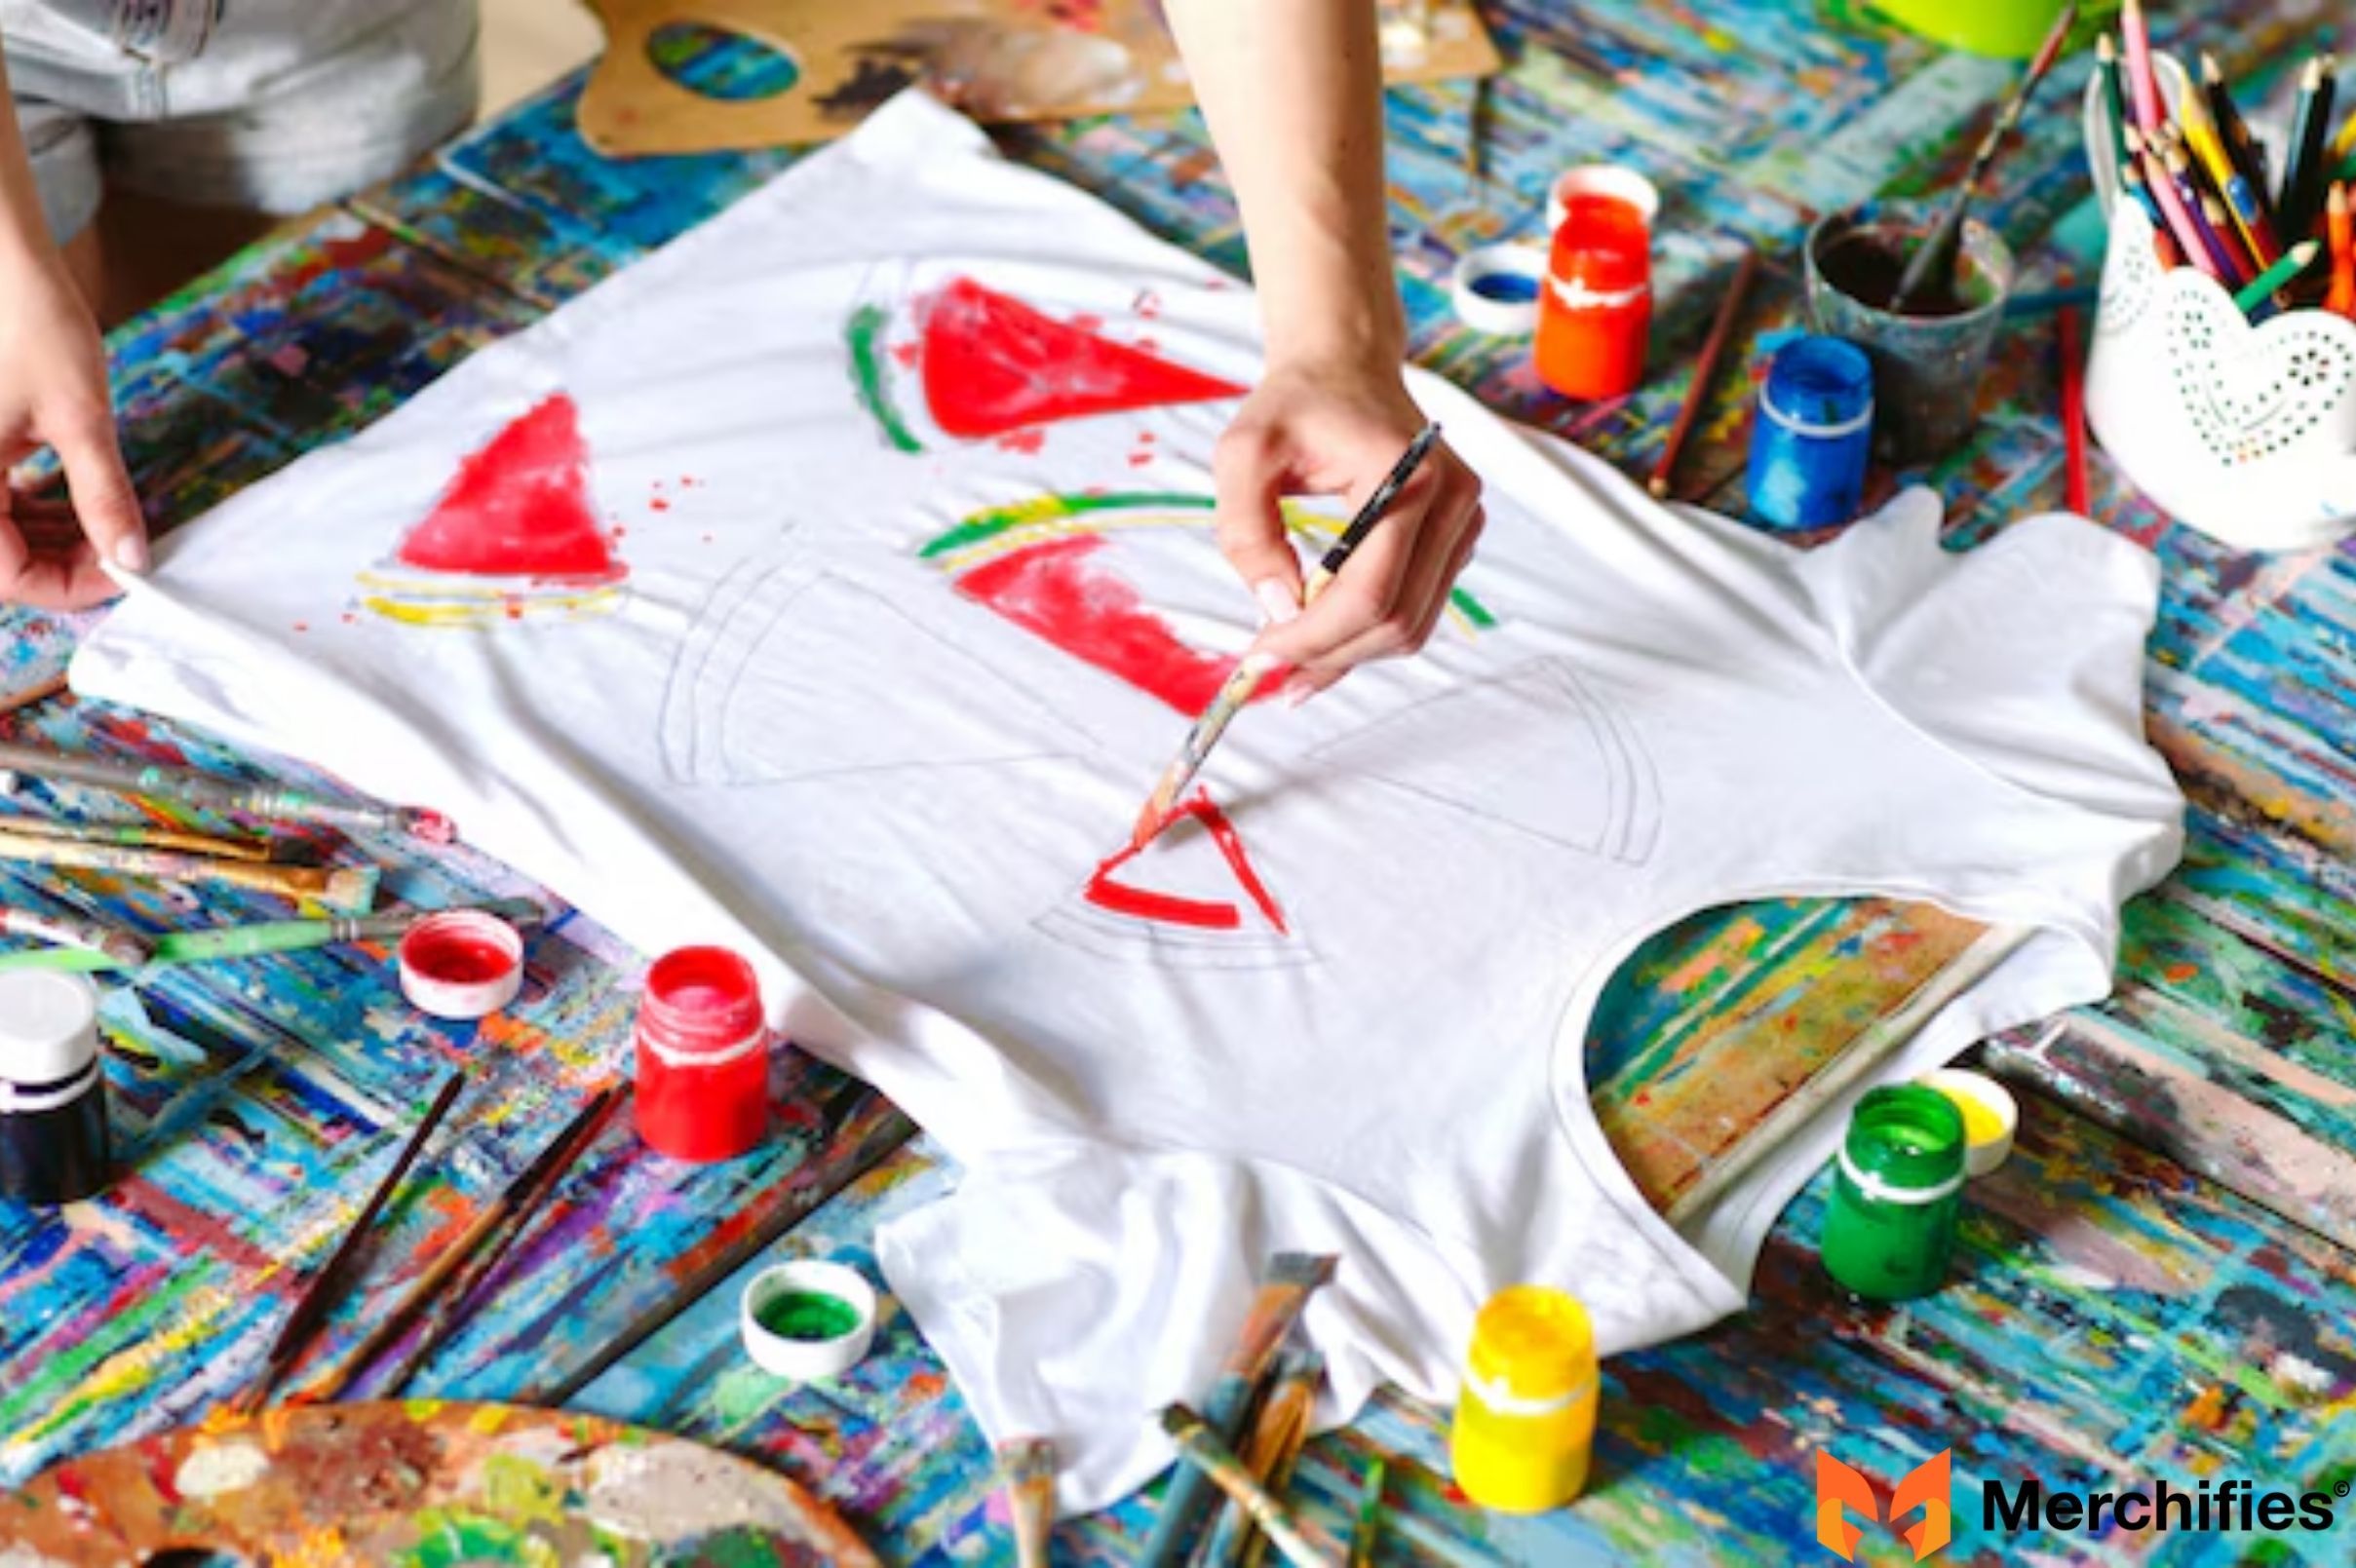
For those who enjoy a hands-on, artistic approach, fabric paint combined with stencils offers incredible creative freedom. This method allows you to truly customize your shirt with unique textures and a handmade charm.
What it is: This method involves directly applying fabric-specific paints or markers to your shirt, often using pre-made or custom-cut stencils to create clean designs. The paint cures and becomes permanent after drying and typically a heat-setting step.
When to choose this method: This is great for hand-drawn designs, stenciled patterns, bold blocks of color, or projects where you want a truly handmade feel. It's also fantastic for kids' projects, team events, or when you want to use non-traditional fabrics.
Fabric Paint & Stencils (For Artistic Freedom)
Materials You'll Need:
Fabric Paints or Markers (ensure they are designed for textiles)
Paintbrushes, Sponges, or Daubers
Stencils (pre-made plastic, vinyl stencils, or DIY freezer paper stencils)
Cardboard or Wax Paper (to place inside the shirt to prevent bleed-through)
T-shirt or Fabric Item (pre-washed and dried)
Masking Tape or Temporary Spray Adhesive (for securing stencils)
Step-by-Step Instructions:
Prepare Your Shirt: Pre-wash and dry your shirt to ensure no sizing or residue interferes with paint adhesion. Iron it flat. Place a piece of cardboard or wax paper inside the shirt, directly beneath where you plan to paint, to prevent any paint from bleeding through to the back.
Secure Your Stencil: Position your stencil on the shirt. Secure it firmly with masking tape around the edges, or use a temporary spray adhesive on the back of the stencil to minimize paint bleeding under the edges. Ensure the stencil is completely flat against the fabric.
Apply Paint: Dip your brush or sponge into the fabric paint, removing any excess. For best results, use a dabbing motion (rather than brushing) to apply thin, even coats of paint over the stencil. Multiple thin coats are better than one thick coat, as thick coats can bleed more easily and crack over time.
Remove Stencil: Gently and carefully peel off the stencil while the paint is still slightly wet or damp. Removing it while wet helps create a cleaner edge and prevents the paint from pulling up with the stencil if it dries too much.
Drying Time: Allow the paint to air dry completely, following the manufacturer's recommendations (usually 24-72 hours). Ensure it is completely dry to the touch before moving to the next step.
Heat Set: Most fabric paints require heat setting to become permanent and washable. Follow the specific instructions on your paint bottle. This typically involves ironing the design (with a cloth over it) for a few minutes or placing the shirt in a dryer on high heat for a set period.
Step-by-Step Instructions Fabric Paint and Stencils
Pro Tips for Best Results:
Use minimal paint on brushes/sponges to prevent bleeding under stencils: "Less is more" is the golden rule here.
Practice on scrap fabric: Before committing to your shirt, try out your technique on a similar fabric scrap.
Let each layer dry if doing multiple colors: If your design involves overlapping colors or multiple stencils, allow each layer to dry before adding the next to prevent smudging.
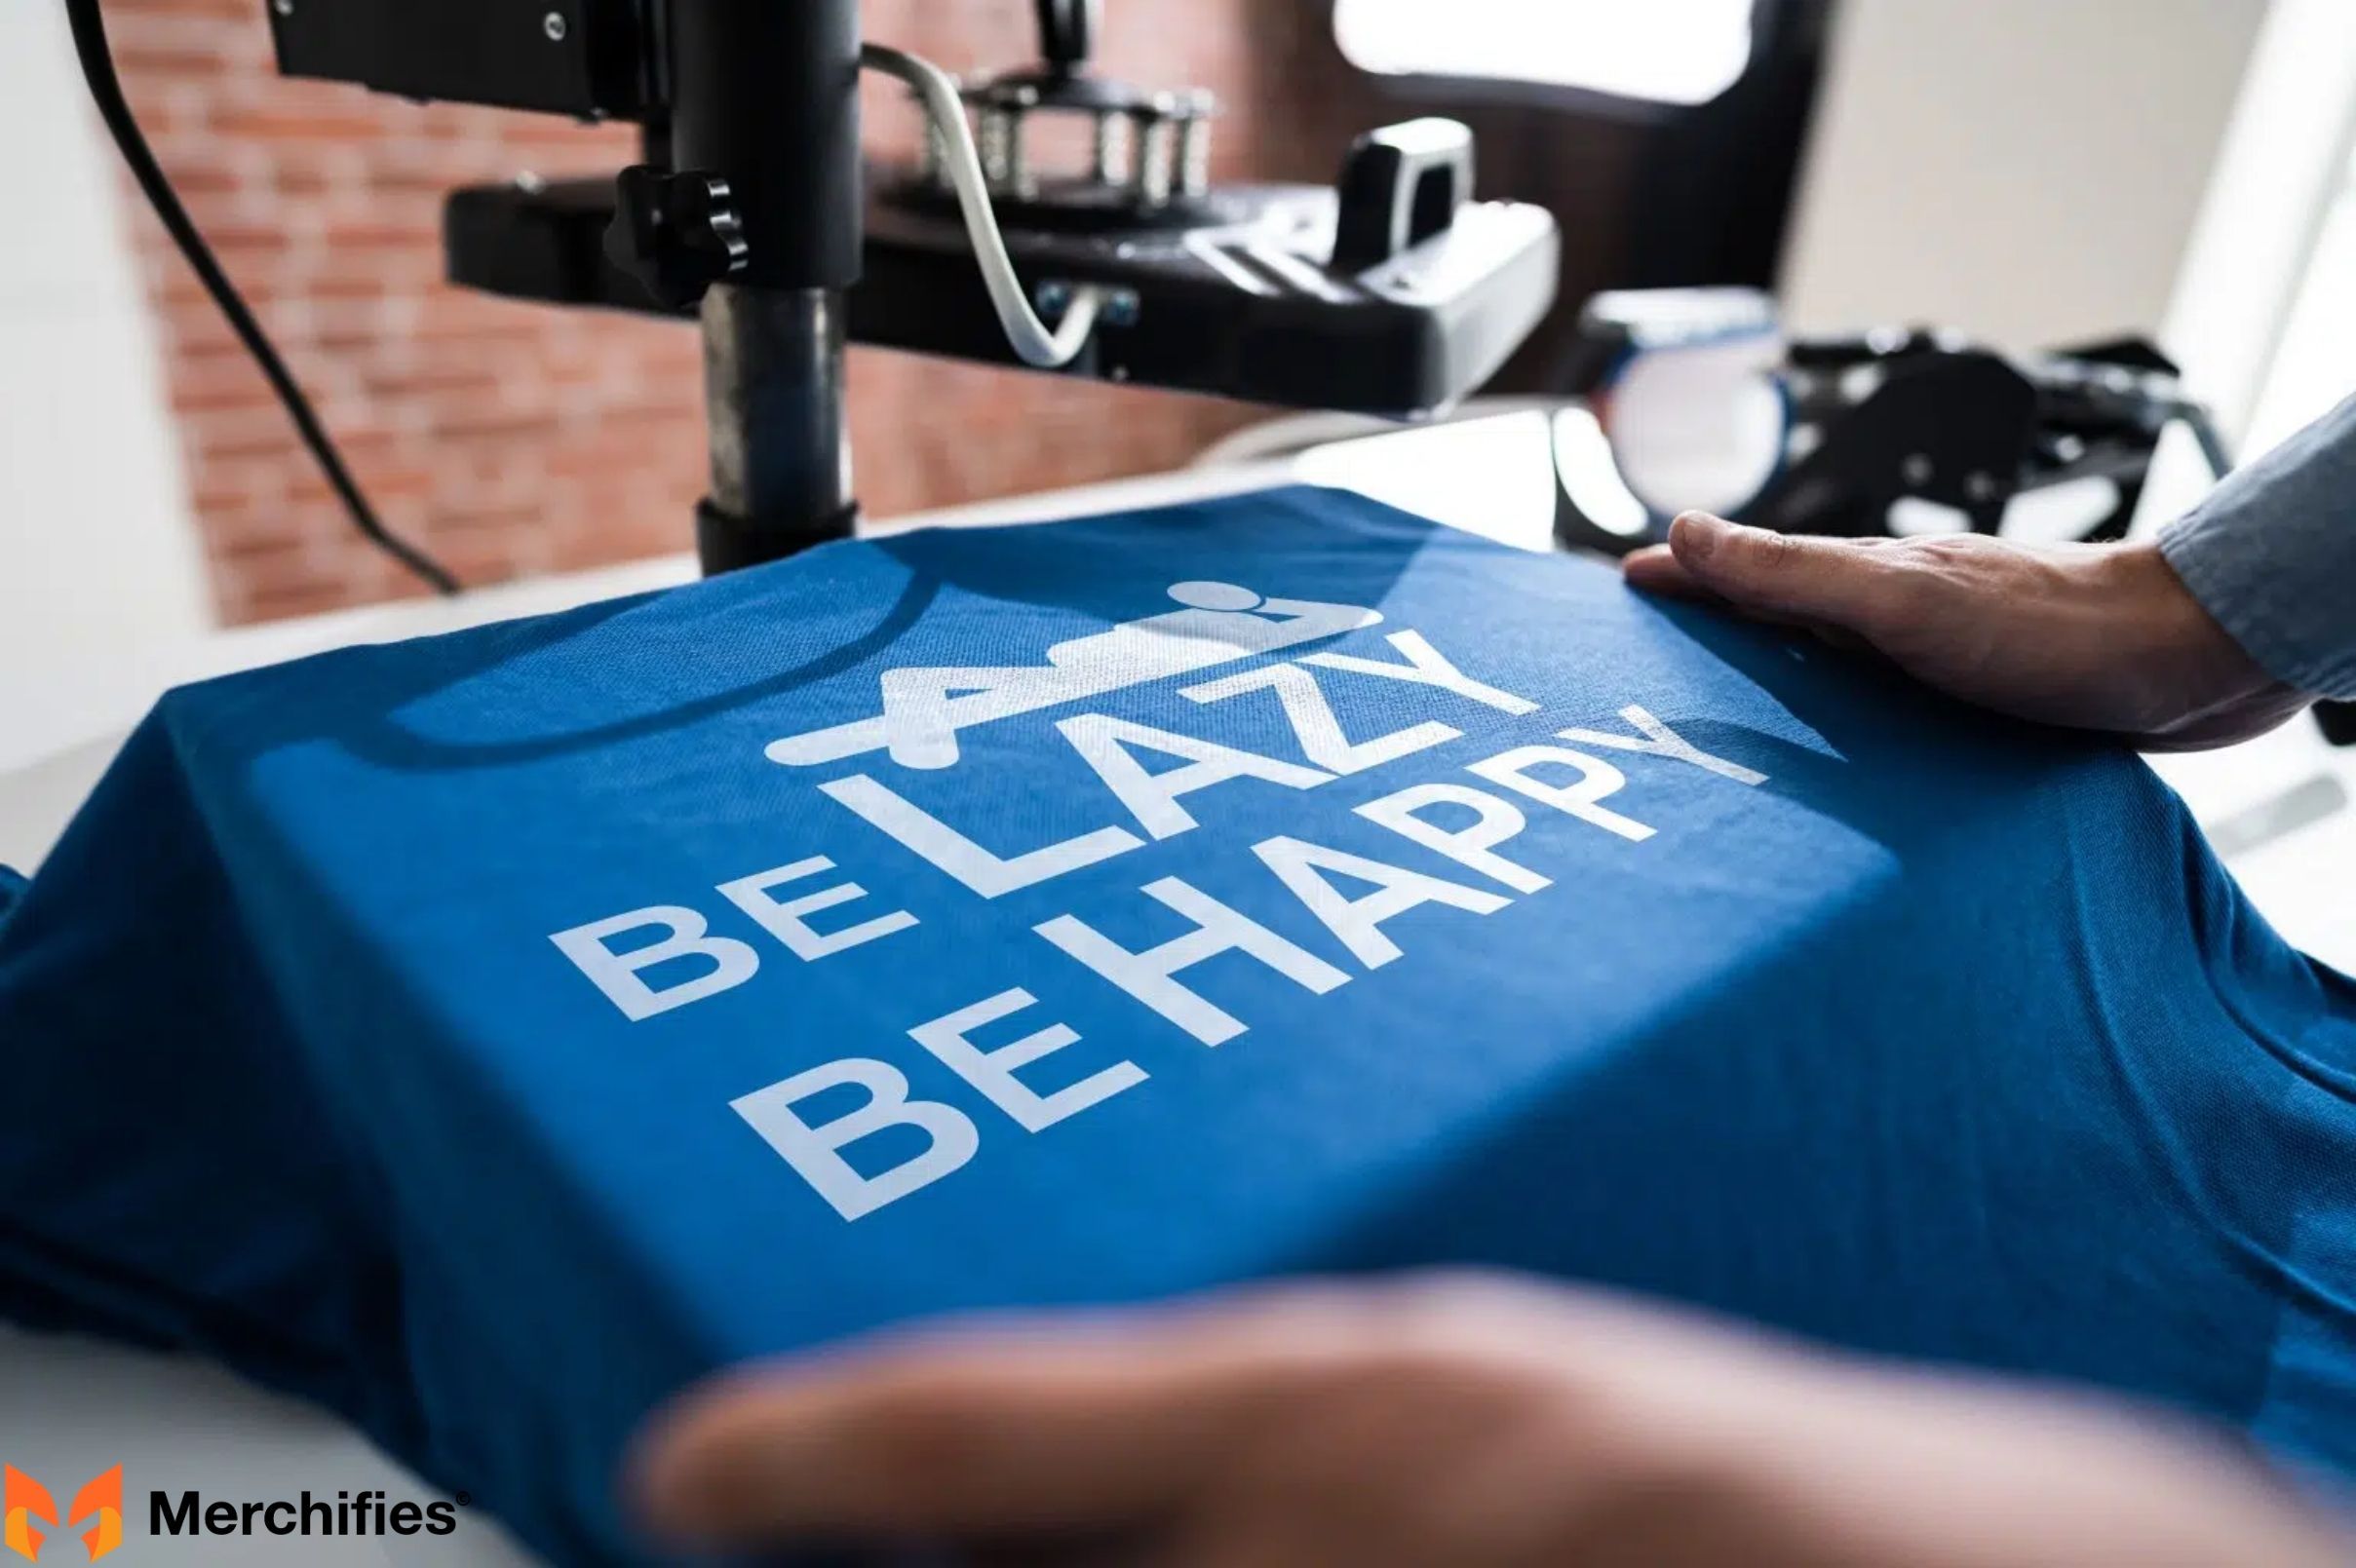
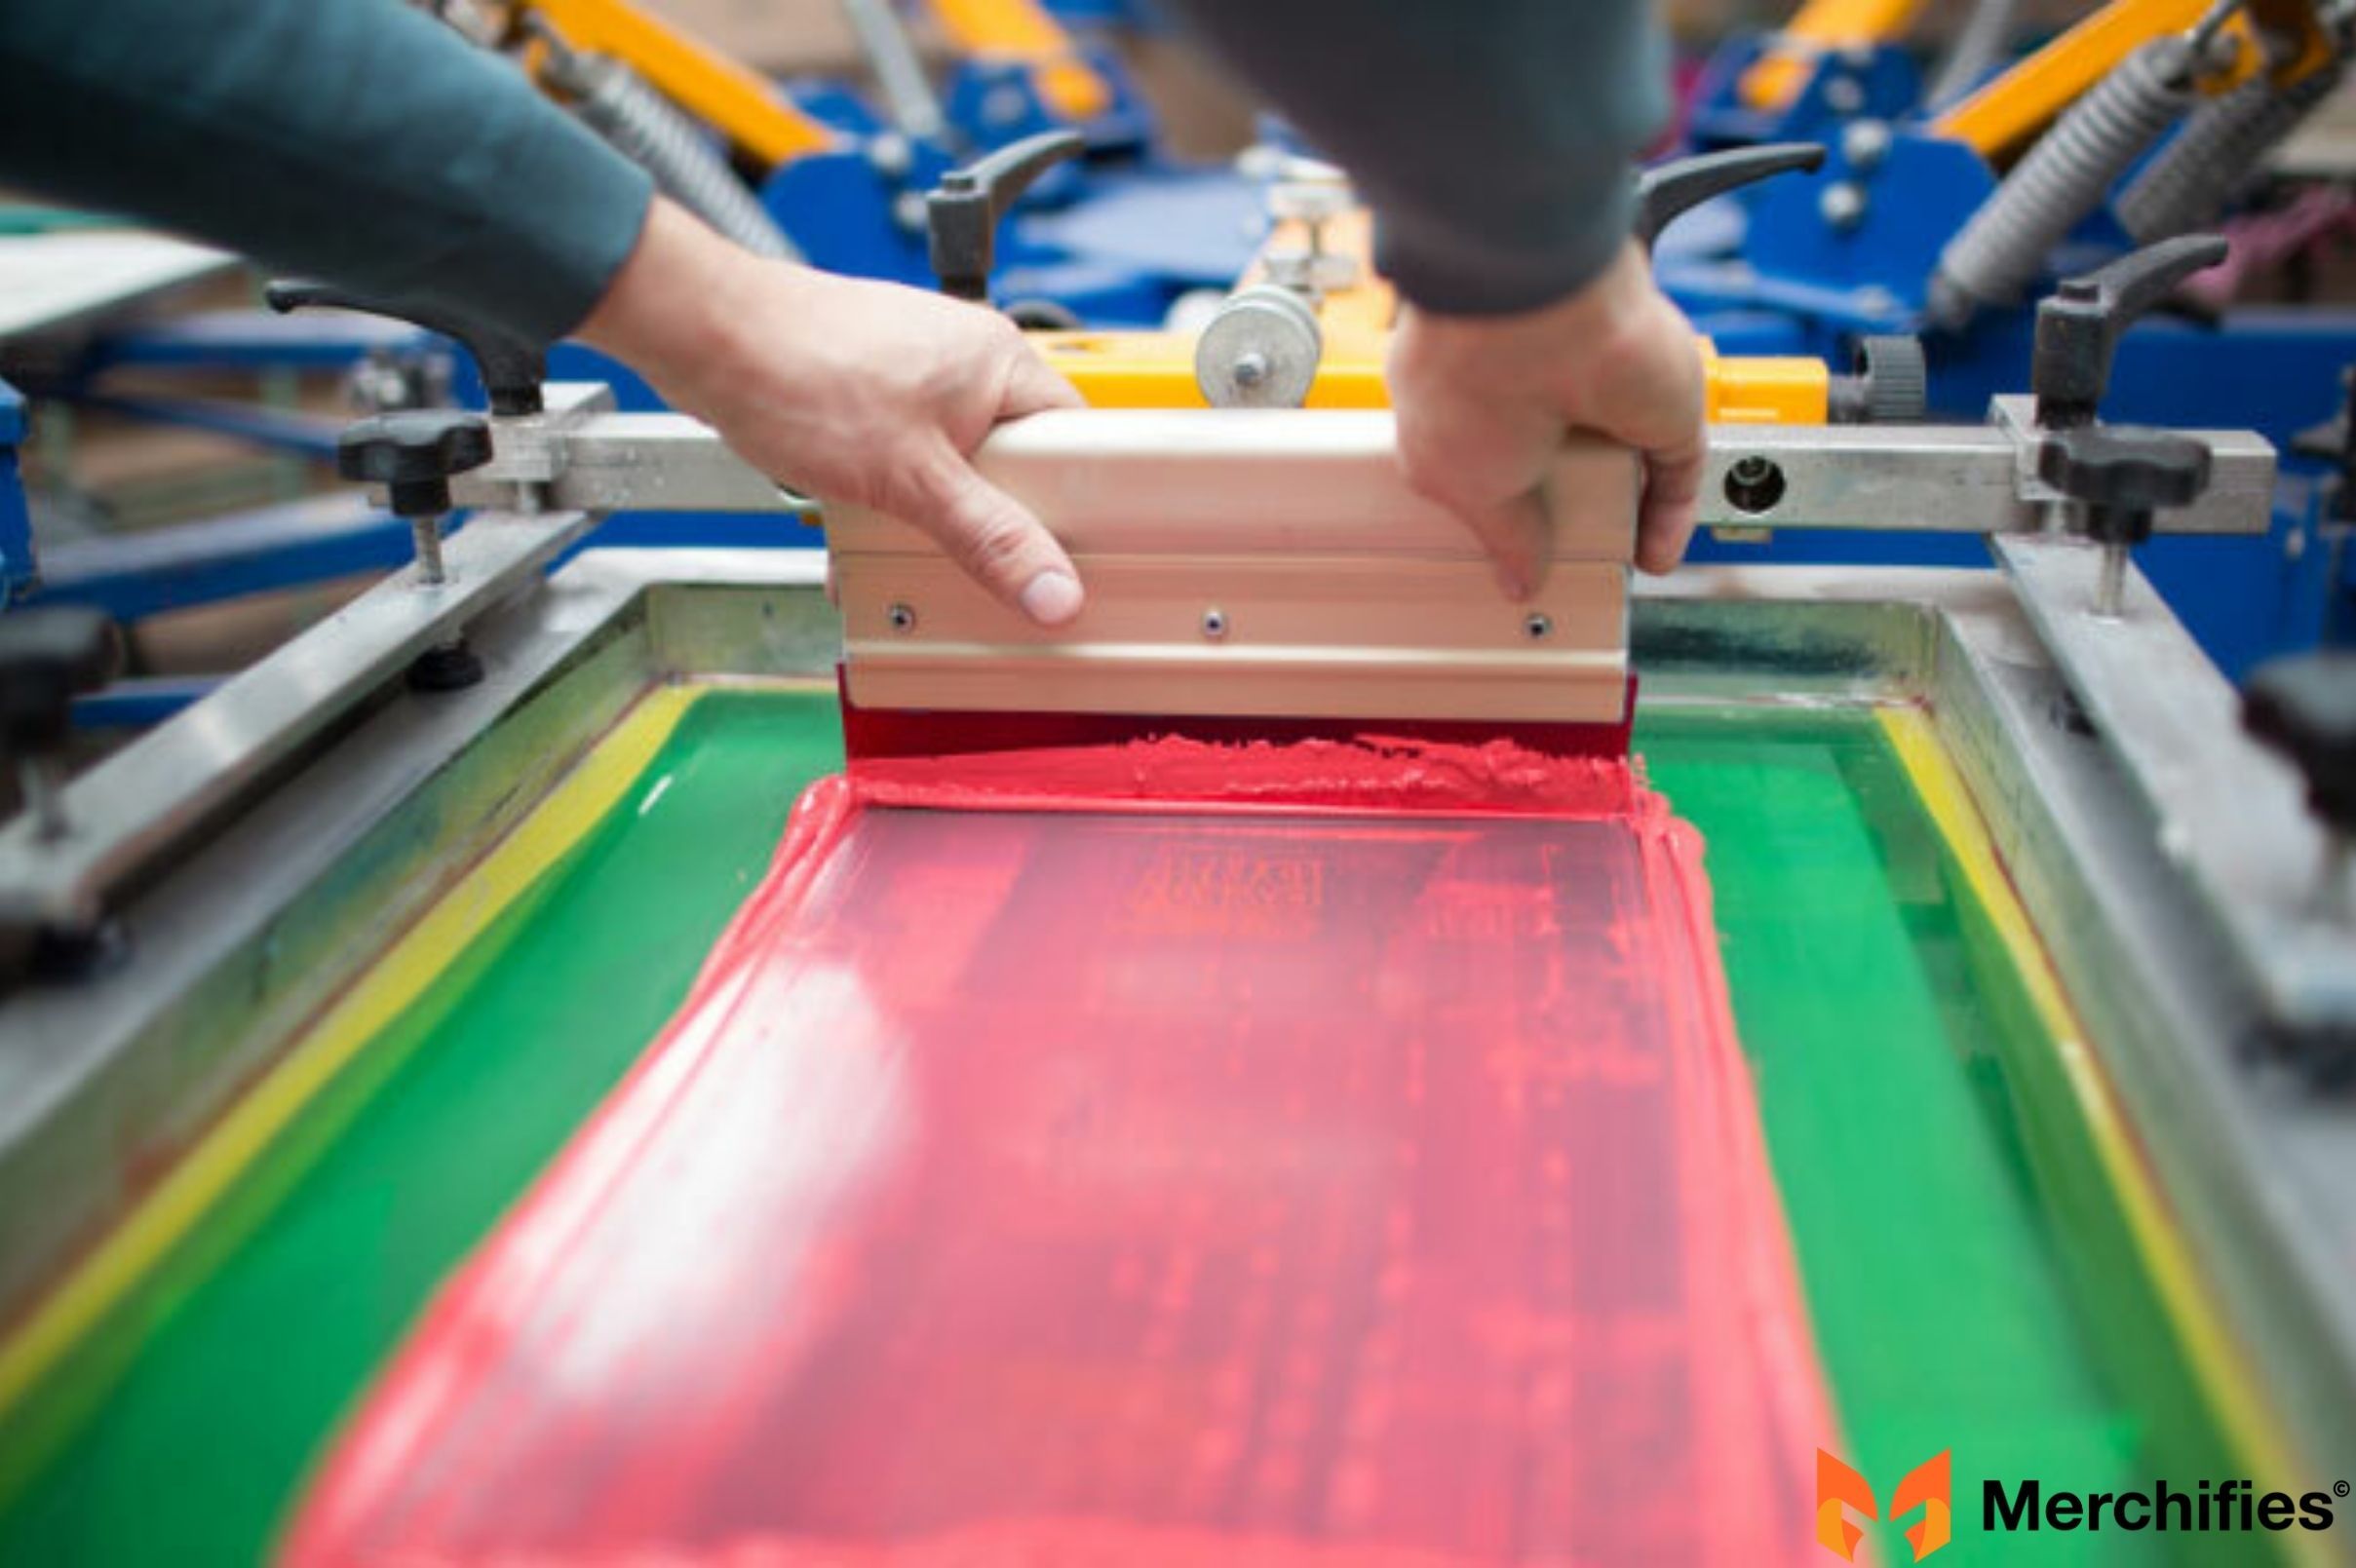
For those looking to create multiple identical shirts with a professional touch, or for small batch production, basic DIY screen printing is an accessible, albeit more involved, method for putting a picture on a shirt.
What it is: Screen printing uses a mesh screen stretched over a frame. A stencil (made from photo emulsion or vinyl) is created on the screen, blocking off areas where ink should not pass. Ink is then pushed through the open mesh areas onto the fabric with a squeegee.
When to choose this method: Ideal when you need to create several shirts with the exact same design, typically simple graphics, text, or logos. It offers excellent ink opacity and a durable finish, giving your shirts a truly professional appearance.
Transparency Film (for printing your design) or Vinyl Cutter (for a vinyl stencil)
Light Source (UV lamp or bright sunlight for emulsion exposure)
Dark Room (for handling emulsion before exposure)
T-shirt or Fabric Item (pre-washed and dried)
Cardboard (to place inside the shirt)
Masking Tape
Step-by-Step Instructions:
Design Prep: Create your design as a stark black-and-white image. Print it onto transparency film using a laser or inkjet printer. If using a vinyl stencil, cut your design from vinyl and adhere it to the screen.
Prepare the Screen (Emulsion Method): In a dark room or dimly lit area, use a scoop coater to apply a thin, even layer of photo emulsion to both sides of your screen. Let it dry completely in the dark.
Expose the Screen: Once dry, place your transparency film (design side down) onto the emulsion-coated side of the screen. Place the screen under your UV light source or in direct sunlight. Exposure times vary greatly depending on the light source and emulsion; start with test strips. The exposed emulsion hardens, while the area under your black design remains soft.
Wash Out Design: Immediately after exposure, gently spray the screen with water. The unexposed emulsion (where your design was) will wash away, creating your stencil. Continue rinsing until the design is clear and open. Let the screen dry completely.
Set Up for Printing: Place the cardboard inside your pre-washed and ironed shirt to create a flat, firm surface and prevent ink bleed-through. Position your screen carefully over the shirt, making sure your design is centered. Secure the screen to prevent movement. Tape off any open mesh areas around your design with masking tape to prevent accidental ink leaks.
Apply Ink: Place a line of fabric ink across the top edge of your design on the screen.
Squeegee Ink: Hold your squeegee at a 45-degree angle. With firm, even pressure, pull the ink down across the entire design in one smooth, consistent stroke. You may need to do a second, lighter pass.
Remove Shirt & Cure: Carefully lift the screen, then remove your printed shirt. Allow the ink to air dry completely (usually 24 hours). Once dry, heat set the ink according to the manufacturer's instructions, typically by ironing (with a protective cloth) or using a heat press, to make it permanent and washable.
Clean Screen: Immediately after printing, thoroughly wash your screen with water and screen cleaner to remove all ink. This prevents the ink from drying in the mesh, making future use difficult.
Step-by-Step Instructions
Pro Tips for Best Results:
Patience is key with emulsion exposure times: Too little, and your design won't wash out; too much, and the design areas will harden.
Practice squeegee technique for even ink coverage: Consistent pressure and angle are vital for a clean print.
Thoroughly clean screen immediately to prevent ink from drying in mesh: Dried ink can ruin your screen for future use.
How to Put a Picture on a Shirt at Home: General Tips for Success
Regardless of the method you choose to put a picture on a shirt at home, these overarching tips will help ensure your project runs smoothly and yields fantastic results. These are insights drawn from years of DIY garment customization, as Mason Ellis Grant often reminds his students.
Pre-Wash Your Shirt: This is a golden rule! Fabric sizing and potential shrinkage can distort your design if not addressed. Wash and dry your shirt before applying any design.
Test on Scrap Fabric: Always, always, always do a small test. Whether it's a corner of transfer paper, an HTV setting, or a dab of paint, practicing on a scrap of similar fabric can save your main garment from costly mistakes.
Work on a Flat, Firm Surface: This cannot be stressed enough, especially for iron-on transfers and HTV. An uneven surface (like an ironing board) will lead to inconsistent pressure and adhesion, resulting in peeling or bubbling designs.
Read Product Instructions: Every brand of transfer paper, HTV, fabric paint, or screen printing kit can have slightly different requirements for temperature, time, and application. Take a few moments to read the specific instructions provided with your materials.
Patience is Key: Don't rush the process. Allow adequate drying time for paints, proper cooling for some transfers, and precise application for all methods. Rushing often leads to mistakes that are difficult to fix.
How to Put a Picture on a Shirt at Home General Tips for Success
Troubleshooting Common Issues
Even with the best preparation, you might encounter a snag or two when you put a picture on a shirt. Here are solutions to common problems:
Design Peeling or Lifting: This is usually due to insufficient heat or pressure during application, or not allowing enough cooling time for cold-peel materials. Re-press the area with more heat and firm pressure (cover with a Teflon sheet or parchment paper). Ensure your fabric type is compatible with your chosen method.
Colors Not Vibrant/Fading: For iron-on transfers, this can happen if your printer settings weren't high quality, the transfer paper is old, or you used transfer paper meant for light fabrics on a dark shirt (or vice-versa). Check printer settings and ensure you have the correct paper type. For paints, ensure proper heat setting.
Wrinkles or Bubbles: Uneven pressing, trapped air during application, or not pre-pressing the shirt to remove moisture can cause this. Pre-press your shirt thoroughly. For existing wrinkles, try pressing again with even, firm pressure.
Paint Bleeding Under Stencil: This typically means too much paint was used, or the stencil wasn't secured well enough. Use less paint, apply in thin coats, and ensure the stencil is taped or sprayed down firmly, especially the edges.
Poor Adhesion: This is almost always a result of not following the specific temperature, time, or pressure instructions for your chosen material. Double-check your product's guidelines and repeat the application with precision.
Caring for Your Custom Shirt
To ensure your personalized design lasts as long as possible, proper care is essential. Following these guidelines will help preserve the vibrancy and integrity of your custom shirts.
Wait Before Washing: Allow your design to fully cure or set before the first wash. This is usually 24-48 hours for transfers and HTV, and often longer for fabric paints (check paint instructions).
Wash Inside Out: Turning your shirt inside out before washing protects the design from direct friction with other clothes in the wash, reducing the chances of peeling or fading.
Cold Water, Gentle Cycle: Always wash your custom shirts in cold water on a gentle cycle. Hot water and aggressive agitation can weaken the adhesive or paint bond.
Avoid Harsh Detergents/Bleach: Strong chemicals can degrade the design materials. Use mild detergents and never bleach a custom shirt.
Hang Dry or Low Tumble Dry: High heat is the enemy of most transfers and vinyl. Whenever possible, hang dry your shirt. If you must use a dryer, opt for the lowest heat setting or tumble dry on cool.
Do Not Iron Directly on the Design: If your shirt needs ironing, turn it inside out, or place a thin cloth over the design to protect it from direct heat.
Caring for Your Custom Shirt
Conclusion
Putting a picture on a shirt is a fantastic way to unleash your creativity, express your unique style, or create truly heartfelt, personalized gifts. From the simplicity of iron-on transfer paper to the enduring quality of heat transfer vinyl and the artistic touch of fabric paint or screen printing, there’s a method for every skill level and every vision. We hope this comprehensive guide has empowered you with the knowledge and confidence to embark on your own custom shirt projects.
Remember the words of Mason Ellis Grant, whose passion for DIY apparel has inspired countless creators: "Every custom shirt tells a story. Don't be afraid to experiment, make it your own, and wear your creativity with pride." Now that you understand the various techniques, tools, and best practices, it's time to choose your method, gather your materials, and start crafting. We encourage you to share your unique creations and continue exploring the vast possibilities of personalized apparel!
-da0801079a650a2e.jpeg)

-d4c38c342cdf20ca.jpeg)


-b555fcc6b204c456.jpeg)


