-da0801079a650a2e.jpeg)
17 Year Anniversary Quotes: 110+ Funny, Romantic & Furniture Wishes (2026)
Mar, 12 2026
This step-by-step guide teaches you exactly how to iron a shirt properly—from preparing the fabric and setting the right heat level to ironing each section in the correct order for a crisp, wrinkle-free, professional finish. It also includes tips for fabric care, stain avoidance, and longtime shirt maintenance.

There's a universally familiar struggle: pulling out a favorite shirt, only to find it a crumpled mess. In a world where first impressions count, a perfectly ironed shirt isn't just a nicety; it’s a statement of professionalism, attention to detail, and personal confidence. It can elevate your entire appearance, making you feel sharp and put-together, and even extend the life of your garments by relaxing fabric fibers correctly.
As Mason Ellis Grant, a seasoned wardrobe consultant with over 15 years of experience perfecting professional attire, shares, "Mastering the art of ironing is a fundamental skill that transforms not just your clothes, but how you feel wearing them. It’s an investment in your personal brand." This comprehensive guide, crafted with Mason's insights, will walk you through a foolproof, step-by-step process for how to iron a shirt, ensuring you achieve a crisp, wrinkle-free finish every single time. Get ready to banish those wrinkles and embrace a polished look.
A freshly ironed shirt isn't merely about aesthetic appeal. It communicates care, respect, and a readiness for any occasion, be it a crucial business meeting or a casual weekend brunch.
Beyond making you look good, proper ironing offers several tangible benefits. It enhances professionalism and personal presentation, creating a lasting positive impression. Furthermore, by correctly relaxing fabric fibers, regular and gentle ironing can actually extend the garment's life, preventing premature wear and tear. Ultimately, slipping into a perfectly ironed shirt provides an instant boost to your confidence, setting a positive tone for your day.

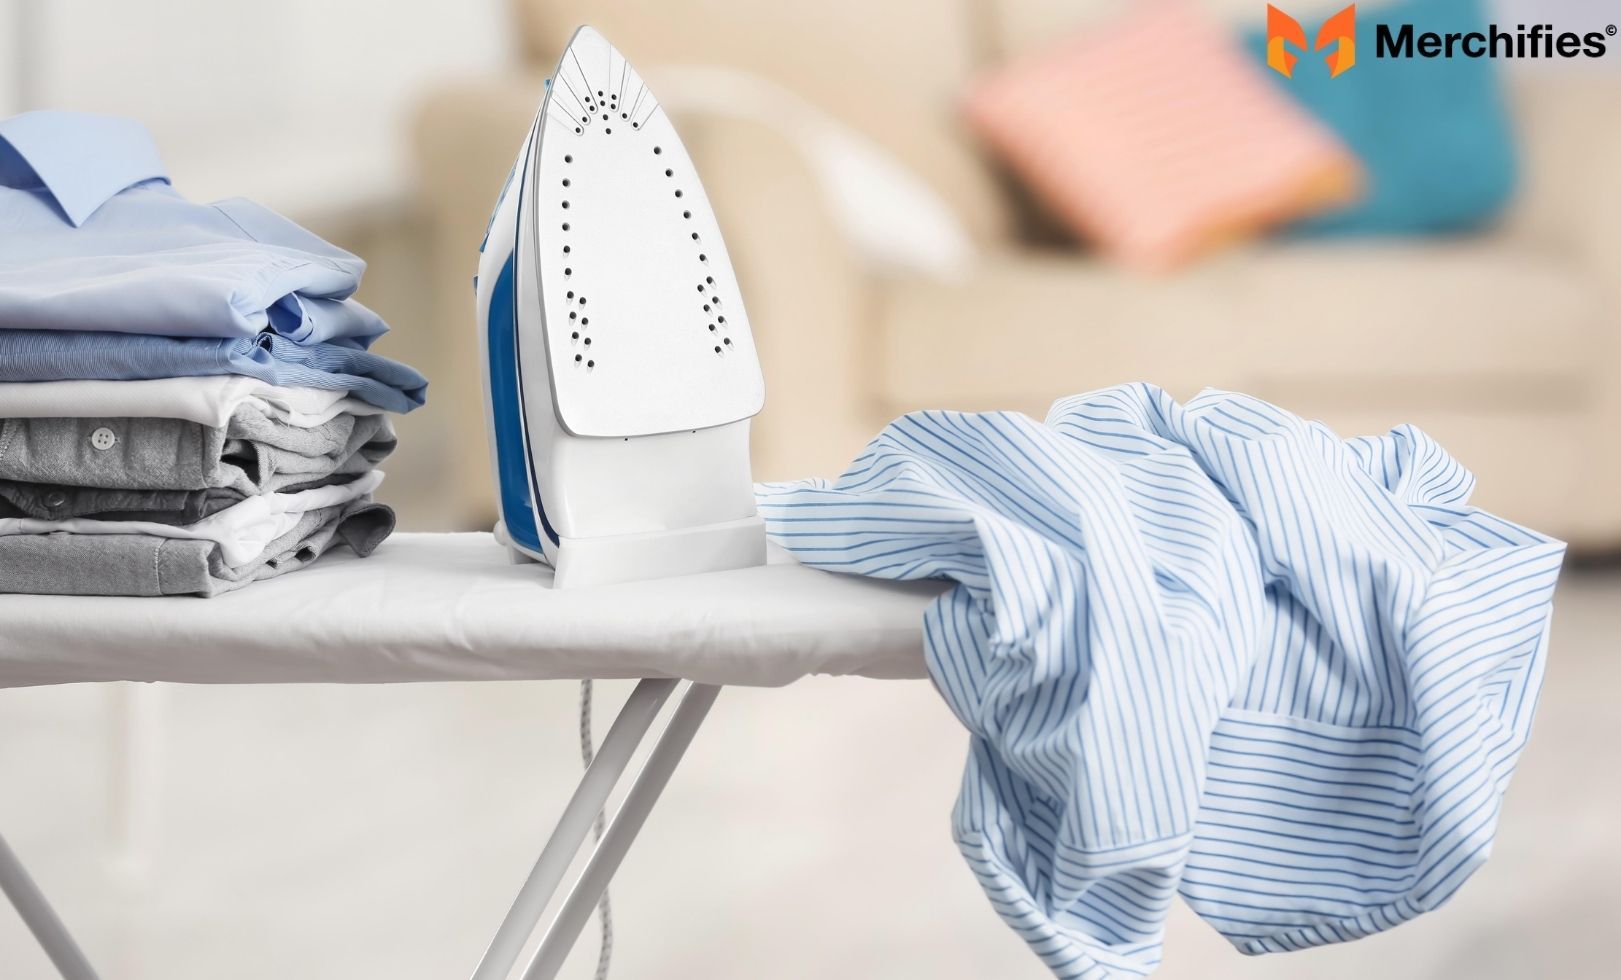
Before you even plug in your iron, having the right setup and performing a few crucial preparatory steps will make all the difference in achieving that desired wrinkle-free shirt.
The foundation of successful ironing lies in your tools.
Preparation is key to efficiency and preventing damage.
Once your tools are ready and your shirt is prepped, you can begin the methodical process of how to iron a shirt.
Proper iron setup ensures efficient and safe ironing.
For the main body of the shirt, follow this sequence to maintain crispness and avoid re-wrinkling. Specific techniques for collars and sleeves are detailed in dedicated sections below.
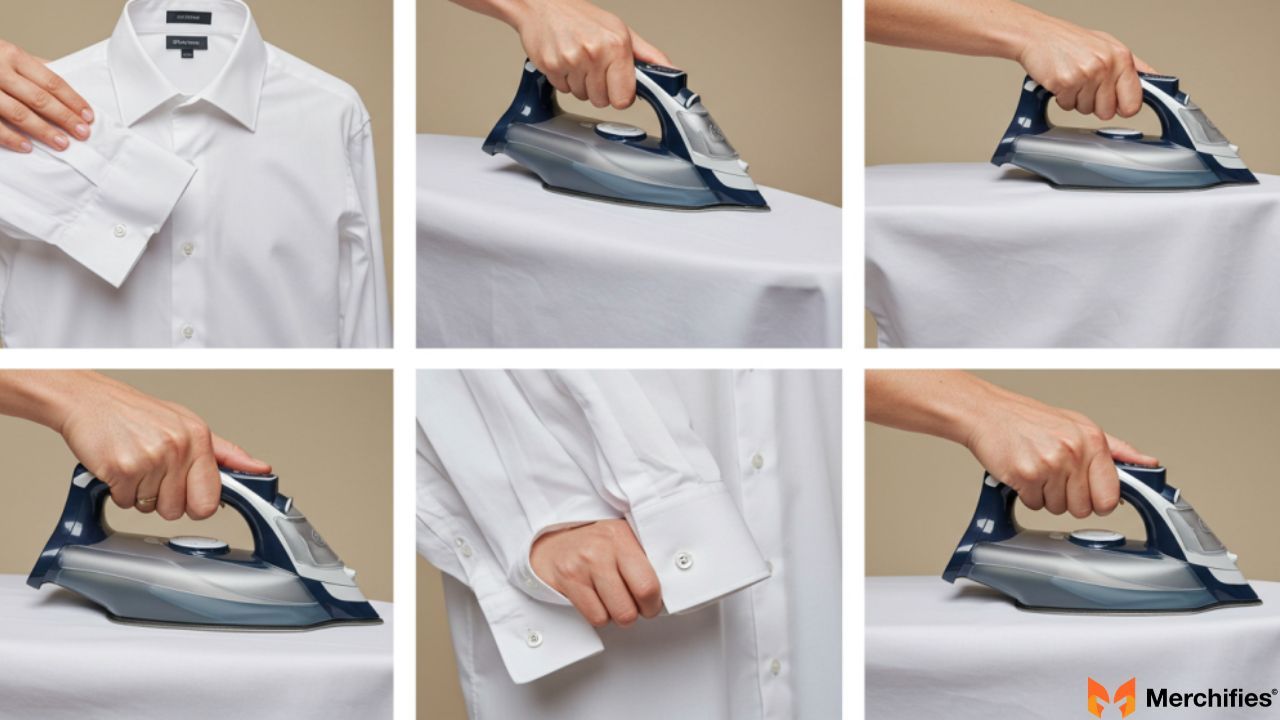
A crisp collar is the hallmark of a well-ironed shirt. For how to iron shirt collar, precise technique is key. Start by turning the collar up. First, iron the underside of the collar, working from the tips towards the center. This helps flatten any creases. Then, flip the shirt over and iron the top side of the collar using the same motion. Ensure the edges are sharp and smooth, pressing firmly but not lingering to prevent scorching.
The sleeves can often be the trickiest part. For how to iron shirt sleeves without creating unwanted creases, lay one sleeve flat along its seam, ensuring the fabric is perfectly smooth and flat with no wrinkles underneath. Iron from the cuff up towards the shoulder. You have two options: either carefully avoid creating a crease along the top edge of the sleeve for a softer look or, if you prefer a sharp crease, align the top and bottom edges precisely and iron a single, crisp line. Once one side is done, flip the sleeve over and repeat.
Different fabrics demand different approaches to ironing techniques. Always refer to the care label first.
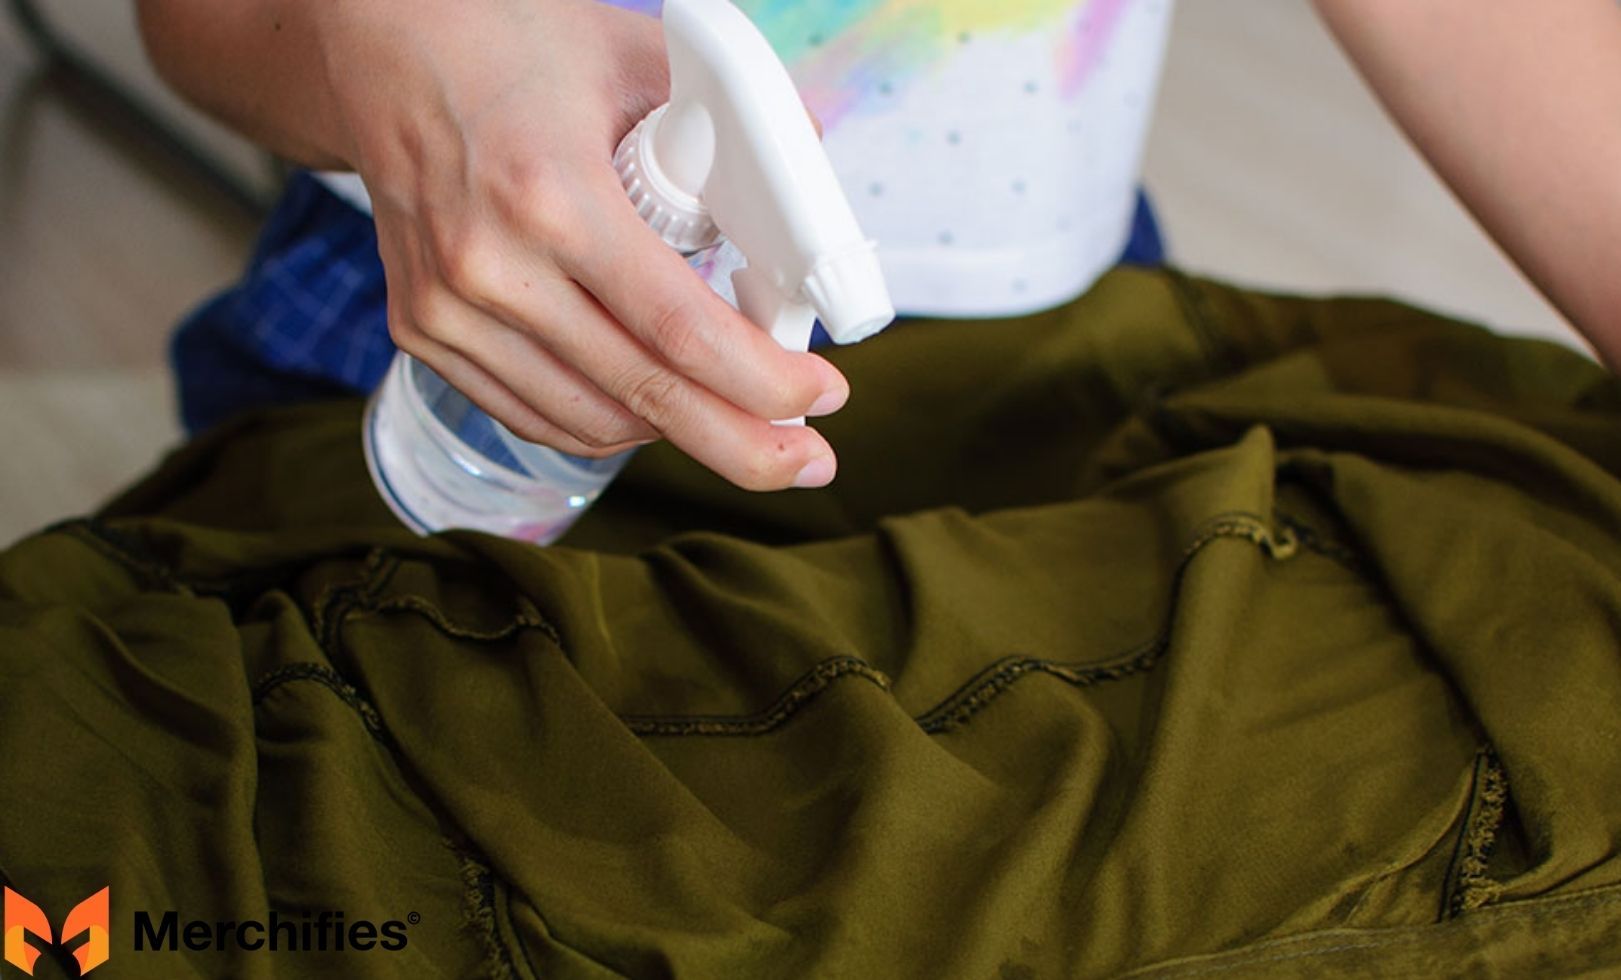
Cotton is robust and forgiving. Use high heat and plenty of steam. It irons best when slightly damp, as the moisture helps relax the fibers for effective wrinkle removal. If it's too dry, use your spray bottle liberally.
Linen is known for its beautiful texture but also for its stubborn wrinkles. Use very high heat and make sure the shirt is quite damp. Embrace its natural, slightly crinkled texture; don't expect a perfectly smooth finish like cotton.
Synthetic fabrics are heat-sensitive. Use low to medium heat, and often a dry iron or minimal steam. Always use a press cloth to prevent melting or shine, which can be permanent on these materials.
These require the gentlest touch. Use very low heat, iron the shirt inside out, and always use a press cloth. It’s best to iron these while slightly damp or even completely dry, as excessive steam can leave water marks.
For sturdy materials like denim, use medium-high heat with lots of steam. Iron inside out to prevent any potential shine on the fabric's surface.

Even with the right technique, some challenges can arise. Here's Mason Ellis Grant's advice for those tricky situations.
If a wrinkle persists, re-dampen the area with your spray bottle, apply more steam, and use firm but gentle pressure with your iron.
The primary culprits are too high heat, lingering in one spot, or ironing directly on dark/delicate fabrics. Use the correct temperature, keep the iron moving, and always use a press cloth when in doubt.
As mentioned, use the iron's tip to navigate around buttons. For pockets and embellishments, iron around them or, if possible, iron from the inside out to avoid flattening or damaging them.

Avoid these pitfalls to save your shirts and your sanity.
Sometimes, an iron isn't available, or you need a fast solution. Knowing how to iron a shirt without an iron can be a lifesaver.
For a quick refresh, especially for slightly wrinkled garments, knowing how to iron a shirt in dryer can save time. Toss the wrinkled shirt into a dryer with a damp (not dripping wet) washcloth or a few ice cubes. Run the dryer on a medium-hot setting for 10-15 minutes. The steam generated from the damp cloth or melting ice will help release wrinkles. Remove the shirt immediately and hang it to prevent new creases from forming. This method is excellent for refreshing clothes that have been stored for a while.
Your work isn't done after the iron is off. Proper post-ironing care ensures your efforts last.
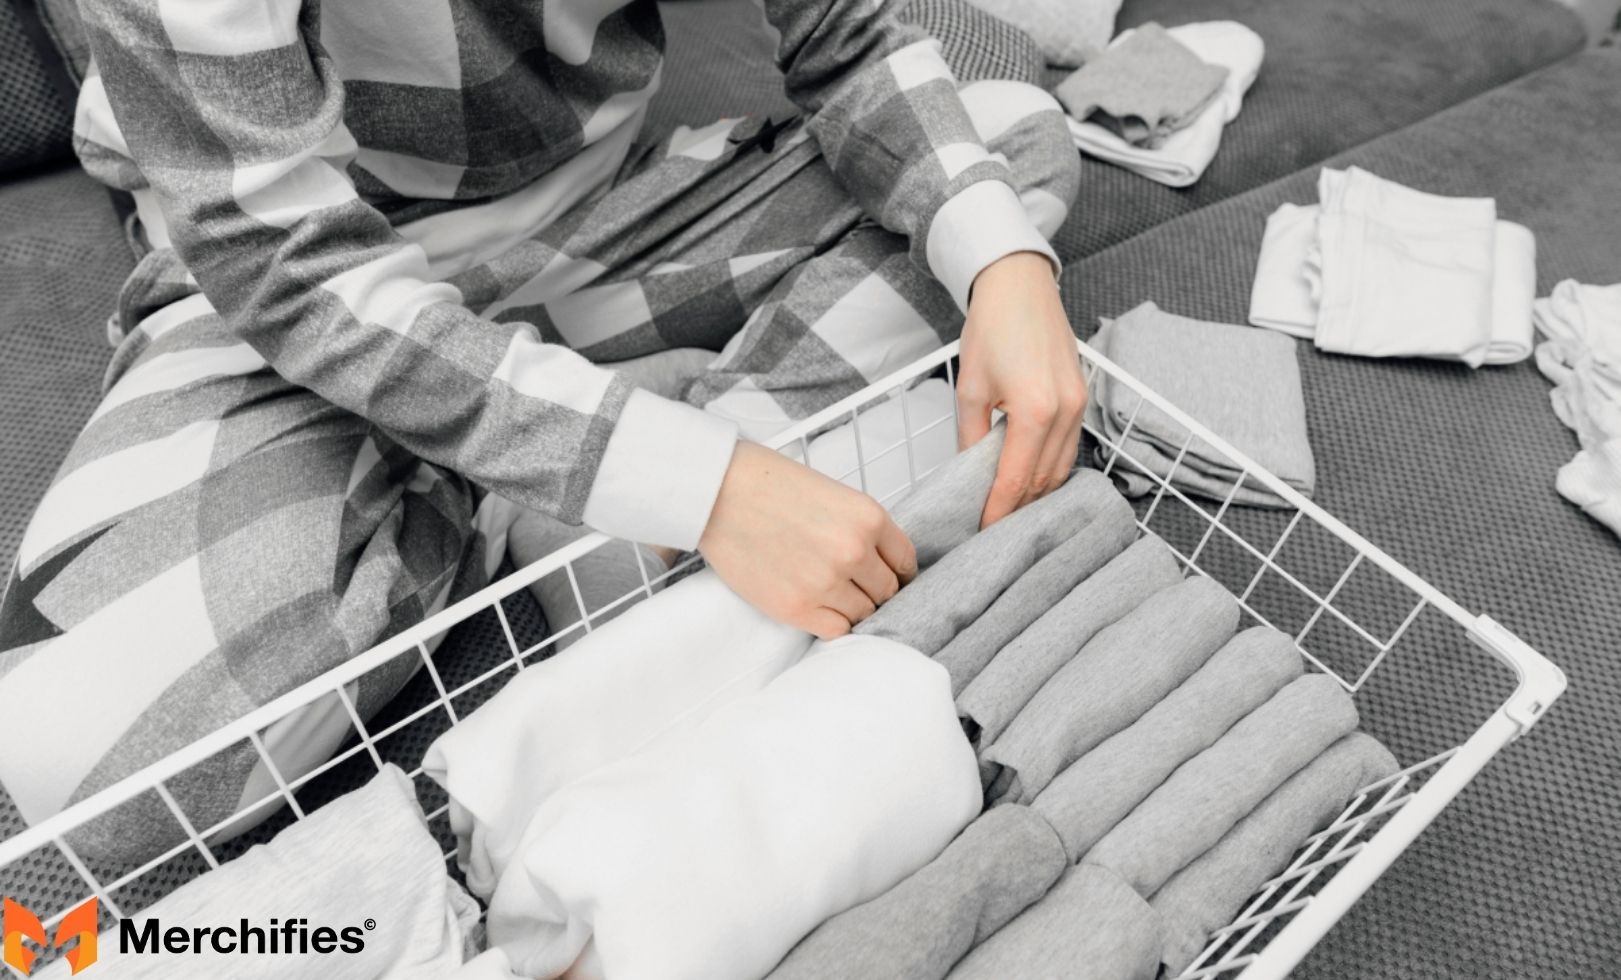
Achieving a perfectly ironed, wrinkle-free shirt might seem daunting at first, but with the right tools, preparation, and techniques, it quickly becomes a straightforward task. By following this comprehensive guide, you'll not only master how to iron a shirt like a pro but also prolong the life of your garments and elevate your personal presentation.
As Mason Ellis Grant reminds us, "A well-ironed shirt isn't just about looking good; it's about feeling confident and respecting your clothes. It’s a small effort with significant returns." Practice makes perfect, so don't be discouraged if your first attempts aren't flawless. With each shirt, you'll gain confidence and efficiency, ensuring you always step out looking your best.
-d4c38c342cdf20ca.jpeg)


-b555fcc6b204c456.jpeg)


