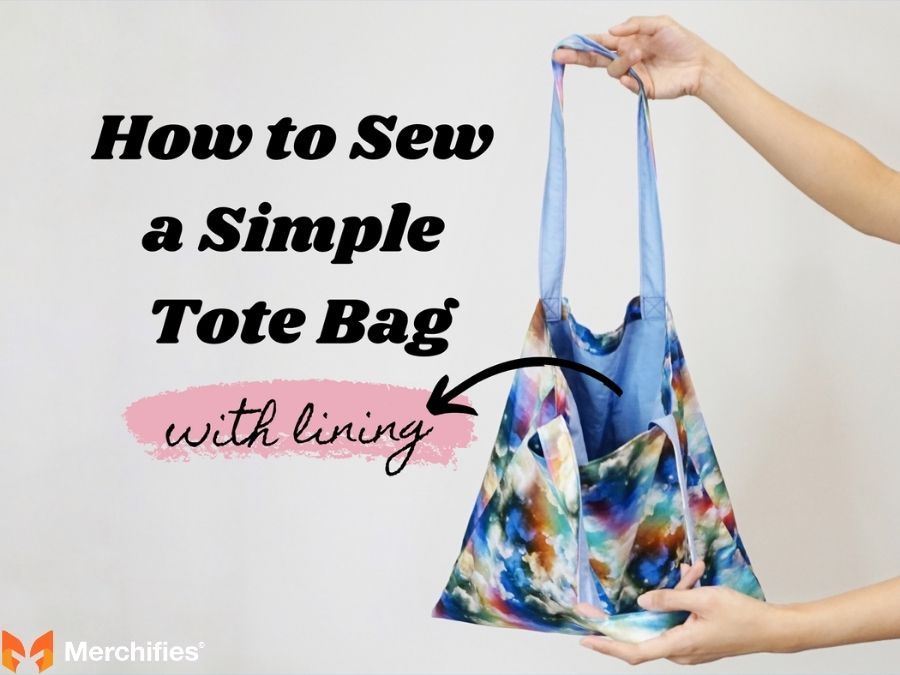
How to Sew a Tote Bag with Lining: The Ultimate Step-by-Step DIY Tutorial
This full sewing tutorial teaches you step-by-step how to sew a beautifully finished tote bag with a lining — even if you’re a beginner. You’ll learn how to cut your fabric, stitch clean seams, attach sturdy straps, add optional pockets, and assemble the outer layer with the interior lining for a professional, durable result. Perfect for groceries, books, travel, gifts, or everyday use, this guide helps you create a functional and stylish tote bag with a clean, polished inside — no raw edges!
Blog Post Contents
There's something incredibly satisfying about creating a functional, beautiful item with your own hands. And when it comes to practical sewing projects, a lined tote bag stands out. Not only are they incredibly useful for groceries, books, beach trips, or everyday essentials, but adding a lining elevates them from simple fabric pouches to professional-looking accessories. As a seasoned crafter with years of hands-on experience in textile arts, Mason Ellis Grant knows the joy and utility a well-made tote can bring, and is excited to share the journey of how to make tote bag with lining.
What is a Lined Tote Bag?
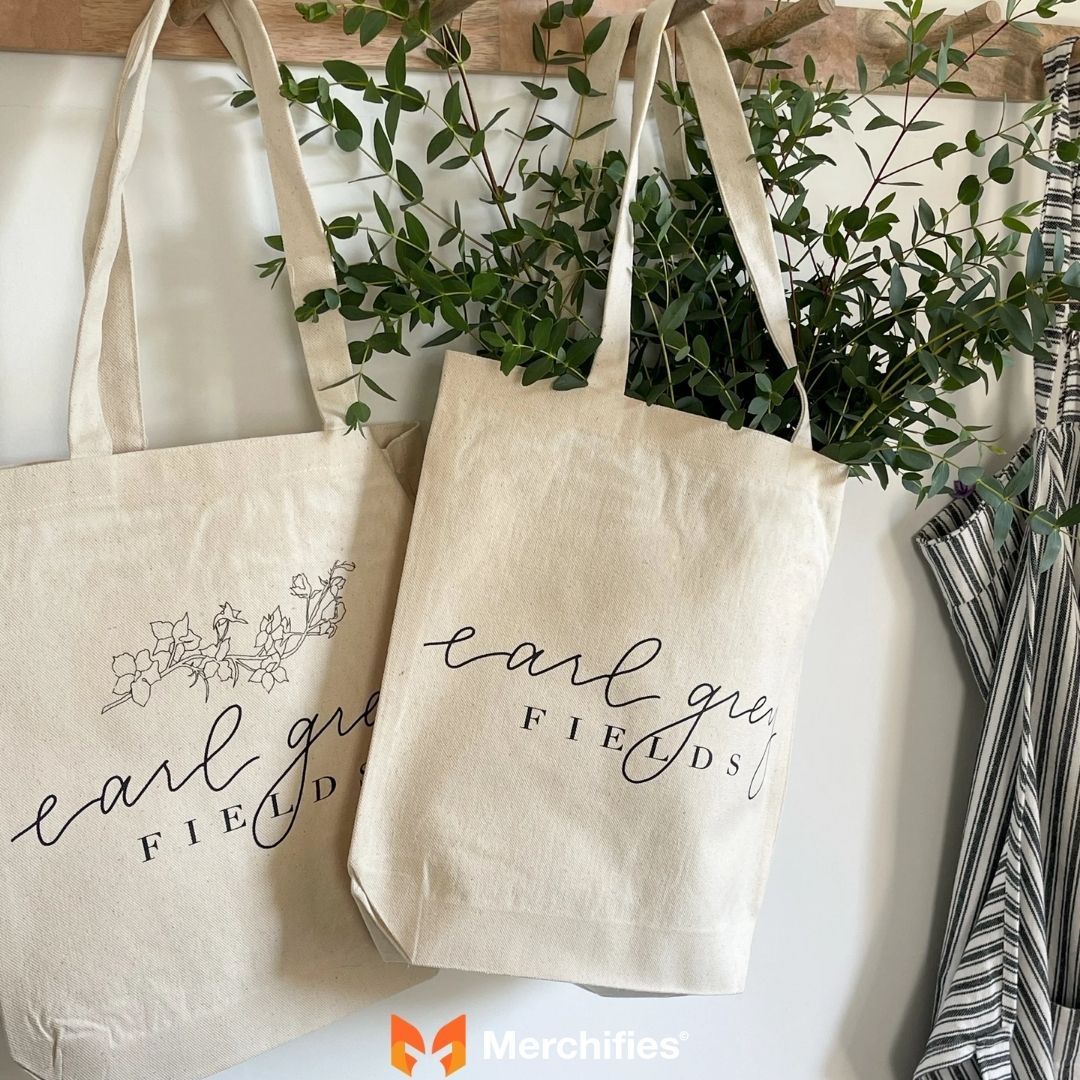
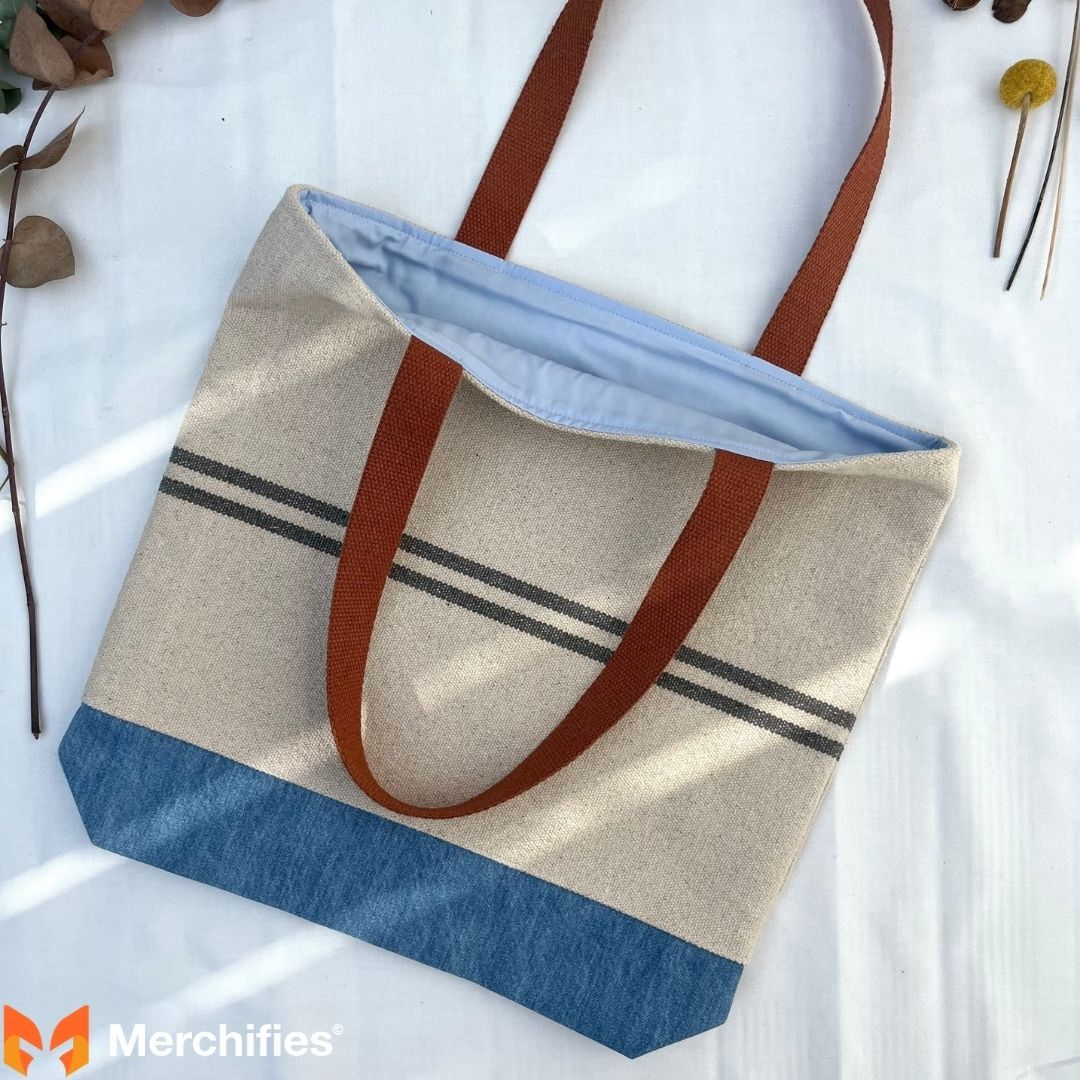
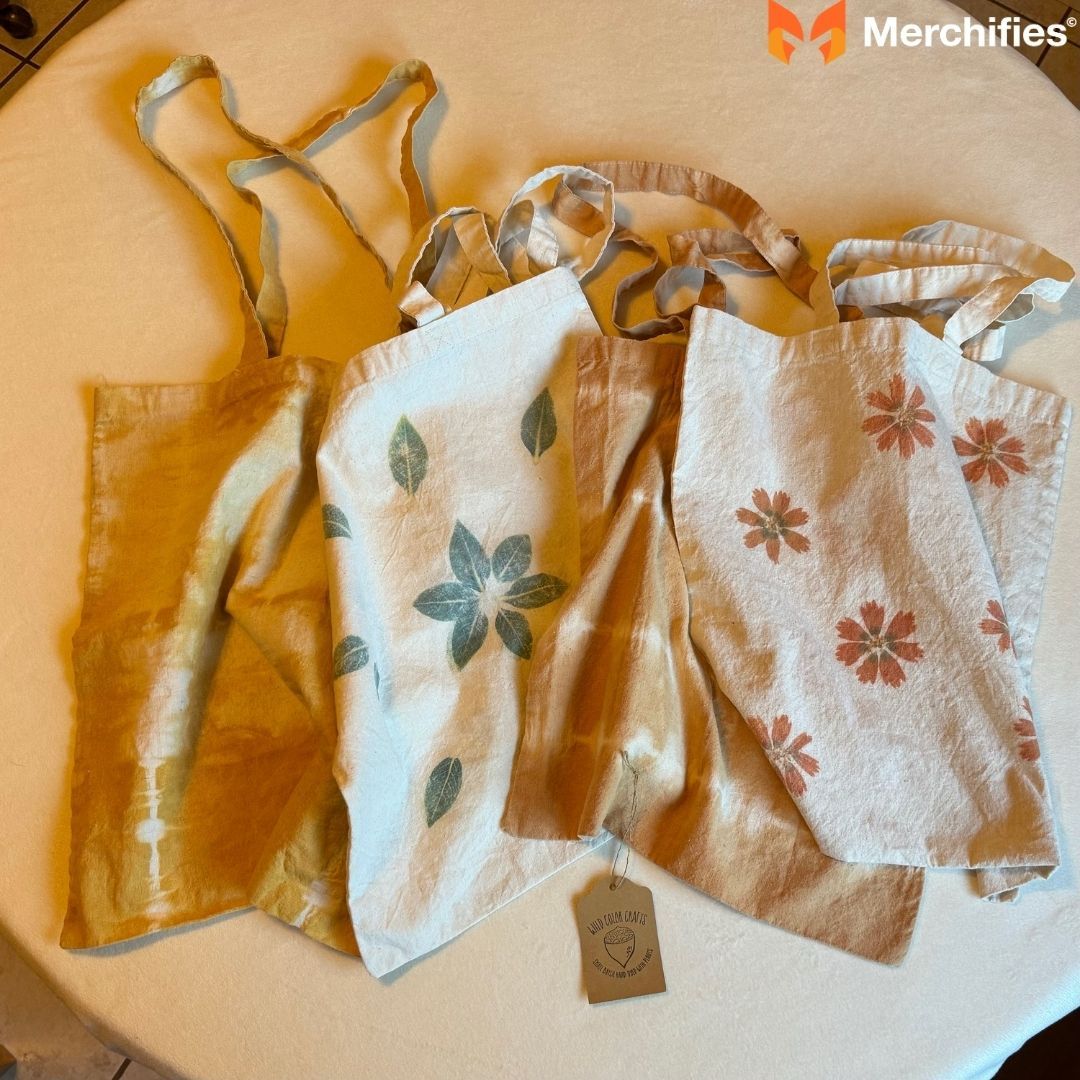
Simply put, a lined tote bag features an interior fabric layer separate from its outer shell. Unlike a basic unlined bag where seams are visible and the inside can look a bit unfinished, a lined tote bag boasts a neat, enclosed interior. This inner layer, often in a contrasting or complementary fabric, provides a polished look and a smooth finish.
Benefits of a Lined Tote Bag:
The advantages of learning how to make tote bag with lining are numerous. First, the extra layer significantly increases its durability and longevity, meaning your bag can withstand more wear and tear. It also gives your tote a much more professional, polished finish, making it look store-bought rather than handmade (unless you tell them!). The lining effectively protects contents from potential snags and hides all raw seams, creating a clean interior. Furthermore, a lined bag easily allows for internal pockets and customization, adding to its functionality. Whether you're making it for personal use or as a thoughtful gift, a DIY tote bag with lining is always a fantastic project.
What You'll Learn in This Guide:
In this comprehensive fabric tote bag tutorial, you'll embark on a clear, step-by-step journey to create your very own custom tote. We'll cover everything from selecting the right materials to mastering essential sewing techniques, ensuring you can sew a tote bag with lining from start to finish. This guide emphasizes easy-to-follow instructions, making it perfect for all skill levels, even if you're a beginner looking for easy tote bag with lining instructions. Get ready to transform fabric into a functional masterpiece!
What is a Lined Tote Bag
Before You Start: Gathering Your Materials & Tools
Before diving into the sewing process, preparation is key. Having all your materials and tools at hand will make your experience smooth and enjoyable. This section ensures you're fully equipped to sew a tote bag with lining.
Essential Fabric Choices for Your Lined Tote Bag:
Selecting the right fabrics is crucial for the look, feel, and durability of your finished tote.
Outer Fabric: For the main body of your bag, choose materials that offer durability and structure. Excellent choices include canvas, denim, duck cloth, or home decor fabric. These fabrics provide the necessary body to help your tote stand up on its own.
Lining Fabric: The lining fabric can be lighter and smoother. Quilting cotton, broadcloth, or a lightweight canvas are ideal. You might opt for a fabric with a fun print or a contrasting color to add a pop of personality when you peek inside your bag.
Interfacing (Optional but Recommended): For added structure and body, especially if your outer fabric is on the lighter side, interfacing is a game-changer. Fusible fleece adds a soft, padded feel, while Pellon SF101 (Shape-Flex) provides crispness without bulk. Fuse it to your outer fabric pieces for a sturdier bag.
Strap Fabric: You can use matching outer fabric for a cohesive look, or opt for sturdy webbing for a more utilitarian feel.
Tip: Always consider pre-washing your fabrics! This helps prevent shrinking and ensures your finished bag maintains its shape after future washes.
Essential Fabric Choices for Your Lined Tote Bag
Key Sewing Tools You'll Need:
Having the right tools makes all the difference when you sew a tote bag with lining.
Sewing machine with basic stitches: A standard machine is all you need.
Matching thread: Polyester thread is recommended for its strength and durability.
Fabric scissors or rotary cutter and mat: For precise fabric cutting.
Sewing pins or fabric clips: To hold fabric layers together.
Measuring tape or ruler: Essential for accurate measurements.
Iron and ironing board: Pressing seams correctly is vital for a professional finish.
Seam ripper: A lifesaver for correcting mistakes (we all make them!).
Fabric marker or chalk: For marking cutting lines or sewing points.
Essential Fabric Choices for Your Lined Tote Bag (Optional but Highly Recommended for Beginners):
While you can certainly draft your own dimensions, using a tote bag pattern with lining can save you time and ensure accurate sizing, especially if this is your first time learning how to make tote bag with lining. If we were providing a pattern, this is where it would be linked, offering a clear guide for fabric pieces and dimensions. For those wanting to draft their own, starting with a simple rectangle for the main body is a great approach.
Essential Fabric Choices for Your Lined Tote Bag (Optional but Highly Recommended for Beginners)
Step-by-Step Guide: How to Make Your Lined Tote Bag
Now for the exciting part! This comprehensive section will walk you through the entire process of how to make tote bag with lining, providing detailed instructions for each crucial step. Get ready to transform your chosen fabrics into a functional and stylish accessory.
Step 1: Prepare & Cut Your Fabric Pieces
The foundation of any good sewing project starts with precise cutting.
Determine desired tote dimensions (or use a pattern): For a versatile medium-sized tote, a common starting point is to cut two outer fabric pieces and two lining fabric pieces, each measuring about 18 inches wide by 16 inches tall. For straps, two pieces measuring 2 inches wide by 24-28 inches long are generally suitable.
Cut outer fabric (2 pieces), lining fabric (2 pieces), and strap fabric (2 pieces): Use your rotary cutter and mat or fabric scissors for clean, straight edges. Accuracy here will simplify later steps.
Apply fusible interfacing to outer fabric pieces (if using): Following the manufacturer's instructions, iron the interfacing to the wrong side of your outer bag pieces. This step adds significant body and stability to your bag, making it look much more professional.
Step 2: Assemble the Outer Bag
This is where your tote bag starts to take shape!
Step-by-Step Guide How to Make Your Lined Tote Bag
Place outer fabric pieces right sides together: Align the edges carefully.
Sew side seams and bottom seam (using a specified seam allowance): A standard 1/2-inch (1.25 cm) seam allowance is a good choice for bag making. Stitch down one side, across the bottom, and up the other side. Remember to backstitch at the beginning and end of your seams for reinforcement.
Creating Boxed Corners: This technique gives your bag a flat, structured bottom.
With the bag still inside out, flatten each bottom corner so the side seam aligns with the bottom seam, forming a triangle.
Measure 1.5 to 2 inches (4-5 cm) from the point of the triangle and draw a straight line perpendicular to the seam. This will be your sewing line. The deeper the cut-out, the wider the bottom of your bag will be.
Sew along this line. Trim the excess fabric, leaving about a 1/2-inch seam allowance.
Press seams open: Pressing after each sewing step is crucial for a crisp, professional finish. It helps your bag lie flat and look tidy.
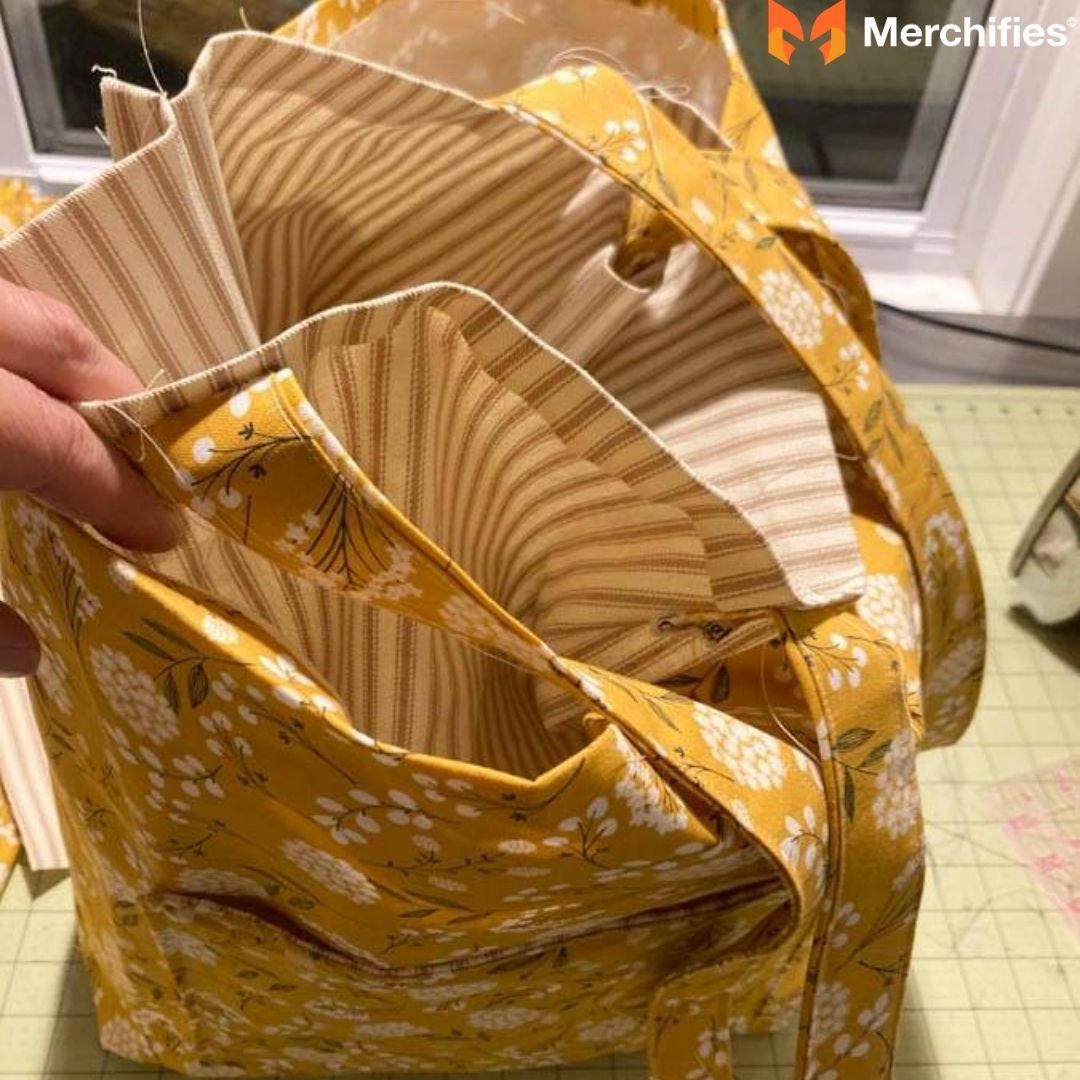
Step 3: Construct the Lining Bag (The Secret to a Clean Finish!)
The lining bag is assembled almost identically to the outer bag, with one vital difference. This is what truly helps you sew a tote bag with lining seamlessly.
Repeat the exact same process as the outer bag: Place lining fabric pieces right sides together. Sew the side seams and bottom seam, using the same seam allowance. Create your boxed corners in the same way you did for the outer bag.
Crucial Difference: Leave a 4-6 inch opening along the bottom seam of the lining bag for turning: When sewing the bottom seam of your lining, start sewing about 2 inches from one edge, sew across for 4-6 inches, then stop. Skip a 4-6 inch gap, and then continue sewing to the other edge. This opening is absolutely essential for turning your entire bag right side out later. Reinforce the beginning and end of the opening with backstitching to prevent tearing.
Press seams open: Just like with the outer bag, press all seams open for a neat finish.
Step 4: Prepare and Attach Your Straps
Strong, well-attached straps are essential for a functional tote bag.
Fold and press strap fabric pieces: If using fabric straps, fold each piece in half lengthwise, right sides together, and press. Sew along the long raw edge to create a tube. Turn the tube right side out (a loop turner or safety pin can help here) and press flat, ensuring the seam is along one edge or centered. Alternatively, fold both long raw edges inwards to meet in the middle, press, then fold the entire strip in half again and press. Topstitch along both long edges.
Sew along the open edge to create two finished straps: If using webbing, simply cut to desired length.
Topstitch along both long edges for a professional look and added strength: This step is key for durable, professional-looking straps.
Attach straps to the top edge of the outer bag only: Turn your outer bag right side out. Place each strap onto the top edge of the outer bag, aligning the raw ends of the strap with the raw edge of the bag. Position them evenly – a good guide is usually 3-4 inches in from each side seam, or aligned with the outer edges of your boxed corners. Make sure the straps are not twisted! Baste the straps in place within the seam allowance (about 1/4 inch from the top edge). This temporarily holds them, preventing shifting in the next step.
Prepare and Attach Your Straps
Step 5: Join the Outer Bag and Lining Together
This is where the magic happens and your lined tote bag instructions really come together.
Turn the outer bag right side out, with straps secured.
Keep the lining bag wrong side out.
Insert the outer bag (with straps) into the lining bag, ensuring right sides of both bags are facing each other: The outer bag should be nestled inside the lining bag, with their raw top edges perfectly aligned. The right side of your outer bag fabric will be touching the right side of your lining fabric.
Align top edges and side seams: Carefully match the side seams of the outer bag with the side seams of the lining bag. This ensures a symmetrical, professional finish. Pin all around the top opening generously.
Sew all around the top edge, securing both bags together: Use the same seam allowance as before (e.g., 1/2 inch). Go slowly, ensuring you catch all layers of fabric and the basted straps. Reinforce the strap attachment points with an extra line of stitching if desired.
Step 6: The Grand Reveal: Turning Right Side Out & Finishing Touches
You're almost there! This final step brings your creation to life.
Carefully pull the entire tote bag right side out through the opening left in the lining: This is the "grand reveal" moment! Gently pull the outer bag through the gap you left in the lining's bottom seam.
Gently push out corners: Use a point turner or a blunt object (like a chopstick) to carefully push out all the corners of both the outer bag and the lining for crisp points.
Close the Lining Opening:
Hand stitch the opening closed with an invisible ladder stitch: This creates a clean, almost invisible closure for your lining.
Alternatively, machine stitch close to the edge: For a quicker finish, you can topstitch the opening closed very close to the edge.
Push the lining down into the outer bag: Once the opening is closed, tuck the lining neatly inside the outer bag. Smooth everything out.
Topstitch the Top Edge: This is a crucial finishing touch.
Press the top edge of the bag well, ensuring the lining is completely tucked inside and no lining fabric peeks out.
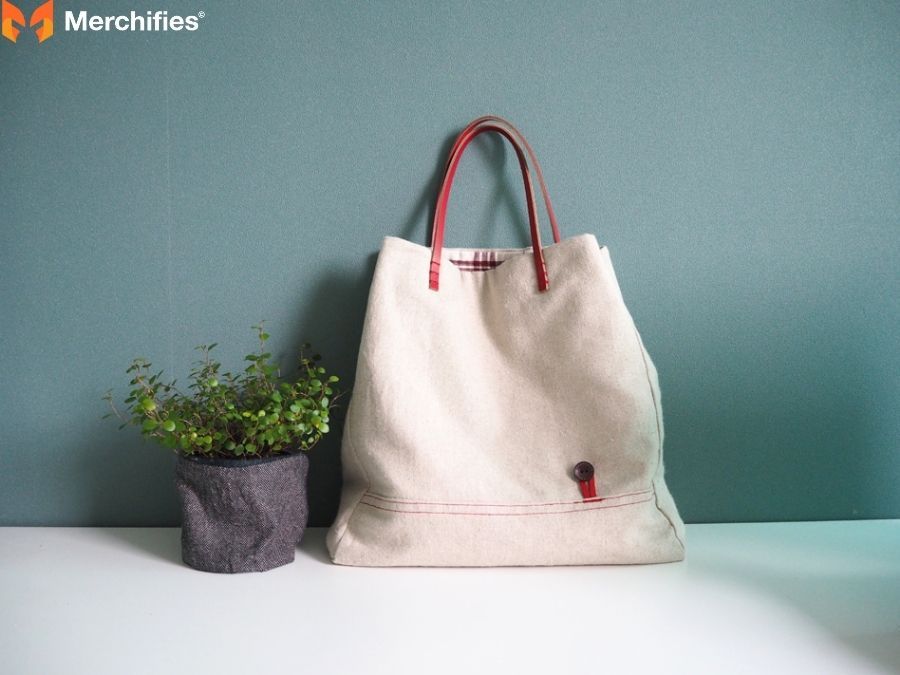
Topstitch 1/8" and 1/4" (or desired spacing) from the top edge: This adds a beautiful, crisp finish to the bag's opening, reinforces the straps further, and helps the bag hold its shape. Mason Ellis Grant, through years of sewing, has found that good topstitching truly makes a handmade bag look high-quality.
Create a professional-looking lined tote bag with this complete DIY tutorial.
Tips for Customization & Advanced Lined Tote Bag Designs
Once you've mastered the basic how to make tote bag with lining tutorial, the possibilities for customization are endless! Elevate your DIY tote bag with lining with these creative ideas.
Adding Pockets (Internal & External):
Pockets are incredibly practical and easy to add.
Slip pockets (Internal): These are simple rectangular pockets sewn onto the lining fabric before you sew the lining side seams. Just fold the top edge, hem, then fold and press the other three edges under. Position on a lining piece and topstitch three sides.
Zipper pockets (Internal): A more secure option, zipper pockets can also be added to the lining fabric before assembling the lining bag. There are many tutorials specifically for zipper pockets on a lining panel.
External patch pockets: These are sewn onto the outer fabric pieces before assembling the outer bag. Hem the top edge, then press under the other three raw edges. Position and topstitch onto the outer fabric.
Incorporating Closures:
Keep your contents secure with a closure.
Magnetic snaps: These are relatively easy to install. They consist of two parts that clip together, and you typically attach them to the inside top edge of your outer bag or lining.
Toggle closures: Add a decorative touch with a loop and button/toggle.
Zipper closure (more advanced): Adding a full zipper closure at the top of your bag is a more complex undertaking, usually involving a separate "zipper panel" sewn between the outer bag and the lining. It provides maximum security.
Embellishments & Personalization:
Make your tote truly unique.
Appliqué, embroidery, fabric paint: Add designs to your outer fabric before assembly.
Adding D-rings for keychains or strap clips: Insert small fabric tabs with D-rings into the side seams (or attached to the straps) during assembly.
Tips for Customization & Advanced Lined Tote Bag Designs
Different Tote Bag Shapes & Sizes:
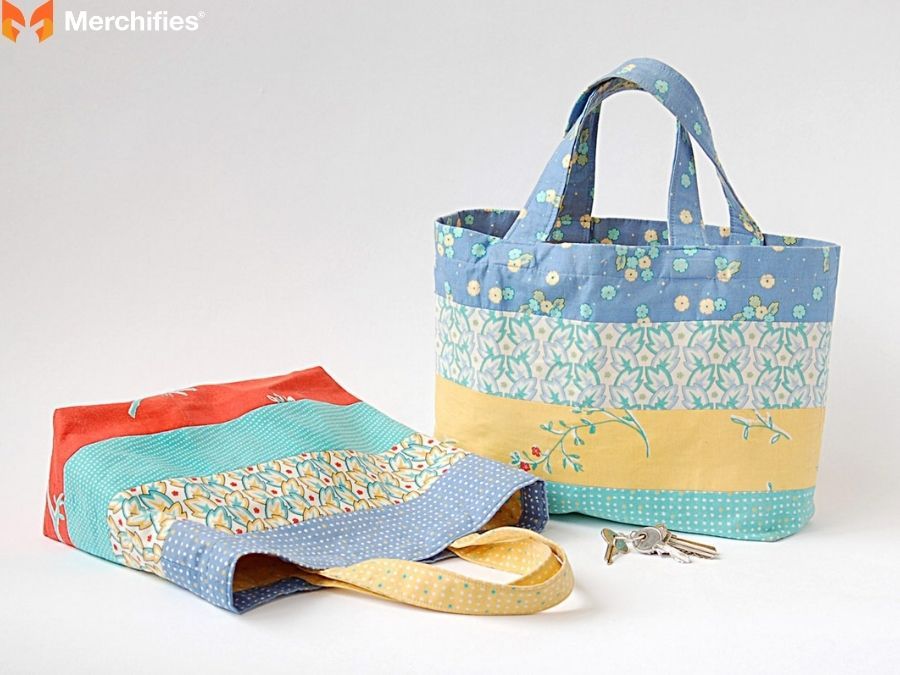
Experiment with various forms to create unique bags.
Ideas for variations include making your bag wider, taller, or even a trapezoid shape by adjusting your initial fabric cuts. Think about what you'll carry and design accordingly! Your DIY tote bag with lining can be as unique as you are.
Conclusion: Your Beautiful, Handmade Lined Tote Bag Awaits!
Congratulations! You've navigated the ins and outs of how to make tote bag with lining, from selecting your fabrics to mastering the final topstitch. There's immense satisfaction in taking raw materials and transforming them into a beautiful, functional item that reflects your personal style.
This comprehensive guide, brought to you by Mason Ellis Grant, is designed to empower you with the skills and confidence to create not just one, but many stunning handmade tote bags. Each stitch is a testament to your creativity and patience, resulting in a durable and polished accessory perfect for any occasion.
Now that you've created your own DIY tote bag with lining, what will you carry in it? We'd love to hear about your creations and see your unique designs. Feel free to share your experiences and ask any further questions in the comments below – happy sewing!
-da0801079a650a2e.jpeg)

-d4c38c342cdf20ca.jpeg)


-b555fcc6b204c456.jpeg)


