How to Create a Mug: Your Ultimate Guide to DIY Custom Mugs
This hands-on guide teaches you how to create your own custom mug using different DIY techniques such as heat transfer paper, sublimation, permanent vinyl, ceramic markers, and more. Whether you want to make a personalized gift, launch a small business, or simply try a fun creative project, you’ll learn the best materials, tools, design tips, and step-by-step methods for long-lasting and professional-looking results.
Blog Post Contents
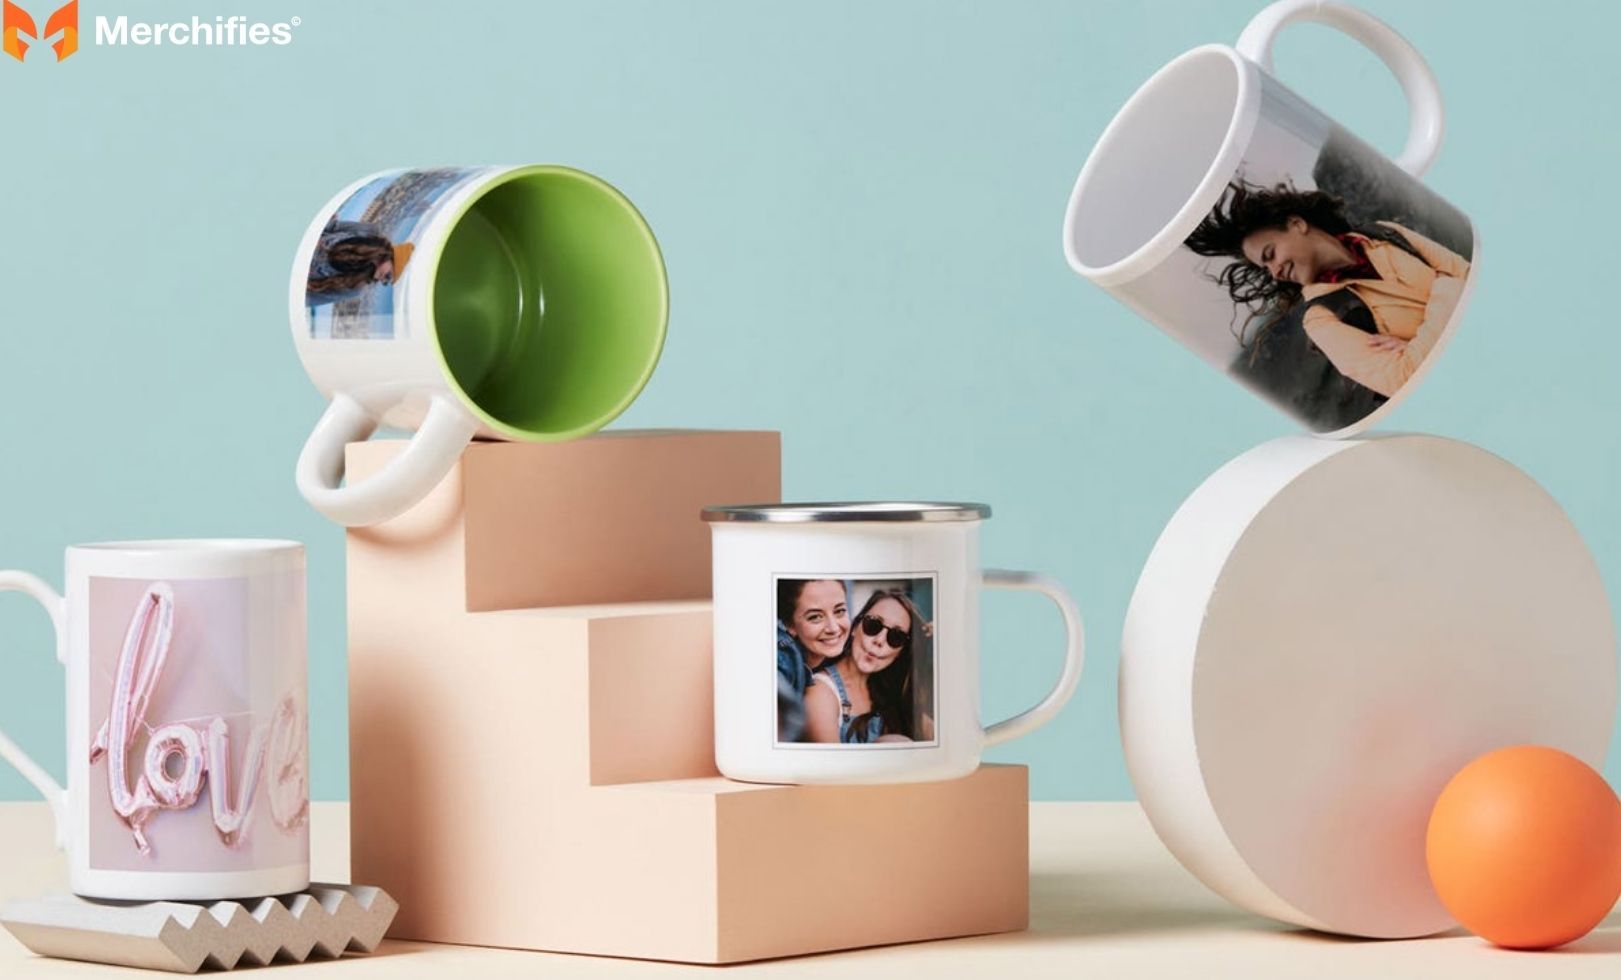
There's a special kind of joy that comes from sipping your morning coffee from a mug you've created with your own hands. Whether it's the perfect personalized gift for a loved one, a unique addition to your kitchen, or simply a rewarding creative outlet, learning how to create a mug opens up a world of possibilities. It’s an opportunity to infuse personality into everyday objects, transforming a blank canvas into a cherished item.
This comprehensive guide will walk you through various popular methods for making custom mugs, from traditional pottery to modern crafting techniques. We'll cover essential materials, provide clear step-by-step instructions, and share pro tips to help you succeed. As an experienced crafter who has explored countless DIY projects, Mason Ellis Grant knows firsthand the satisfaction of bringing a custom vision to life. Mason emphasizes that "the beauty of mug making is its accessibility; there's a method for every skill level and budget." So, whether you're a seasoned artisan or a complete beginner, prepare to unleash your creativity and discover how to create a mug that truly speaks to you.
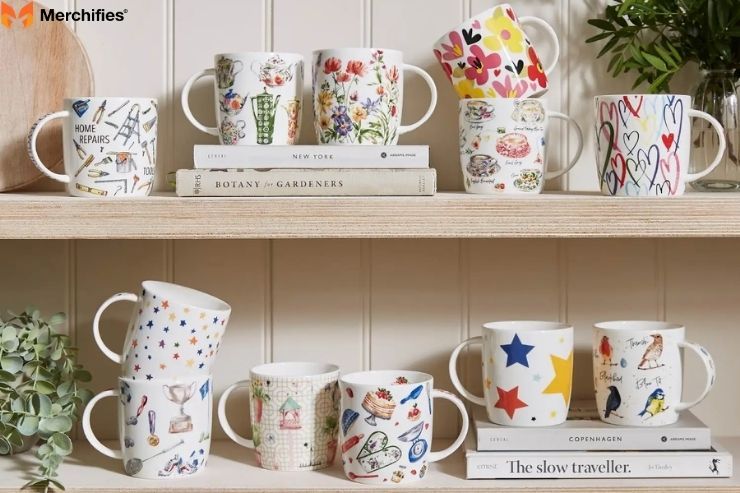
Choosing Your Mug-Making Method: An Overview
Before you dive into the exciting process of how to create a mug, it's helpful to understand the different approaches available. Each method offers unique benefits and challenges, allowing you to choose the best fit for your skill level, budget, and desired outcome.
Pottery/Ceramics: This traditional method involves shaping clay, then firing and glazing it. It's highly artistic and results in durable, unique pieces, but it requires more specialized skills, equipment (like a kiln), and time.
Sublimation: Perfect for transferring intricate designs, photos, and vibrant full-color artwork onto specially coated mug blanks. It offers a professional, long-lasting finish but requires specific sublimation equipment like a printer, ink, and a heat press.
Vinyl (Cricut/Silhouette): This is a popular and relatively easy method using a cutting machine to apply permanent adhesive vinyl designs to blank mugs. It's versatile for text and graphics and offers good durability, though care must be taken to prevent peeling.
Painting/Decorating Blanks: The most accessible entry point for many, this method involves using special paints or markers on plain ceramic or glass mugs. It offers immense creative freedom and typically only requires a household oven for curing, making it ideal for beginners.
Choosing Your Mug-Making Method An Overview
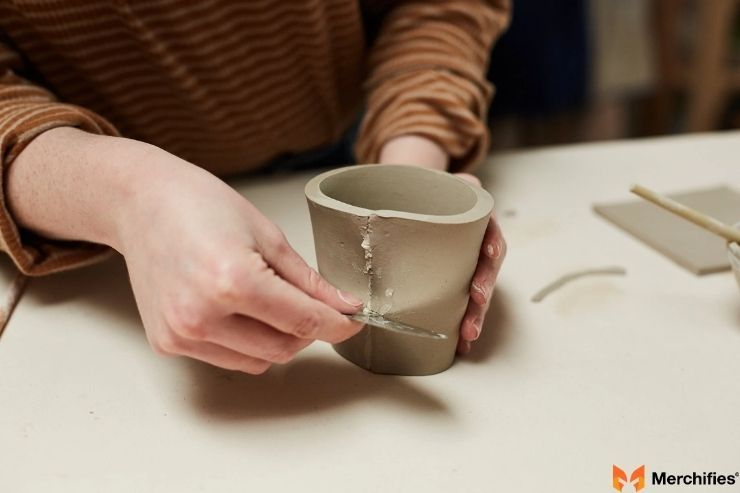
Method 1: How to Make a Ceramic Mug from Clay (Pottery)
For those who appreciate the tactile experience and timeless artistry, learning how to create a mug from clay is a deeply rewarding endeavor. This method taps into ancient traditions, allowing you to craft a truly bespoke item.
Materials & Tools You'll Need:
Clay: Choose a type suitable for functional ware, such as stoneware or earthenware.
Kiln access (often available at community studios, schools, or through private services).
Glazes, underglazes: For color and a protective, food-safe finish.
Basic pottery tools: Sponges, ribs, wire cutter, rolling pin, cutting tool, scoring tool, water container.
How to Make a Ceramic Mug from Clay (Pottery)
Step-by-Step Guide (Focus on a beginner-friendly Slab Method):
Prepare Clay: Begin by wedging your clay. This essential step removes air bubbles and equalizes moisture, making the clay more workable and preventing cracks during firing.
Roll Out Slab: Using a rolling pin and guide sticks for even thickness, roll your clay into a flat, consistent slab, about 1/4 to 3/8 inch thick.
Cut Body & Form Cylinder: Cut a rectangular piece from your slab (the size determines your mug's height and circumference). Gently form this rectangle into a cylinder, bringing the two short ends together to create a seam. Score and slip the edges thoroughly, then firmly press them together to create a strong joint.
Create & Attach Base: Place your cylinder on another piece of rolled-out slab and cut around the base, creating a perfectly sized circle. Score both the bottom edge of your cylinder and the top edge of your circular base. Apply slip to both scored areas, then firmly attach the cylinder to the base, ensuring a tight, secure seal.
Form & Attach Handle: Roll a small coil of clay or cut a strip from a slab. Shape it into a comfortable handle that complements your mug's size and form. Score and slip the two points on the mug body where the handle will attach, then firmly press the handle into place. Blend the attachment points smoothly.
Smooth & Refine: Use damp sponges, flexible ribs, and your fingers to smooth all seams, refine the mug's shape, and remove any imperfections. Pay attention to the lip for comfortable drinking.
Drying: Allow your mug to slow-dry completely. This "greenware" stage can take several days or even weeks, transitioning from leatherhard (still pliable) to bone dry (completely rigid and fragile). Uneven or rapid drying can lead to cracking.
Bisque Firing: Once bone dry, your mug is ready for its first firing in a kiln. This "bisque firing" transforms the clay into a durable, porous ceramic, preparing it for glazing.
Glaze Application: Apply glazes according to the manufacturer's instructions, typically by dipping, brushing, or pouring. Glazes add color, shine, and make the mug food-safe and waterproof.
Glaze Firing: Your mug goes back into the kiln for a second, higher-temperature "glaze firing," where the glaze melts into a glass-like coating, permanently adhering to the bisque-fired clay.
Tips for Pottery Mug Making
Tips for Pottery Mug Making:
Proper Scoring and Slipping: This is non-negotiable for strong attachments. "Score to attach, slip to slick."
Slow, Even Drying: Protect your mug from drafts and cover it loosely with plastic to ensure uniform drying and prevent cracks.
Kiln Knowledge: Understand basic kiln safety and temperature schedules, or work with an experienced studio technician.
Experimentation: Don't be afraid to try different clay types, glazes, and hand-building techniques to develop your unique style.
Method 2: How to Create a Sublimation Mug (Photo & Design Transfer)
If you're aiming for vibrant, full-color designs, intricate patterns, or even photographic quality on your mugs, learning how to create a mug using sublimation is an excellent choice. This method yields professional-looking results that are incredibly durable.
How to Create a Sublimation Mug (Photo & Design Transfer)
Materials & Tools You'll Need:
Sublimation printer & sublimation ink: A dedicated printer loaded with special sublimation inks.
Sublimation paper: Designed to release ink when heated.
Sublimation-ready mug blanks: These are ceramic mugs specially coated with a polymer layer to accept sublimation ink.
Heat press: A mug press designed for cylindrical items or a convection oven suitable for sublimation (never use your food oven).
Heat-resistant tape: To secure your design to the mug.
Butcher paper or blowout paper: To protect your press from excess ink.
Design software: Such as Canva, Adobe Photoshop, Cricut Design Space, or other graphic design programs.
Step-by-Step Guide:
Design Your Artwork: Create your desired design in your chosen software. Ensure the dimensions are correct for your mug and, crucially, mirror the image if it contains text or directional elements. Sublimation prints in reverse.
Print on Sublimation Paper: Load your sublimation paper into your sublimation printer (usually with the design printing on the brighter white side). Print your mirrored design.
Trim Design: Carefully cut around your printed design, leaving a small border (about 1/4 inch) to help prevent white edges on your mug.
Attach to Mug Blank: Wrap the printed design tightly around your sublimation-ready mug blank. Use several pieces of heat-resistant tape to secure it firmly, ensuring there are no gaps or wrinkles between the paper and the mug.
Protect (Optional but Recommended): For added protection and to prevent any "blow-out" ink from staining your mug press, wrap the taped mug in a layer of plain butcher paper or parchment paper.
Heat Press/Bake: Place the prepared mug into your mug press or oven. Follow the specific temperature and time settings recommended by your mug blank supplier and heat press manufacturer. Typical settings are around 385-400°F (195-205°C) for 180-240 seconds.
Carefully Remove & Peel: Once the time is up, carefully remove the very hot mug using heat-resistant gloves. Immediately and gently peel off the sublimation paper. This quick removal helps prevent "ghosting" or blurred edges. Let the mug cool completely.
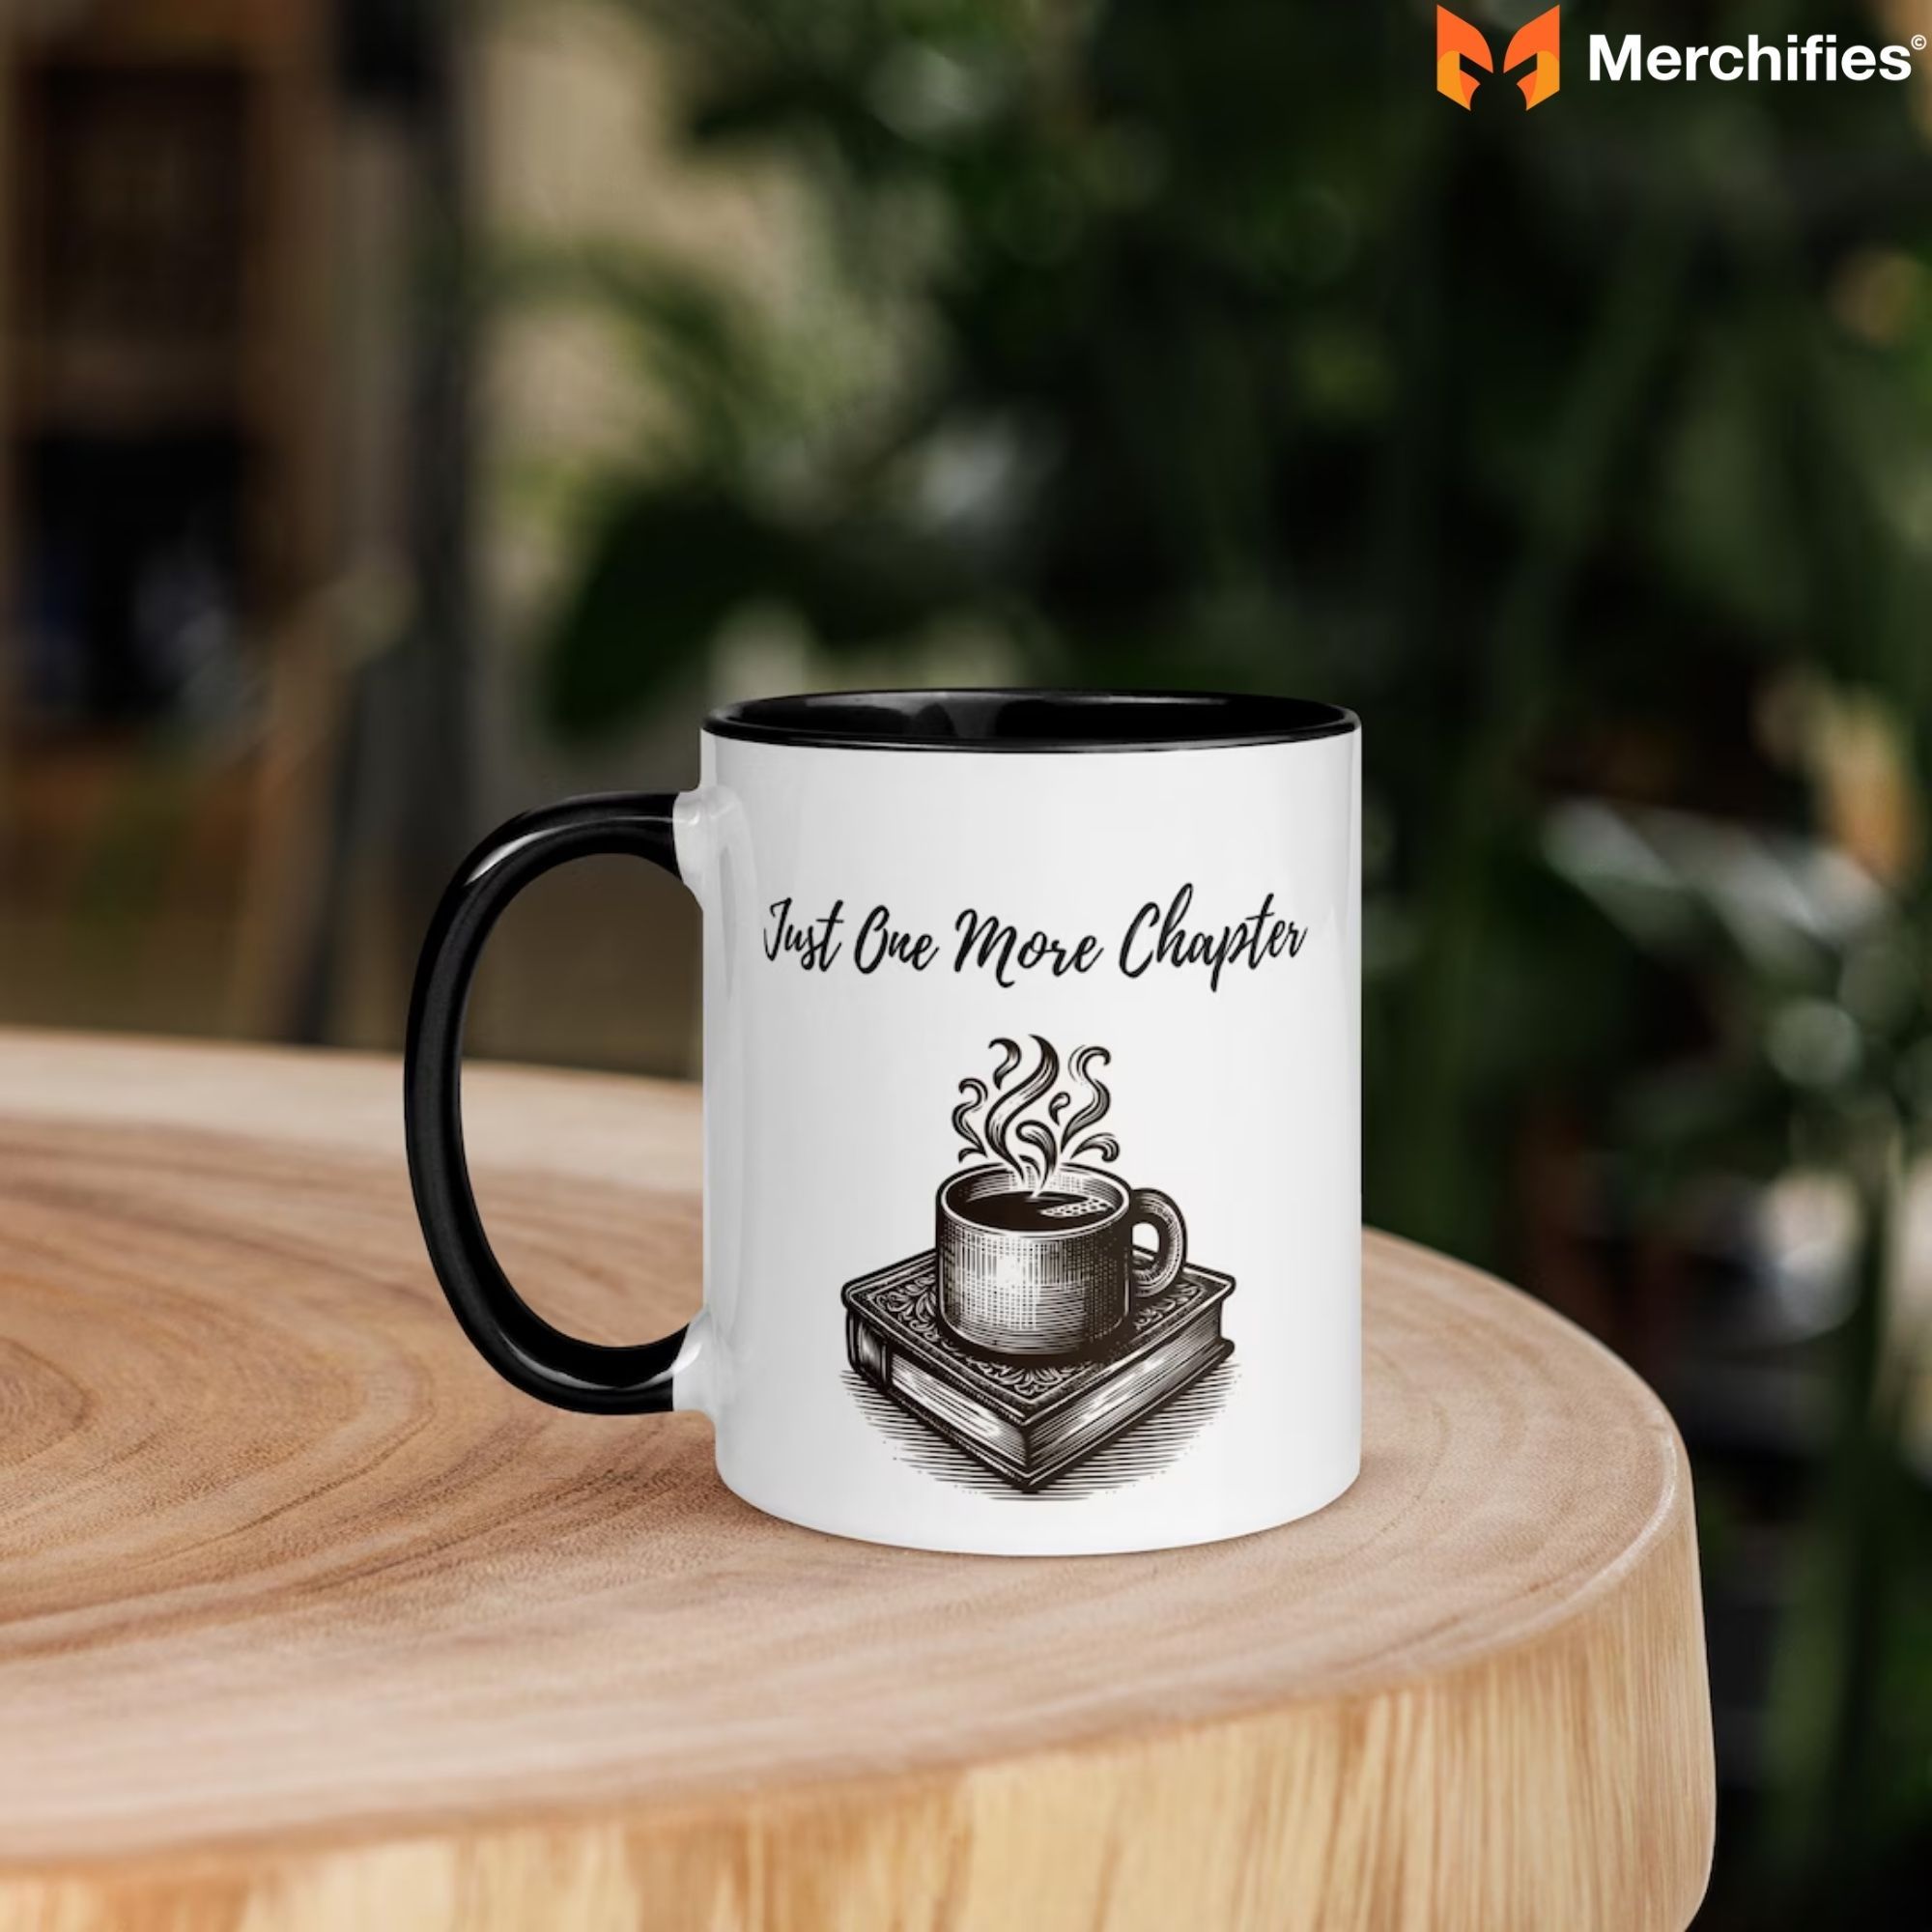
Create a pro-quality sublimation mug with your own photo or design
Sublimation Tips for Best Results:
Dedicated Materials: Always use sublimation-specific printers, inks, paper, and mug blanks. Regular inkjet printers or mugs will not work.
Mirror, Mirror: Double-check that your design is mirrored before printing, especially for text!
Pressure is Key: In a mug press, ensure proper tension and even pressure for a consistent transfer across the entire design.
Practice Makes Perfect: Start with a few inexpensive blanks to get your temperature and time settings dialed in.
Method 3: How to Make a Vinyl Mug with Cricut/Silhouette
For quick, crisp designs, custom text, or geometric patterns, learning how to create a mug using permanent adhesive vinyl and a cutting machine like a Cricut or Silhouette is incredibly popular. This method offers versatility and a professional look with relatively low effort.
How to Make a Vinyl Mug with CricutSilhouette
Materials & Tools You'll Need:
Blank mug: Ceramic, glass, stainless steel, or even plastic will work, as long as the surface is smooth.
Permanent adhesive vinyl: Oracle 651 or similar permanent outdoor vinyl is highly recommended for durability on mugs.
Cutting machine: Cricut, Silhouette, Brother ScanNCut, etc.
Cutting mat, weeding tools: Essential for preparing your vinyl design.
Transfer tape: To lift and apply your vinyl design.
Rubbing alcohol & lint-free cloth: For cleaning the mug surface.
Step-by-Step Guide:
Design in Software: Create or upload your design in your cutting machine's software (e.g., Cricut Design Space). Size it appropriately for your mug, keeping in mind the curvature and handle.
Cut Vinyl: Load your permanent vinyl onto your cutting mat (shiny side up) and send the design to your machine to cut. Choose the correct material setting for permanent vinyl.
Weed Excess Vinyl: After cutting, carefully remove all the unwanted vinyl from around and within your design using weeding tools. Only your desired graphic should remain on the vinyl backing.
Clean Mug Surface: This step is crucial! Thoroughly clean the mug surface where the vinyl will go with rubbing alcohol and a lint-free cloth. Let it dry completely. Any oils or dirt will prevent proper adhesion.
Apply Transfer Tape: Place a piece of transfer tape over your weeded vinyl design. Use a squeegee or credit card to firmly burnish (rub) the transfer tape onto the vinyl, ensuring the vinyl adheres to the tape.
Transfer Design to Mug: Peel the transfer tape, lifting the vinyl design off its paper backing. Carefully position the design on your clean mug. Starting from the center of the design, slowly adhere it to the mug, using your squeegee or fingers to smooth it onto the curved surface, working out any bubbles.
Remove Transfer Tape: Once the vinyl is fully adhered, slowly peel back the transfer tape at a sharp angle. If any vinyl lifts, press the transfer tape back down and burnish again.
Cure Time: For the best possible adhesion and durability, allow the vinyl to "cure" on the mug for at least 24-72 hours before washing or heavy use.
Create custom vinyl mugs with your cutting machine
Vinyl Mug Tips & Tricks:
Permanent is Key: Always use permanent outdoor vinyl for mugs. It's designed to withstand washing and wear much better than temporary or indoor vinyl.
Meticulous Cleaning: Don't skip cleaning the mug! Even invisible residues can compromise adhesion.
Curved Surfaces: For easier application on curves, try the "hinge method" (tape the middle, cut the ends of the transfer tape, then apply sections at a time) or snip the edges of your transfer tape to help it conform.
Layering: Experiment with layering different colors of permanent vinyl to create multi-color designs.
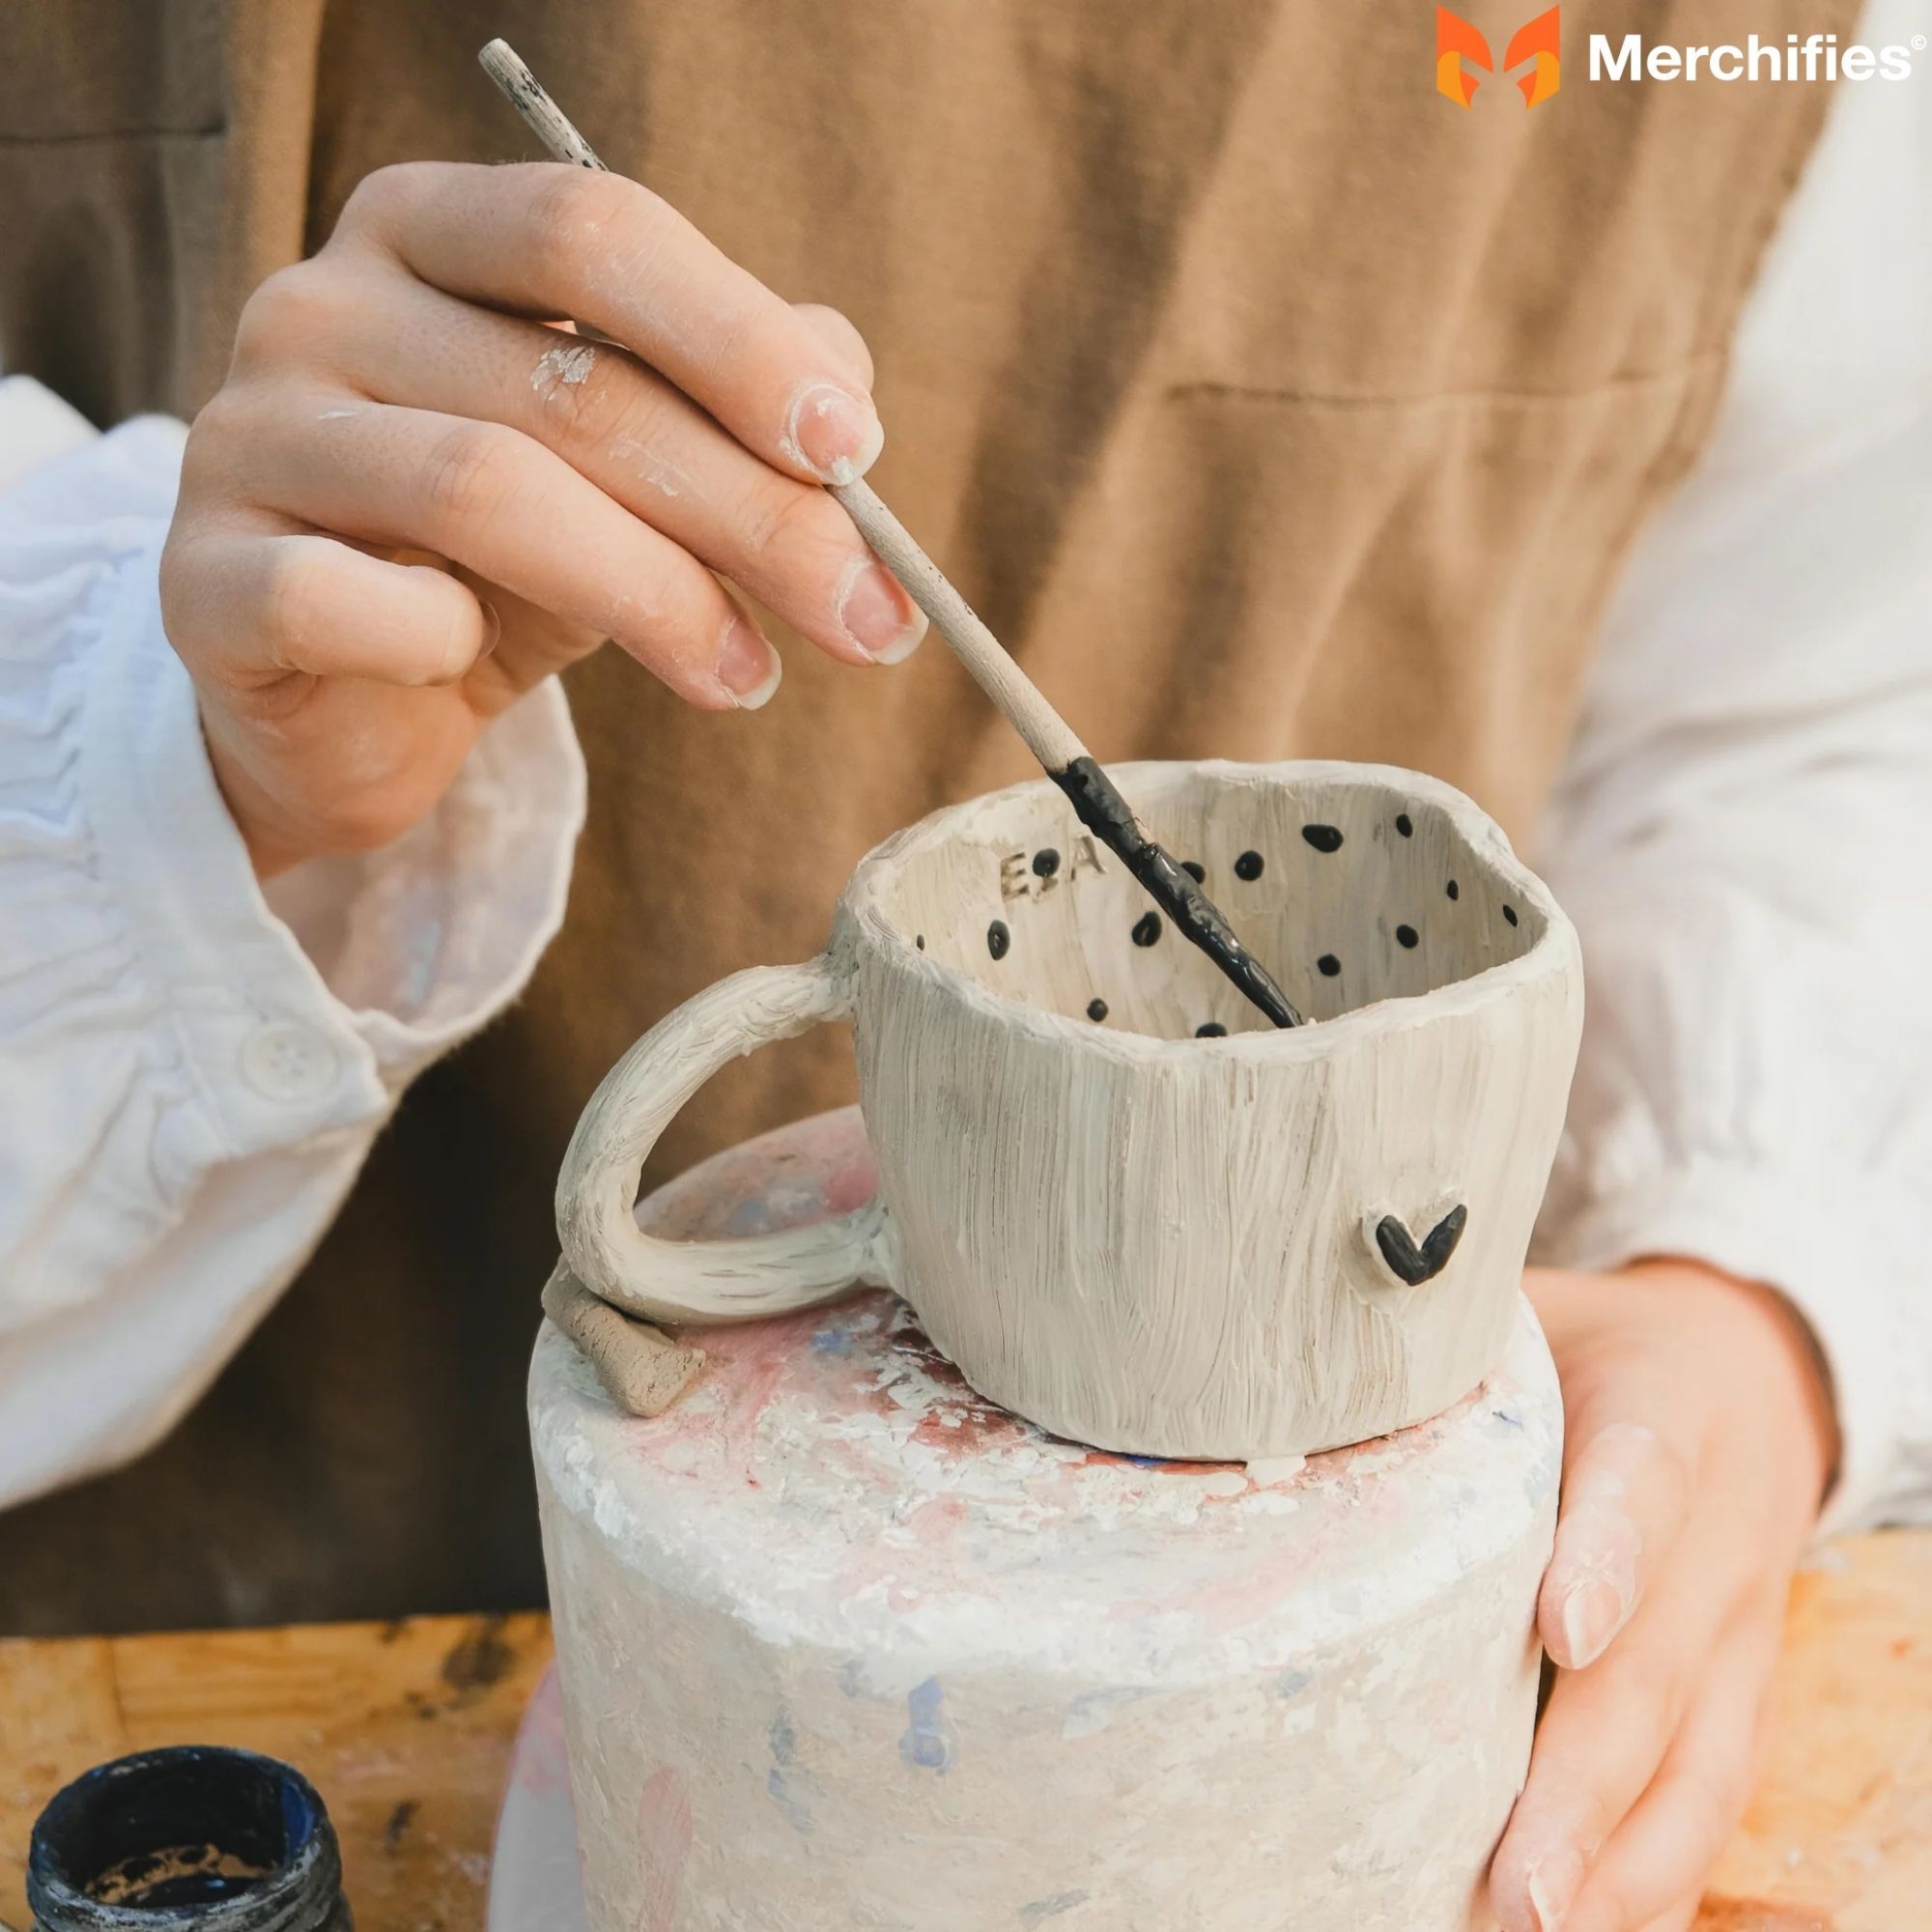
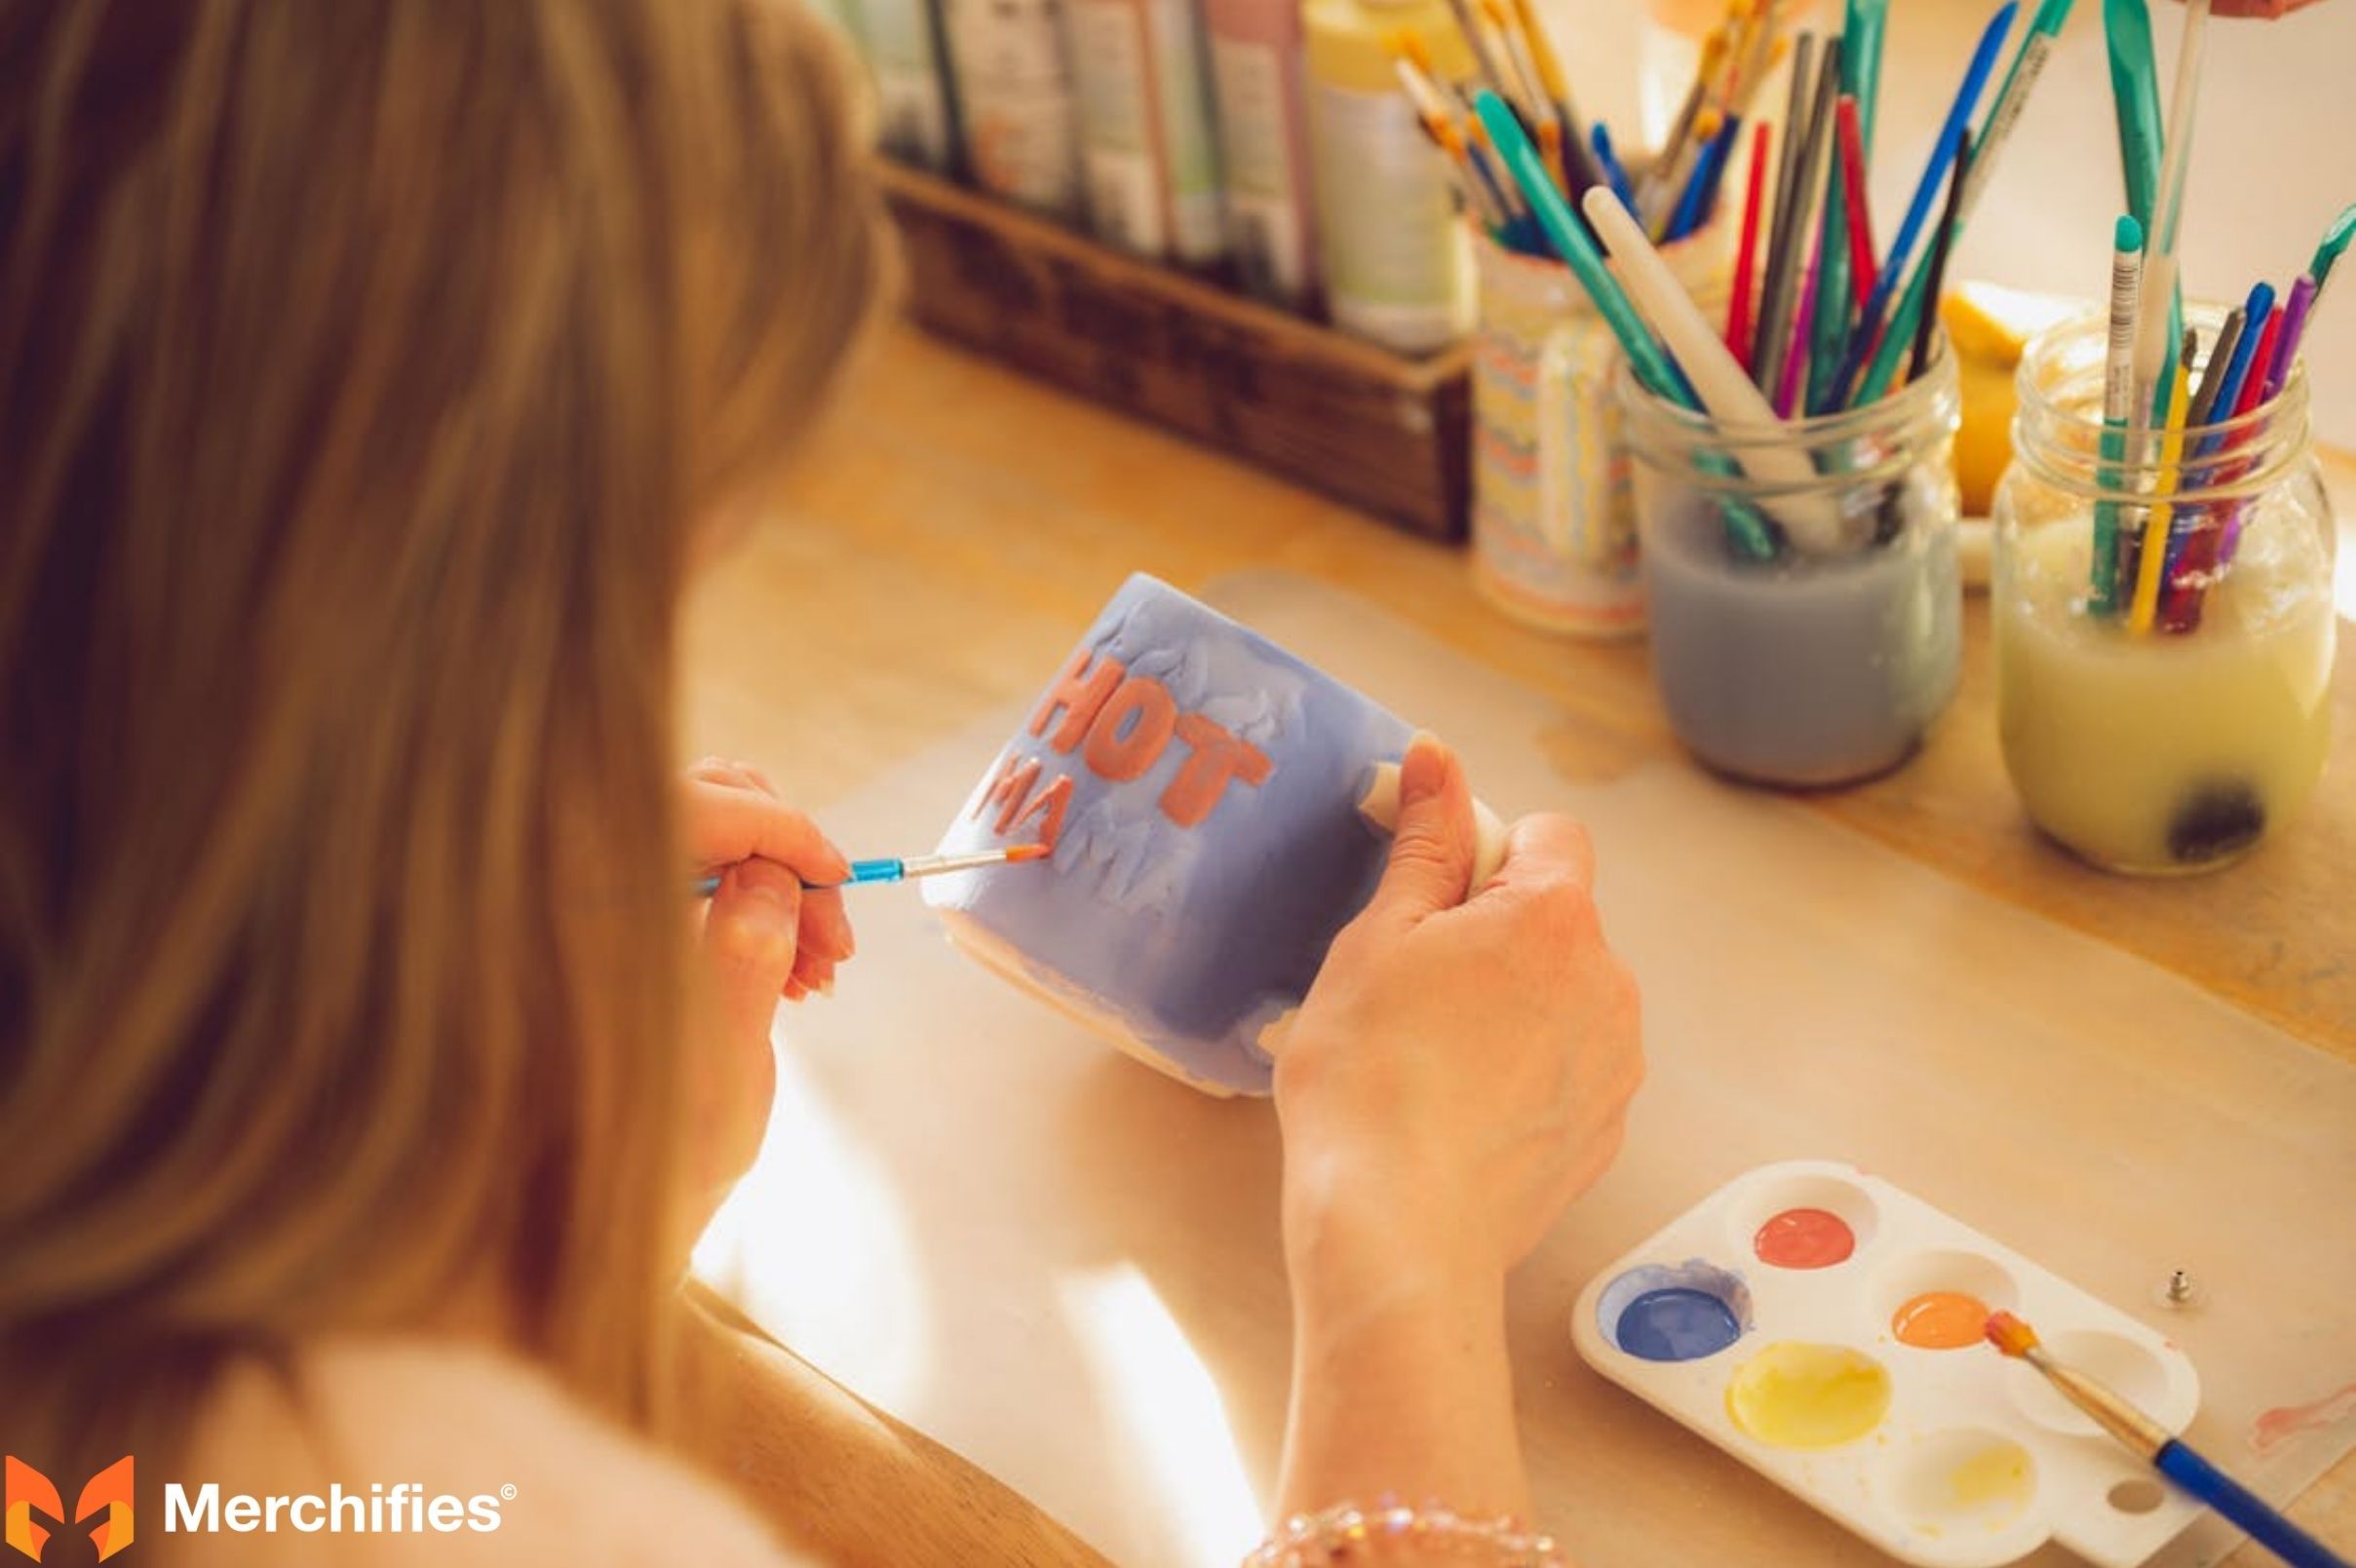
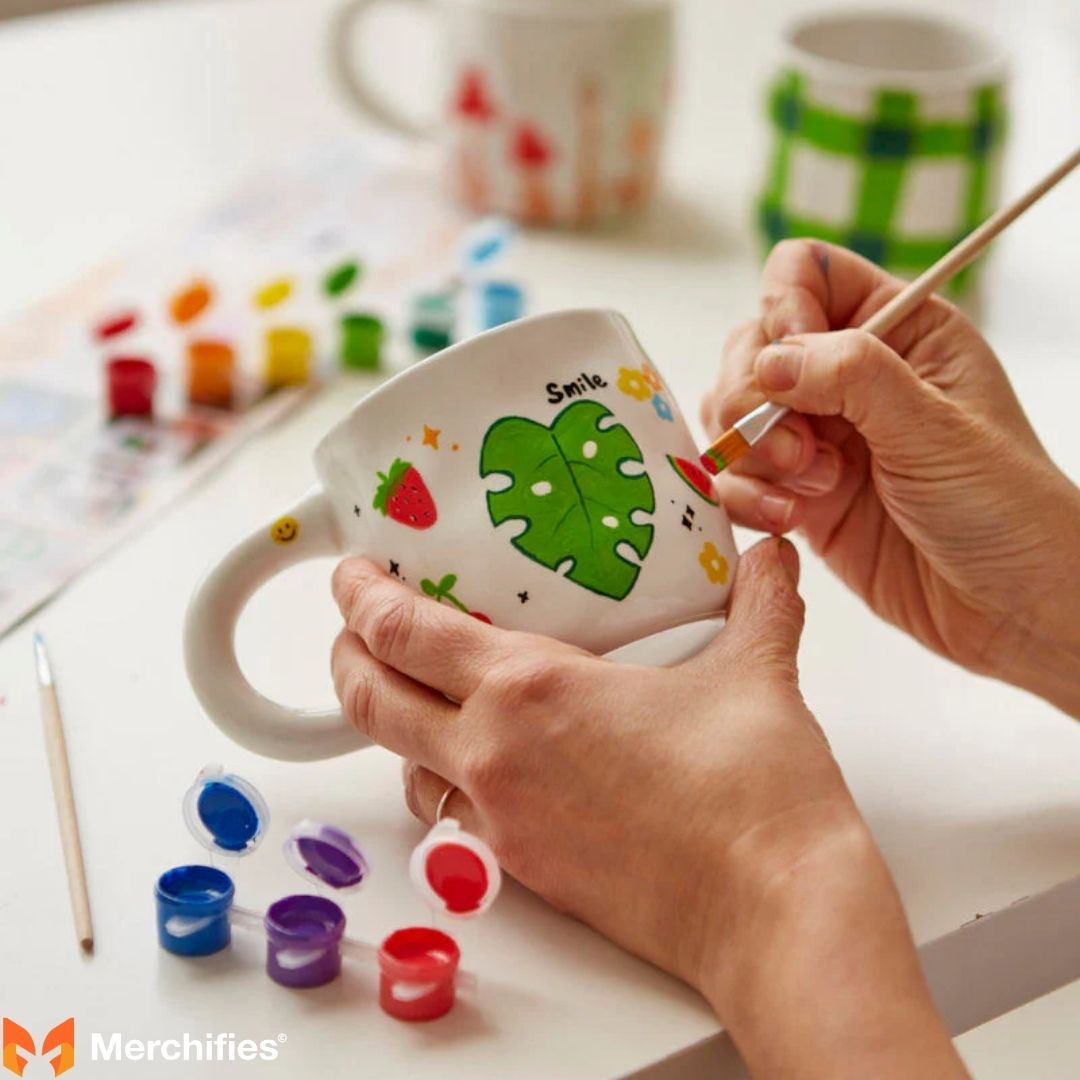
Method 4: How to Paint and Decorate a Mug Blank
For the ultimate in creative freedom and accessibility, learning how to create a mug by simply painting and decorating a blank is a fantastic option. It requires minimal specialized equipment and is perfect for all ages and artistic skill levels.
How to Paint and Decorate a Mug Blank
Materials & Tools You'll Need:
Plain ceramic, porcelain, or glass mug blanks: Inexpensive and widely available.
Oven-bake ceramic paints, porcelain paint pens, or oil-based paint markers: Look for products explicitly labeled "oven-bake," "dishwasher-safe," or "for ceramic/glass." (e.g., Sharpie oil-based paint markers, Pebeo Porcelaine 150 paints).
Paintbrushes, sponges, stencils: As needed for your design.
Rubbing alcohol: For cleaning.
Household oven: For baking/curing the paint, if required by your chosen paint type.
Step-by-Step Guide:
Clean Mug Surface: Wipe down the entire mug with rubbing alcohol to remove any oils, dust, or fingerprints. This ensures the paint adheres properly. Let it air dry completely.
Plan Your Design: Sketch your design on paper first. You can freehand, use stencils, or even draw light guidelines on the mug with a pencil (which will burn off in the oven).
Apply Paint/Markers: Carefully apply your chosen paints or markers to the mug. Use thin, even coats of paint to prevent bubbling or peeling. If using multiple colors or layers, allow each layer to dry to the touch before adding the next. Avoid painting the rim where lips will directly touch for food safety and durability.
Let Dry Completely: Allow the painted mug to air dry for the recommended time (usually 24 hours) before baking, as specified by your paint manufacturer.
Cure/Bake in Oven: Follow the specific instructions on your paint or marker packaging for curing. This typically involves placing the cool mug in a cool oven, heating the oven to a certain temperature (e.g., 300-350°F or 150-175°C), baking for a set time (e.g., 30 minutes to 1 hour), then turning off the oven and allowing the mug to cool down inside the oven completely. This slow heating and cooling process prevents thermal shock and ensures the paint cures properly.
Painting Mug Tips for Lasting Designs
Painting Mug Tips for Lasting Designs:
Right Paint Matters: Always use oven-safe or dishwasher-safe paints specifically designed for ceramics/glass. Regular acrylics or craft paints will chip and wash off.
No Rim Painting: For safety and comfort, avoid painting the very top rim of the mug.
Thin Coats: Multiple thin coats of paint generally last longer and look better than one thick, gloppy coat.
Proper Curing is Essential: Don't skip or rush the baking process. It's what makes your design permanent and helps it withstand washing.
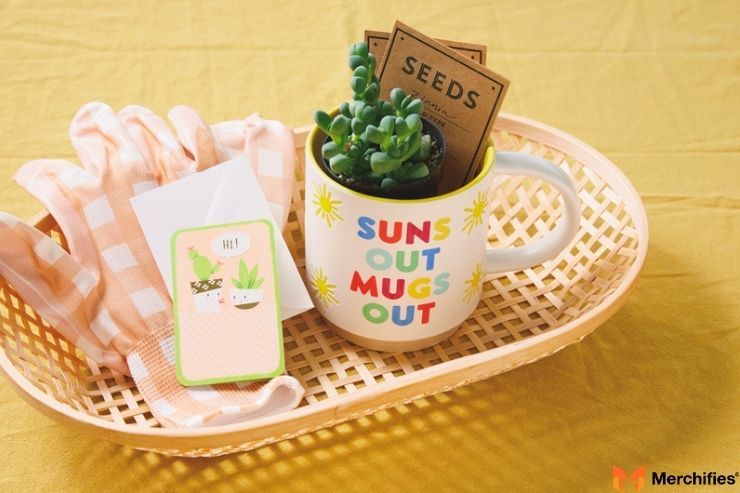
How to Make Custom Mugs: Design Considerations
Once you've chosen your method for how to create a mug, the next exciting step is designing! Creating custom mugs isn't just about technique; it's about infusing personality and purpose into your piece.
How to Make Custom Mugs Design Considerations
Inspiration & Ideas:
Finding inspiration is the first step in creating truly unique custom mugs. Platforms like Pinterest, Etsy, and Instagram are treasure troves of ideas, showcasing diverse styles from minimalist typography to elaborate hand-painted scenes. Look at current trends, explore themes that resonate with you or the recipient, or even draw inspiration from personal memories and inside jokes. Remember, even a simple quote or graphic can make a powerful statement.
Practicality:
Beyond aesthetics, consider the practicality of your design. Will your mug be used for hot beverages? Does the handle provide a comfortable grip for the user? Is the mug size appropriate for its intended use (e.g., espresso shot vs. a large coffee)? For instance, highly textured designs on the exterior might feel uncomfortable, and delicate details might wear quickly if placed in high-friction areas. As Mason Ellis Grant often advises crafters, "Always hold the finished product in your mind. Is it beautiful and functional? That's the sweet spot."
Durability & Longevity:
The longevity of your custom mug heavily depends on your chosen method and materials. If you want your mug to be dishwasher-safe or microwave-safe, you must select paints, vinyl, or sublimation processes that guarantee these qualities. For ceramic mugs, proper glazing and firing ensure durability. With vinyl mugs, curing time and hand-washing are often recommended. Understanding these limitations during the design phase will help manage expectations and ensure your beautiful creation lasts.
How to Care for Your Handmade Mug (Maintenance Tips)
After putting in the effort to create a mug, proper care is essential to ensure its longevity and preserve your beautiful design.
How to Care for Your Handmade Mug (Maintenance Tips)
Washing Instructions:
Pottery: Typically dishwasher-safe if properly glazed and fired, but hand-washing is always gentler, especially for intricate designs.
Sublimation: Generally dishwasher-safe, as the ink is permanently infused into the coating.
Vinyl: Hand-washing is highly recommended. Avoid scrubbing directly on the vinyl design, and use soft sponges. High heat and harsh detergents in dishwashers can cause vinyl to peel over time.
Painted/Decorated: Hand-washing is safest, even for oven-cured paints. Avoid abrasive scrubbers on painted areas.
Microwave Safety:
Ceramic (Pottery): Usually microwave-safe unless glazes contain metallic elements.
Sublimation: Generally microwave-safe.
Vinyl: Microwave-safe, as long as the mug itself is microwave-safe and there are no metallic elements in the vinyl.
Painted/Decorated: Microwave-safe, provided the mug blank is safe and the paints don't contain metallic pigments.
Avoid Harsh Abrasives: Regardless of the method, refrain from using harsh abrasive sponges or chemical cleaners directly on your mug's design, as these can scratch, dull, or even remove the artwork over time.
Conclusion: Start Your Mug Making Journey!
Embarking on the journey of how to create a mug is a wonderfully fulfilling experience, blending creativity with practicality. We've explored diverse methods, from the ancient art of pottery to the modern precision of sublimation and vinyl cutting, alongside the accessible joy of hand-painting. Each technique offers a unique path to crafting a mug that is truly your own – a perfect gift, a personal statement, or simply a vessel for your favorite beverage.
Don't let perceived skill barriers hold you back. As Mason Ellis Grant reminds us, "Every masterful crafter started with a first project. The most important step is simply to begin." So, pick the method that resonates most with you, gather your materials, and dive in. The world of handmade mugs is waiting for your unique touch. Share your amazing creations on social media, explore more DIY craft ideas, or even consider turning your newfound hobby into a small business. Happy crafting!
-da0801079a650a2e.jpeg)


-d4c38c342cdf20ca.jpeg)


-b555fcc6b204c456.jpeg)


