-da0801079a650a2e.jpeg)
17 Year Anniversary Quotes: 110+ Funny, Romantic & Furniture Wishes (2026)
Mar, 12 2026
Learn how to gift wrap a shirt perfectly, whether with or without a box! Get step-by-step instructions, expert folding tips, and creative ideas for a stunning presentation.
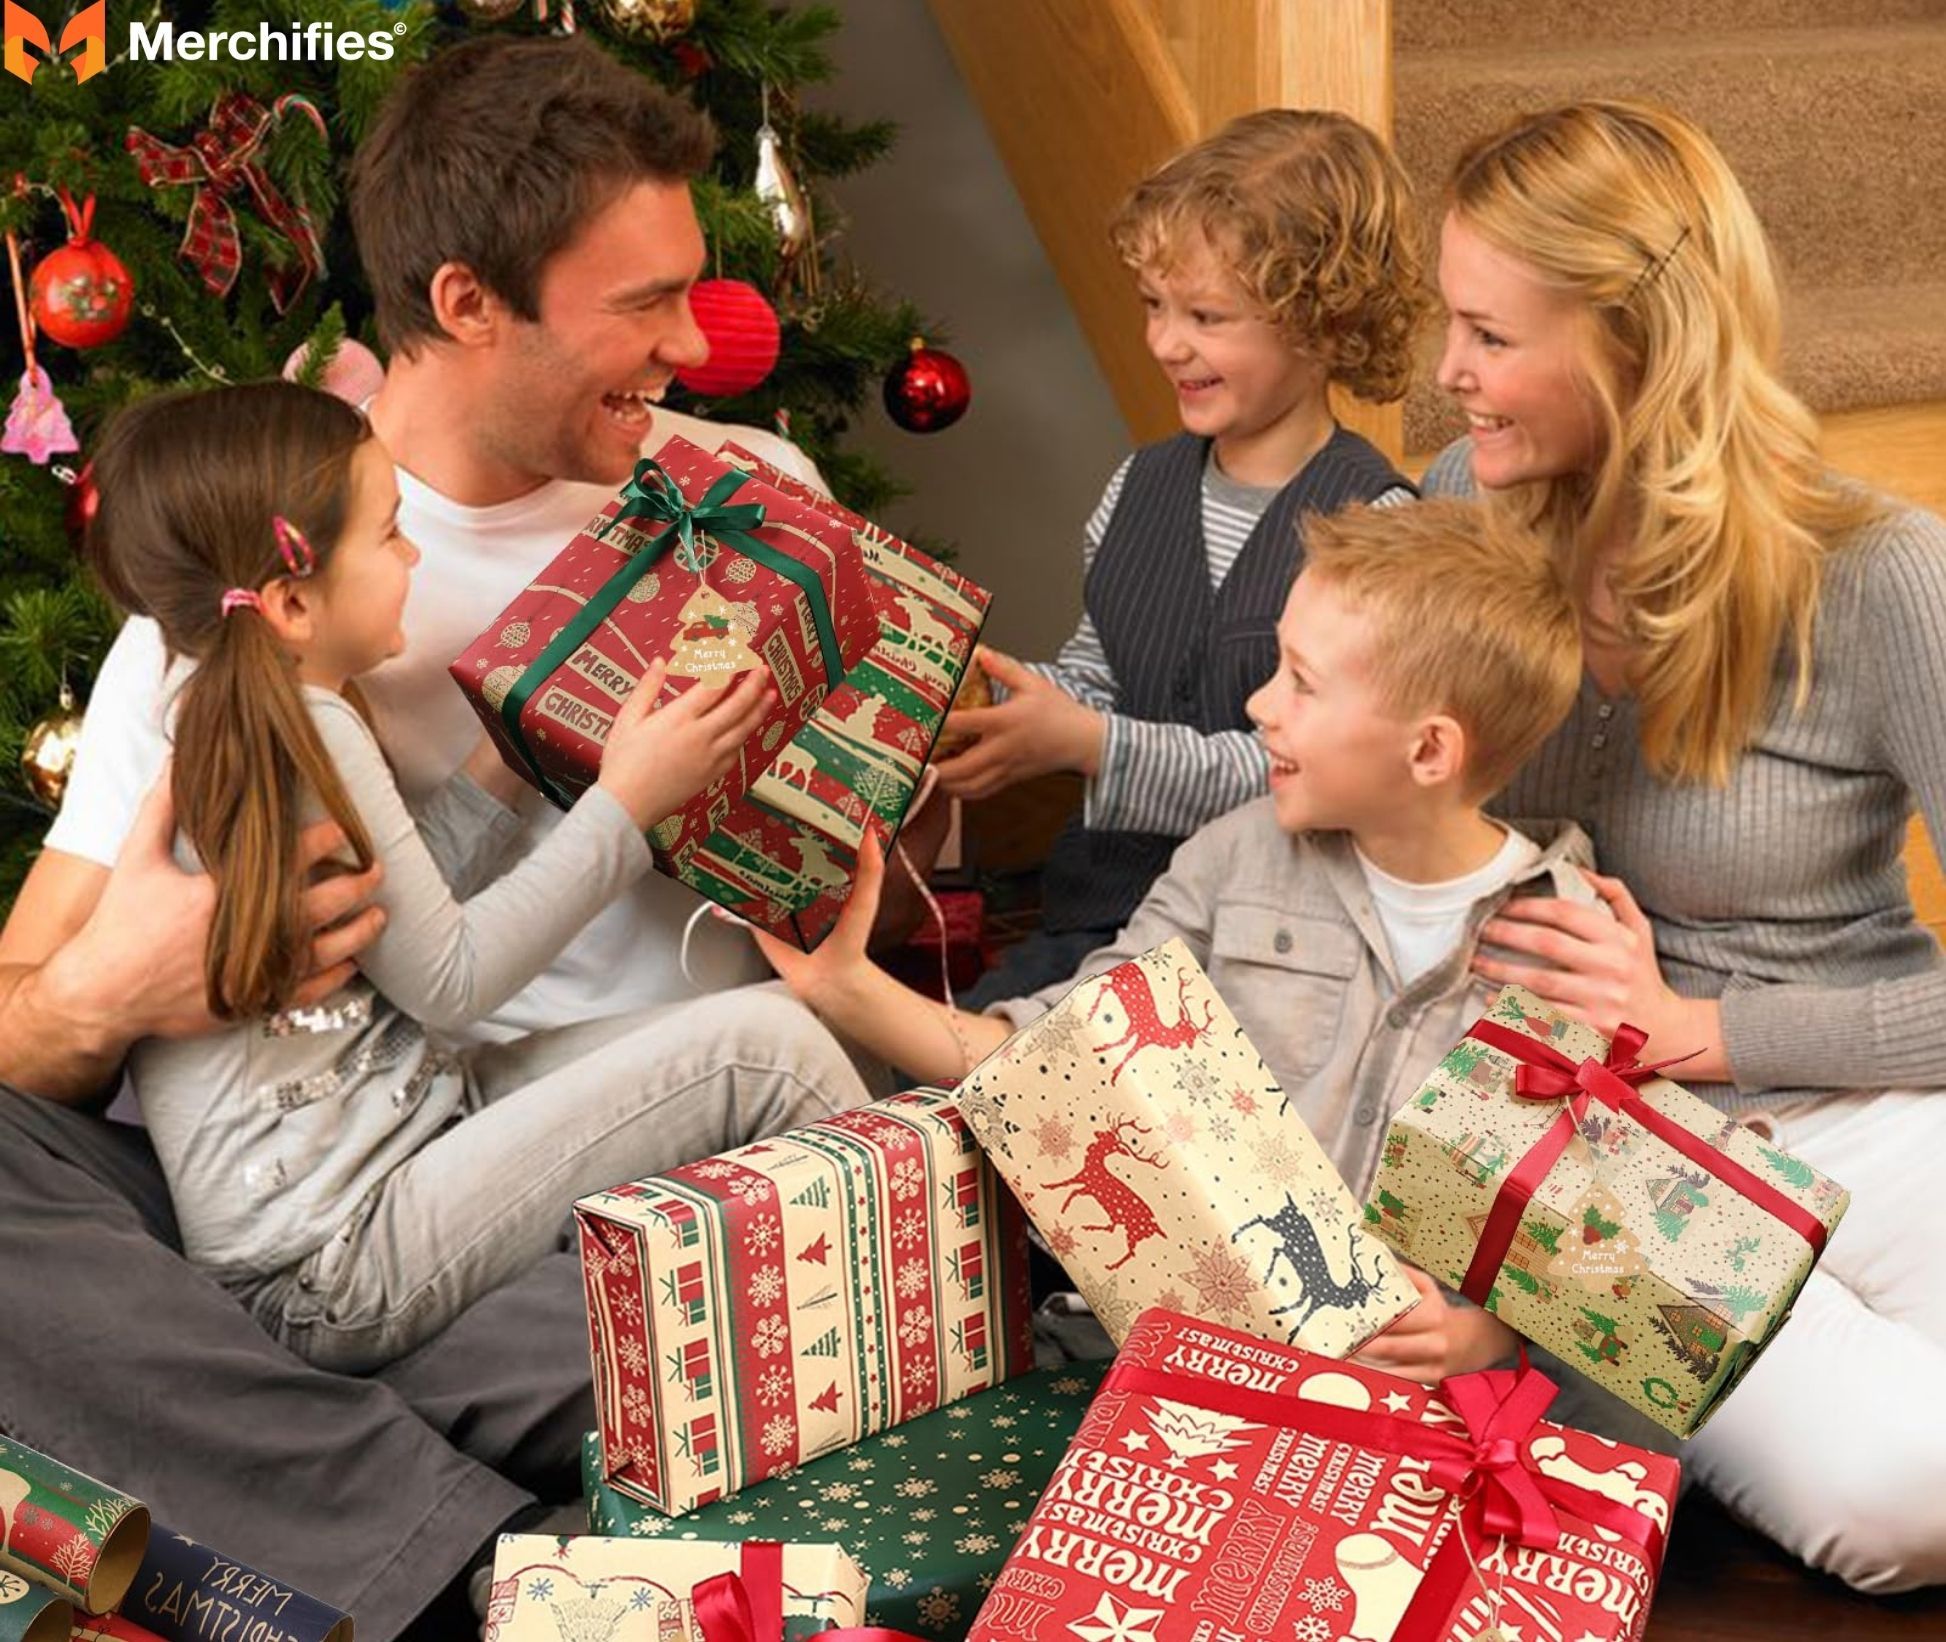
Is the thought of gift wrapping a shirt giving you a headache? You're not alone! Transforming a simple shirt into a beautifully presented gift can feel like a daunting task. Awkward shapes, wrinkles, and flimsy fabric often make wrapping challenging, but it doesn't have to be. This guide provides easy-to-follow methods and pro tips for a polished, impressive result that will make your gift truly stand out. Learning how to gift wrap shirt can elevate your gift-giving, showing an extra layer of care and thoughtfulness.
As an experienced professional gift wrapper and event planner for over a decade, Mason Ellis Grant has mastered the art of presenting gifts flawlessly, even those tricky items like clothing. Throughout their career, Mason has honed techniques that ensure every gift, no matter how simple, looks like it came from a high-end boutique. In this comprehensive guide, we'll walk you through everything you need to know: from gathering your essentials and mastering different wrapping methods (with and without a box) to adding those crucial finishing touches and troubleshooting common issues. Get ready to wrap like a pro!
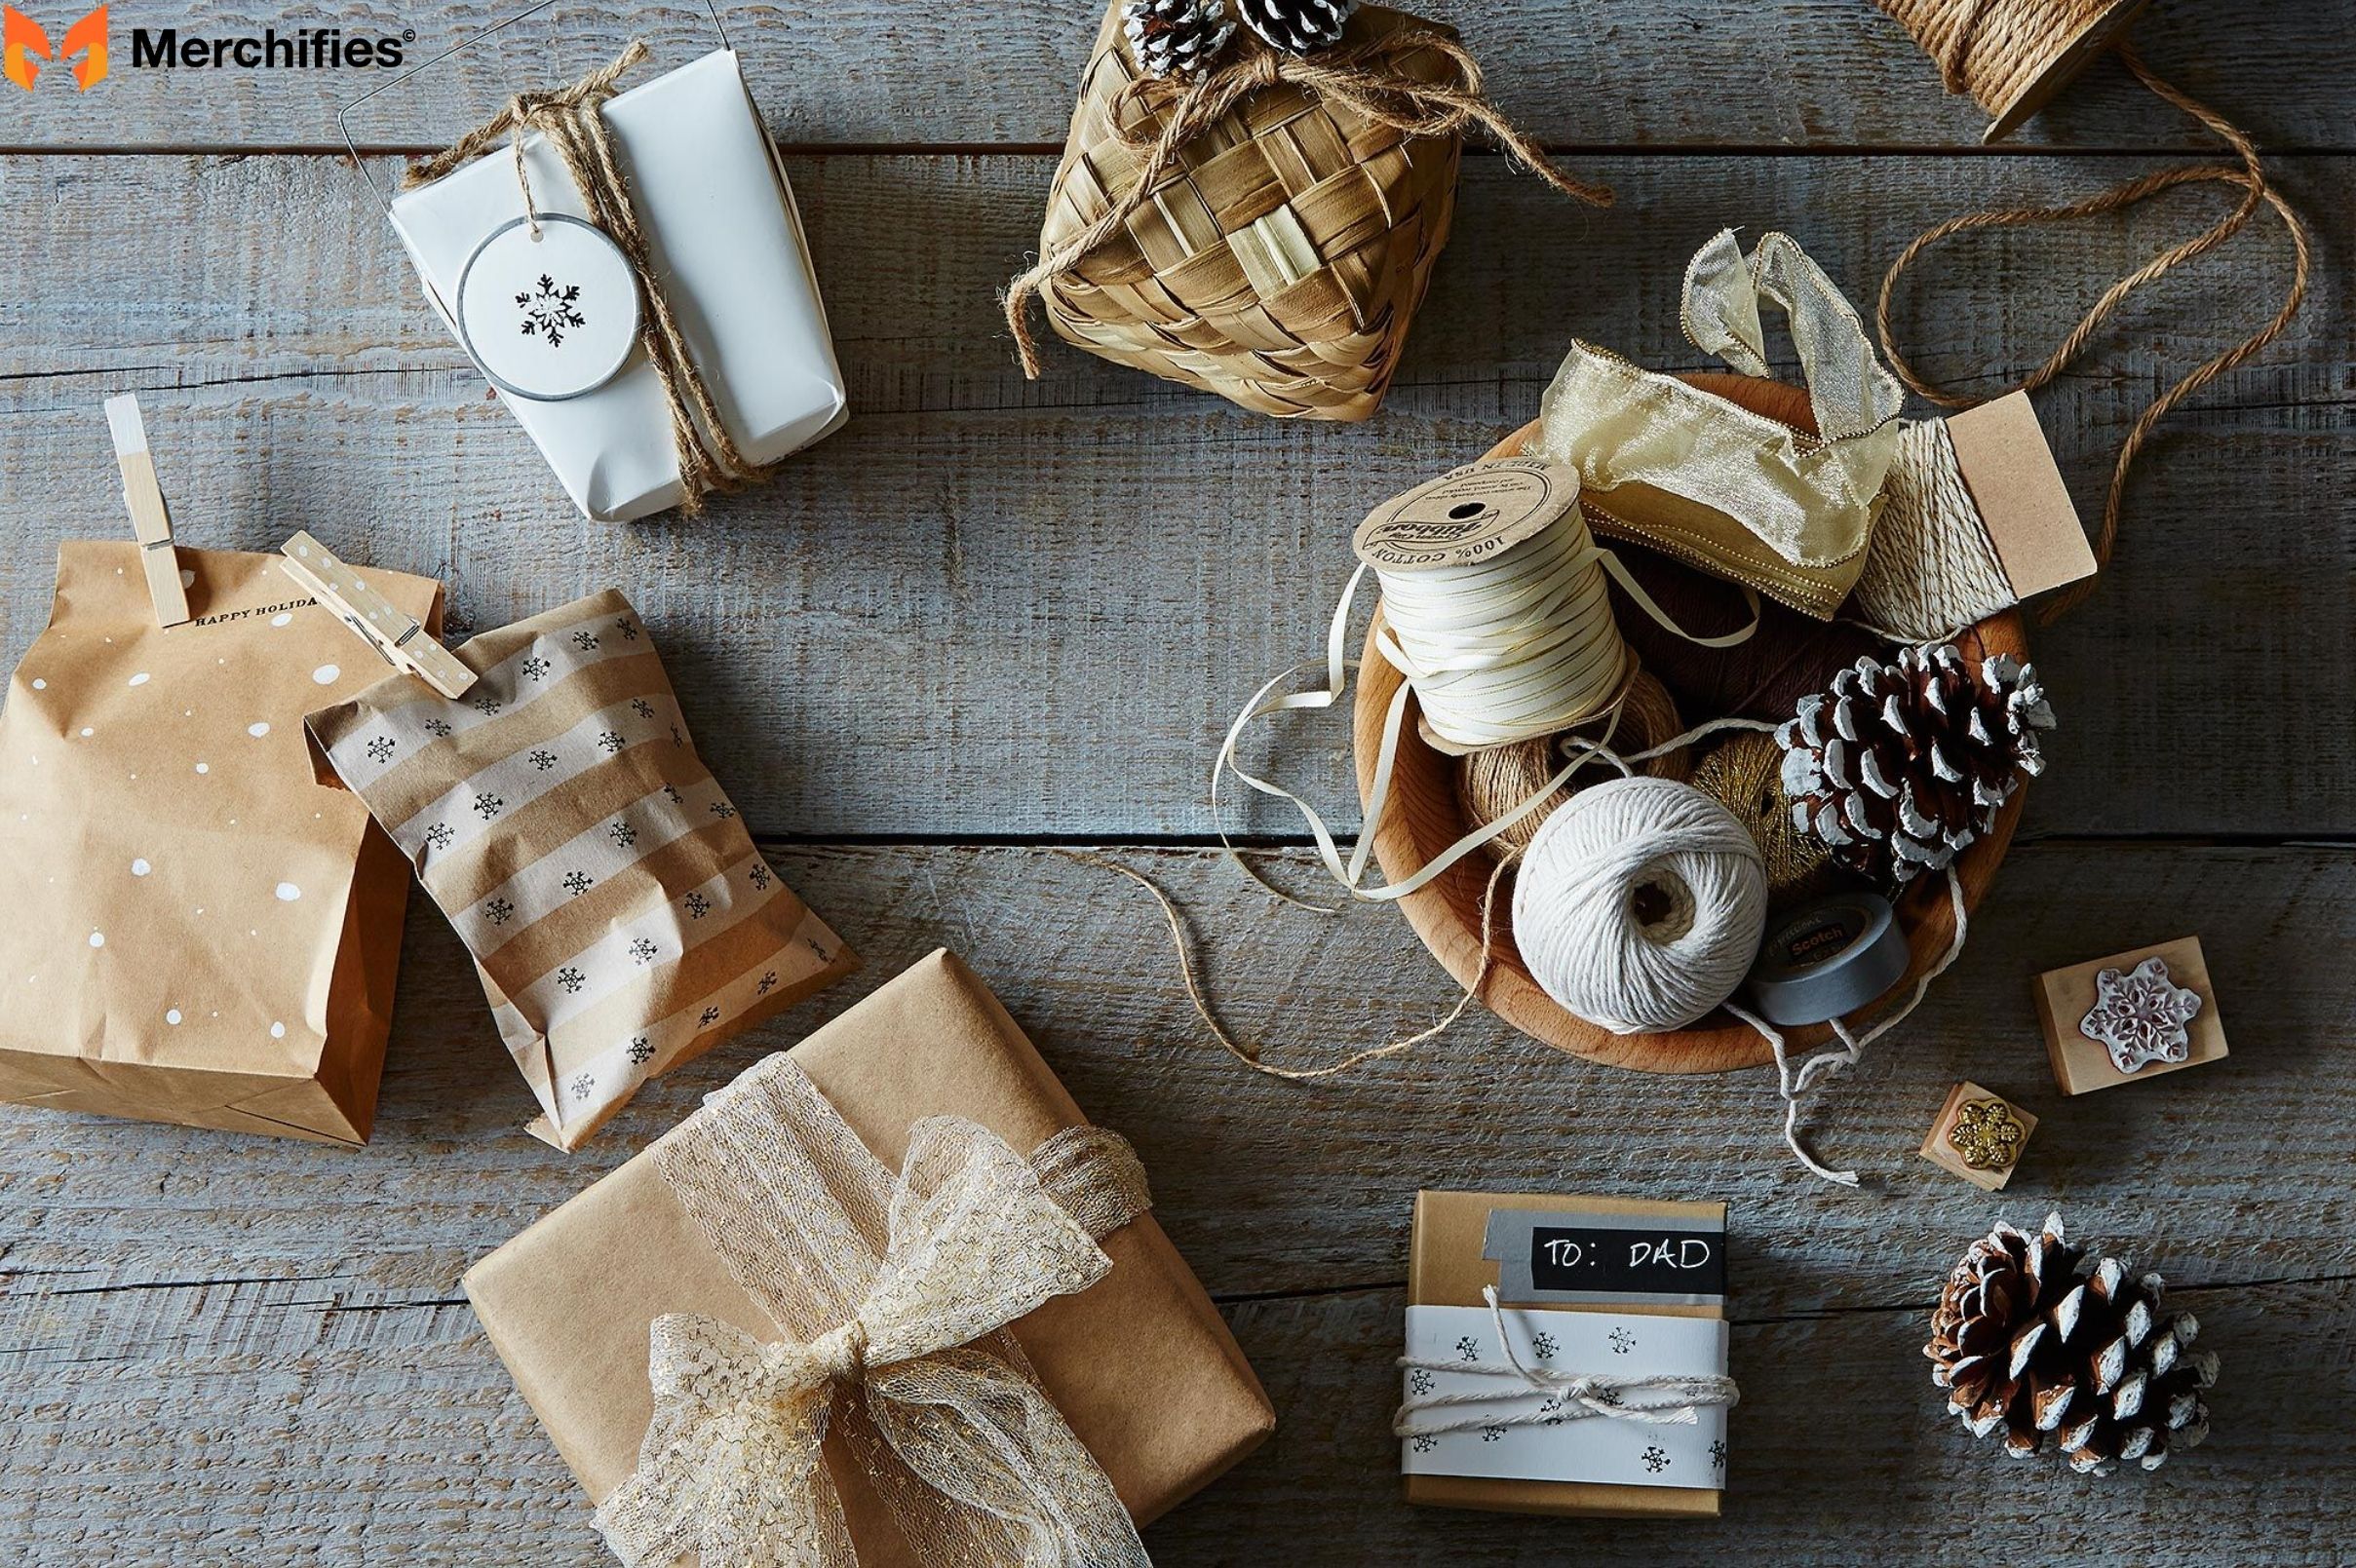
Before you begin, gathering all your supplies makes the process smoother and more enjoyable. Having everything at hand prevents frantic searches mid-wrap!
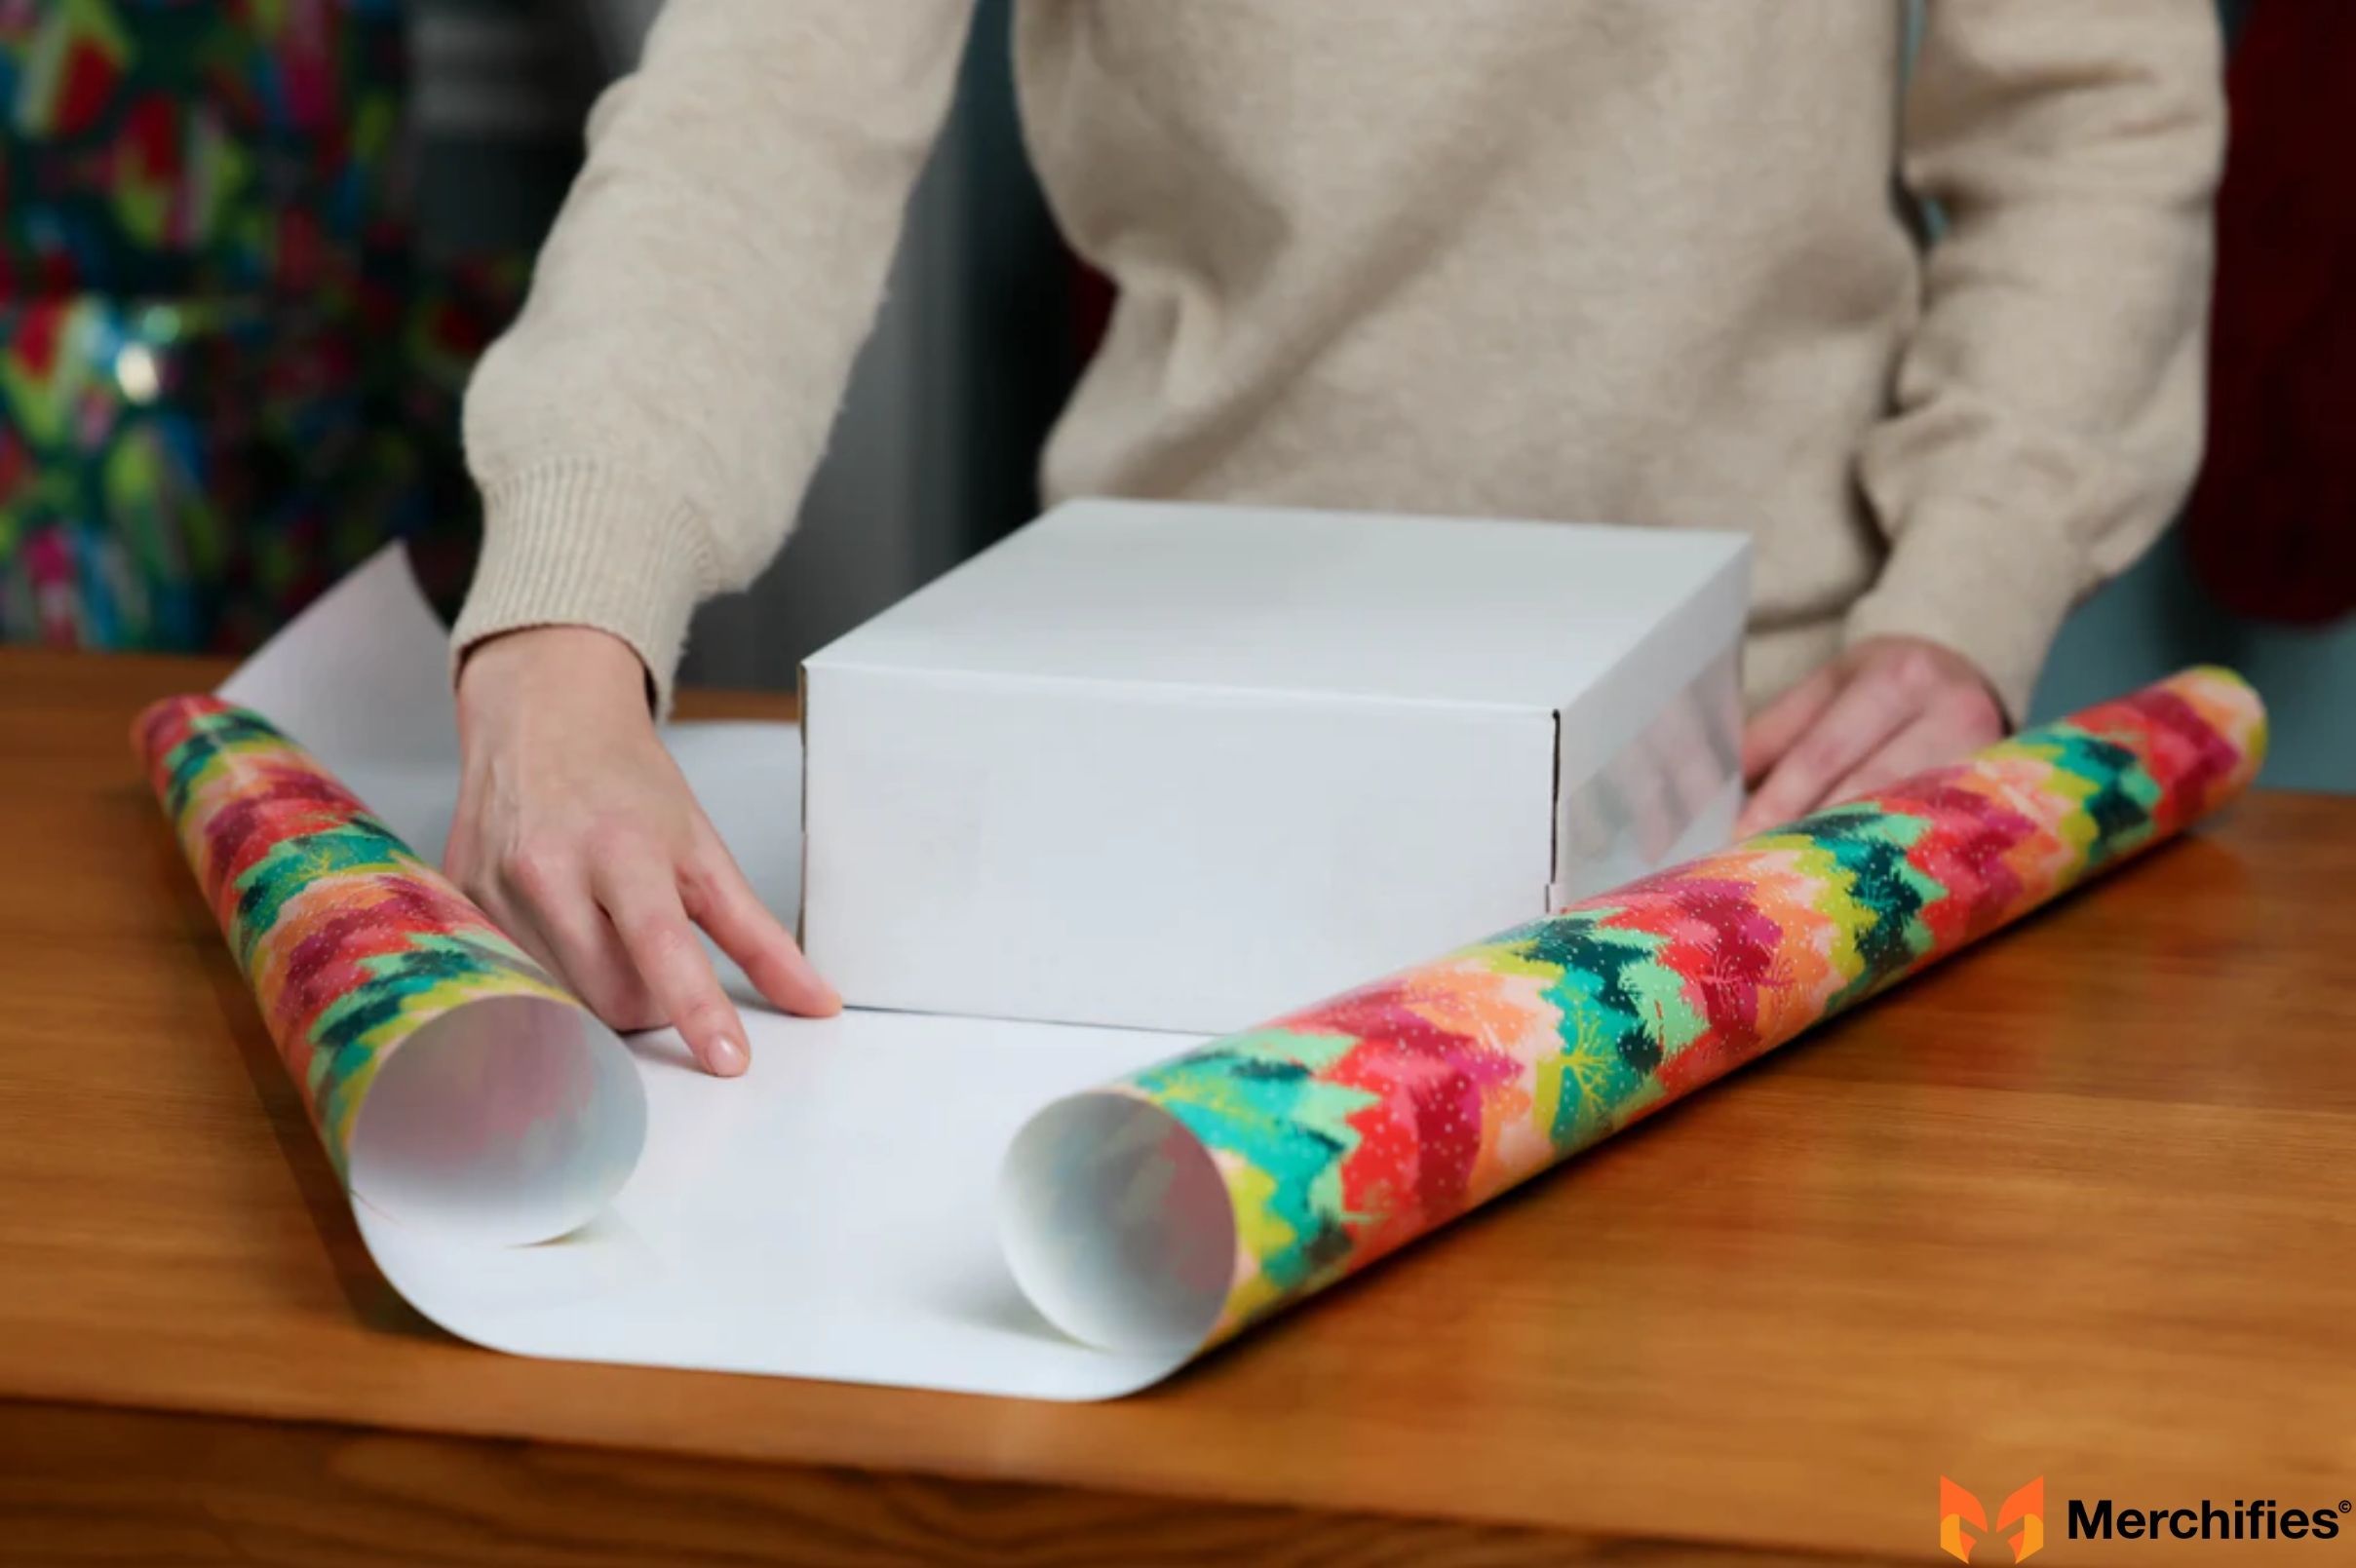
Using a gift box is often the easiest and most preferred method for clothing, offering structure and protection. It creates a neat, predictable shape that's a dream to wrap.
Sometimes a box isn't available, or you simply prefer a more unique presentation. Learning how to gift wrap a shirt without a box opens up a world of creative possibilities. This method is often more eco-friendly and can be incredibly stylish when done right.
This technique creates a sleek, flat package perfect for shirts.
This playful method is fantastic for t-shirts or softer fabrics and creates a fun, unexpected package.
For an incredibly elegant and eco-conscious option, consider Furoshiki, the traditional Japanese art of fabric wrapping.
$20.79
$30.79
32% off
$20.79
$30.79
32% off
$20.79
$30.79
32% off
$20.79
$30.79
32% off
$20.79
$30.79
32% off
$20.79
$30.79
32% off
$20.79
$30.79
32% off
$20.79
$30.79
32% off
$20.79
$30.79
32% off
$20.79
$30.79
32% off
$20.79
$30.79
32% off
$20.79
$30.79
32% off
$20.79
$30.79
32% off
$20.79
$30.79
32% off
$20.79
$30.79
32% off
$20.79
$30.79
32% off
$20.79
$30.79
32% off
$20.79
$30.79
32% off
$20.79
$30.79
32% off
$20.79
$30.79
32% off
$20.79
$30.79
32% off
$20.79
$30.79
32% off
$20.79
$30.79
32% off
$20.79
$30.79
32% off
$20.79
$30.79
32% off
$20.79
$30.79
32% off
$20.79
$30.79
32% off
$20.79
$30.79
32% off
$20.79
$30.79
32% off
$20.79
$30.79
32% off
$20.79
$30.79
32% off
$20.79
$30.79
32% off
$20.79
$30.79
32% off
$20.79
$30.79
32% off
$20.79
$30.79
32% off
$20.79
$30.79
32% off
$20.79
$30.79
32% off
$20.79
$30.79
32% off
$20.79
$30.79
32% off
$20.79
$30.79
32% off
$20.79
$30.79
32% off
$20.79
$30.79
32% off
$20.79
$30.79
32% off
$20.79
$30.79
32% off
$20.79
$30.79
32% off
$20.79
$30.79
32% off
$20.79
$30.79
32% off
$20.79
$30.79
32% off
$20.79
$30.79
32% off
$20.79
$30.79
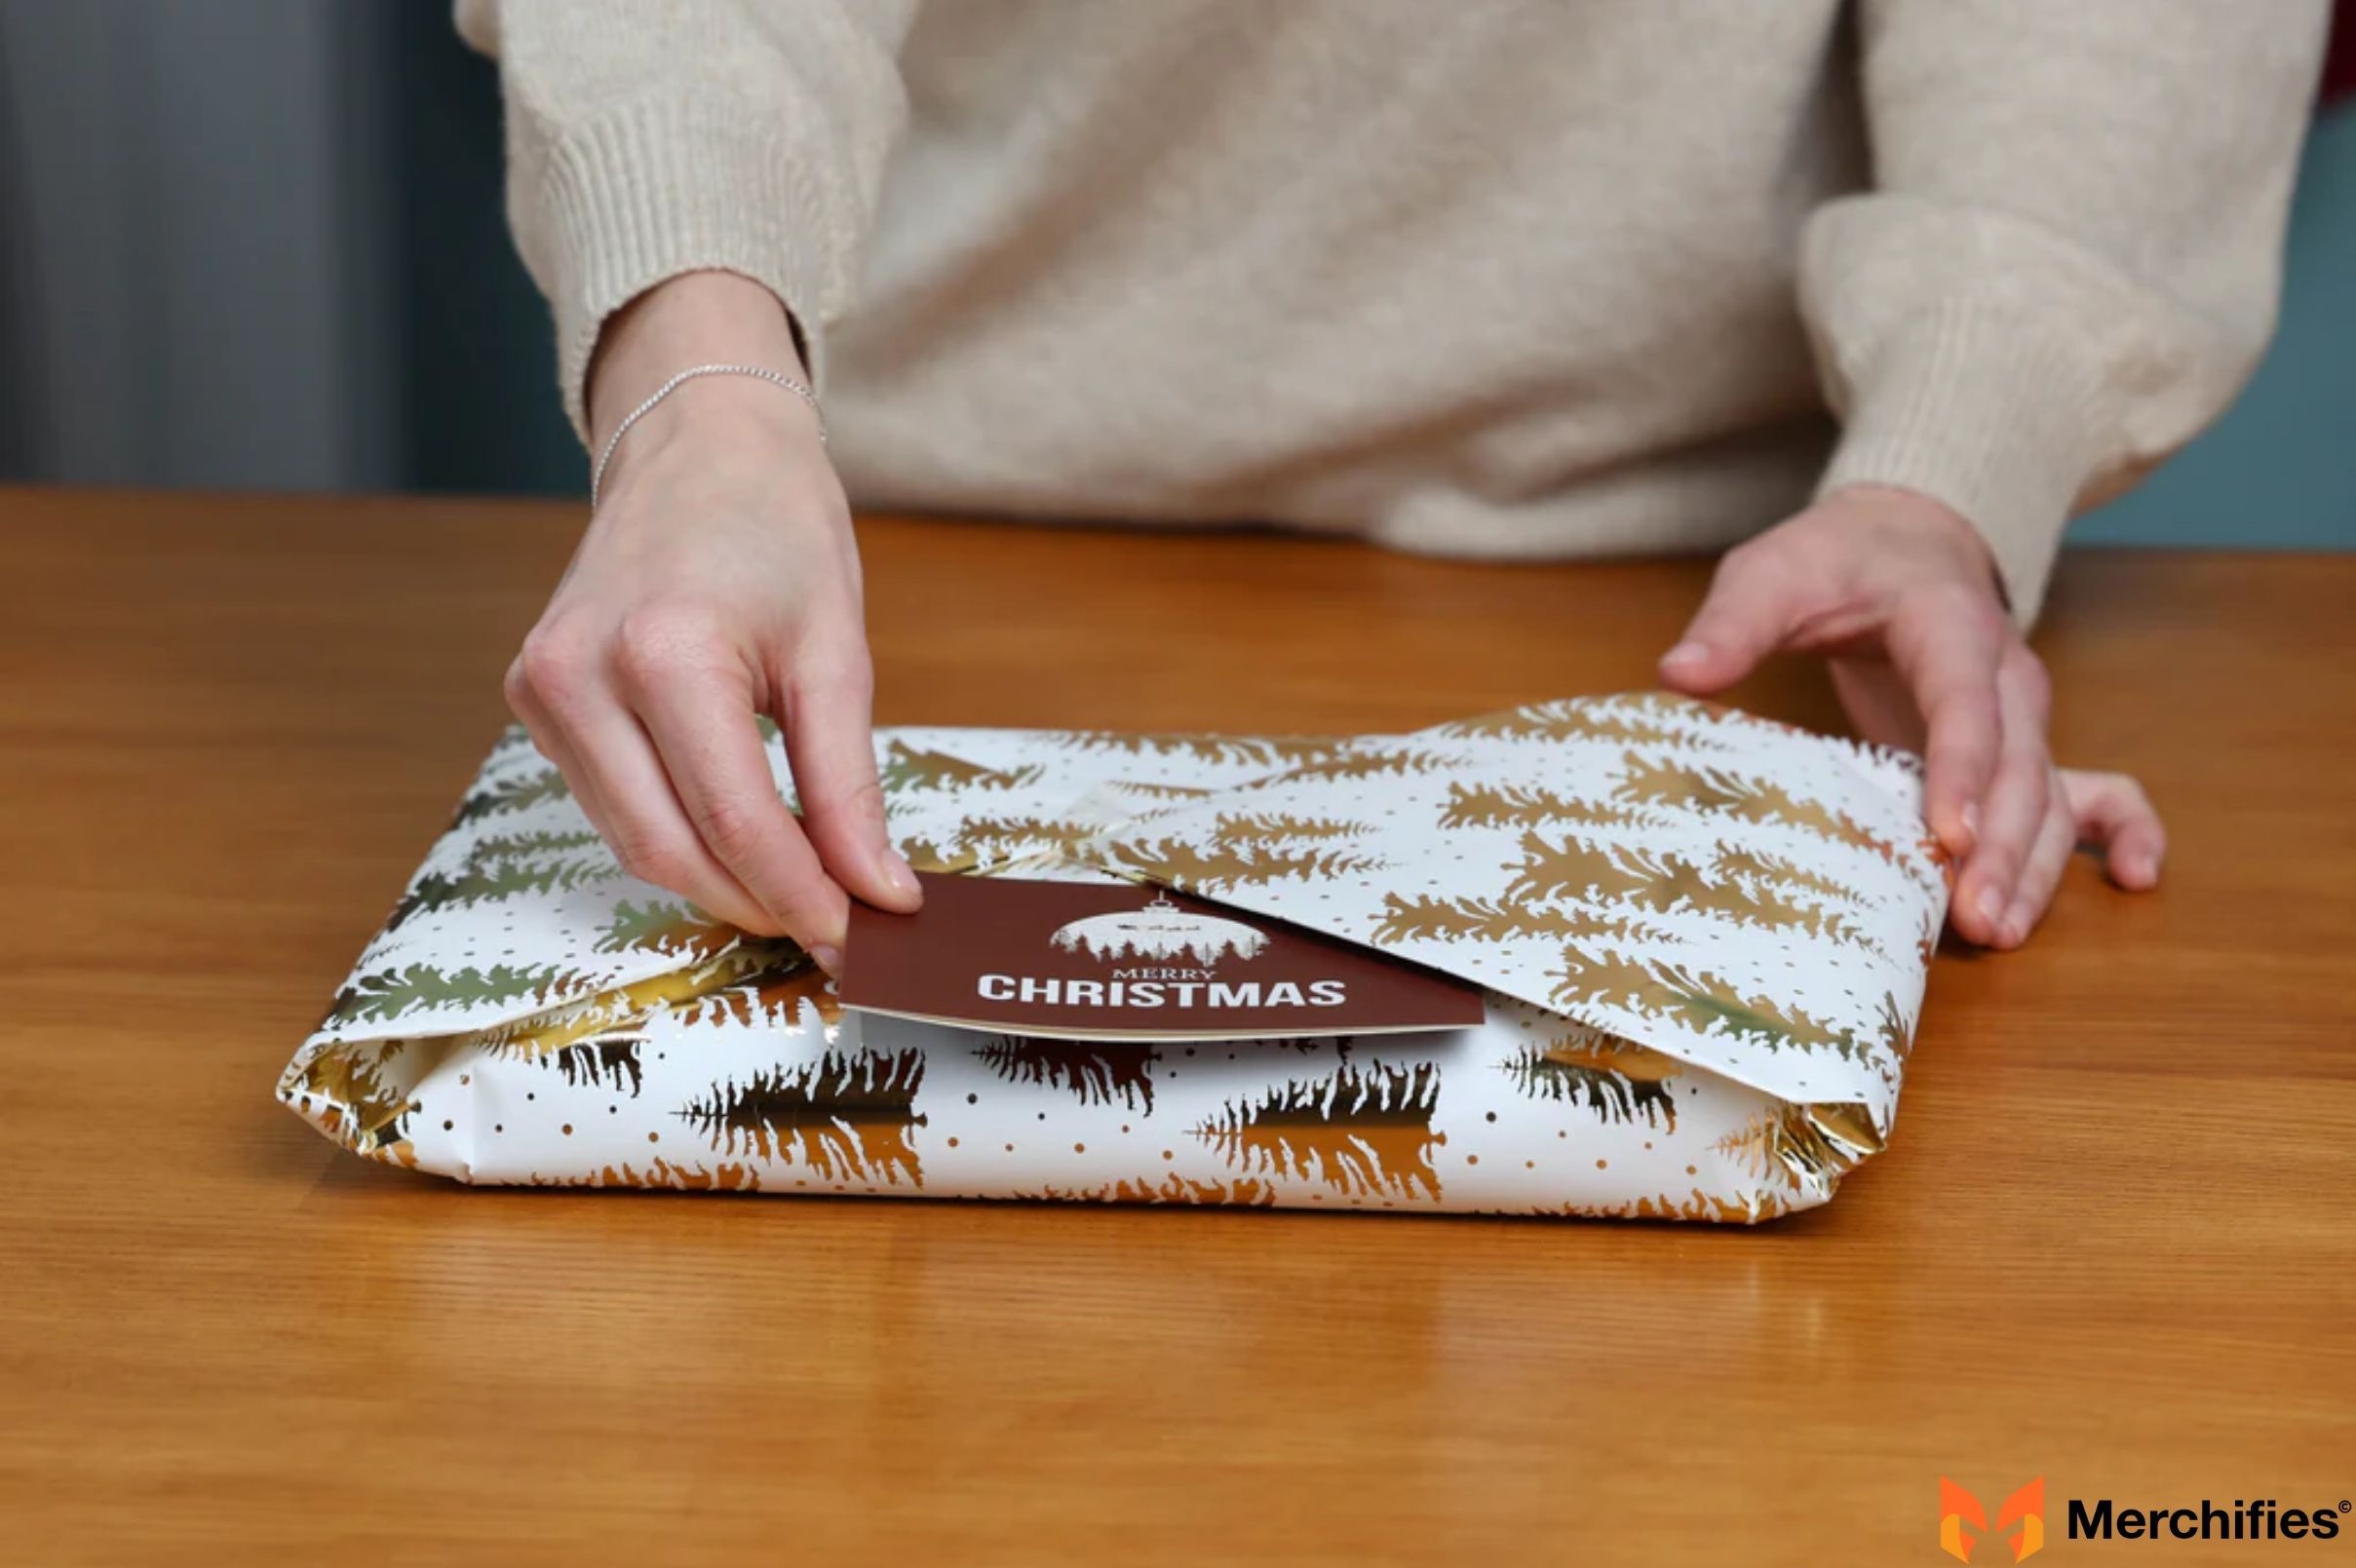
32% offAchieving that high-quality, "pro" look isn't just about the method; it's about the details.
Beyond the wrap itself, thoughtful embellishments transform a generic gift into something truly special.
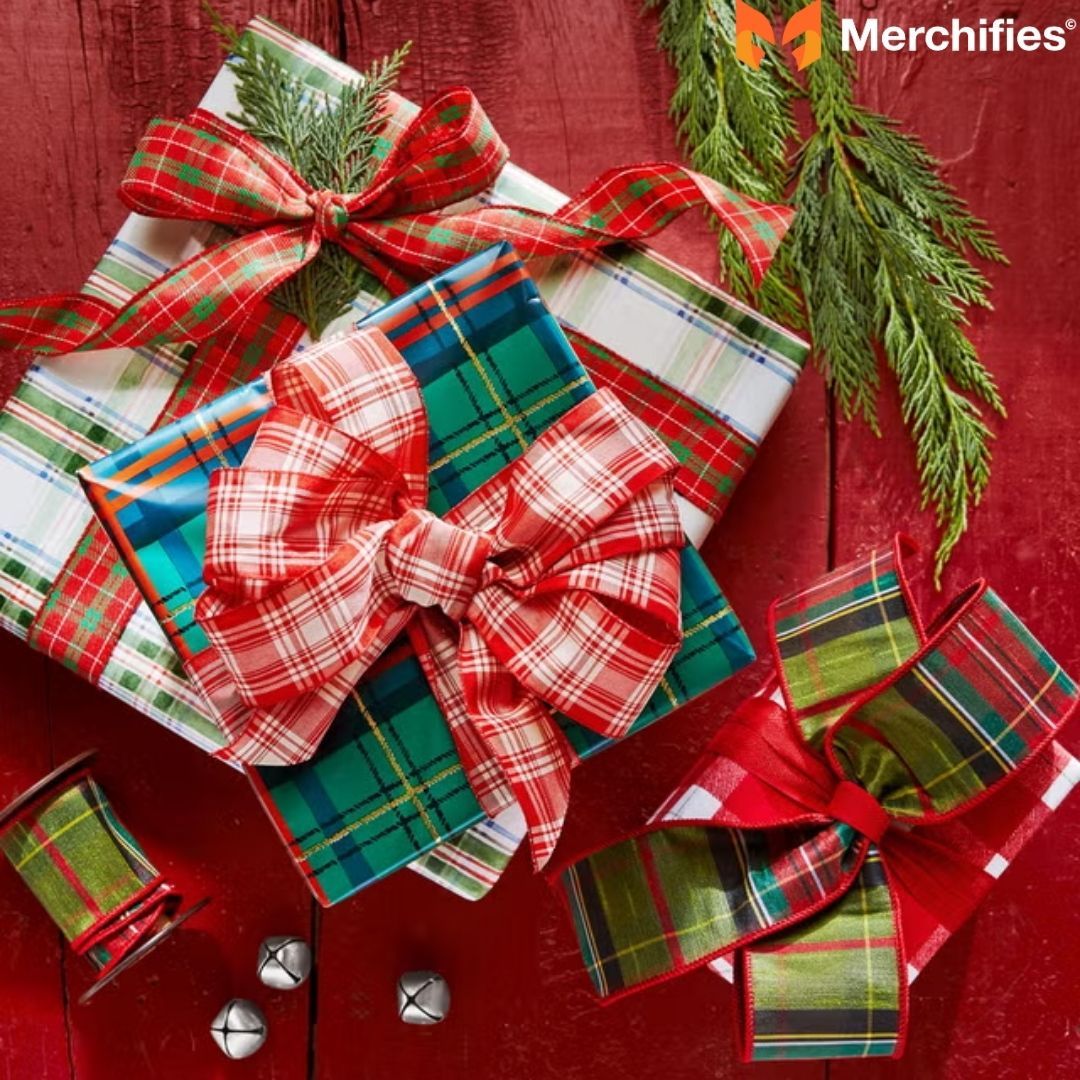
Ribbons & Bows: From Simple to Elaborate

Even with the best intentions, challenges can arise. Here's how to tackle them.
Direct Answer: To avoid wrinkles, always iron the shirt before folding. Fold it neatly and compactly, ensuring all creases are sharp. Use tissue paper around the shirt in a box or as padding in a flat wrap to prevent it from shifting. Transport the gift carefully, avoiding heavy objects on top.
Direct Answer: For awkward shapes, focus on folding the shirt into the most compact, rectangular shape possible. If paper wrapping is still difficult, consider a sturdy gift bag with plenty of tissue paper, or even investing in a custom-sized gift box. The Furoshiki fabric wrap is also excellent for non-traditional shapes.
Direct Answer: If your wrapping paper is too small or you've run out, you can combine two pieces of paper by taping them together neatly (hide the seam on the underside of the gift). Alternatively, switch to a fabric wrap (Furoshiki) or use a decorative gift bag.

Mastering how to gift wrap a shirt is a skill that truly enhances the joy of giving. We've explored various methods, from the structured ease of a gift box to creative, box-free alternatives, ensuring you have a solution for every situation. Remember, the journey from a simple garment to a beautifully presented gift is all about precision, a dash of creativity, and a little bit of care.
As Mason Ellis Grant consistently emphasizes, a thoughtful presentation elevates any gift, turning an ordinary item into a memorable gesture. So go ahead, gather your supplies, try out these techniques, and unleash your inner gift-wrapping artist. Your perfectly wrapped gift, brimming with thoughtfulness and style, is now ready to impress! Which method will you try first? Share your favorite tips in the comments below!
-d4c38c342cdf20ca.jpeg)


-b555fcc6b204c456.jpeg)


