How to Put Lights on a Tree Outside: The Ultimate Guide for a Dazzling Display
This guide shows you exactly how to put lights on an outdoor tree—whether it’s a tall pine, a small front-yard tree, or a bare-branched tree. You’ll learn what lights to choose, how to hang them safely, how to get even coverage, and pro tips for creating a bright, magical outdoor display.
Blog Post Contents
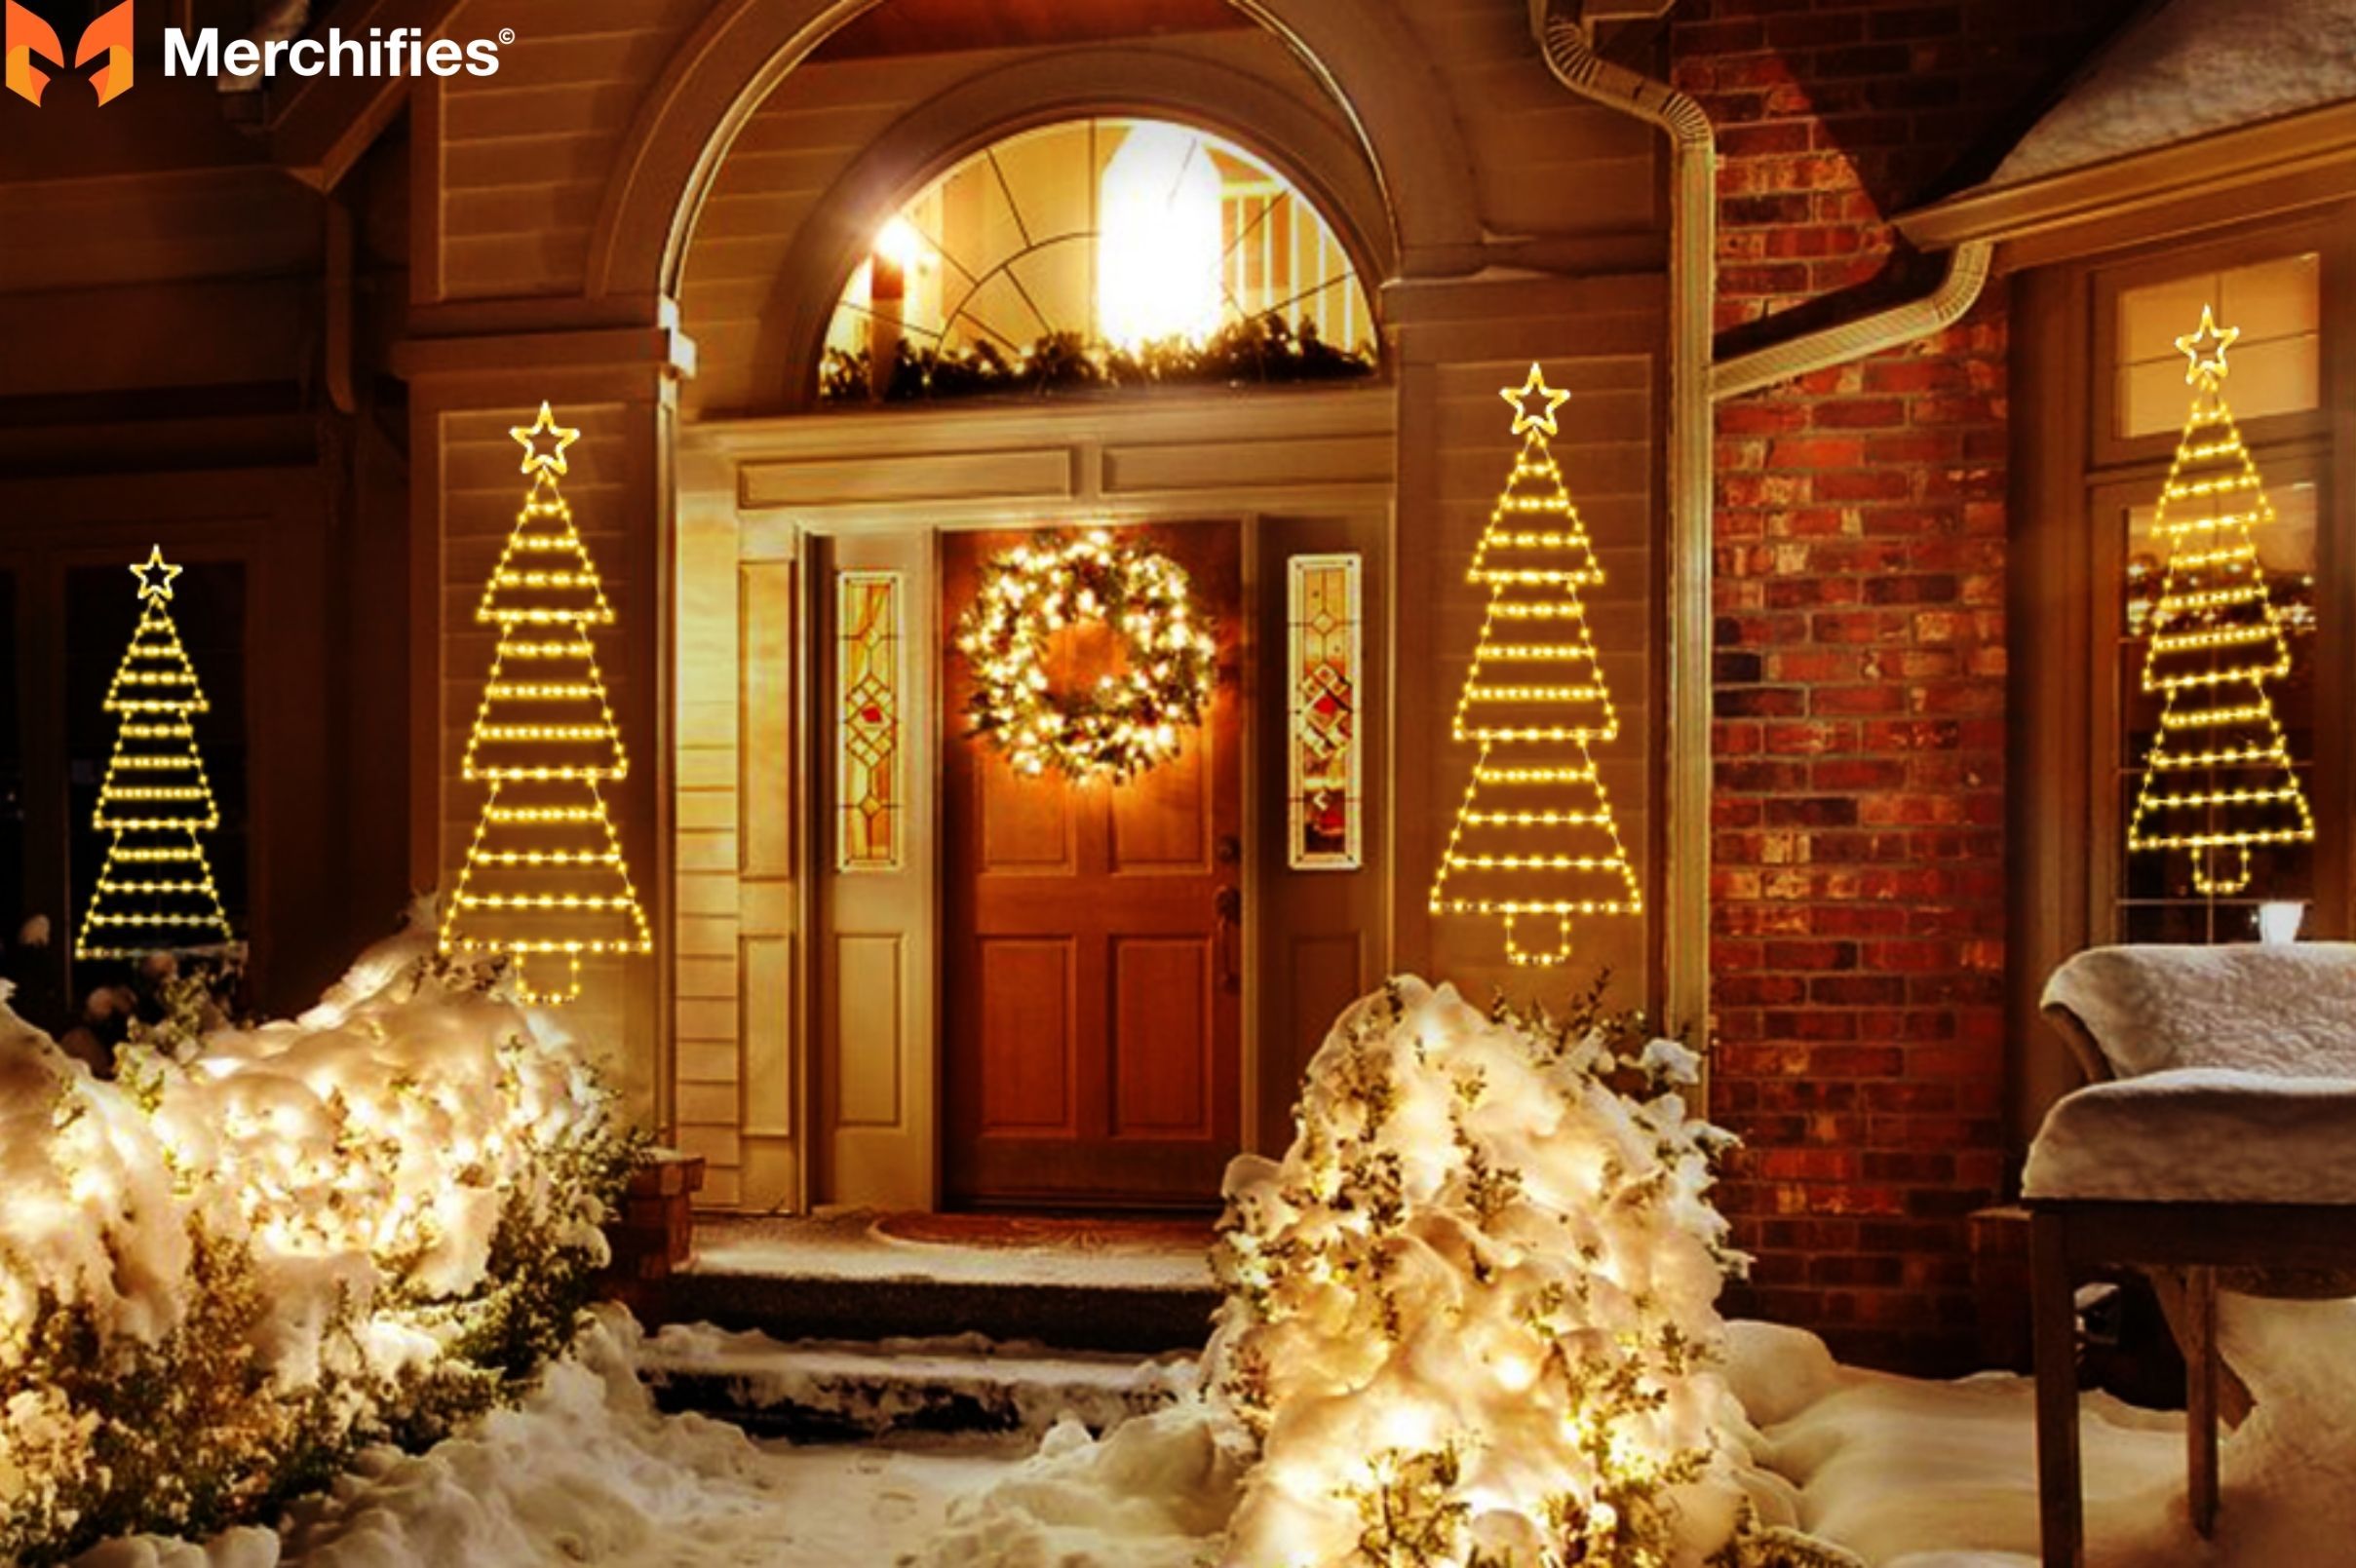
There's an undeniable magic that illuminated outdoor trees bring to any property. Whether you're aiming for a festive holiday wonderland, a year-round enchanting ambiance, or simply to enhance your home's curb appeal, learning how to put lights on a tree outside can truly transform your garden and create unforgettable memories. This isn't just about stringing up some lights; it's about blending safety, artistry, and practicality for a stunning result.
In this comprehensive guide, we'll walk you through every step of the process. You'll learn essential safety precautions, how to plan your lighting project effectively, the tools and materials you'll need, and various wrapping techniques tailored for different tree types. We’ll also share advanced aesthetic tips to achieve a professional, dazzling display that will make your outdoor space shine. As renowned outdoor lighting expert Mason Ellis Grant shares, "Understanding the nuances of outdoor tree lighting not only ensures a beautiful outcome but also prioritizes the safety and longevity of your display." Get ready to illuminate your outdoors with confidence!
Why Light Your Outdoor Trees?
Beyond the obvious aesthetic appeal, there are several compelling reasons to consider lighting your outdoor trees:
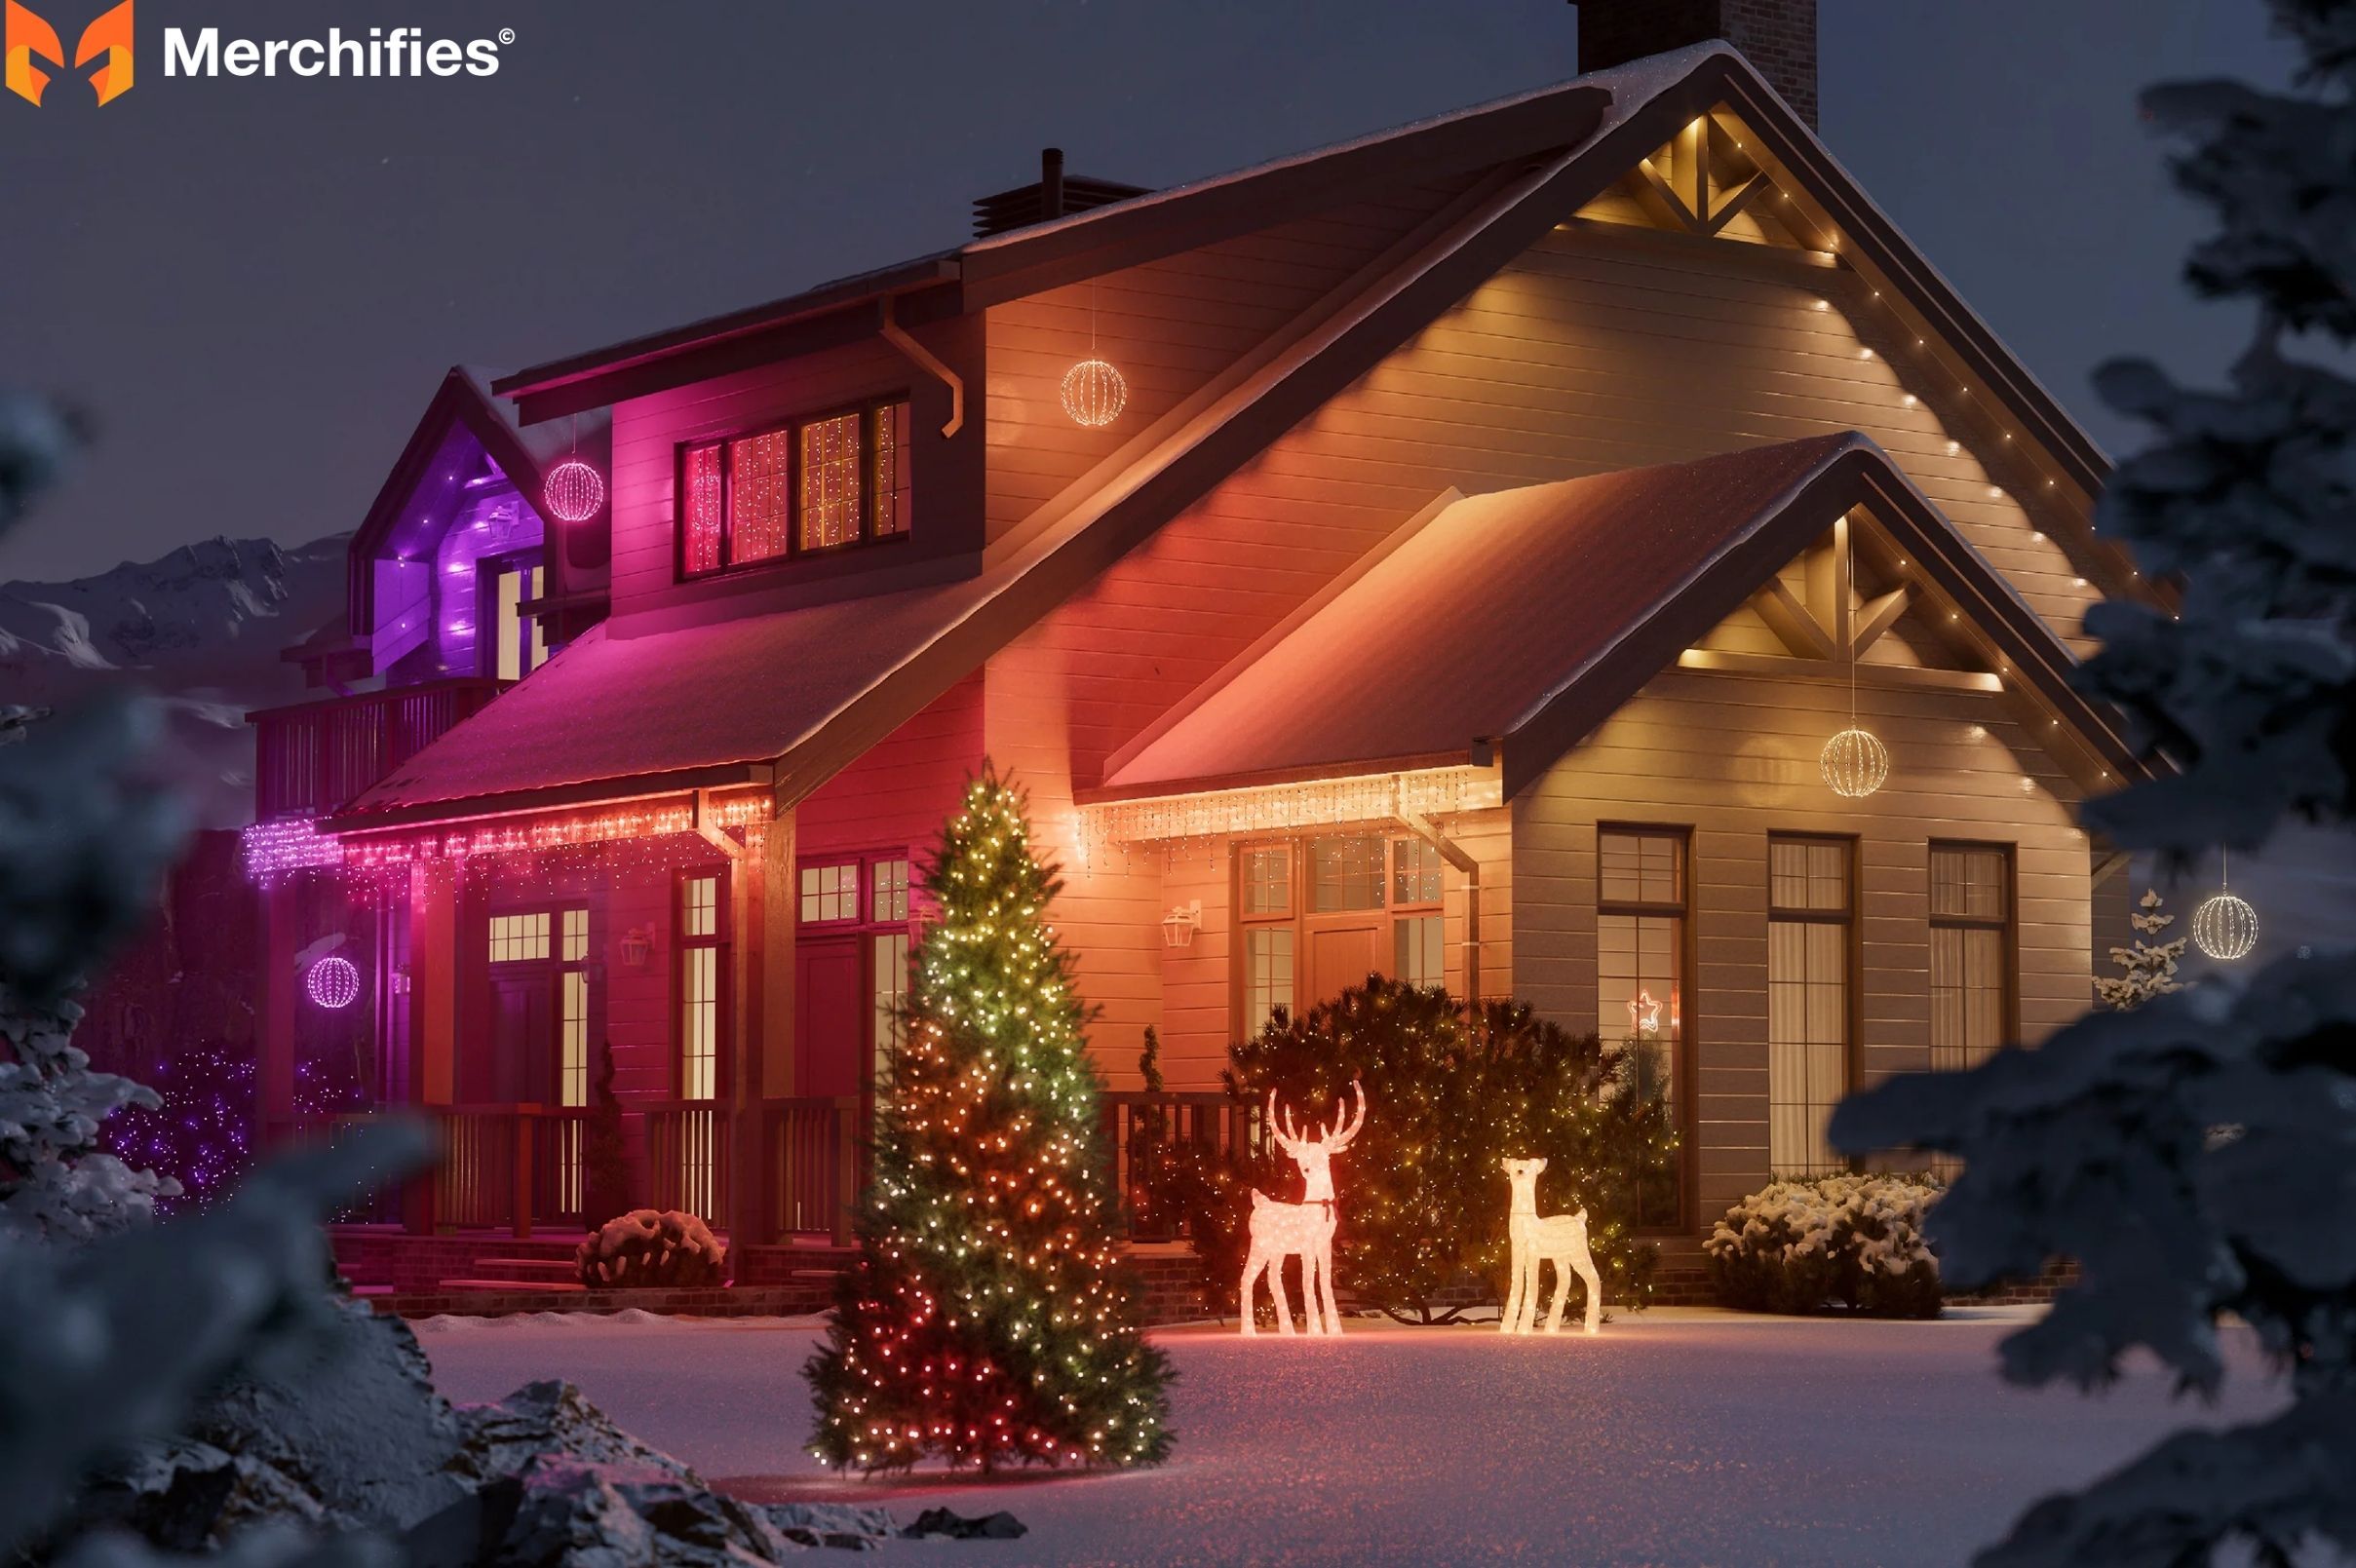
Enhance curb appeal and property value: A well-lit exterior instantly makes your home more inviting and can even increase its perceived value.
Create a festive atmosphere for holidays: Christmas lights are just the beginning! Tree lights can celebrate any season or occasion.
Add enchanting ambiance for special events or everyday enjoyment: Transform your backyard into a magical retreat for parties or quiet evenings.
Highlight unique landscape features or architectural elements: Draw attention to the natural beauty of your trees or complement your home's design.
Safety First: Essential Precautions for Outdoor Tree Lighting
When considering how to put lights on a christmas tree, safety must always be your top priority. Working with electricity outdoors, especially at height, carries inherent risks.
Safety First Essential Precautions for Outdoor Tree Lighting
Use Outdoor-Rated Lights & Cords
Always ensure all your string lights and extension cords are explicitly labeled for outdoor use and are UL-certified. This certification means they've been tested for resistance to moisture, temperature fluctuations, and UV exposure. Using indoor lights outside is a serious fire and shock hazard.
Ground Fault Circuit Interrupter (GFCI)
A Ground Fault Circuit Interrupter (GFCI) outlet is absolutely critical for any outdoor electrical setup. If there's a fault or short circuit, the GFCI will quickly cut power, preventing serious electrical shocks. If your outdoor outlets aren't GFCI-protected, use a portable GFCI adapter.
Ladder Safety
Proper ladder usage is non-negotiable. Select a ladder that’s tall enough to comfortably reach your highest points without over-reaching. Ensure it's placed on firm, level ground, and always follow the "three points of contact" rule (two hands and one foot, or two feet and one hand on the ladder at all times). Have someone spot you if possible.
Understand Electrical Load
Avoid overloading electrical circuits. Check the wattage limits for your lights and extension cords, and never exceed them. A general rule for outdoor circuits is to keep the total wattage below 1500 watts. Too many lights on one circuit can trip breakers or, worse, cause a fire.
Inspect Lights & Cords
Before installation, meticulously inspect every strand of lights and every extension cord. Look for frayed wires, cracked insulation, broken sockets, or damaged plugs. Any compromised equipment should be replaced immediately, not used.
Clear Work Area
Ensure the area around the tree is clear of debris, tools, and tripping hazards. A stable, clutter-free workspace reduces the risk of falls and accidents.
Planning Your Outdoor Tree Lighting Project
A well-planned project is a successful project. Before you even touch a light strand, take the time to assess your tree and envision your desired outcome.
Planning Your Outdoor Tree Lighting Project
Assess Your Tree
Understanding your tree's characteristics is fundamental for deciding how to put lights on a tree outside most effectively.
Tree Type: Is it a deciduous tree (sheds leaves in winter, revealing bare branches) or a coniferous tree (evergreen, dense foliage year-round)? This dictates your wrapping strategy.
Size & Height: The height and canopy spread will determine how many lights you need and the type of ladder required. Measure both accurately.
Branch Structure: Observe how the branches grow. Are they dense and interwoven, or sparse and open? This informs where you'll place and secure your lights.
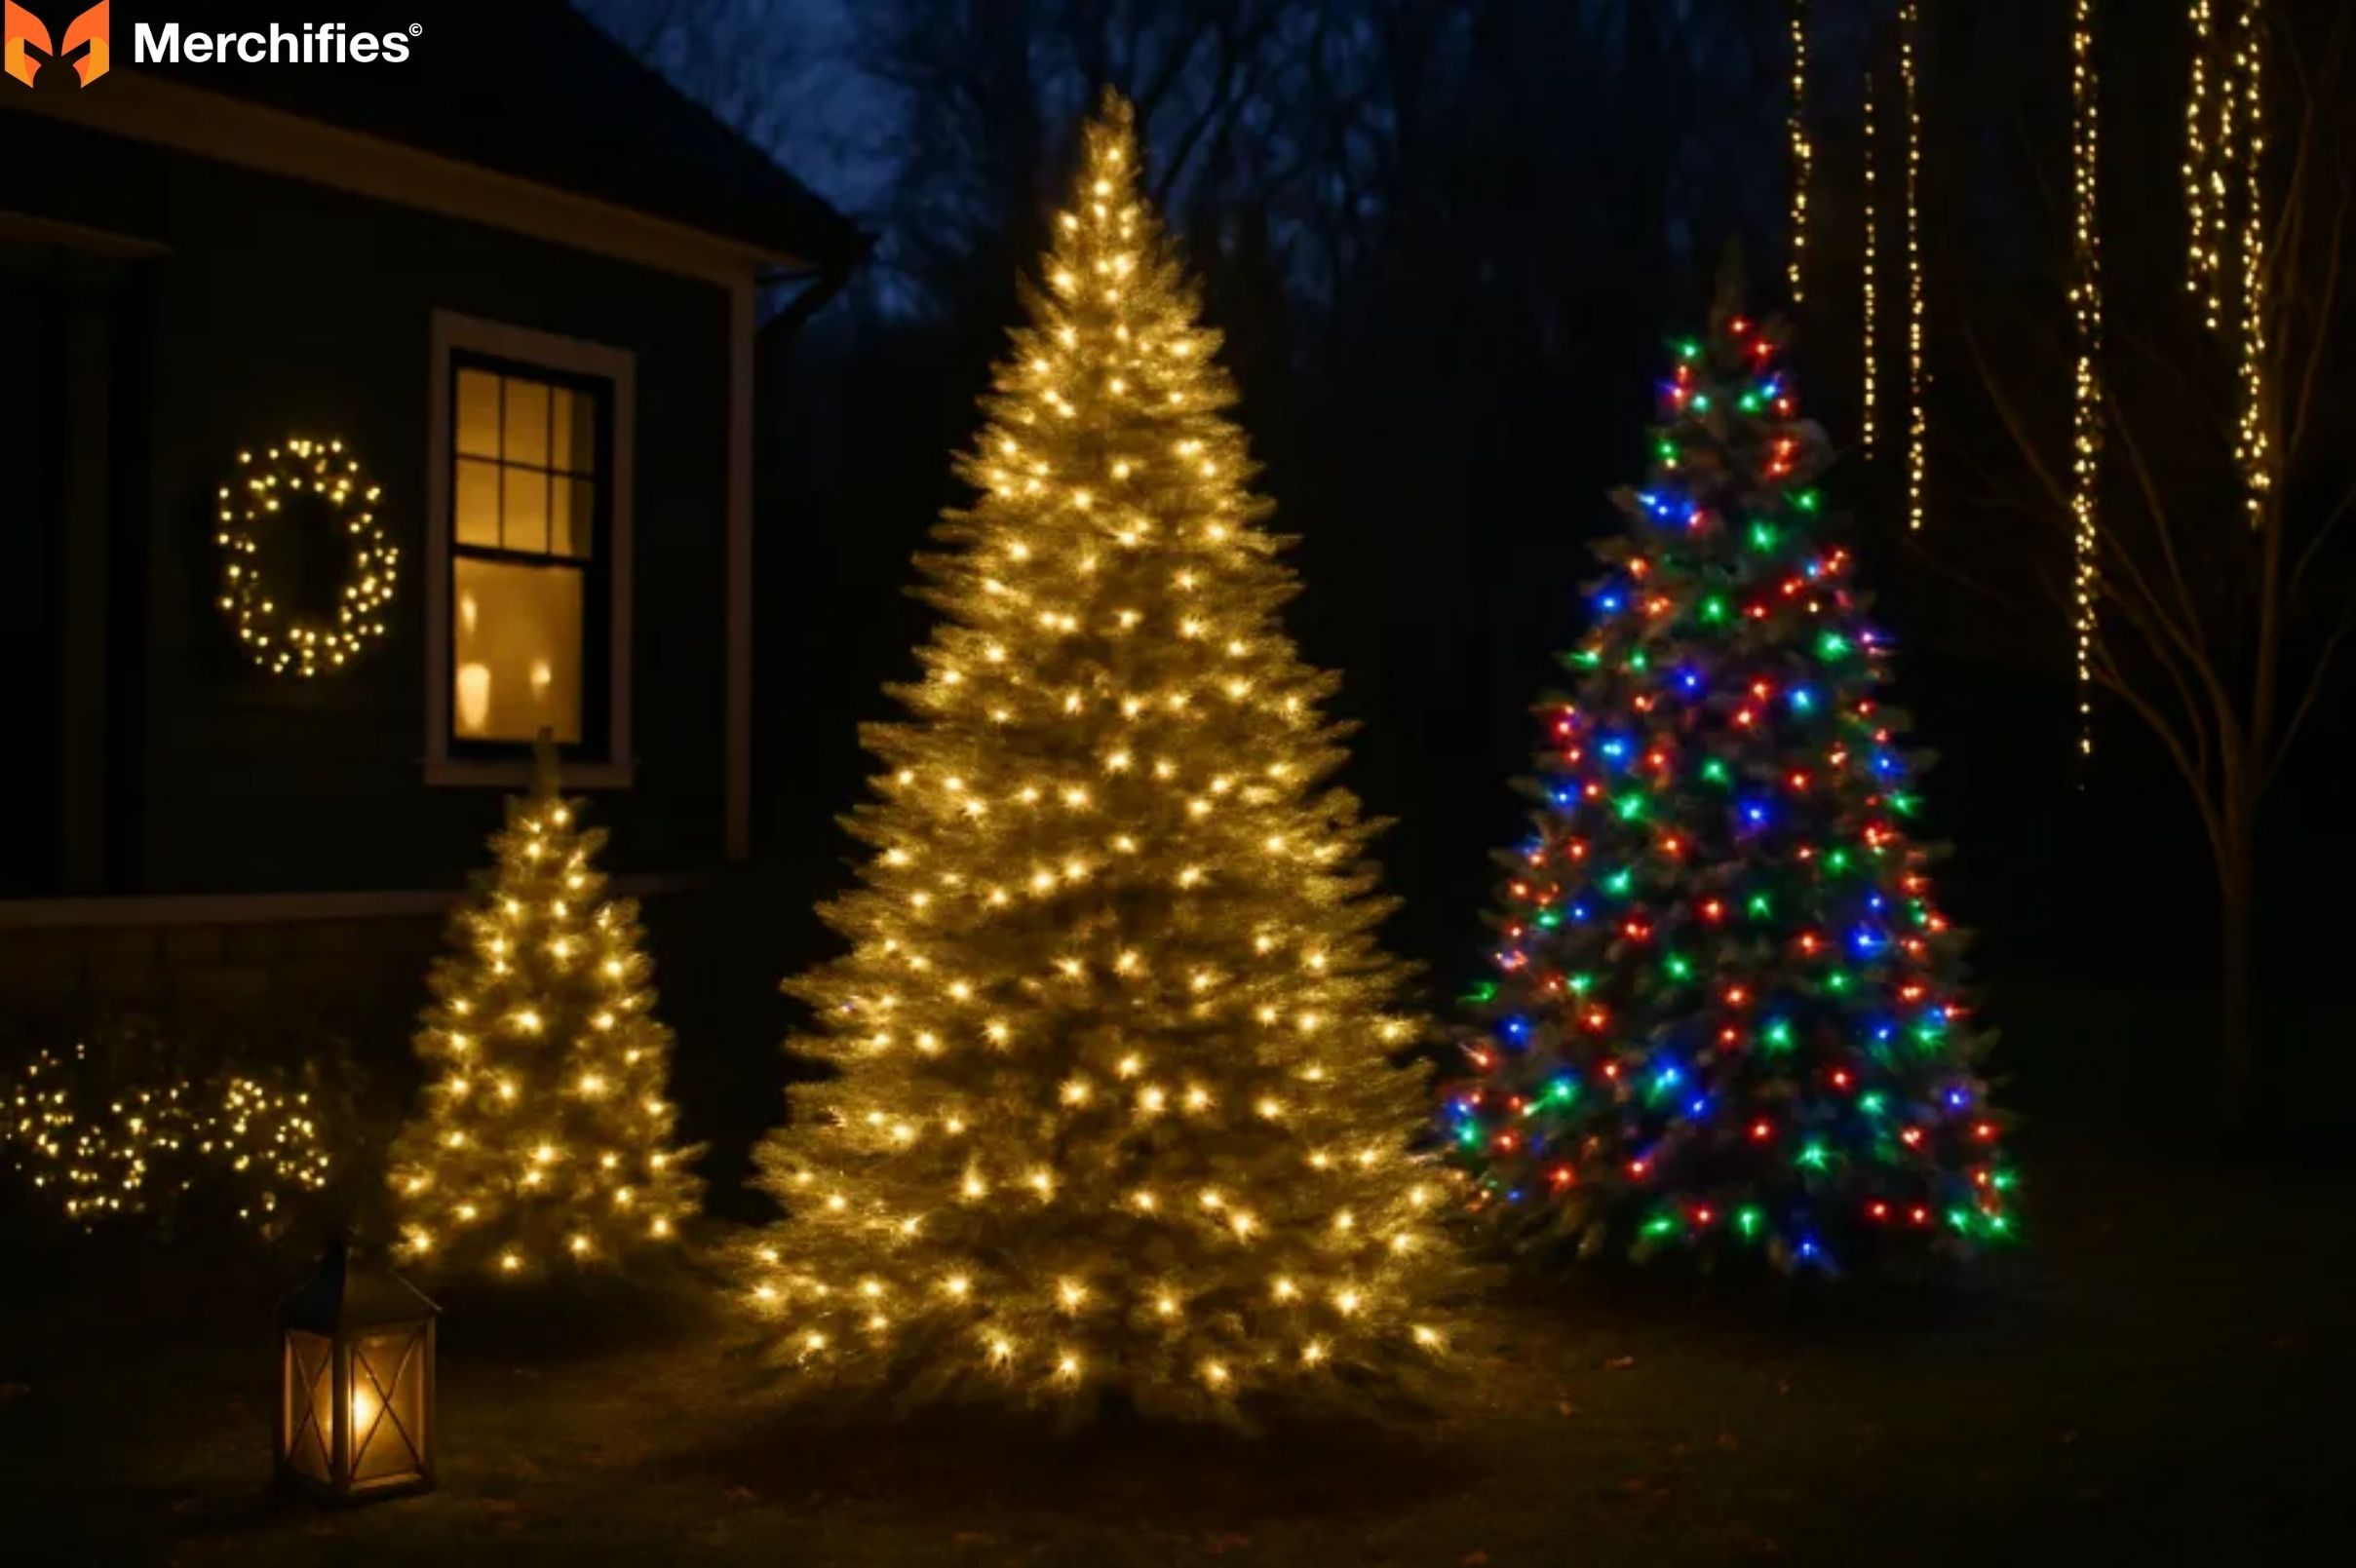
Choose Your Light Style
The style of lights sets the tone for your display.
Bulb Type:
C7/C9: These are the larger, traditional "Christmas lights" often seen on houses and big trees, offering a classic, bold glow.
Mini lights/Fairy lights: Smaller, more delicate bulbs that create a subtle shimmer and are great for intricate wrapping or adding sparkle.
Netted lights: Pre-arranged into a net shape, these are fantastic for quickly covering dense shrubs or smaller, uniform evergreen trees
Technology:
LED (Light Emitting Diode): Energy-efficient, long-lasting, durable, and generally safer (cooler to the touch). They come in a wide range of colors.
Incandescent: Offer a warmer, traditional glow but consume more energy, have a shorter lifespan, and can get hot.
Color & Effect: Decide on warm white (yellowish), cool white (bluish), or multi-color. Consider steady illumination versus twinkle, cascade, or color-changing effects.
Choose Your Light Style For Chirstmas Tree
Determine Light Quantity
Estimating light quantity prevents running out mid-project. For a dense, festive look, a good rule of thumb is approximately 100 mini-lights per vertical foot of tree, or 100 lights per 1.5-foot span of branch you intend to wrap. For larger C7/C9 bulbs, you might use 50 lights per vertical foot. Always buy extra strands!
Power Source & Extension Cords
Plan the safest and shortest route from your outdoor GFCI outlets to the tree. Ensure all extension cords are heavy-duty, outdoor-rated, and capable of handling the cumulative wattage of your lights. Burying cords shallowly or securing them along pathways can prevent tripping hazards.
Envision Your Design
Visualize the finished product. Do you want to wrap the entire trunk and every major branch? Just the trunk? Or create a "curtain" of lights from the canopy? A clear vision makes the installation much smoother.
Essential Tools & Materials Checklist
Having everything ready before you start will save time and frustration.
Outdoor-rated string lights (pre-tested!)
Outdoor-rated extension cords (GFCI compatible)
Ladder (appropriate height and stability for your tree)
Zip ties, plastic light clips, or plant-friendly twine/tape (e.g., gardening velcro) for securing lights
Measuring tape
Work gloves
Headlamp or flashlight (if working at dusk)
Light tester (optional, but highly recommended for troubleshooting)
Scissors or wire cutters
Bucket or container to hold lights and tools
Essential Tools & Materials Checklist For Chirstmas Tree Outdoor
Step-by-Step Guide: How to Put Lights on a Tree Outside
With planning complete and tools ready, it's time to begin the actual installation. This guide will help you understand how to put lights on a tree outside efficiently and beautifully.
A. Pre-Installation Preparation
Taking these initial steps seriously will prevent many common headaches.
Test All Light Strands: This cannot be stressed enough. Plug in every single strand of lights to ensure they work before you climb the ladder or begin wrapping. Replace any faulty bulbs or entire strands now. It's far easier than discovering a dead section after half the tree is lit.
Untangle & Coil Neatly: Take the time to untangle all your light strands. Roll them into a manageable ball or a neat coil. This prevents maddening tangles and snagging during installation, especially when you're up a ladder.
Layout Extension Cords: Position your heavy-duty, outdoor-rated extension cords from your GFCI power source to the base of the tree. Secure them along pathways or edges with landscape staples or heavy objects to avoid tripping hazards.
B. Lighting the Tree Trunk
The trunk often forms the backbone of your display and provides a continuous glow from the base upwards.
Starting Point: Begin wrapping your lights at the base of the tree trunk, ideally closest to your power source. This minimizes visible cords.
Wrapping Technique: Wrap the lights tightly and evenly upwards in a consistent spiral. The goal is to create a seamless, illuminated column.
Spacing: Maintain uniform spacing between each wrap, typically 2-4 inches apart. A good trick is to use the width of four fingers as your guide for consistent gaps.
Securing: For rough bark, the lights often stay in place on their own. For smoother trunks or areas prone to wind, use discreet plastic light clips or plant-friendly ties (like gardening velcro) to hold strands in place. Ensure they are not too tight, which could damage the bark.
Step-by-Step Guide How to Put Lights on a Tree Outside
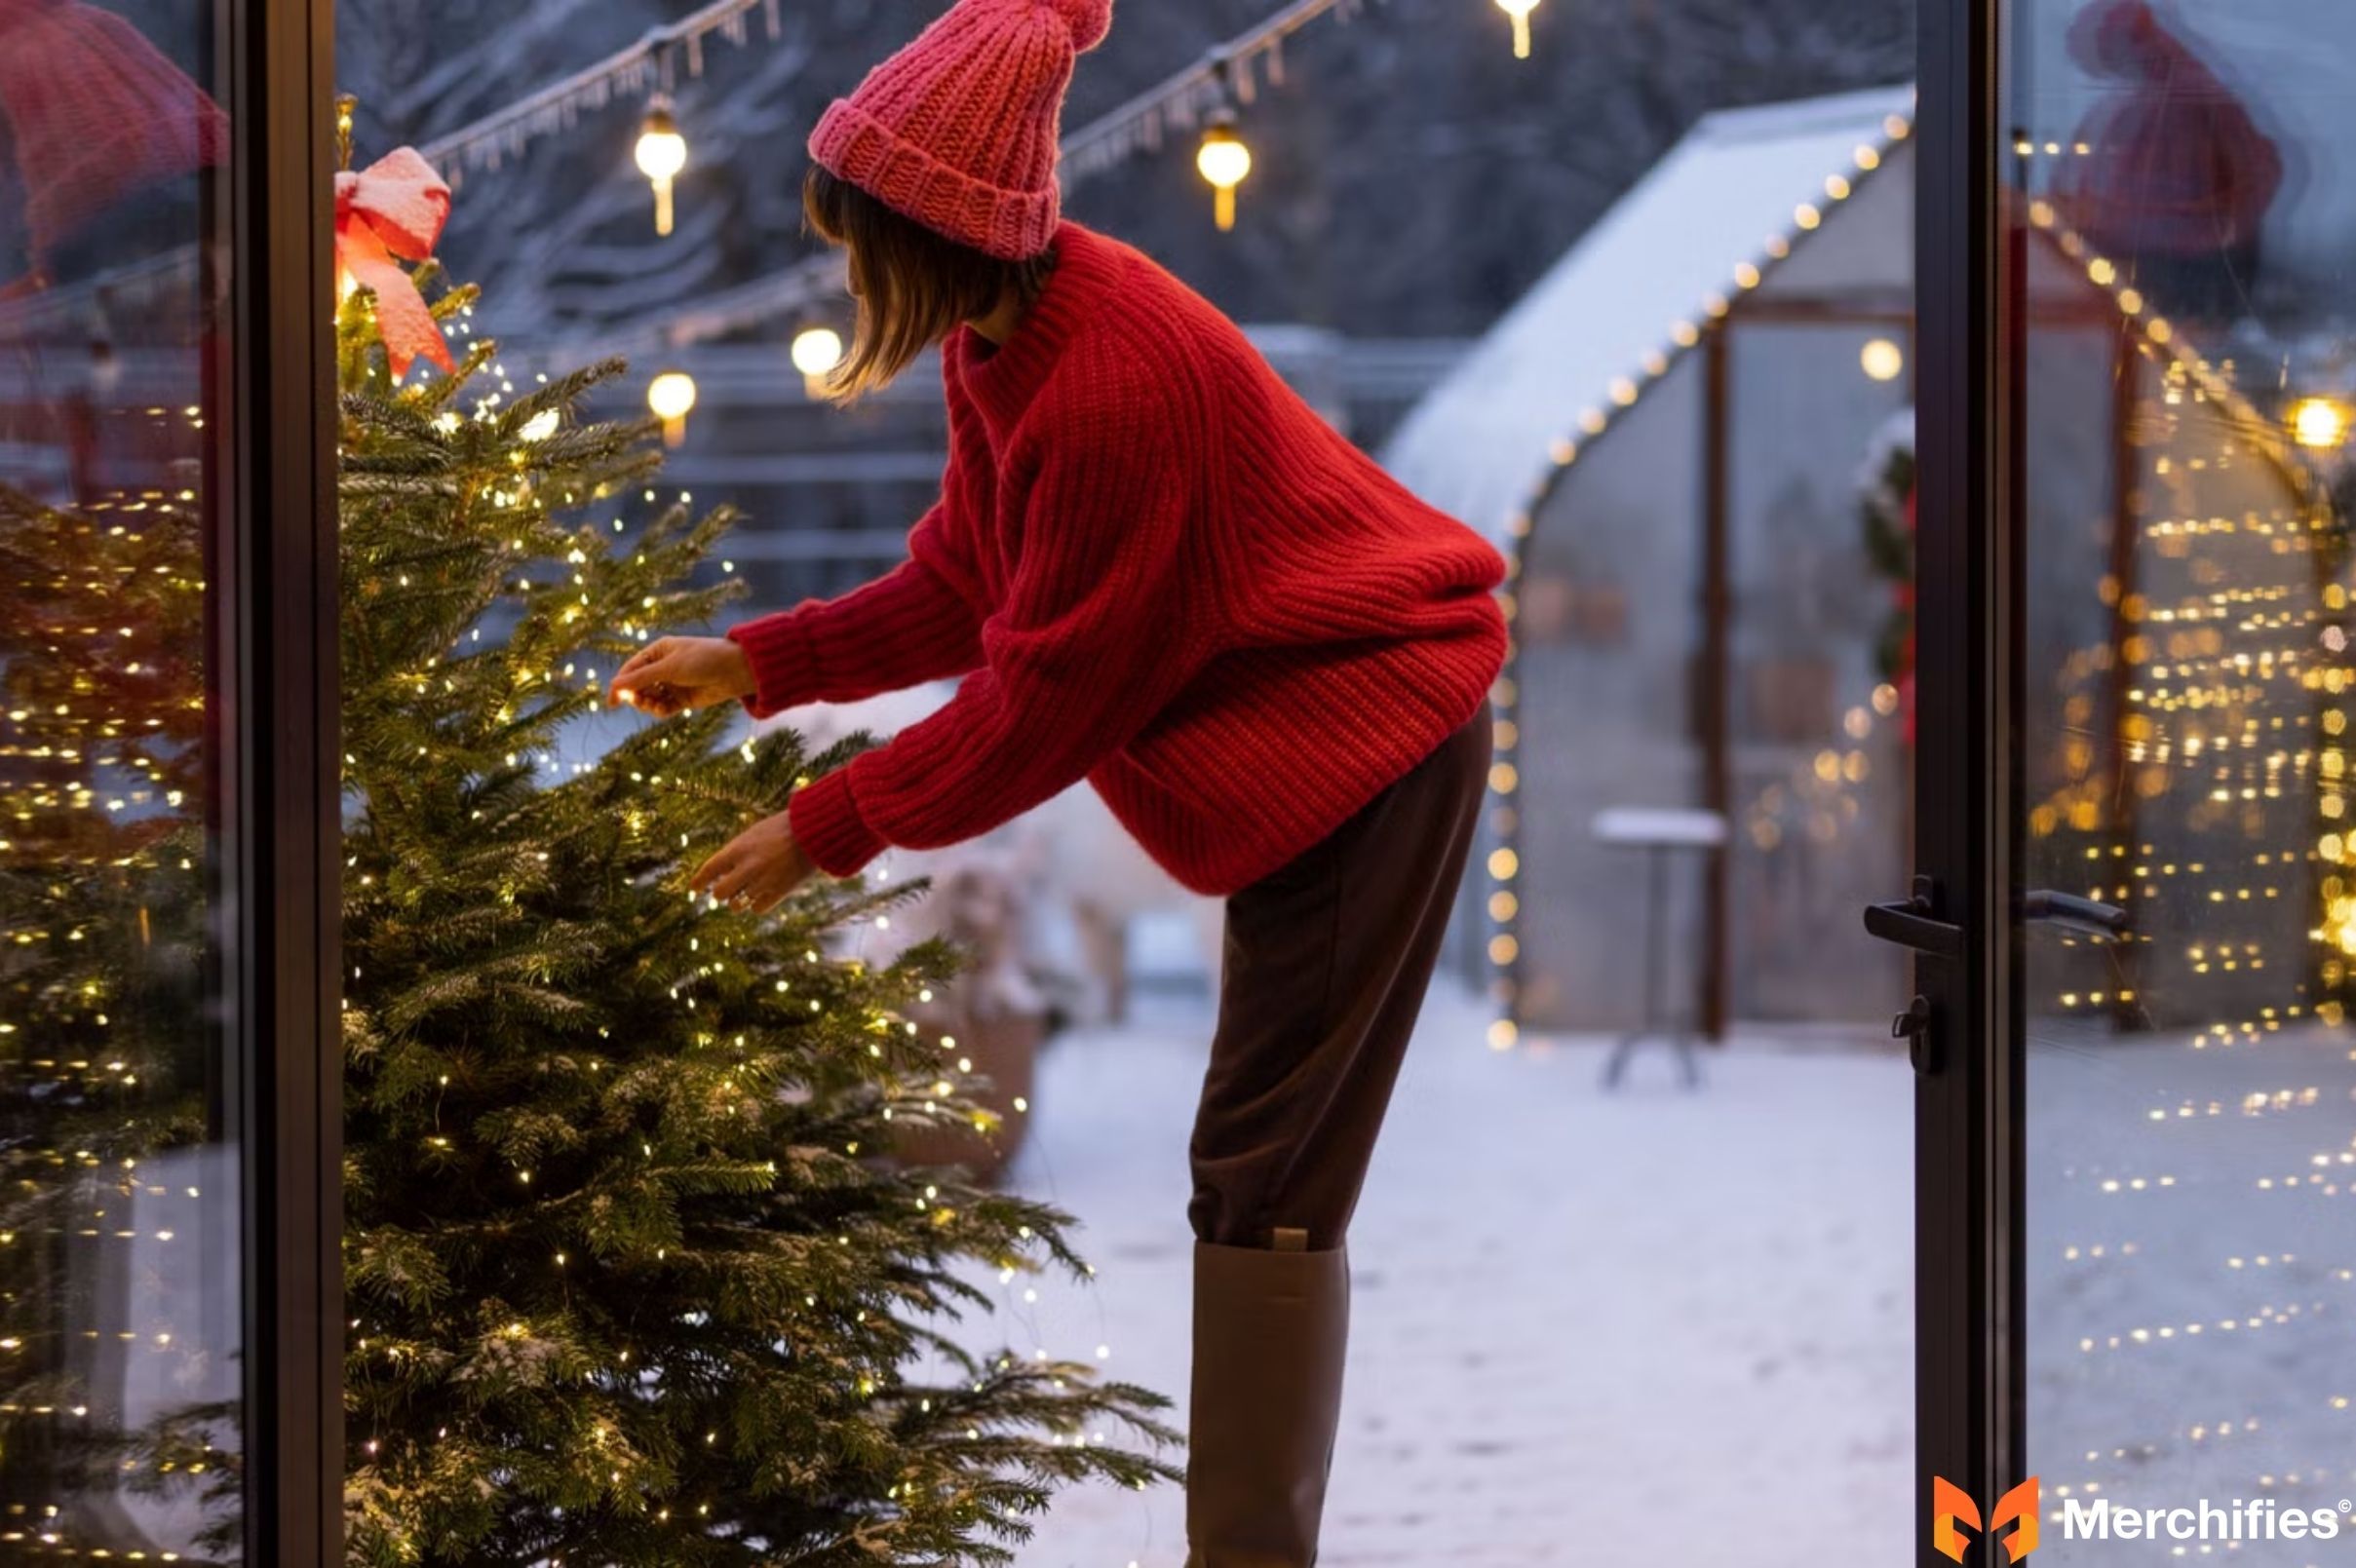
C. Lighting the Branches (Tailored Techniques)
This is where the artistry of how to put lights on a tree outside truly comes into play, adapting to your tree's unique structure. According to Mason Ellis Grant, "The key to a truly magical outdoor tree display lies in understanding and respecting the natural form of the tree you're lighting. Different branch structures demand different approaches."
For Deciduous Trees (Bare Branches):
When lighting deciduous trees that shed their leaves, the lights themselves become the focal point, outlining the tree's skeletal beauty.
Spiral Branch Wrap: Continue the spiral pattern from the trunk onto larger, accessible branches, working your way outward towards the tips. This creates a fully lit, sculptural effect.
Individual Branch Tip Wrapping: For a delicate, "firefly" or "starburst" effect, loop lights specifically around the ends of smaller branches and twigs. This adds depth and sparkle.
Weaving Technique: Run lights along the tops of branches, weaving them through the branch structure. This highlights the tree's form without completely encasing every branch.
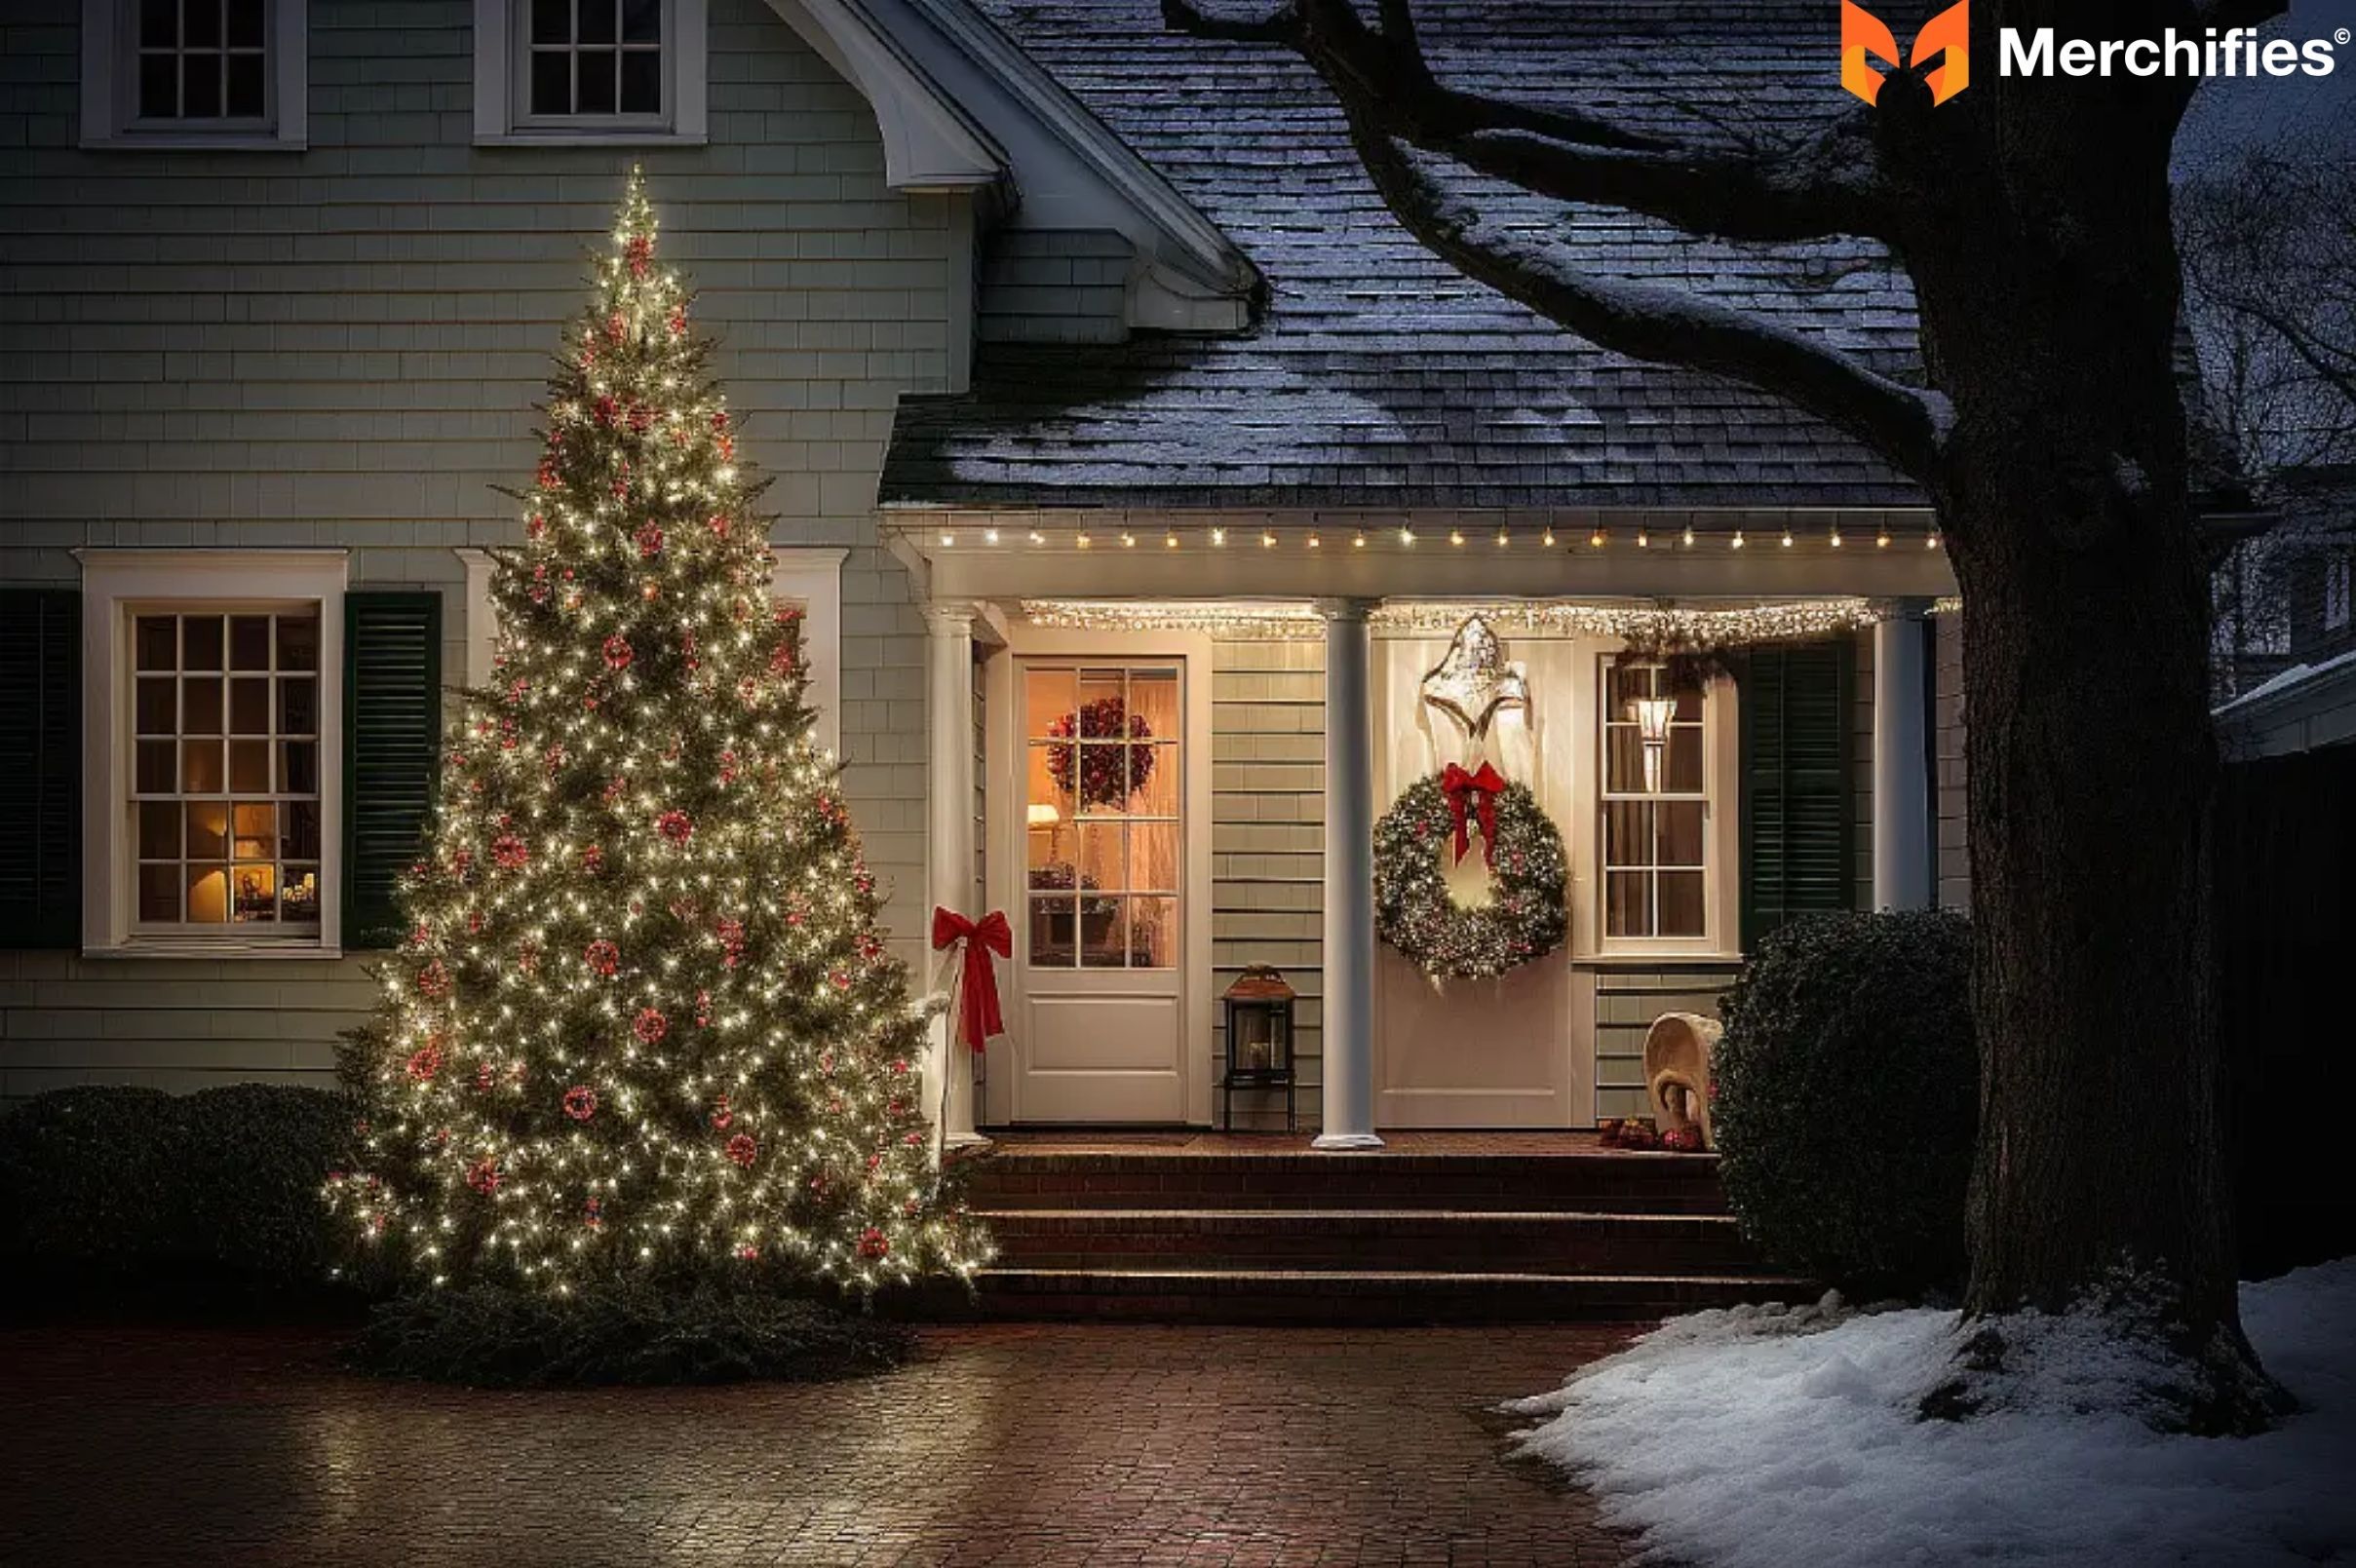
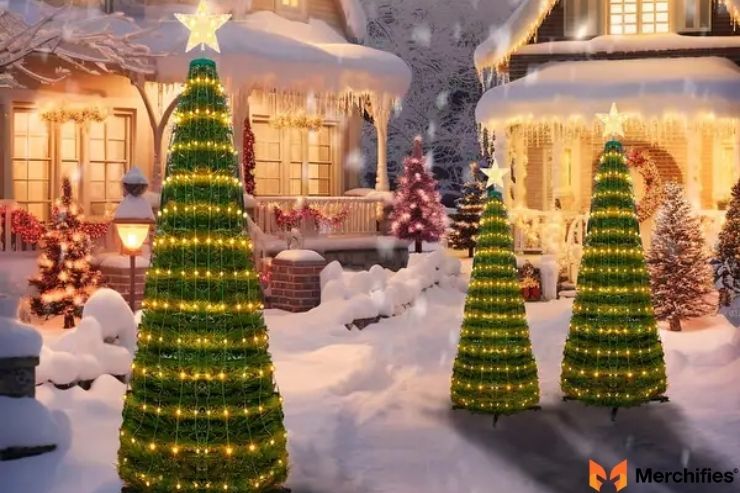
For Coniferous/Dense Foliage Trees:
Evergreens require a different strategy due to their dense needles and foliage.
Exterior Wrap: Wrap lights around the outside perimeter of the tree, allowing them to rest on the dense foliage. This creates a solid, glowing silhouette.
Vertical Strands: For a sophisticated look, drape lights vertically from the top of the tree to the bottom, securing them at various points within the foliage to keep them taut and evenly spaced.
Net Lights: For smaller, more uniformly shaped dense evergreens or shrubs, net lights are a quick and effective solution. Simply drape them over the tree for instant, even coverage.
General Branch Lighting Tips:
Work from the inside out, or bottom up: This ensures full coverage and helps you manage your light strands efficiently.
Secure lights gently: Avoid using tight metal wire or anything that could girdle and damage the tree as it grows. Opt for flexible, plant-friendly options.
Hide wires where possible: Tuck wires behind branches or within foliage for a polished, seamless display where only the lights themselves are visible.
Lighting the Branches (Tailored Techniques)
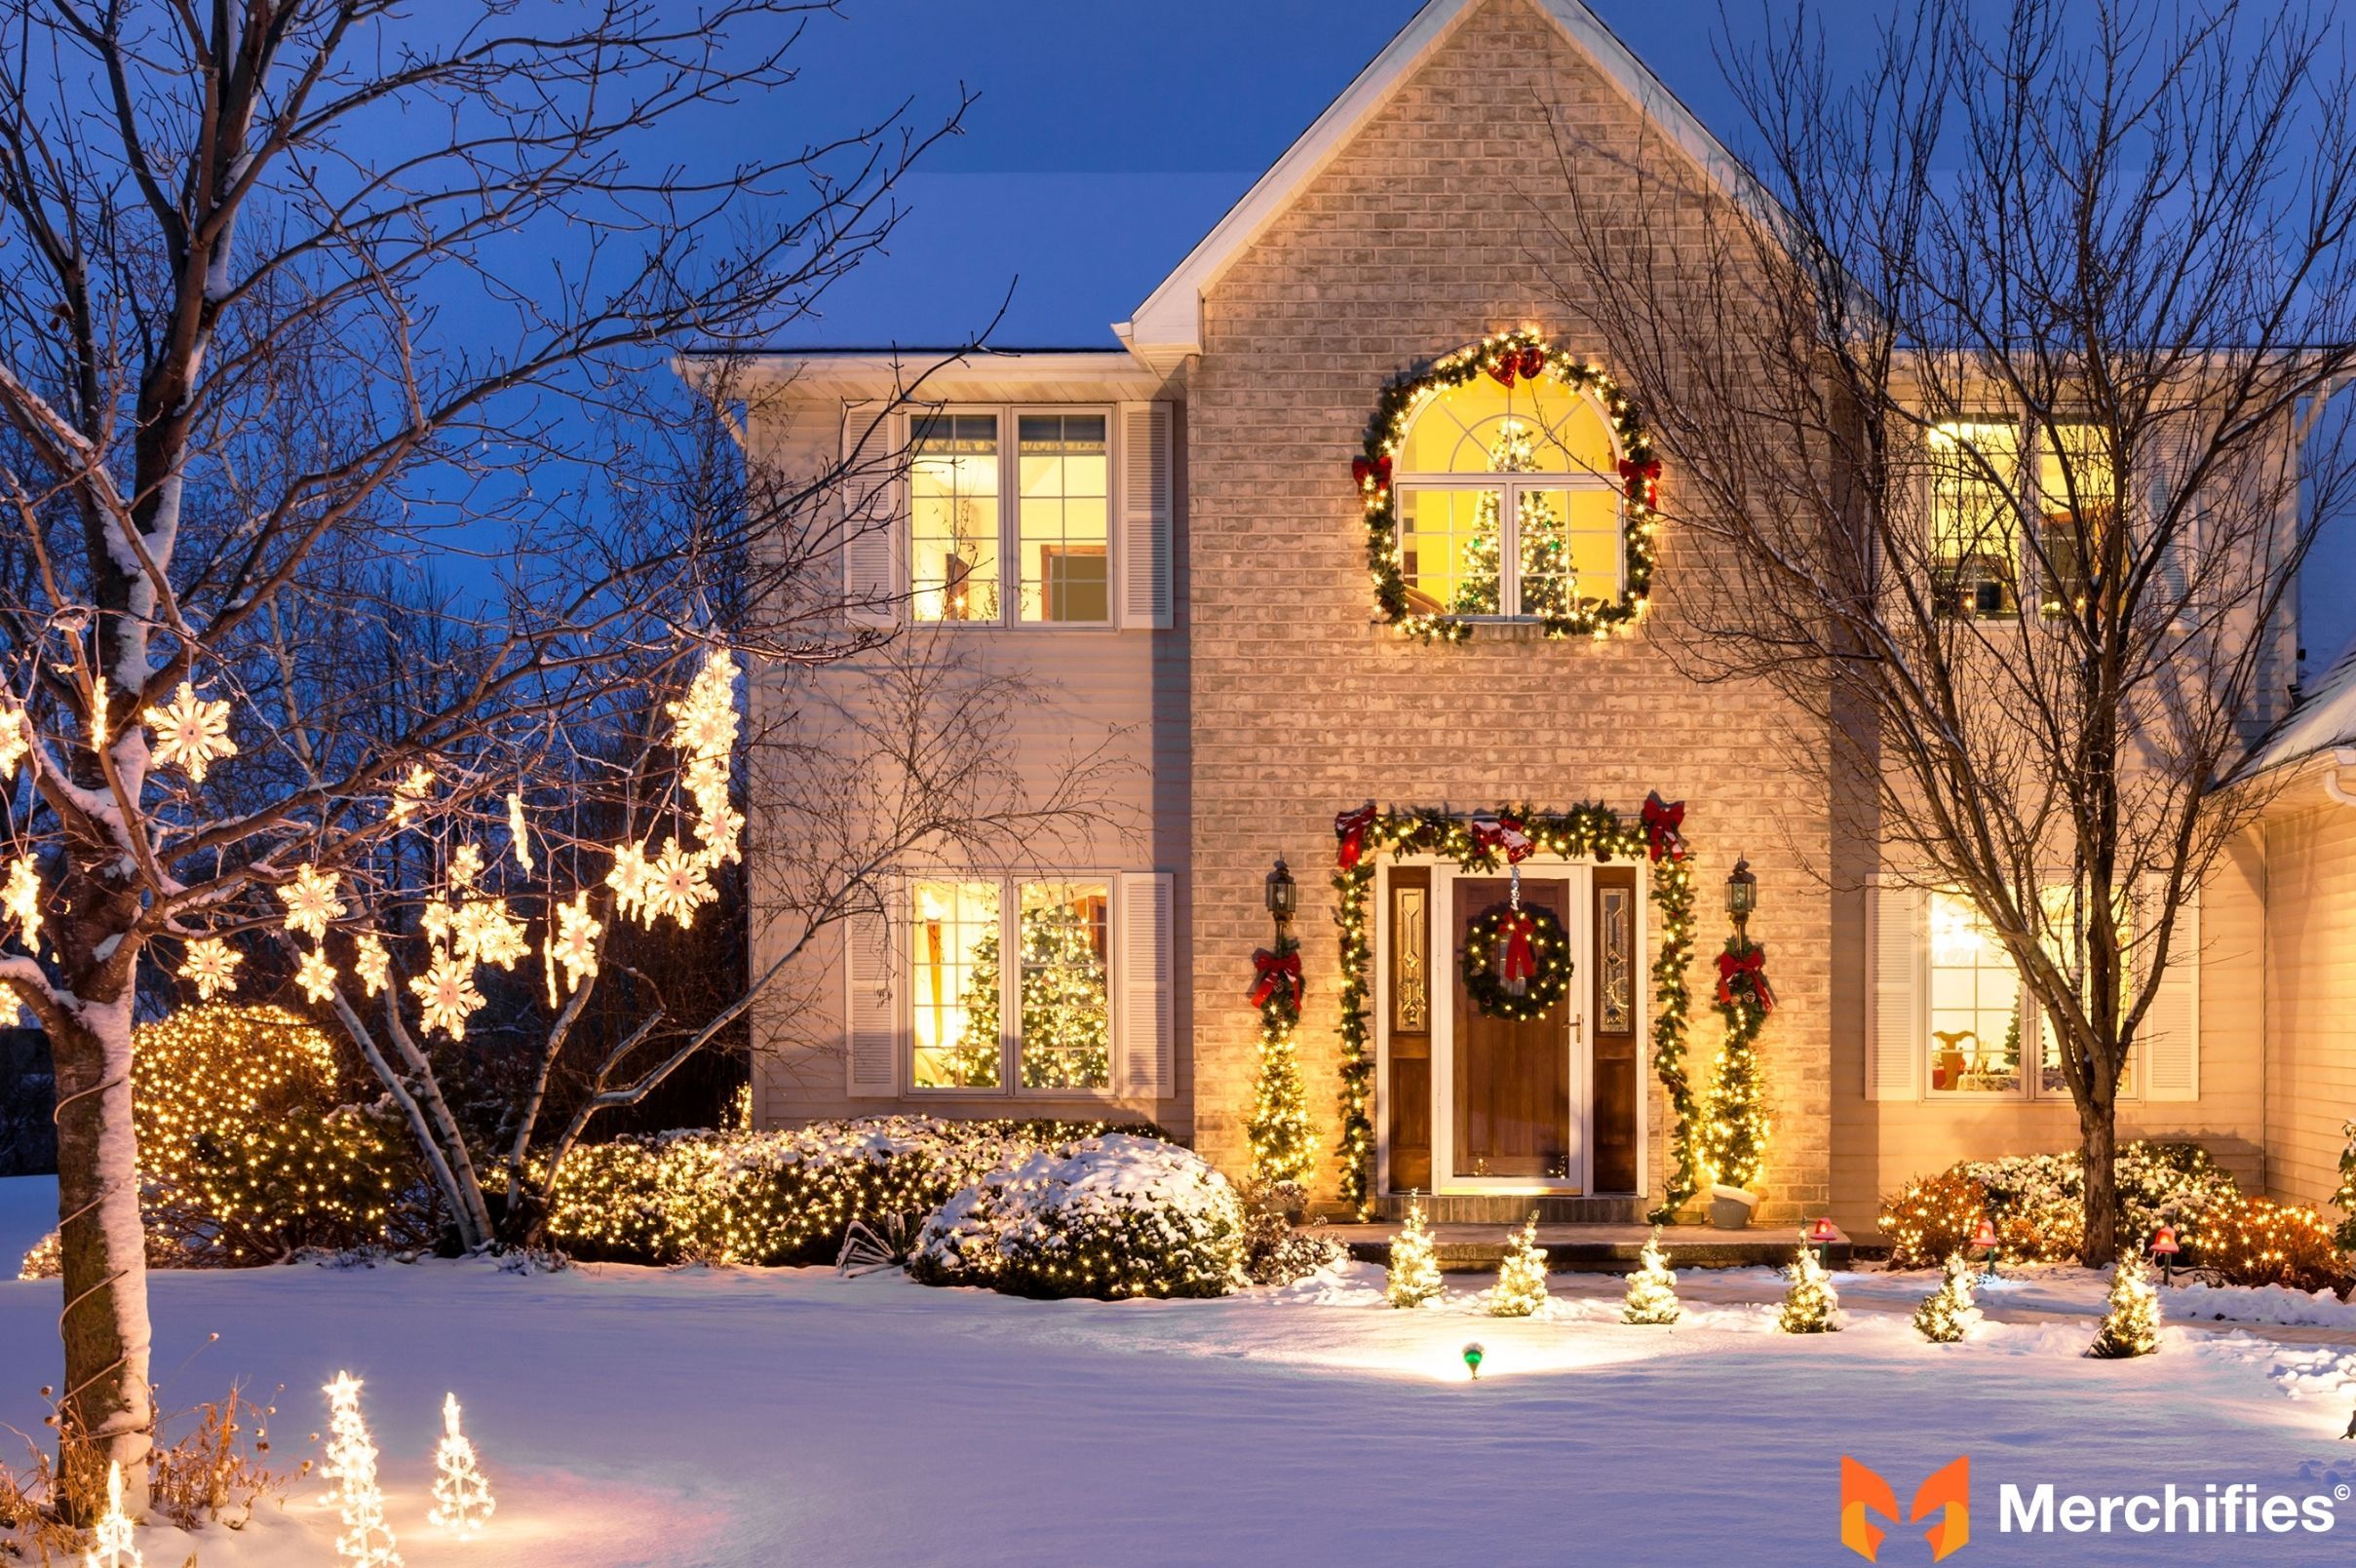
Advanced Tips & Aesthetic Considerations
Elevate your outdoor tree lighting from good to truly spectacular with these expert tips.
Uniform Spacing: Consistency is paramount for a professional and appealing look. Whether it's the distance between wraps on the trunk or the placement on branches, strive for uniformity.
Layering Lights: Don't be afraid to combine different techniques or light types. For example, a tight trunk wrap with C7 bulbs, followed by delicate fairy lights spiraling through the branches, creates incredible depth.
Color Schemes: For an elegant display, stick to a cohesive color palette (e.g., all warm white, or warm white and cool white). For a festive explosion, embrace multi-color, but ensure it complements your overall outdoor decor.
Special Effects: Modern LED lights offer twinkle settings, cascading effects, or color-changing options via remote control. Experiment to find what brings the most joy.
Timers & Remote Controls: Invest in outdoor-rated timers for convenience and energy saving. Your lights will turn on and off automatically, extending their lifespan. Remote controls offer easy management of effects and power.
Highlighting Features: Use strategic light placement to emphasize the tree's unique shape, a particularly beautiful branch, or even architectural elements of your home that are nearby.
Maintenance & Taking Down Your Lights
Once your beautiful display is up, a little ongoing care will keep it shining bright, and proper removal ensures they last for seasons to come.
Regular Checks: Periodically inspect your lights, especially after heavy weather. Look for loose connections, broken bulbs, frayed wires, or any signs of animal interference. Address issues promptly.
Winter Care: If you live in an area with heavy snow or ice, try to protect cords from direct impact where possible, or ensure lights are robust enough to withstand the elements.
Safe Removal: When the season ends, carefully unwind or unclip your lights. Avoid tugging or yanking, which can damage the strands or even the tree.
Proper Storage: This is key for next year's hassle-free setup. Coil lights neatly around cardboard, a plastic reel, or place them loosely in dedicated storage bins. Label the bins for easy identification.
Maintenance & Taking Down Your Lights
Troubleshooting Common Issues
Even with the best planning, issues can arise. Here are quick solutions to common problems when you put lights on a tree outside:
Lights Not Working: First, check your GFCI outlet to see if it has tripped. Then, inspect individual bulbs for looseness or breakage. Many strands have fuses in the plug; check and replace these if blown. Finally, ensure all extension cord connections are snug.
Flickering Lights: This often indicates a loose connection or a damaged wire. Carefully inspect the entire strand, paying close attention to junctions and areas that might have been stretched or bent. It could also point to an overloaded circuit.
Lights Falling Off: If your lights aren't staying put, you might need stronger or more numerous ties/clips. Ensure they are securely fastened but still gentle on the tree.
Tree Damage: If you notice any chafing or constriction on the tree bark, immediately loosen or reposition the ties. Use plant-friendly materials that expand with tree growth.
Conclusion
Mastering how to put lights on a tree outside is a rewarding endeavor that brings unparalleled beauty and charm to your home. From the foundational steps of safety and planning to the artistry of various wrapping techniques, you now have the comprehensive knowledge to create a truly dazzling display.
Don't let the thought of a big project deter you. Start small, gain confidence, and let your creativity shine through. As Mason Ellis Grant reminds us, "The true magic of outdoor lighting isn't just in the lights themselves, but in the joy and ambiance they create for everyone who experiences them." So, gather your materials, follow these steps, and get ready to transform your outdoor space into a beacon of light and warmth. Happy lighting!
-da0801079a650a2e.jpeg)

-d4c38c342cdf20ca.jpeg)


-b555fcc6b204c456.jpeg)


