How to Make a Tote Bag: Your Ultimate Step-by-Step Guide (Beginner-Friendly DIY)
This beginner-friendly DIY guide walks you through how to make your own tote bag from scratch—no advanced sewing skills required. You’ll learn what fabric to choose, how to cut and measure material, stitching basics, handle placement, and easy customization ideas. Whether you want a reusable grocery tote, a stylish everyday carry-all, or a personalized gift, this step-by-step tutorial makes the process simple, fun, and achievable for all skill levels.
Blog Post Contents
Have you ever admired a beautiful, custom tote bag and thought, "I wish I could make that"? Well, you're in luck! This comprehensive guide will walk you through how to make tote bag from start to finish, even if you’re a complete beginner to sewing. We’re going to demystify the process, turning fabric and thread into your very own functional and stylish accessory.
As Mason Ellis Grant, an experienced professional in the world of DIY crafting and sewing, explains, "Creating your own tote bag isn't just about saving money; it's about the joy of making something truly unique and tailored to your needs. It's a fantastic entry point into the rewarding hobby of sewing." With Mason's insights and this detailed tutorial on how to make tote bag, you'll be carrying your custom creation with pride in no time.
Introduction: Why Sew Your Own Tote Bag?
Diving into a DIY tote bag project offers a unique blend of practicality and personal satisfaction. Why settle for mass-produced options when you can sew a tote bag that perfectly reflects your style and serves your specific needs? This isn't just another crafting endeavor; it's an opportunity to create something truly special.
Introduction Why Sew Your Own Tote Bag
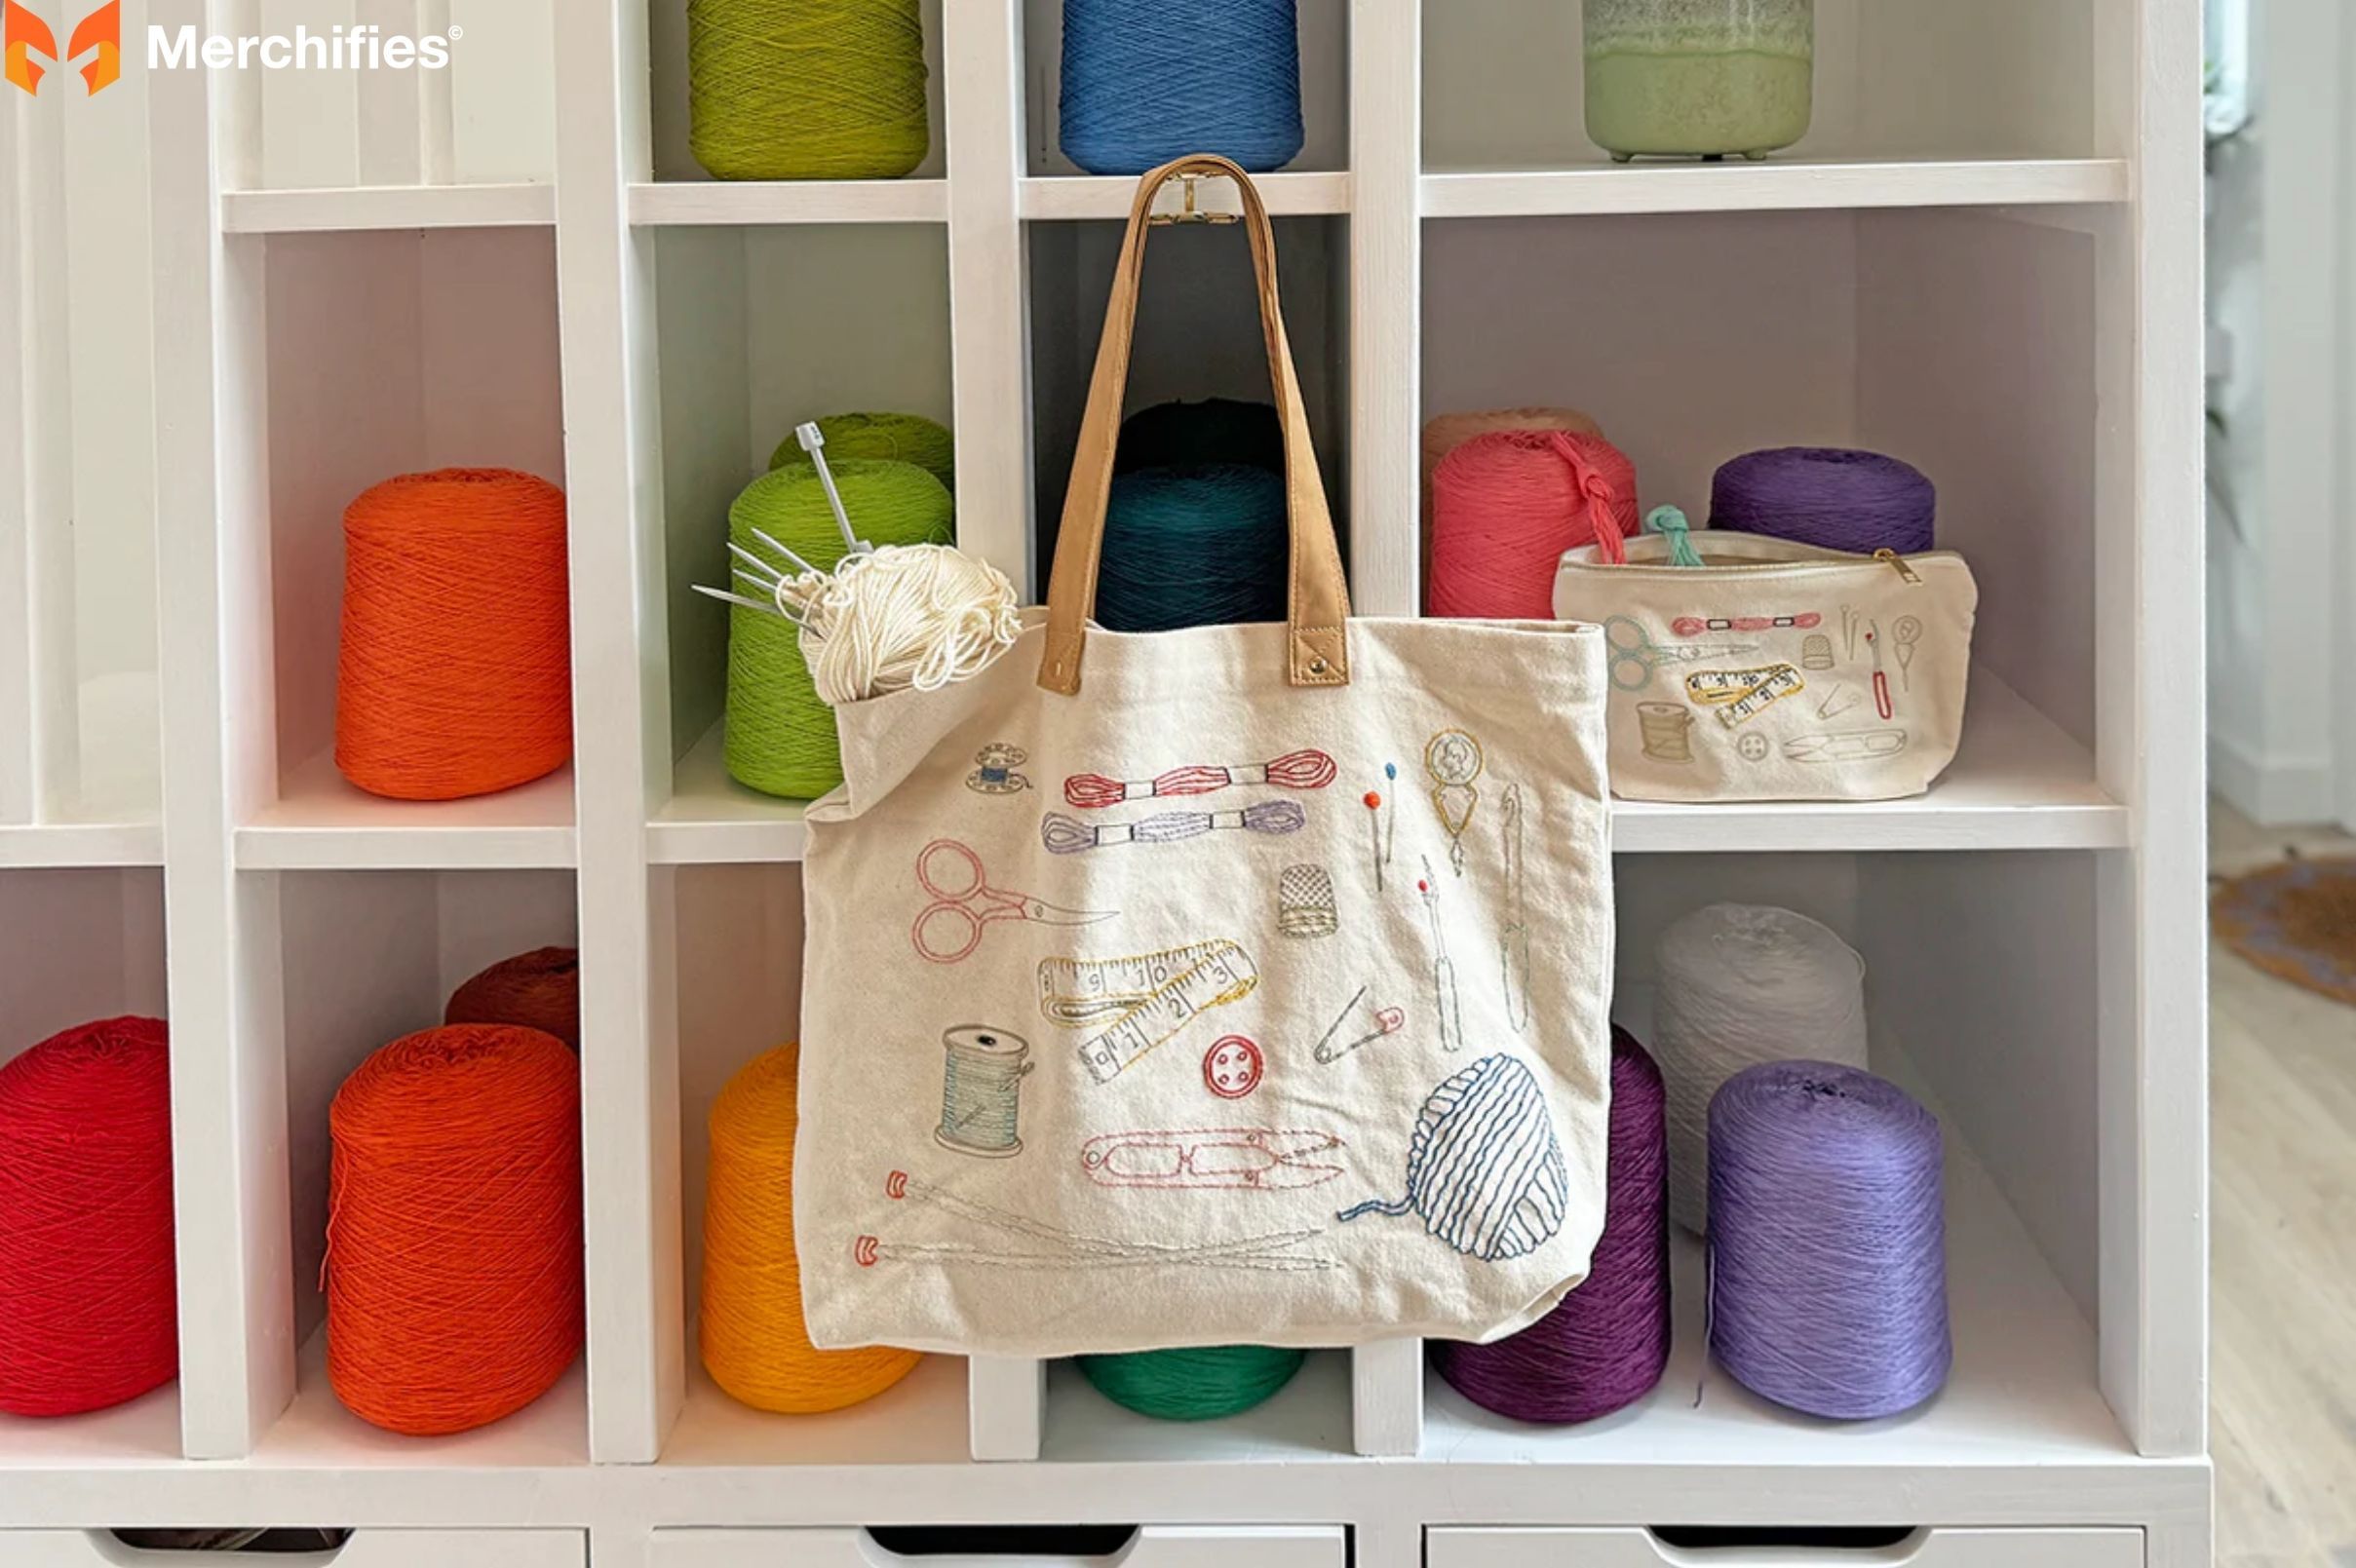
The Joy of DIY: Personalization, Sustainability & Unique Gifts
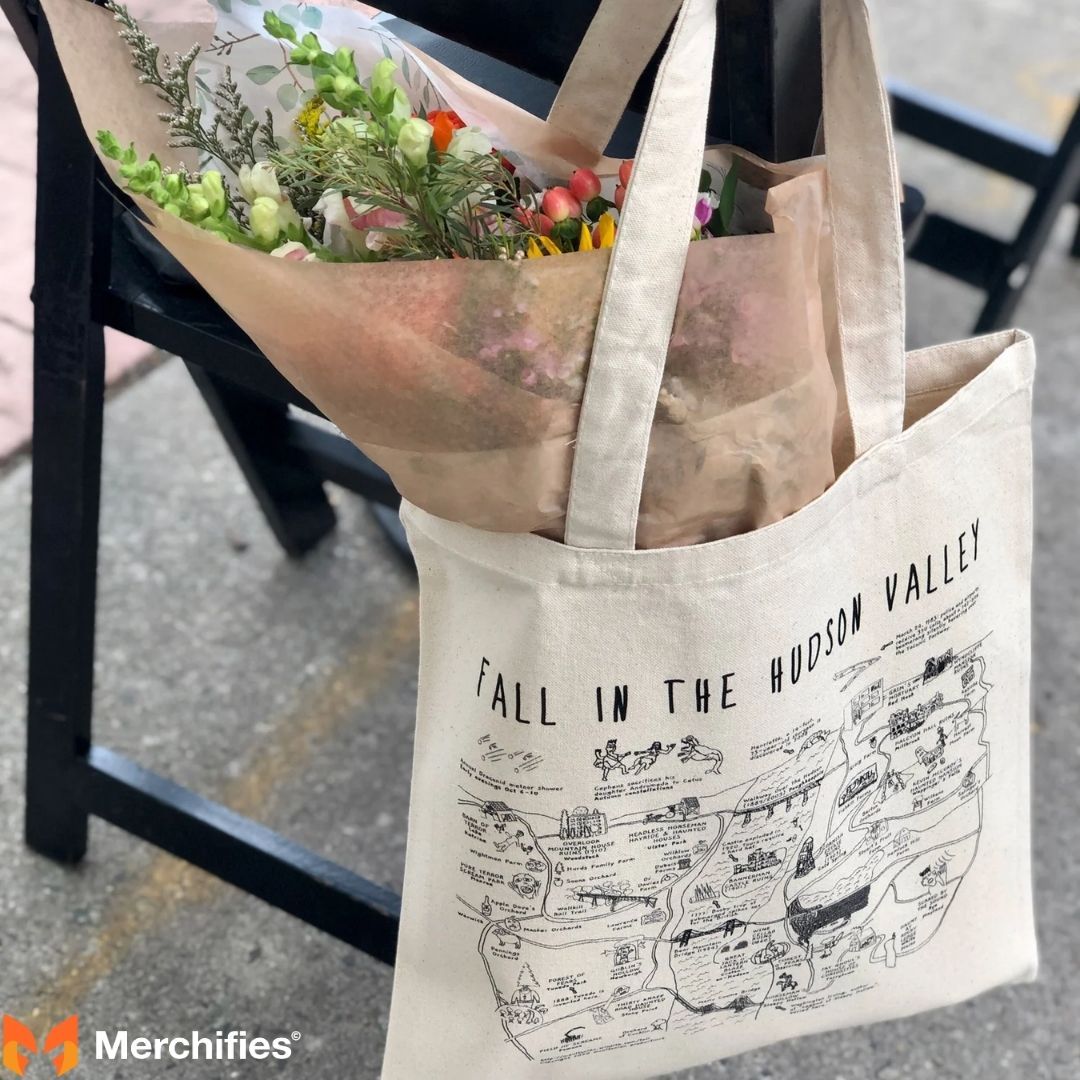
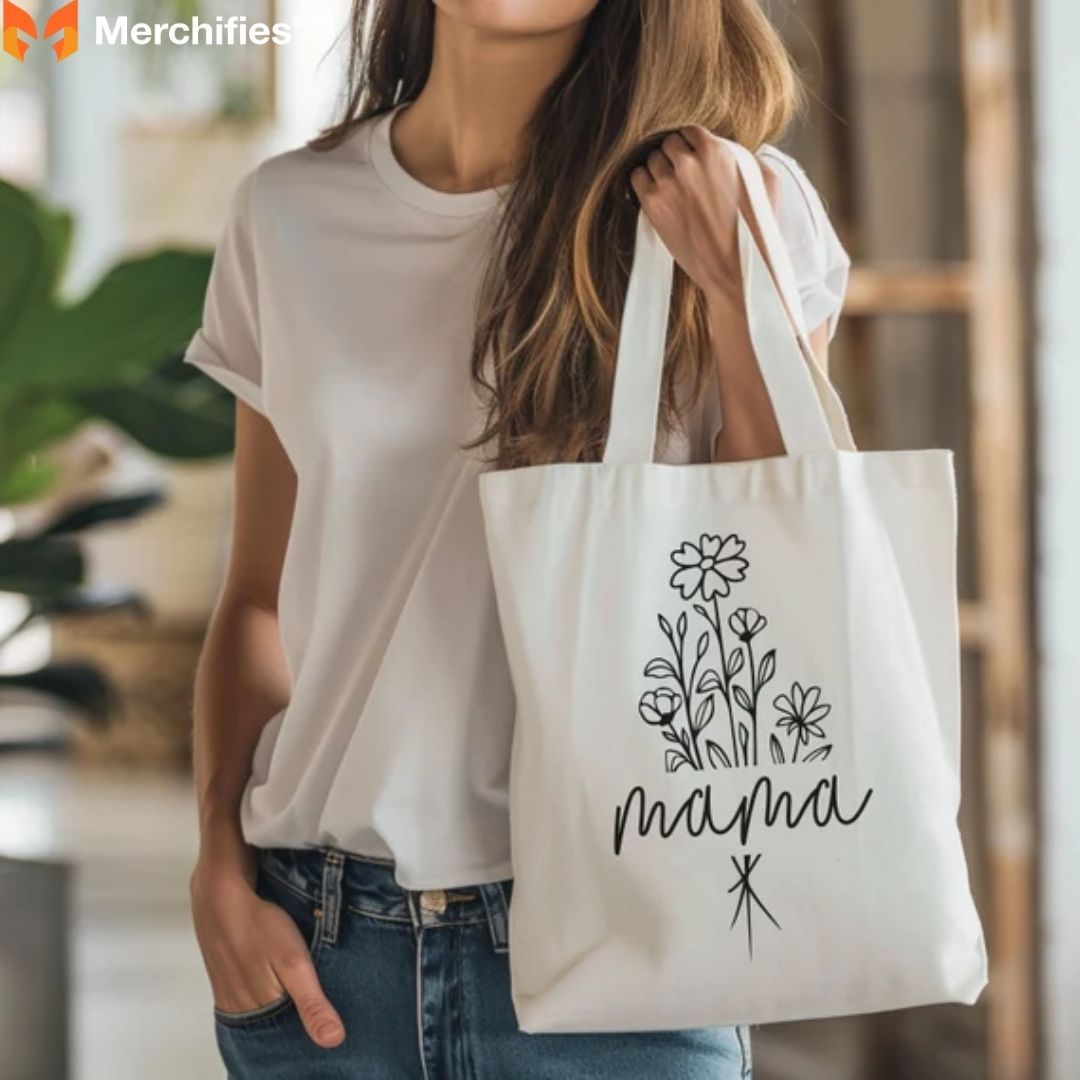
Imagine a bag with your favorite print, an ideal size for your weekly market run, or a sturdy carrier for your books. When you make a tote bag, you unlock endless possibilities for personalization. Beyond aesthetics, choosing to make your own tote bag is a wonderfully sustainable practice. You reduce waste by selecting durable fabrics, avoiding fast fashion, and even repurposing materials. Plus, a handmade tote bag makes an incredibly thoughtful and unique gift, imbued with your effort and care. It’s cost-effective, eco-friendly, and deeply personal.
What You'll Learn in This Comprehensive Guide
In this guide, you’ll discover everything required to sew a tote bag successfully. We’ll cover selecting the right materials, precise cutting techniques, and a clear, step-by-step sewing tutorial. You'll also find valuable tips for troubleshooting common issues and ideas for customizing your tote to make it truly your own. Our goal is to empower you to confidently make a tote bag that you'll cherish for years.
Gathering Your Essentials: Materials & Tools You'll Need
Before you dive into learning how to make a tote bag, setting yourself up with the right materials and tools is crucial. Think of it as preparing your artist’s palette before painting a masterpiece. Having everything at hand will make the process smoother and more enjoyable. Knowing "what do I need to make a tote bag?" is the first step to success.
Gathering Your Essentials Materials & Tools You'll Need To Make Tote Bag
Fabric Choices: Selecting the Perfect Material (and Quantity!)
The heart of any fabric tote bag is, of course, the fabric! Your choice here will impact the bag's durability, look, and feel.
Outer Fabric: For a sturdy simple tote bag, consider durable options like canvas, duck cloth, denim, or heavier cotton twills. These fabrics hold their shape well and can withstand daily use. For beginners, a medium-weight cotton or canvas is ideal as it’s easy to cut and sew.
Lining Fabric: While optional, a lining gives your tote bag a professional, neat finish and adds extra durability. Lighter cottons, quilting cotton, or even a contrasting print work beautifully. We highly recommend adding a lining for a truly polished result.
Interfacing: For added structure and body, especially if your outer fabric is lighter, consider fusible fleece or medium-weight fusible interfacing. It's ironed onto your fabric, making it stiffer and more resilient.
Yardage Guide: For a medium-sized tote bag (approx. 14" W x 16" H x 4" D), you'll typically need about ⅔ yard of outer fabric and ⅔ yard of lining fabric. For straps, an additional ¼ yard of coordinating fabric should suffice. Always check the width of your fabric; most come 44" wide.
Fabric Choices Selecting the Perfect Material To Make Tote Bag
Essential Sewing Tools:
Even the most experienced sewists like Mason Ellis Grant emphasize the importance of having the right tools.
Sewing Machine: A basic machine with a straight stitch is all you need. Ensure you have an appropriate needle for your chosen fabric (e.g., a universal or denim needle).
Thread: All-purpose polyester thread is strong and durable, perfect for tote bags. Choose a color that matches or contrasts your fabric.
Fabric Scissors or Rotary Cutter & Mat: Sharp scissors are essential for clean cuts. A rotary cutter and self-healing mat offer even more precision, especially for straight lines.
Pins or Fabric Clips: To hold your fabric pieces together securely while sewing.
Measuring Tape or Ruler: For accurate measurements and marking.
Iron & Ironing Board: Crucial for pressing seams, which creates a crisp, professional finish.
Seam Ripper: The inevitable "oopsie" tool. Don't worry, every sewist uses one!
Chalk or Fabric Marker: For marking cutting lines or sewing points.
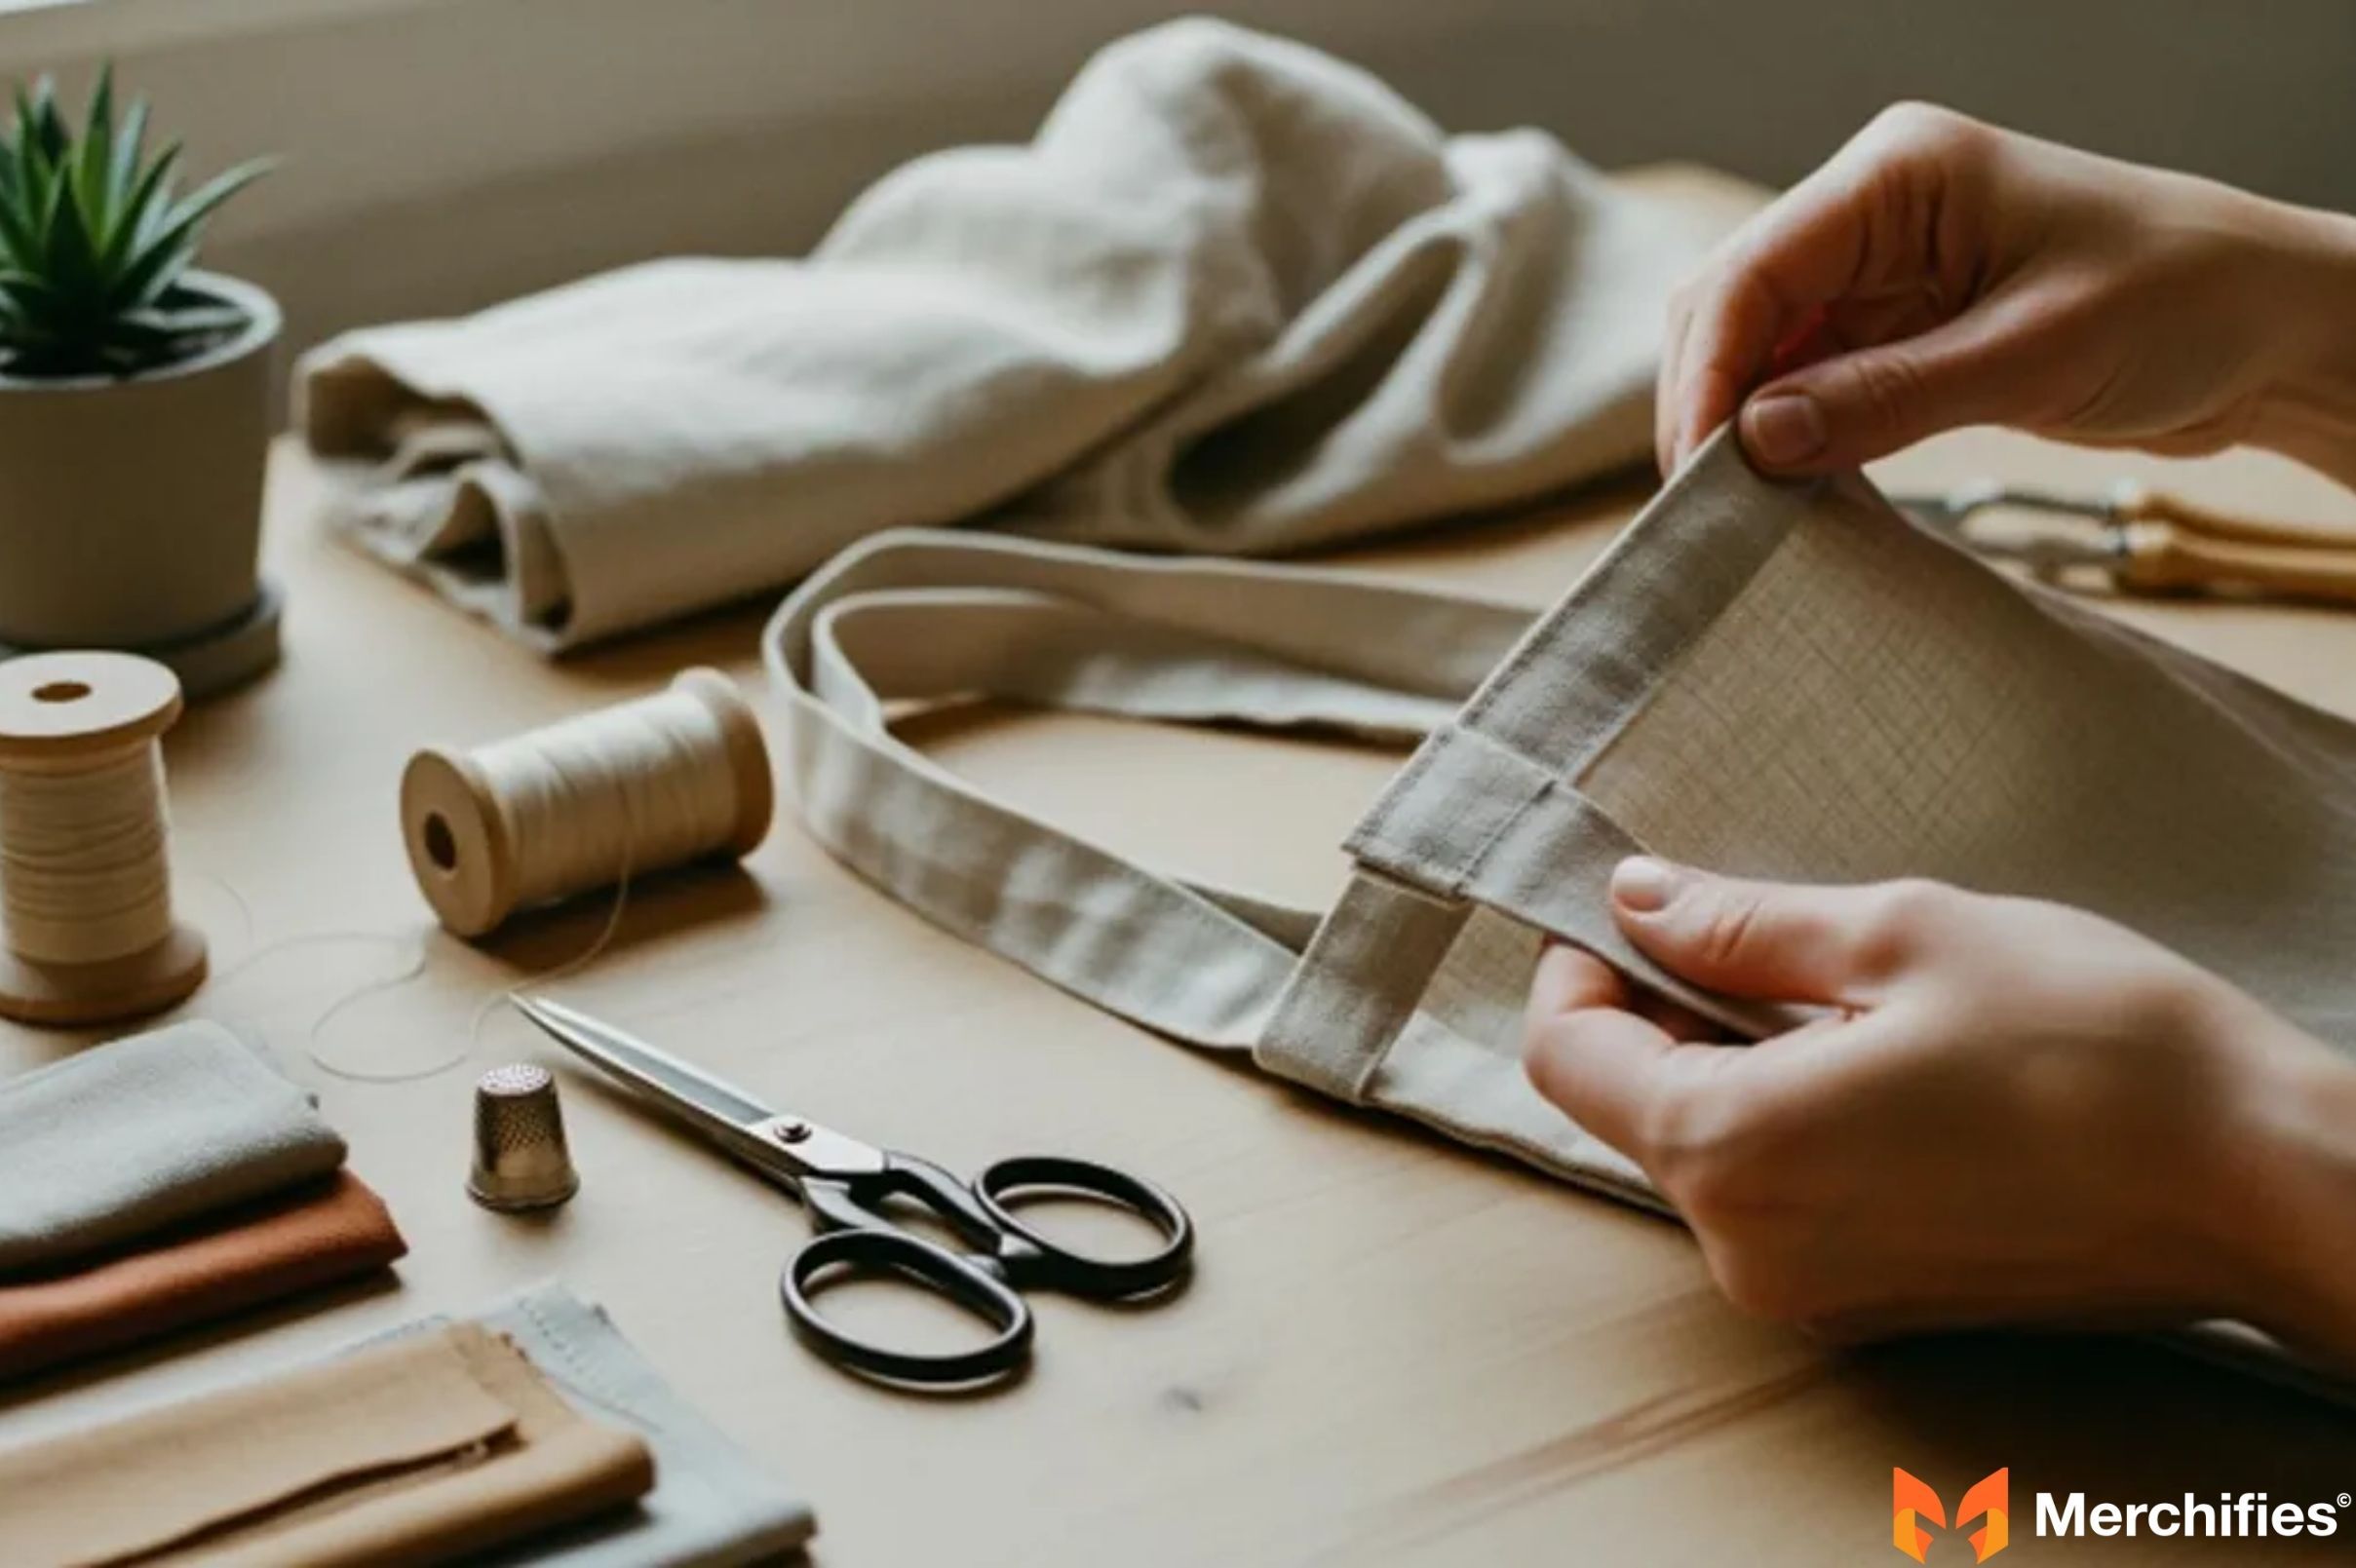
Preparing Your Fabric: Accurate Cutting for a Professional Finish
The secret to a beautifully finished simple tote bag lies in precise cutting. Just as an architect relies on accurate blueprints, a sewist depends on perfectly cut fabric pieces. This foundational step ensures all your seams align and your bag takes shape exactly as intended.
Preparing Your Fabric Accurate Cutting for a Professional Finish To Make Tote Bag
Deciding on Your Tote Bag Dimensions (Standard vs. Custom Sizes)
Before you cut, decide on your desired tote bag size. While you can create a custom size, starting with a standard tote bag pattern or dimensions is great for beginners.
Example Measurements for a Medium-Sized Tote Bag:
Outer Bag Pieces: Cut two rectangles, 15 inches wide by 17 inches tall.
Lining Bag Pieces: Cut two rectangles, 15 inches wide by 17 inches tall.
Strap Pieces: Cut two strips, 3 inches wide by 24 inches long (adjust length as desired).
Note: These measurements include a standard ½-inch seam allowance.
Step-by-Step Cutting Guide:
Press Your Fabric: This is a step often overlooked but critically important. Iron all your fabric pieces thoroughly before cutting to remove any wrinkles or creases. Flat fabric ensures accurate measurements.
Measure and Mark: Using your ruler/measuring tape and fabric marker/chalk, carefully mark out your desired dimensions on the wrong side of your fabric.
Cut with Precision: Using sharp fabric scissors or a rotary cutter, carefully cut along your marked lines. Take your time to ensure straight, even cuts. This attention to detail now will save you headaches later.
Step-by-Step Guide: How to Sew Your Tote Bag
Now for the exciting part – bringing your fabric to life! This section is your detailed sew a tote bag tutorial, breaking down the process into easy-to-follow steps. We'll use a ½-inch seam allowance throughout, unless otherwise specified.
Step-by-Step Guide How to Sew Your Tote Bag
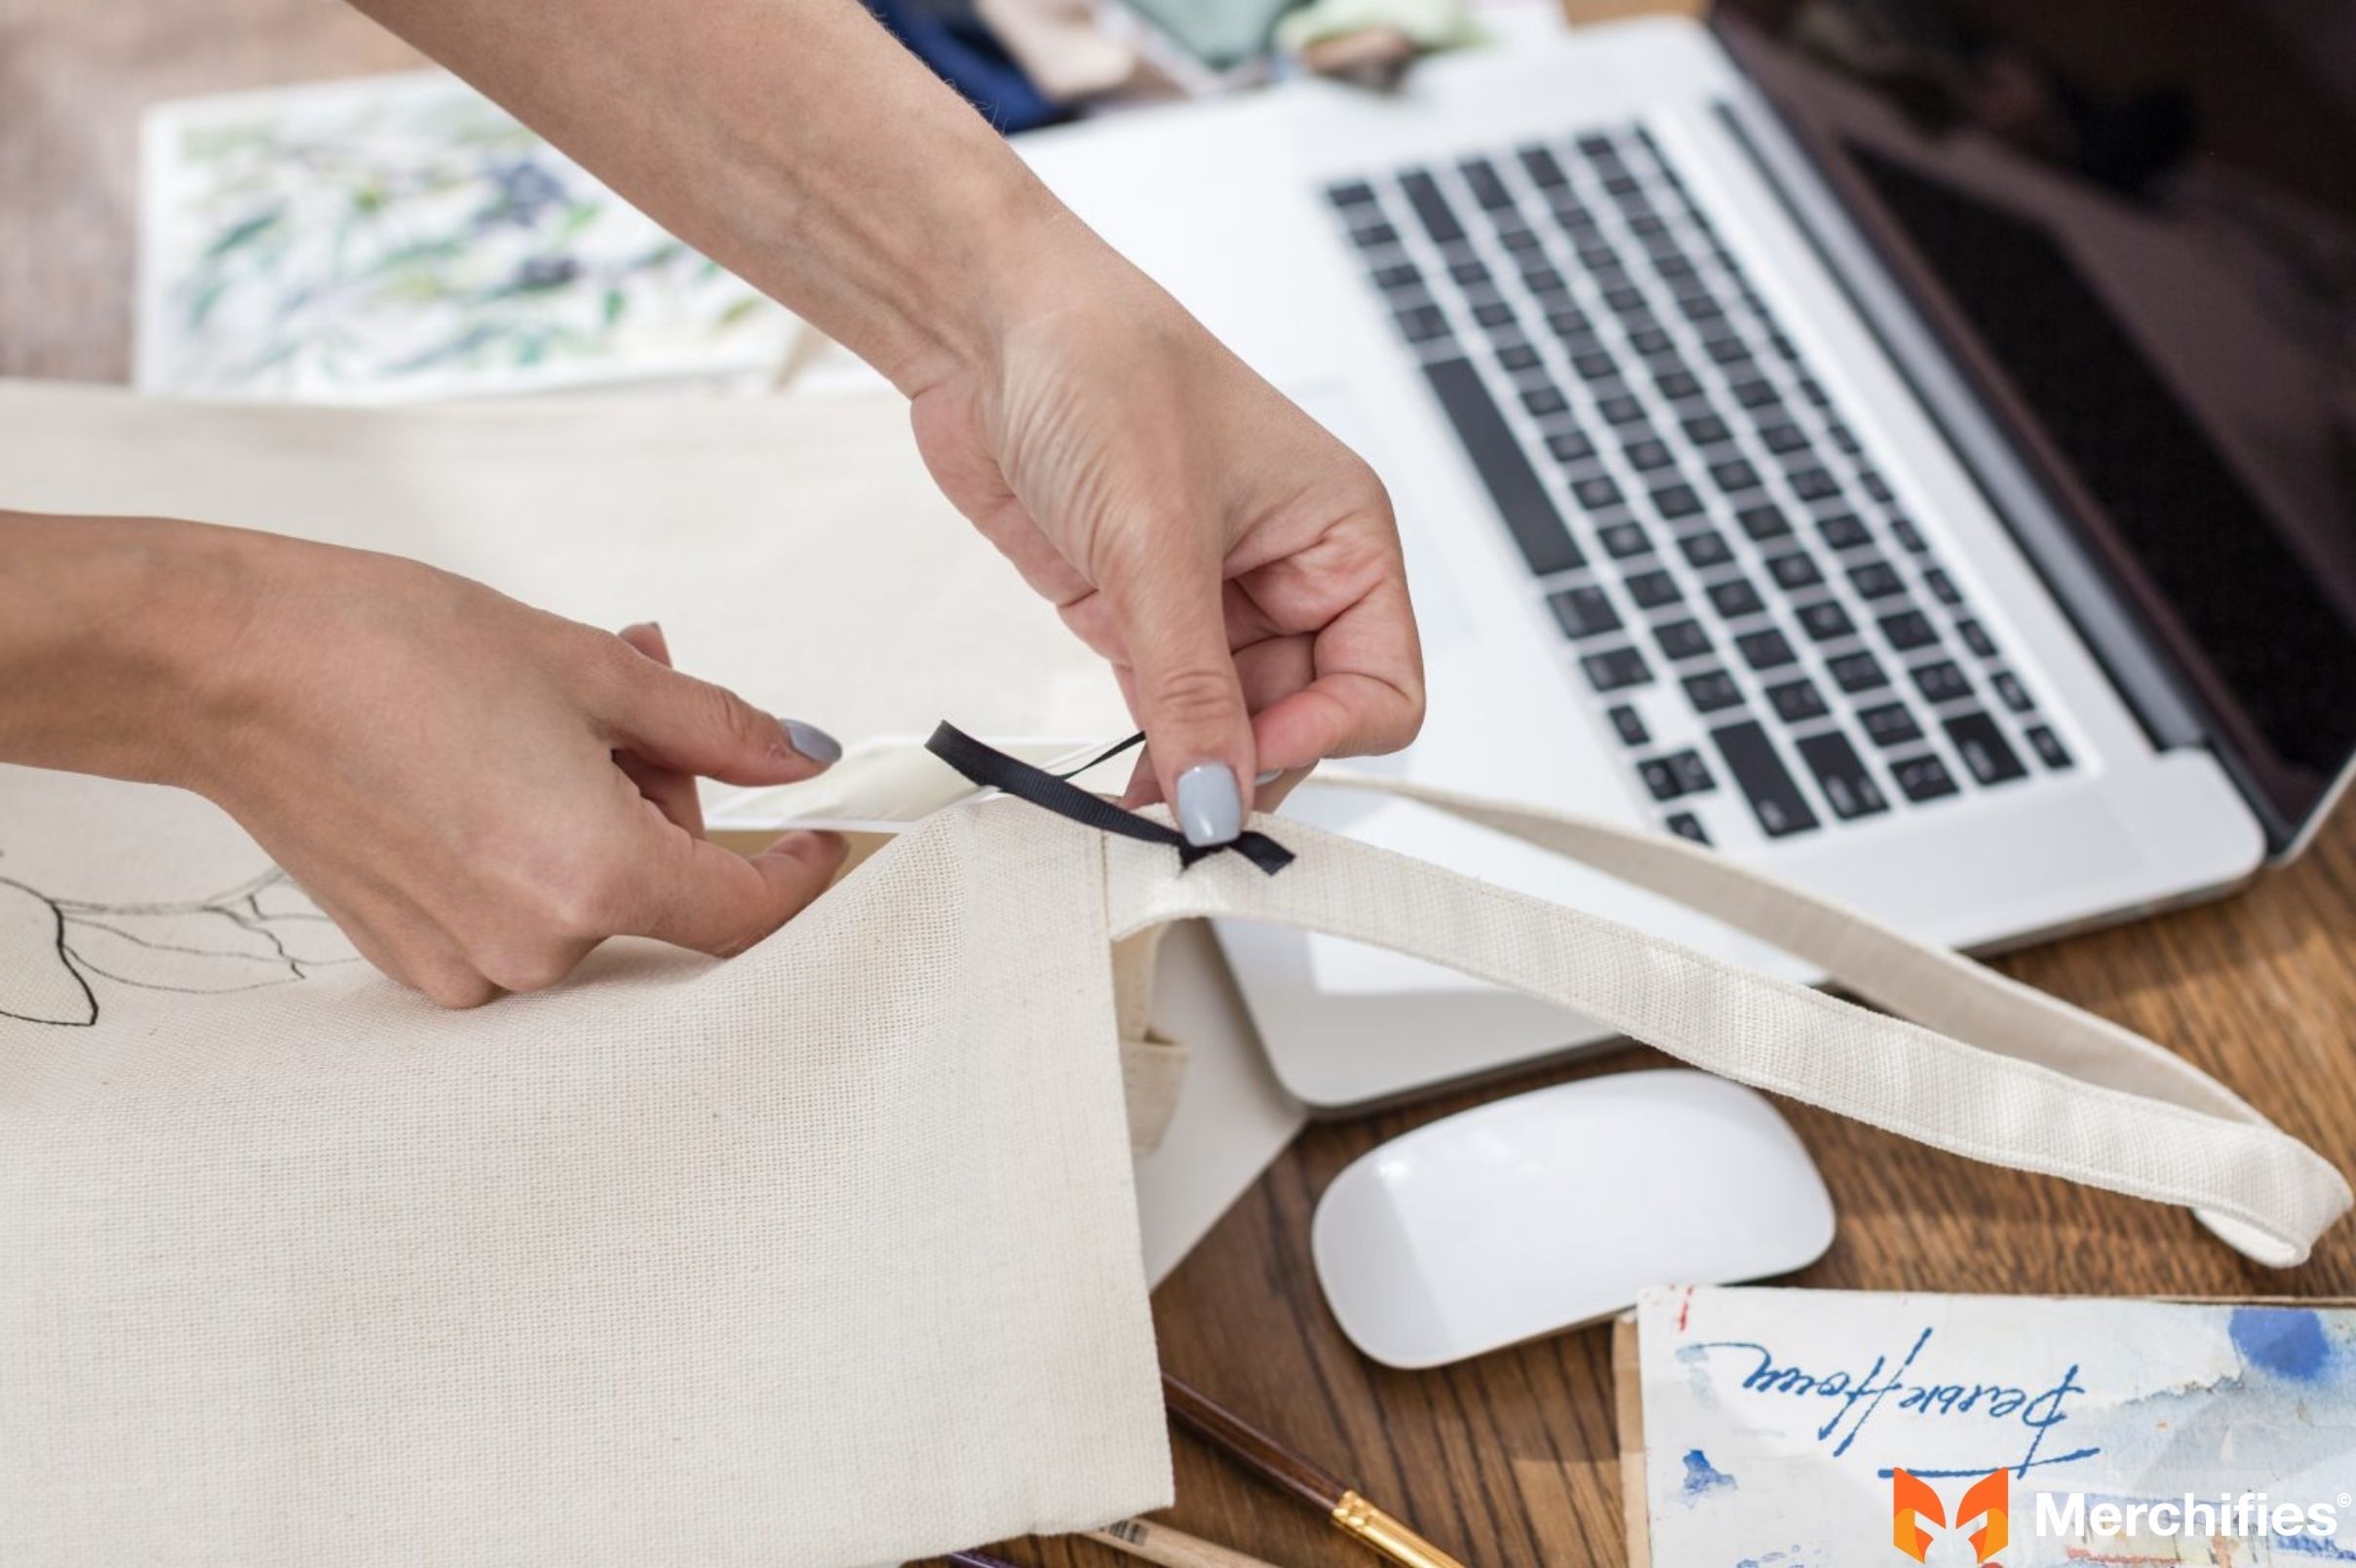
Step 1: Crafting Your Tote Bag Straps
The straps are the first components you’ll make, and their sturdy construction is vital.
Take one strap piece (3" x 24"). Fold it in half lengthwise, right sides together, and press firmly with your iron.
Sew along the long raw edge, using a ½-inch seam allowance, leaving both short ends open.
Turn the strap right side out. This can be a bit fiddly – a loop turner or safety pin can help. Press the strap flat, ensuring the seam is centered along the back or pushed to one edge.
Topstitch along both long edges of the strap, about ⅛ inch from the edge. This adds durability and a professional finish. Repeat for the second strap.
Step 2: Assembling the Outer Bag Body
This is where your tote bag pattern starts to take shape.
Place your two outer fabric pieces right sides together, aligning all edges. Pin along the two side seams and the bottom seam.
Sew these three seams with a ½-inch seam allowance, remembering to backstitch at the beginning and end of each seam to secure the stitches. Leave the top edge open.
Creating Boxed Corners for a Flat Bottom: This technique gives your tote bag structure and a flat base, a hallmark of a well-made fabric tote bag.
With the bag still inside out, flatten one bottom corner so the side seam and bottom seam align, forming a triangle.
Measure from the point of the triangle (where the seams meet) 2 inches down and mark a line perpendicular to the seam. This line should be 4 inches long (since you’re creating a 4-inch deep box corner).
Pin along this marked line and sew directly across it.
Trim the excess fabric from the corner, leaving a ½-inch seam allowance.
Repeat for the other bottom corner.
Assembling the Outer Bag Body
Step 3: Constructing the Inner Lining
The lining offers a clean interior and an opportunity to hide raw seams.
Repeat the exact steps from "Assembling the Outer Bag Body" (Step 2) for your two lining fabric pieces.
Important: When sewing the bottom seam of the lining, leave a 4-5 inch opening unsewn in the middle. This "turning gap" is crucial for turning your bag right side out later. Remember to backstitch firmly at the beginning and end of the gap.
Create boxed corners on the lining pieces, just as you did for the outer bag.
Step 4: Bringing It All Together – Attaching Lining to Outer Bag
This is where your outer bag and lining become one!
Turn the outer bag right side out.
Place one raw end of each strap onto the top edge of the outer bag, approximately 3.5 inches in from each side seam. Make sure the straps are not twisted. Pin them securely to the outer bag, aligning the raw edges of the straps with the raw edge of the bag. The bulk of the strap should be inside the bag.
Keep the lining bag inside out.
Carefully insert the outer bag (with straps pinned) into the lining bag, so their right sides are together. Align the top raw edges of both bags perfectly. Match up the side seams as best as you can. Pin all around the top edge, ensuring the straps are securely sandwiched between the outer bag and the lining.
Sew all around the top raw edges with a ½-inch seam allowance, ensuring you catch all layers (outer bag, straps, lining).
Bringing It All Together – Attaching Lining to Outer Bag
Step 5: The Grand Reveal – Turning, Closing & Topstitching
The final steps reveal your beautiful creation.
Carefully reach through the turning gap you left in the bottom seam of the lining. Gently pull the entire bag right side out through this opening.
Once right side out, push the lining down into the outer bag. Use your fingers to poke out the corners and ensure the top seam is crisp. Press the top edge firmly with an iron.
Closing the Turning Gap:
Fold in the raw edges of the turning gap by ½ inch and press.
You can either hand-stitch this opening closed using a ladder stitch for an invisible finish, or machine-stitch it very close to the edge.
Topstitching: For a professional and durable finish, topstitch around the entire top edge of your tote bag, about ⅛ to ¼ inch from the edge. This secures the lining to the outer bag and gives the top a neat, crisp look. As Mason Ellis Grant often advises, "A good topstitch isn't just decorative; it adds significant structural integrity and polish."
How to Make a Tote Bag with Lining: The Key to a Polished Finish
While our main guide integrates lining into the steps, it's worth highlighting why and how how to make tote bag with lining elevates your project. A lining isn't just an extra layer; it's what gives your bag a professional, store-bought feel. It conceals all raw seams, protects the interior of your bag, and can even add an extra pop of color or pattern.
How to Make a Tote Bag with Lining The Key to a Polished Finish
For a successful lined tote bag:
Fabric Choice Matters: Select a lining fabric that complements your outer fabric but isn't too bulky. Quilting cottons are perfect as they are easy to sew.
Precision in Cutting: Ensure your lining pieces are cut to the exact same dimensions as your outer bag pieces (excluding straps).
The Turning Gap: Remember the critical turning gap in the lining's bottom seam. Without it, you can't turn your bag right side out!
Pressing: Pressing the top seam after turning and before topstitching is essential for a crisp, even finish, ensuring the lining doesn't peek out.
By meticulously following the lining steps, you’re not just making a bag; you're crafting a durable, aesthetically pleasing accessory ready for any adventure.
Pro Tips & Troubleshooting for Your DIY Tote Bag
Every sewist, from novice to expert, encounters challenges. Learning how to make a tote bag includes understanding how to overcome common hurdles and refine your technique.
Ensuring Strong Seams and Durability
Backstitching: Always backstitch at the beginning and end of every seam. This locks the stitches in place and prevents them from unraveling, crucial for a bag that will see a lot of use.
Stitch Length: While constructing, a standard stitch length (2.5mm) is fine. For topstitching, consider a slightly longer stitch length (3.0-3.5mm) for a more pronounced and professional look.
Reinforce Stress Points: For areas like where the straps attach, you might consider sewing a small "X" or a rectangle around the strap ends after the topstitching to add extra reinforcement.
What to Do When Things Go Wrong (Common Pitfalls)
Uneven Seams: Don't panic! Use your seam ripper. It's better to unpick and re-sew a seam than to live with a crooked one. Practice makes perfect.
Crooked Straps: This usually happens if they get twisted before pinning or when inserting them. Double-check before you sew, and ensure they lay flat against the bag body.
Tangled Thread: This often means your machine isn't threaded correctly (top or bobbin), or your tension settings are off. Re-thread your machine completely and check your manual for tension guidance.
Fabric Slipping: If your fabric is shifty, use more pins or fabric clips. Walking feet attachments can also help feed fabric evenly.
Make Your Own Inspirational Tote Bag What to Do When Things Go Wrong
Pressing Matters: The Secret to a Professional Finish
As Mason Ellis Grant consistently emphasizes in his workshops, "Ironing is not an optional step; it's as fundamental as sewing. Pressing after every seam makes all the difference between a homemade look and a professionally finished garment or bag." Pressing your seams flat or open (depending on the step) helps them lie neatly, makes subsequent sewing easier, and gives your fabric tote bag a crisp, polished appearance.
Beyond the Basics: Customizing Your Tote Bag
Once you’ve mastered how to make a tote bag with our basic guide, the real fun begins: customization! These ideas will help you create truly unique tote bags.
Adding Inner or Outer Pockets (Patch, Zippered)
Pockets add functionality and organization.
Patch Pocket: Simply cut a rectangle of fabric, hem the top edge, press under the other three raw edges, and topstitch it onto your bag (lining or outer) before assembling.
Zippered Pocket: This is a slightly more advanced technique but incredibly useful. It involves creating an opening in the fabric, attaching a zipper, and then sewing a pocket bag behind it. This adds great security for valuables.
How to Make a Tote Bag with Zipper: Adding Security and Style
Adding a zipper closure at the top of your tote bag transforms it from an open carrier to a secure personal item holder. To make a tote bag with zipper:
Prepare a Zipper Panel: Cut two long fabric strips (e.g., 2.5 inches wide by the width of your bag's top opening). Interface these for stability.
Attach Zipper to Panels: Place one fabric strip right side up. Lay your zipper right side down along one long edge, aligning raw edges. Pin and sew with a zipper foot. Press the fabric away from the zipper. Repeat for the other side of the zipper with the second fabric strip.
Integrate into Bag: This zipper panel is then inserted between the outer bag and the lining at the top opening. Instead of sewing the outer bag directly to the lining, you’ll sew the zipper panel to the outer bag, and then the lining to the other side of the zipper panel. This creates a fully enclosed zipper closure. This is a fantastic way to elevate your DIY tote bag.
How to Make a Tote Bag with Zipper Adding Security and Style
Incorporating Zippers, Snaps, or Magnetic Closures
Beyond a full zipper closure, consider other ways to secure your bag:
Snaps: Sew-on or hammer-on snaps are easy to add to the top edges of your bag.
Magnetic Snaps: These are a popular choice for a neat, invisible closure. They require a small incision and specific installation, usually before the lining is fully sewn in.
Playing with Fabric Combinations, Appliqués & Embellishments
Let your creativity flow!
Fabric Blocking: Use different fabrics for the bottom, top, or sides of your tote.
Appliqué: Cut out shapes from contrasting fabric and sew them onto your bag for decorative flair.
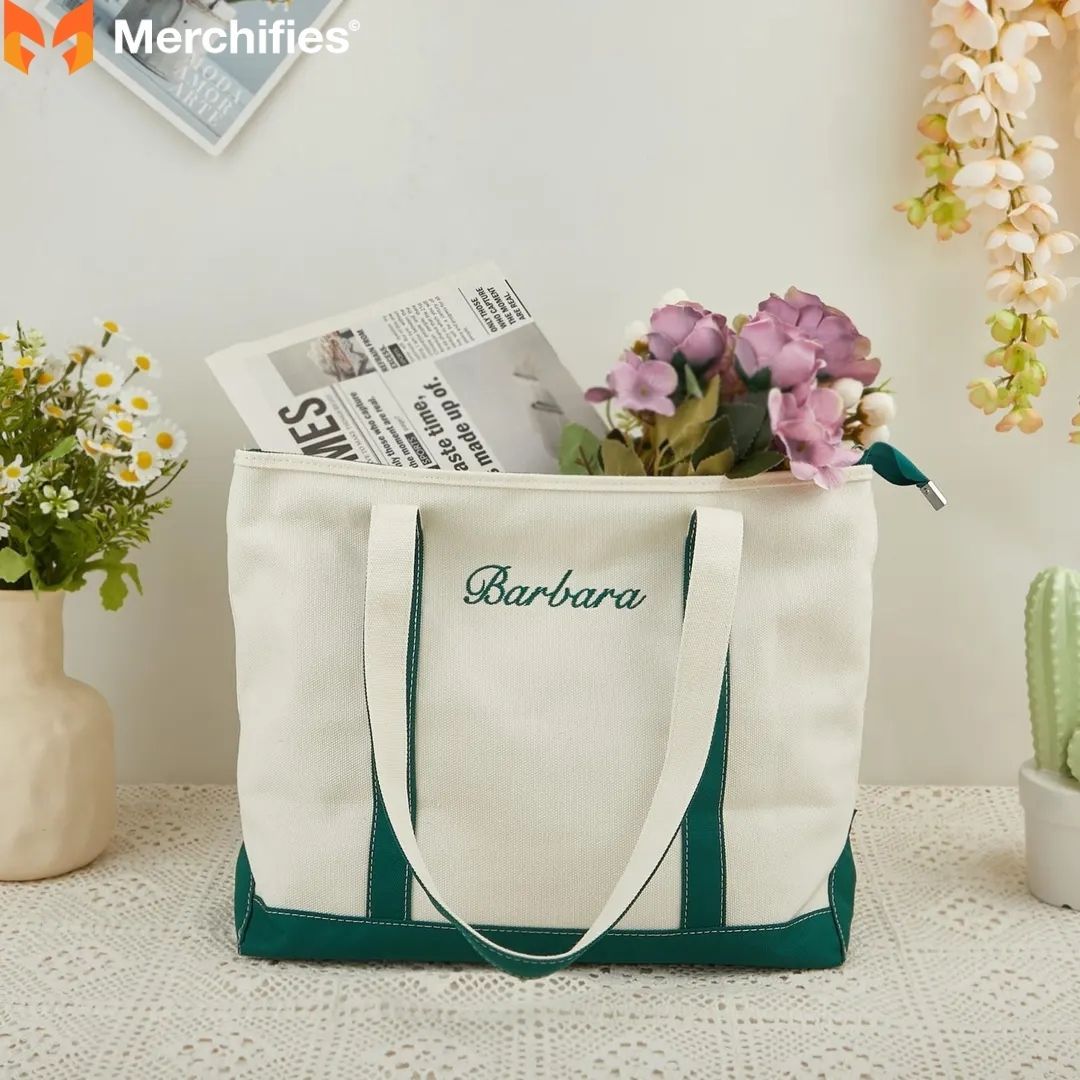
Embroidery or Fabric Paint: Personalize with initials, designs, or quotes.
Trims: Add pom-poms, fringe, or decorative ribbon to the outer seams or top edge.
Exploring Different Sizes and Styles (e.g., market bag, book bag, reversible tote)
Once you understand how to make a tote bag basics, you can easily adapt the dimensions for different purposes:
Market Bag: Taller, wider, with longer straps.
Book Bag: Deeper, maybe with a padded interior lining.
Reversible Tote: This involves sewing the outer and lining bags similarly but leaving both with turning gaps and then stitching the final opening by hand, allowing you to flip the bag inside out for a completely different look.
How to Make a Tote Bag from Old Clothes: Sustainable Upcycling
One of the most satisfying aspects of sewing your own fabric tote bag is the ability to upcycle. Learning how to make a tote bag from old clothes is not only economical but also an incredible way to give new life to beloved garments. This approach breathes new purpose into textiles that might otherwise end up in a landfill, transforming them into a chic and eco-friendly accessory.
How to Make a Tote Bag from Old Clothes Sustainable Upcycling
Select Your Garment: Look for sturdy items like old jeans, denim jackets, thick shirts, or canvas trousers. Ensure the fabric is clean and in good condition, free from excessive wear or holes (unless you want that distressed look!).
Deconstruct: Carefully unpick seams to get the largest possible flat pieces of fabric. For instance, with jeans, you can flatten the legs to get rectangular panels.
Plan Your Cuts: Lay out your pattern pieces (outer bag, lining if desired, straps) on the deconstructed fabric. Be creative with the existing features of the clothing – a jeans pocket could become an outer pocket on your tote!
Cut and Sew: Follow the main how to make a tote bag guide, substituting your repurposed fabric for new yardage. You might need to piece together smaller fabric sections if your garment doesn’t yield large enough continuous pieces.
This method results in a truly unique bag with character, often showcasing the original garment's details, like seams, pockets, or even buttons, making your DIY tote bag a conversation starter.
How to Make a Tote Bag from Jeans: Durable and Stylish Repurposing
Specifically, learning how to make a tote bag from jeans is a fantastic project due to denim's inherent durability and classic style. Jeans offer robust fabric, often with interesting textures and pre-existing details like pockets and belt loops that can be incorporated into your new design.
How to Make a Tote Bag from Jeans Durable and Stylish Repurposing
Gather Old Jeans: The thicker the denim, the sturdier your resulting tote bag will be. A pair of adult jeans can typically yield enough fabric for a medium-sized tote.
Cut Apart the Legs: Carefully cut off the legs of the jeans, removing the top block (waistband, fly, seat). Slit open the inner seam of each leg to get two flat panels.
Utilize Existing Features:
Pockets: The back pockets of jeans are perfect to become outer pockets for your tote bag. Simply cut around them, leaving a seam allowance, and attach them to your main outer bag pieces before assembly.
Waistband: The waistband can sometimes be repurposed for straps, or even as a decorative top trim for the bag.
Belt Loops: These can be left on if using the top portion of the jeans for a wider, shallower bag, or cut off and used as small hanging loops inside the bag.
4. Sewing with Denim: Denim can be thick. Use a denim needle in your sewing machine, and a strong polyester thread. Go slowly over thick seams to avoid breaking needles. You might need to use a hump jumper or thick folded fabric behind your presser foot to keep it level over bulky areas.
A tote bag from jeans isn't just eco-friendly; it's incredibly stylish, often sporting a utilitarian, chic vibe that's effortlessly cool and built to last.
Care Instructions for Your Handmade Tote Bag
You’ve poured your effort into learning how to make a tote bag, so ensure it lasts! Proper care will keep your handmade tote bag looking its best.
General Washing Recommendations: The best care method depends heavily on your fabric choice.
Cotton/Canvas: Most cotton and canvas tote bags can be machine washed on a gentle cycle with cold water. Tumble dry on low or air dry to prevent shrinkage and maintain shape.
Denim: Wash denim tote bags in cold water to prevent fading and shrinkage.
Delicate Fabrics/Embellishments: If you've added delicate appliqués, hand embroidery, or special trims, it's best to hand wash in cold water or spot clean.
Spot Cleaning vs. Machine Wash: For small spills or marks, spot cleaning with a mild detergent and a damp cloth is often sufficient and prolongs the life of your bag.
Avoid Harsh Chemicals: Do not use bleach unless specifically instructed by your fabric type, as it can damage fibers and fade colors.
Ironing: If your bag becomes wrinkled, you can iron it on a medium setting, always testing a small, inconspicuous area first.
Care Instructions for Your Handmade Tote Bag
Conclusion: Carry Your Creations with Pride!
Congratulations! You've navigated the steps of how to make a tote bag, from gathering materials to the final stitch. This journey, as Mason Ellis Grant often reflects, is incredibly empowering. "There's a special sense of accomplishment that comes with holding something you've made with your own hands. It’s more than just a bag; it's a testament to your newfound skill and creativity."
Share Your Masterpiece!
We encourage you to proudly display your finished DIY tote bag! Share photos of your creation on social media. Tag us and inspire others to embark on their own sewing adventures. Your unique handmade tote bag could be the motivation someone else needs.
Ready for Your Next Sewing Project?
Now that you've mastered how to make a tote bag, you have a solid foundation for many other beginner sewing projects. Perhaps you'll explore adding more pockets, trying different fabrics, or even tackling a reversible tote bag. The world of sewing is vast and rewarding, and your first tote bag is just the beginning. Trust in the expertise shared by Mason Ellis Grant in this guide, and keep creating!
-da0801079a650a2e.jpeg)


-d4c38c342cdf20ca.jpeg)


-b555fcc6b204c456.jpeg)


