-da0801079a650a2e.jpeg)
How to Wrap Christmas Gifts Like a Pro (Even Odd Shapes & Bottles!)
Master the art of gift wrapping this holiday season with our step-by-step guide. Learn professional techniques to wrap all kinds of presents, including oddly shaped boxes, bottles, and tricky items. From choosing the right paper, ribbon, and tape to creating neat folds, bows, and decorative accents, this guide will help you make every gift look polished, festive, and Instagram-ready.

Blog Post Contents
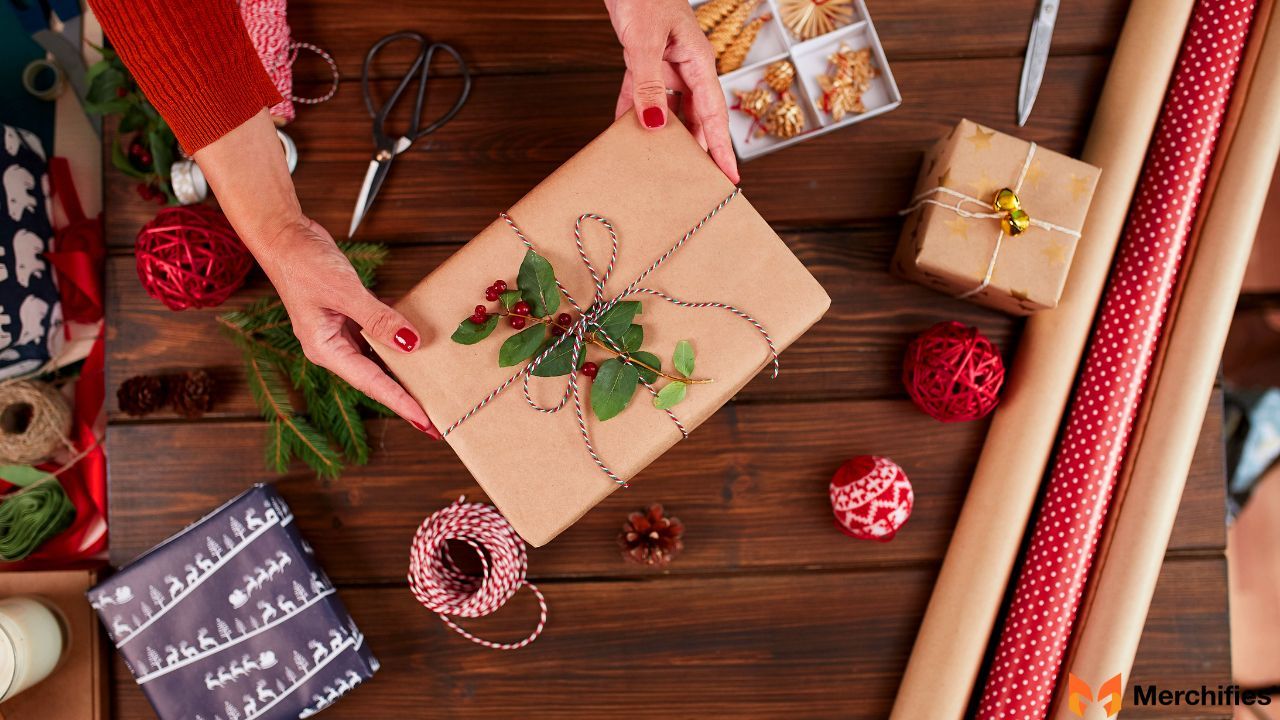
The holiday season is a magical time, filled with warmth, joy, and the delightful anticipation of gift-giving. A beautifully wrapped present isn't just a container; it's an extension of your thoughtfulness, a preview of the love tucked inside. Yet, for many, the task of figuring out how to wrap Christmas gifts can feel more like a chore than a creative endeavor. Wrinkled paper, crooked seams, and the struggle with odd shapes often dampen the festive spirit.
But what if you could transform that challenge into an art form? This comprehensive guide will equip you with the techniques, tips, and creative ideas to master how to wrap Christmas gifts beautifully and efficiently, no matter their size or shape. As Mason Ellis Grant, a recognized expert in crafting memorable gift experiences, often emphasizes, "The wrapper is the first impression of the gift itself; it sets the stage for the joy to come." Grant’s philosophy underscores that a thoughtfully presented gift deepens the recipient's appreciation, making the entire holiday season even more special. Get ready to unwrap the joy of professional-level gift wrapping!
Gather Your Supplies: What You'll Need for Easy Gift Wrapping
Before diving into the wrapping itself, preparation is key. Having all your tools at hand ensures a smooth, enjoyable process and contributes significantly to easy gift wrapping.
Basic Necessities:
- Wrapping Paper: Choose a variety of designs – festive, classic, playful. Opt for thicker, higher-quality paper that resists tearing and creasing for a more polished look.
- Scissors: Sharp scissors are non-negotiable! They'll give you clean cuts and prevent jagged edges.
- Tape: Double-sided tape is a game-changer for seamless finishes. Clear, invisible tape is also excellent for securing seams without being conspicuous.
- Ribbon: Fabric ribbons (satin, velvet, grosgrain), curling ribbon, or rustic twine can add texture and elegance.
- Gift Tags & Labels: Essential for identifying presents and adding a personal touch.
Optional Enhancements:
- Gift Boxes: For awkward or soft items, a sturdy gift box is your best friend.
- Tissue Paper: Adds cushioning, obscures the gift, and provides a pop of color when peeking out of bags.
- Embellishments: Small ornaments, sprigs of evergreen, cinnamon sticks, dried oranges, bells, or small berries can elevate your design.
- Measuring Tape/Ruler: Ensures precise paper cuts, minimizing waste.
- Pencil: For light markings before cutting.
Setting Up Your Workspace:
A clear, flat surface, such as a large table or even a clean floor, is crucial. Ensure good lighting to see your work clearly, and if you have a lot to wrap, comfortable seating can make a big difference. A tidy workspace will make the entire process more efficient and enjoyable.

Step-by-Step Guide: How to Wrap a Standard Christmas Gift Box
Learning how to wrap a Christmas gift box perfectly is the foundation of all gift wrapping. Master this, and you'll be well on your way to pro-level presents.
Step 1: Measure & Cut the Paper
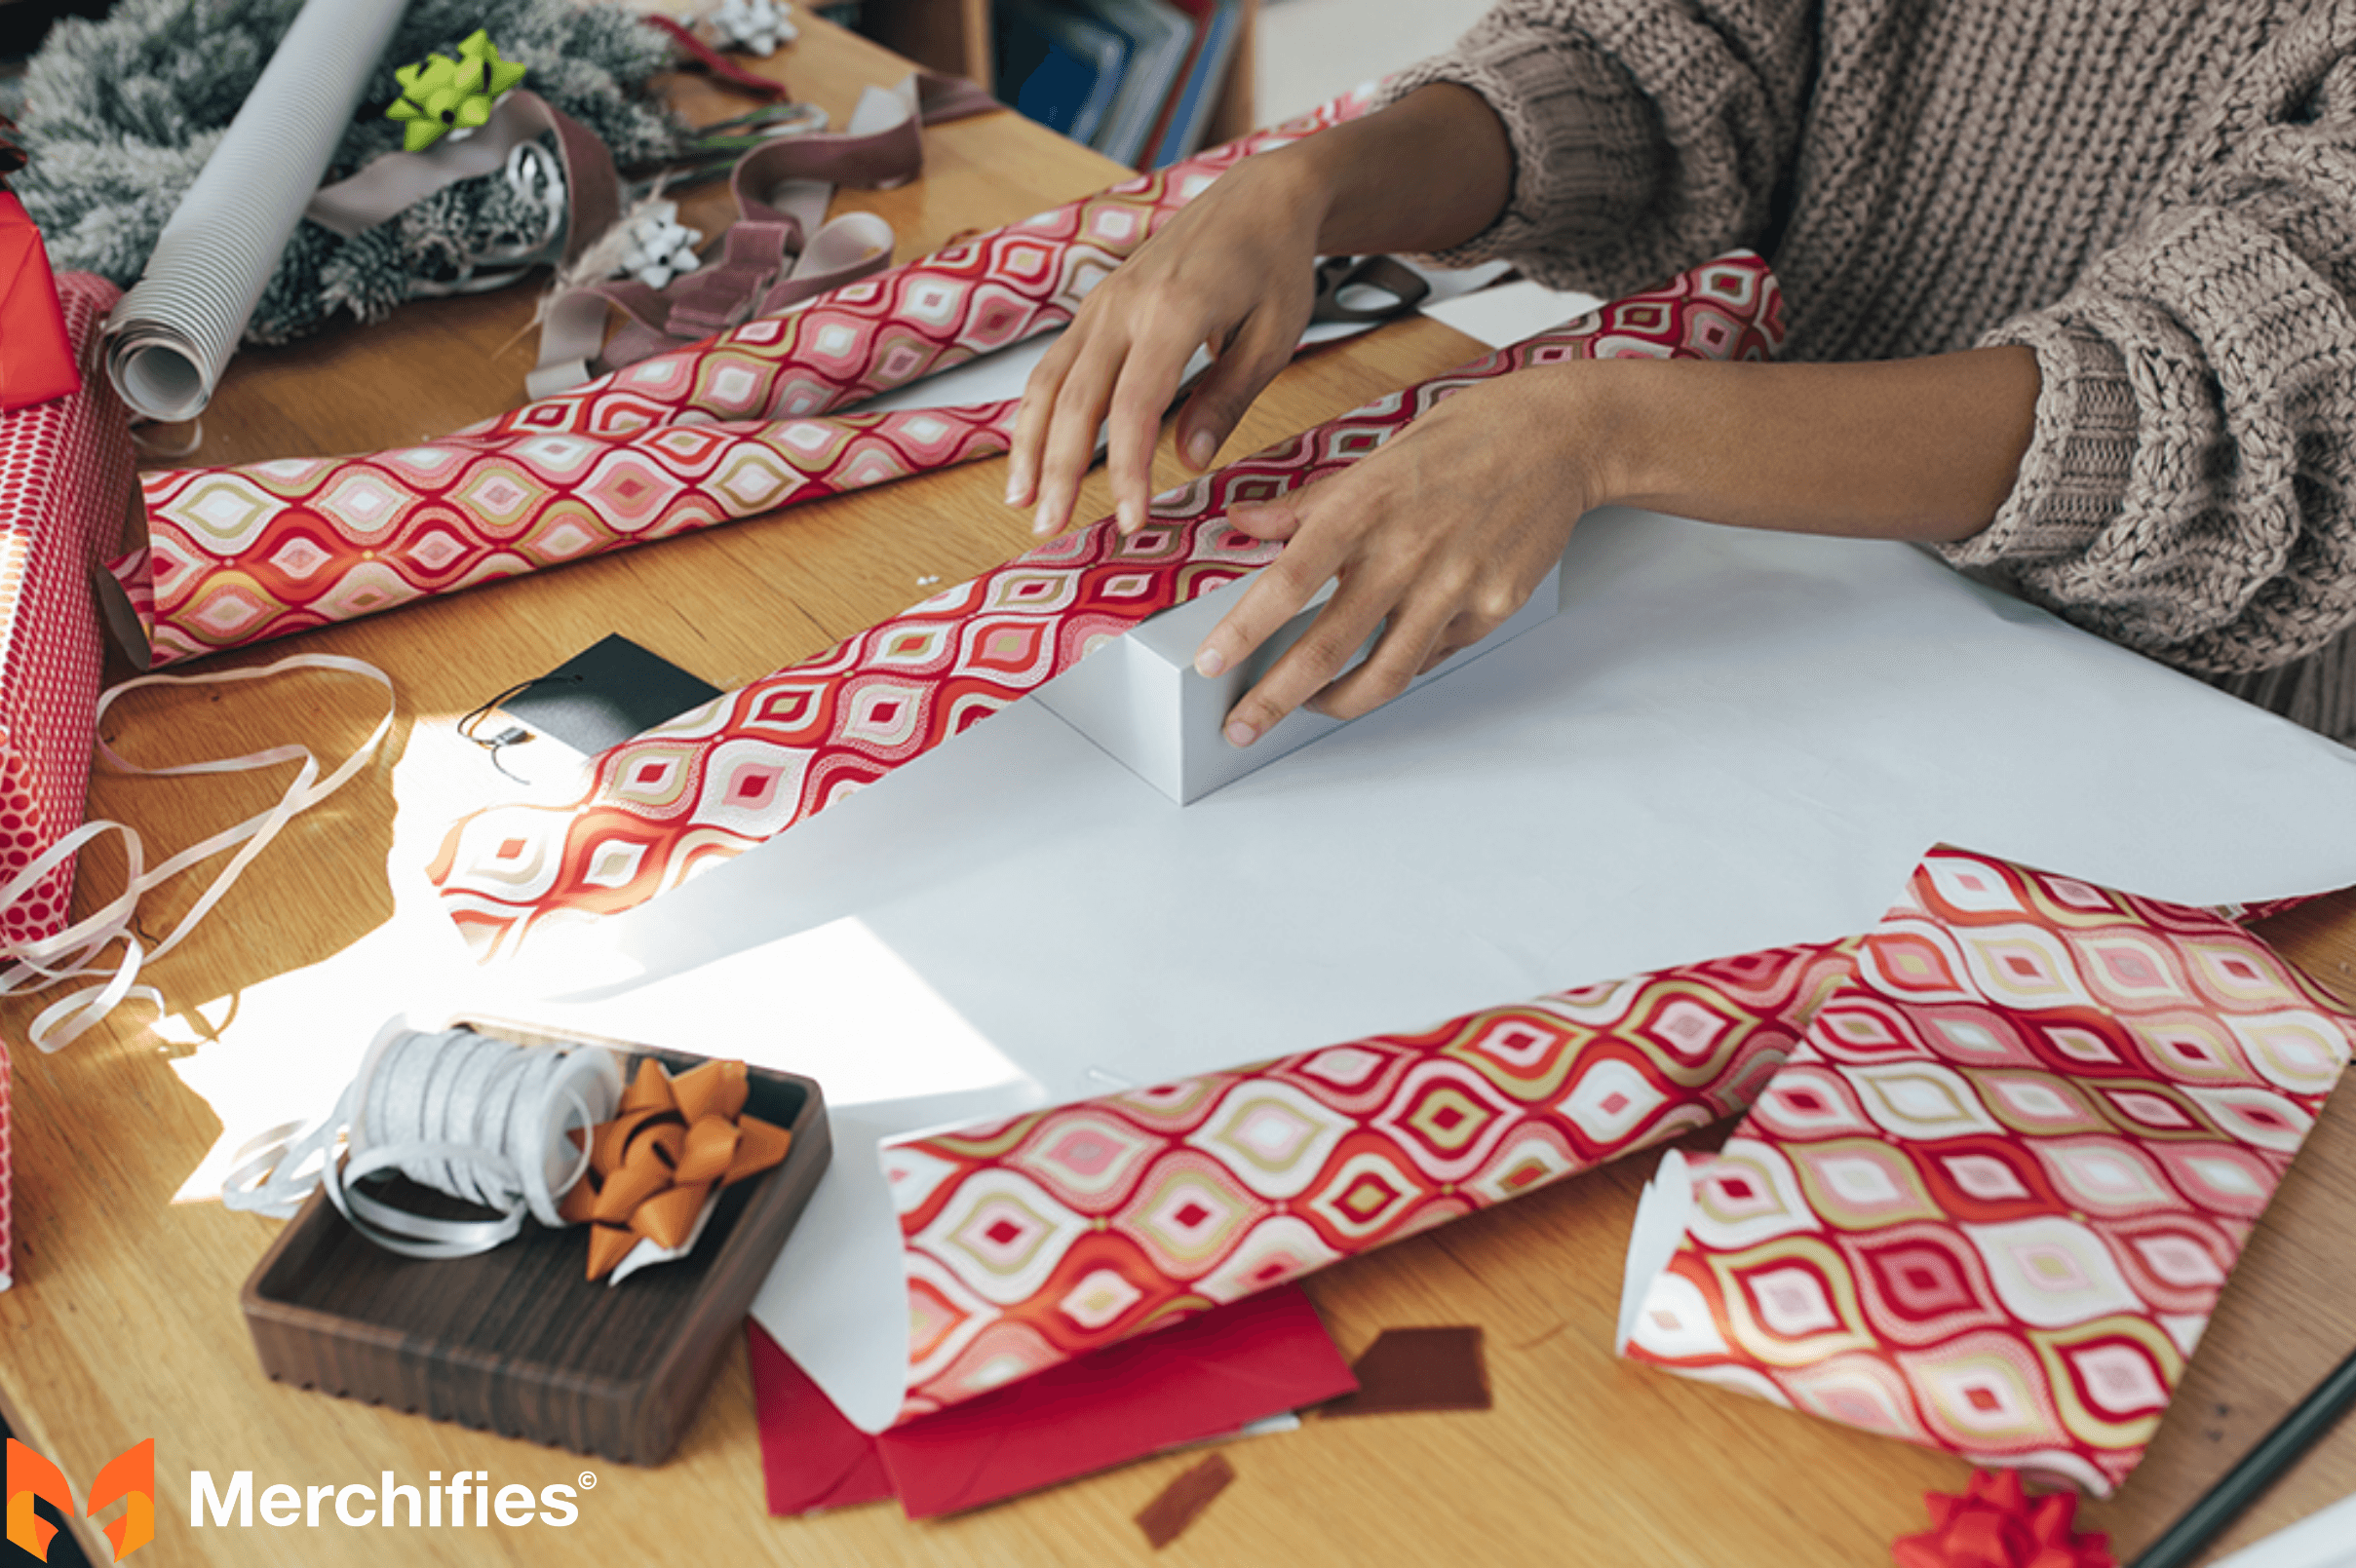
Place your box in the center of your unrolled paper. Bring one long edge of the paper up over the box. Now, unroll the paper just enough so that the opposite long edge can overlap the first by about 1-2 inches. This is the "Goldilocks" rule – not too much, not too little, just enough for a neat seam. For the width, allow enough paper on each short end of the box to fold down and cover about two-thirds of the box's side. Cut your paper to these dimensions.
Step 2: The Perfect Seam
Center your box on the cut paper. Bring one long edge of the paper over the top of the box and secure it with a piece of tape (double-sided tape works wonders here for a truly seamless look). Then, pull the opposite long edge of the paper tightly over the box to meet the first edge, overlapping it by about an inch. Fold the raw edge under for a crisp, clean finish, and tape it down. The key is to keep the paper taut to prevent wrinkles.
Step 3: Neat Ends & Crisp Corners
This is where the magic happens! On one short end of the box, push the paper inwards to create two triangular flaps on the sides. Fold the top flap down tightly against the box and tape it. Then, fold the bottom flap up, ensuring a clean fold, and tape it. Finally, fold in the side triangles tightly to create sharp, "hospital corners" on both sides. Repeat this process for the other end of the box. Crisp corners make all the difference in a professional-looking wrap.
Step 4: Secure with Tape
Use clear, invisible tape strategically. For a cleaner look, place tape underneath folds whenever possible, especially on the underside of the box and along the main seam. The goal is to minimize visible tape, letting the paper and your neat folds shine.
Visual aids, such as short videos or clear images, are highly recommended for this section to demonstrate these techniques effectively.

Creative Solutions for Challenging Presents: How to Wrap Odd Shaped Gifts
Not every gift comes in a convenient box. Learning how to wrap odd shaped gifts requires a bit of creativity, but it’s entirely doable!
CylindricalObjects (Bottles, Cans):
- The "Fringe/Pleat" Method: Cut paper tall enough to cover the bottle's height plus a few inches, and long enough to wrap around it with overlap. Secure the seam. For the ends, make small, even cuts (fringes or pleats) around the excess paper at the top and bottom. Fold these fringes inward and secure with tape or a ribbon.
- Using Fabric/Tea Towels: A simple, elegant solution. Place the bottle in the center of a square or rectangular piece of fabric (like a festive tea towel), gather the fabric up around the bottle, and secure it at the top with a ribbon or twine.
- Gift Bags as a Last Resort: When all else fails, a nice gift bag with tissue paper is a perfectly acceptable option.
Soft & Squishy Items (Clothing, Stuffed Animals):
- The "Box It Up" Method: The easiest way to wrap soft items like clothing or a plush toy is to place them in a gift box first. This gives you a firm, rectangular shape to work with.
- The "Pillow Box" Technique: You can create a custom pillow box from wrapping paper or cardstock for smaller, softer items.
- Cellophane & Ribbon Wrap: For a fluffy, celebratory look, place the item in clear cellophane, gather the top, and tie it tightly with a large, beautiful ribbon.
Irregular Shapes (Toys, Sculptures):
- Basket Wrapping with Cellophane: For large, irregular items or multiple smaller items, arrange them in a decorative basket. Then, place the entire basket in a large sheet of clear cellophane, gather at the top, and tie with a large bow.
- Creative Use of Fabric or Blankets: A festive blanket or a large scarf can double as wrapping paper for an irregularly shaped gift, becoming part of the present itself.
How to Wrap Christmas Gift Cards with Flair
A gift card can sometimes feel impersonal, but how to wrap Christmas gift cards can elevate them into a thoughtful presentation.

Simple & Elegant Envelopes:
Beyond the standard card holder, consider making or buying a small, decorative envelope from specialty paper. A touch of ribbon or a small sprig of greenery can make it feel more substantial.
Creative Card Holders:
- DIY Small Boxes: Craft a tiny box from cardstock or wrapping paper specifically to hold the gift card. This adds a fun, "unboxing" element.
- Tucked into an Ornament: For an unexpected surprise, gently roll a gift card and tuck it into a clear, fillable Christmas ornament.
- Mini Stockings: Use small, decorative stockings as gift card holders.
Incorporating into Larger Gifts:
Hide the gift card creatively within a larger gift. For instance, tuck it inside the pages of a book, place it within a new wallet, or secure it to the handle of a new mug. This creates a delightful moment of discovery.
How to Wrap a Festive Christmas Gift Basket
Gift baskets are wonderful for combining several smaller items into one grand presentation. Here’s how to wrap a Christmas gift basket that truly impresses.

Choosing the Right Basket & Fillers:
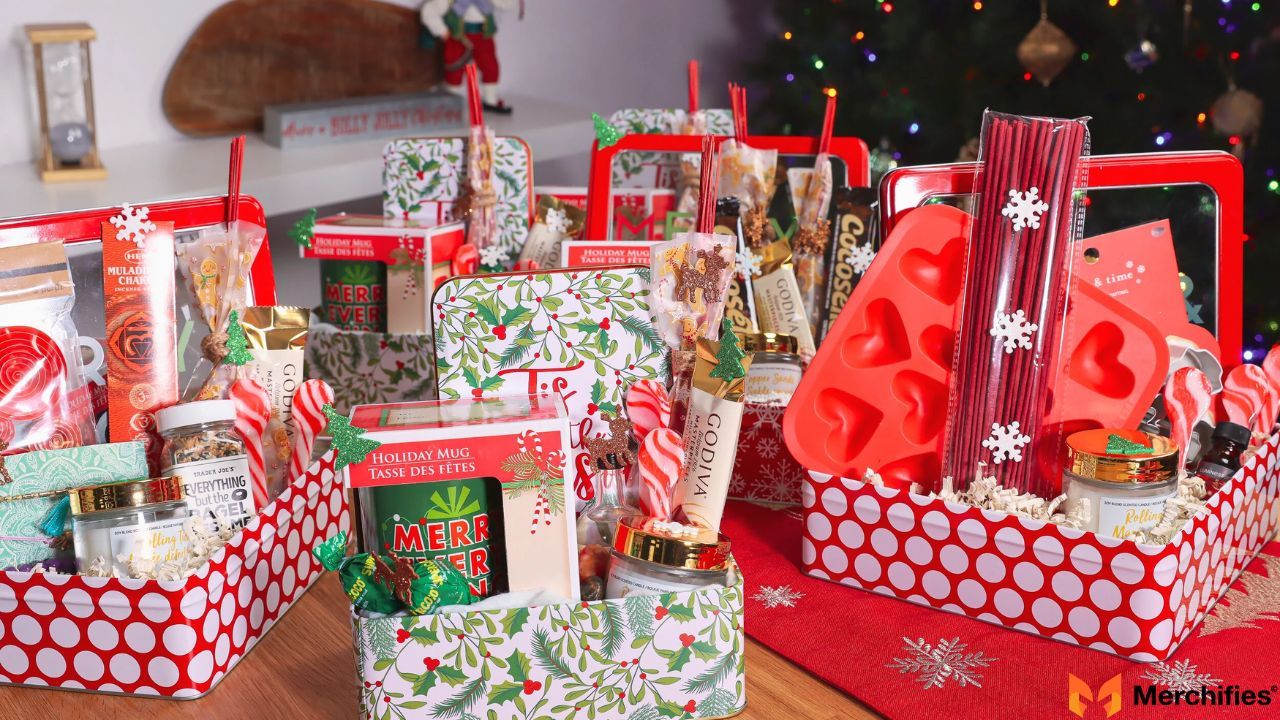
Select a basket that fits your items and theme. Line the bottom with crinkled paper shred or tissue paper to give height and protect fragile items.
Arranging Items Artfully:
Place taller items at the back and shorter, heavier items at the front. Use tissue paper or smaller boxes to fill gaps and stabilize items, ensuring everything is visible and aesthetically pleasing. Think about color and texture when arranging.
The Cellophane/Shrink Wrap Method:
Once arranged, gently place the entire basket into a large, clear cellophane bag or sheet. Gather the cellophane tightly at the top and secure it with a twist tie or rubber band. For a professional finish, you can use a heat gun (carefully!) to shrink-wrap the cellophane, making it taut around the basket.
Adding Embellishments:
A large, multi-loop bow tied around the gathered cellophane is a must. Attach personalized gift tags, small ornaments, or even a few decorative sprigs of pine to enhance the festive look.
Add That Extra Sparkle: Christmas Gift Wrapping Ideas for Decoration
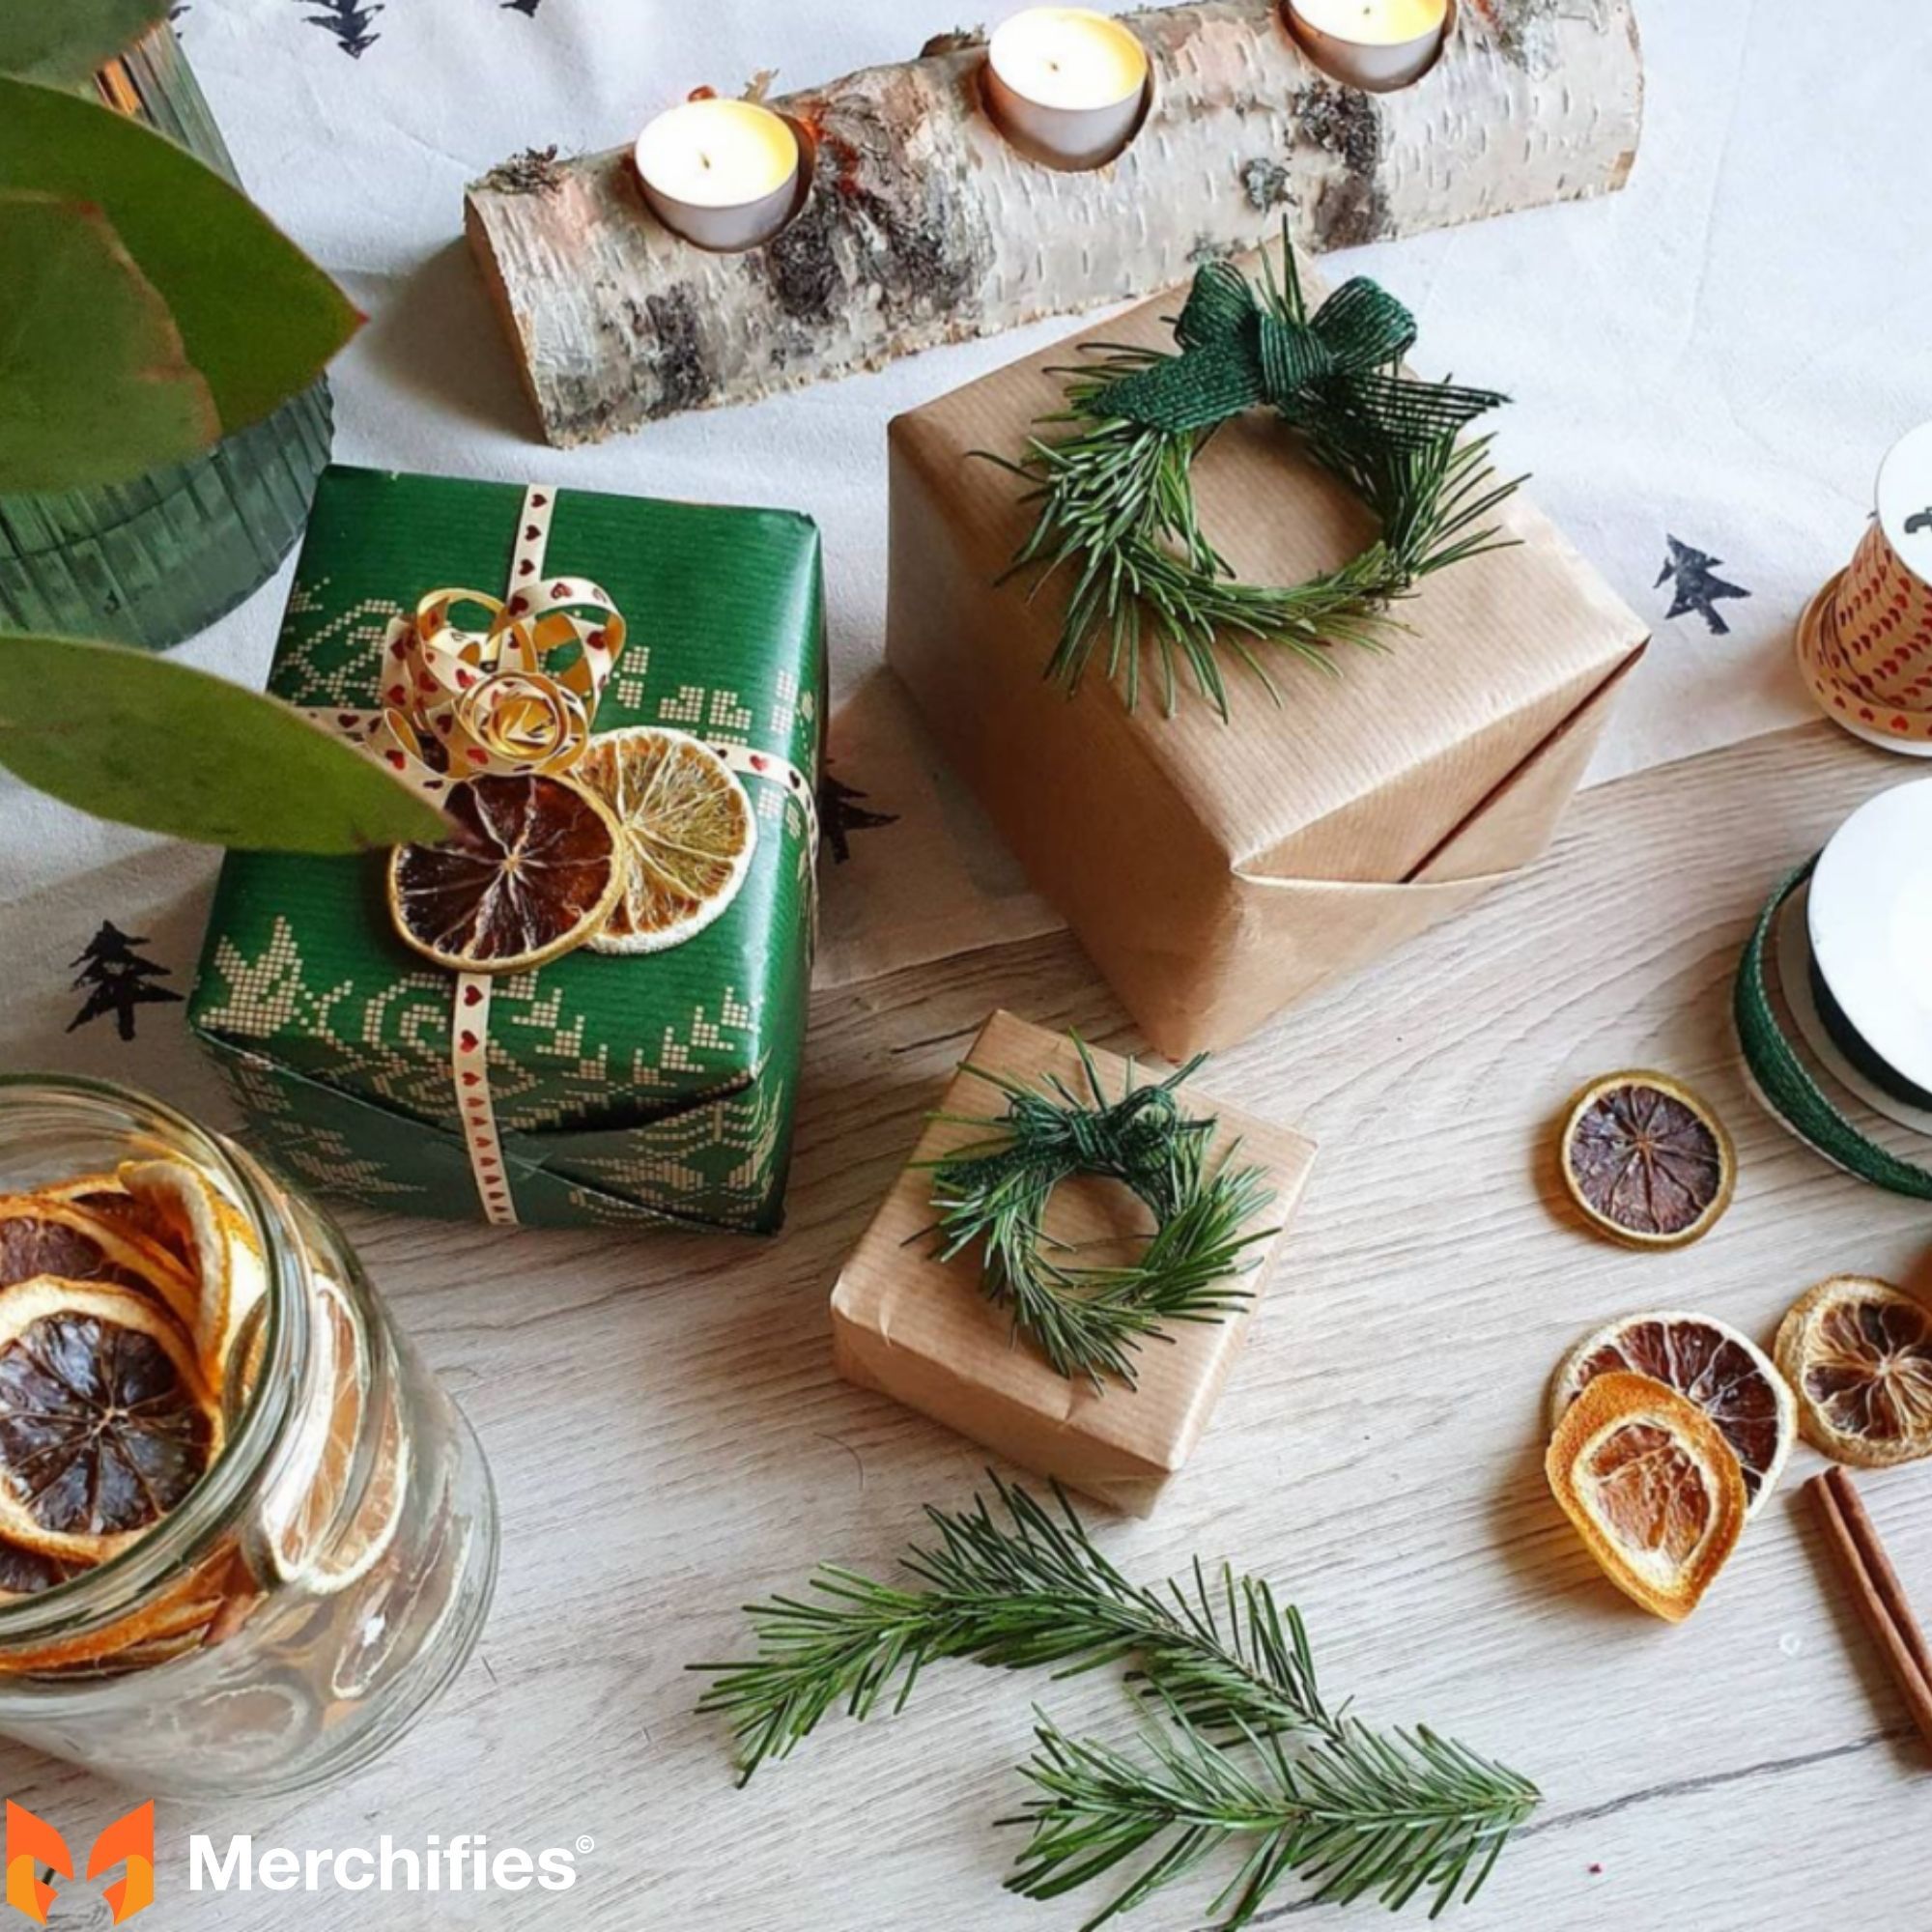
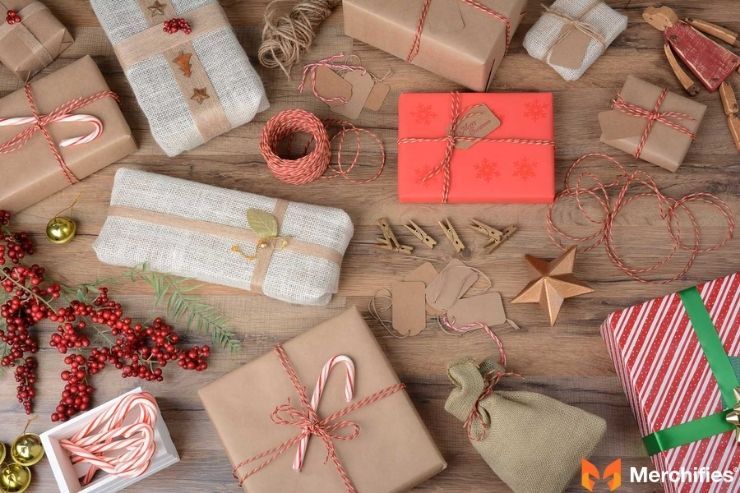
Once the gift is wrapped, it’s time to add the finishing touches. These Christmas gift wrapping ideas will help you transform a basic package into a work of art, showcasing your creativity.

Tying the Perfect Bow:
- Simple Classic Bow: A timeless choice. Wrap ribbon around the gift, knot it, then form two loops and tie them together as you would shoelaces.
- Layered Bows: Combine two different ribbons (e.g., a wide patterned ribbon with a narrower solid one) for added dimension and interest.
- Using a Bow Maker: Tools like a bow maker (or even a fork for tiny bows!) can help you create perfectly symmetrical, voluminous bows effortlessly.
- Curling Ribbon Techniques: Use the dull edge of scissors to gently curl strands of curling ribbon for a playful, textured look.
Creative Accents & Embellishments:
This is where your personal style truly shines. As Mason Ellis Grant eloquently states, "Thoughtful embellishments are like the festive garnish on a gourmet meal—they elevate the entire experience from good to extraordinary."
- Natural Elements: Tuck a sprig of fresh evergreen, a pinecone, a cinnamon stick, or a slice of dried orange under your ribbon. These add a rustic, aromatic touch.
- Attaching Small Ornaments or Bells: Choose small, lightweight ornaments or jingle bells to tie onto the ribbon. The recipient can then reuse these as decorations.
- Personalized Gift Tags & Handwritten Notes: A beautifully handwritten tag or a short, personal note taped to the package adds immense sentimental value.
- Layering Different Ribbons or Twine: Combine textures – a rustic twine over a silk ribbon, or a narrow metallic ribbon over a wide fabric one, creates visual appeal.
Using Tissue Paper Effectively:
- Puff out of Gift Bags: For gift bags, layer two or three sheets of coordinating tissue paper and let them gently puff out of the top.
- Cushioning Inside Boxes: Use crumpled tissue paper to protect fragile items inside a gift box.
- Layering Colors: For an elegant touch, layer different colored tissue paper inside a box or bag.
Sustainable & Stand-Out: Eco-Friendly Christmas Gift Wrapping Ideas
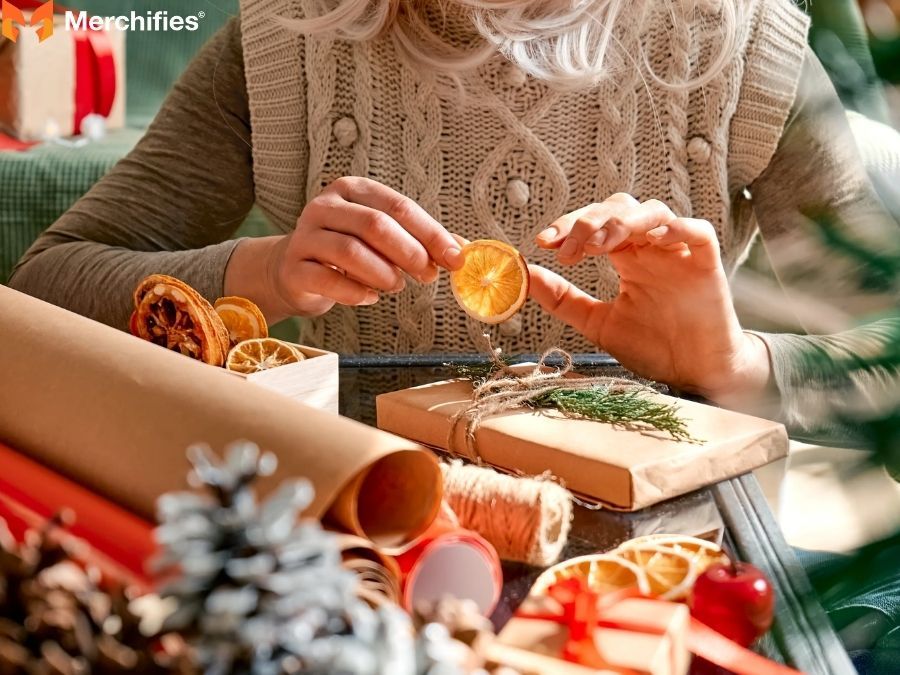
As we become more mindful of our environmental impact, choosing eco-friendly gift wrapping options offers a beautiful and sustainable alternative.

Fabric Wrapping (Furoshiki):
- Introduction to the Japanese Art of Furoshiki: This traditional Japanese wrapping cloth technique uses fabric squares to wrap gifts. It's beautiful, versatile, and entirely reusable.
- Benefits: Furoshiki eliminates paper waste, can be part of the gift itself (e.g., a scarf or tea towel), and creates stunning presentations.
- Simple Tying Techniques: Learn basic knots and folds to secure items, from square boxes to bottles, without tape.
Reusable Materials:
- Newspaper, Old Maps, Sheet Music, Calendars: Give old materials a new life. The monochromatic print of newspaper or the vintage charm of maps can be incredibly stylish with the right ribbon.
- Jars, Tins, Reusable Bags: Use decorative jars or tins for small items, or wrap gifts directly in a reusable tote bag.
- Gift in a Gift: Wrap a present using another gift, such as a scarf, blanket, or tea towel.
Minimalist & Natural Touches:
- Kraft Paper with Natural Twine and Greenery: Simple brown kraft paper provides a rustic, elegant base. Pair it with jute twine and a fresh sprig of pine or eucalyptus.
- Hand-Stamped Designs on Plain Paper: Use rubber stamps and eco-friendly ink to create custom designs on plain kraft paper or recycled paper.
How to Wrap Christmas Gifts Without Tape: Sustainable & Creative Alternatives
For those aiming for a truly zero-waste approach or simply seeking novel methods, learning how to wrap Christmas gifts without tape is a fantastic skill.

The Art of Furoshiki (Revisited):
This is the ultimate tape-free solution. Fabric wraps are secured entirely by knotting and clever folding. With various techniques available, you can wrap almost any shape, from a single bottle to multiple small items, using just fabric. The fabric itself acts as a beautiful and reusable fastener.
Using Ribbon & Twine as Fasteners:
Instead of tape, use robust ribbon, string, or twine to hold paper wraps in place.
- Criss-Cross Patterns: Wrap paper around your gift as usual, then use a long piece of ribbon to secure the ends by crisscrossing it over the top and bottom of the package, tying a knot or bow on top.
- Securing Folds with Ties: For simpler wraps, particularly with sturdy paper, you can fold the paper meticulously and then tie twine around the entire package to prevent it from unfurling.
Gift Boxes & Bags with Lids/Closures:
The simplest way to avoid tape is to use packaging designed for it.
- Lidded Boxes: Sturdy gift boxes with snug-fitting lids eliminate the need for any adhesive. You can then decorate the box with a ribbon or embellishments.
- Drawstring Bags: Fabric drawstring bags are excellent for odd shapes and require no tape.
- Fold-Over Gift Boxes: Many gift boxes come with interlocking tabs or self-adhesive strips that remove the need for additional tape.
Creative Folding & Interlocking Methods:
With certain papers (like thicker cardstock or craft paper), you can create minimalist paper wraps that hold themselves together through clever folds and interlocking tabs, much like origami boxes. This method requires precise cutting and scoring but yields impressive, tape-free results.
Gift Wrapping Hacks & Troubleshooting Tips
Even the pros encounter hiccups. These gift wrapping tips will help you save time, reduce stress, and overcome common challenges for seamless wrapping.

Save Time & Reduce Stress:
- Wrap in Batches: Don't wait until Christmas Eve! Wrap gifts in categories (e.g., all rectangular boxes, then all odd shapes) or for specific recipients.
- Use a Dedicated Wrapping Station: Set up a temporary spot with all your supplies. This saves time searching for items and keeps things organized.
- Pre-Cut Tape Strips: Stick several strips of tape to the edge of your table or a handy dispenser. This makes grabbing tape quick and easy.
Common Problems & Solutions:
- Running Out of Paper Mid-Wrap: The "paper extend" trick! If you're just a little short, cut a strip of contrasting or coordinating paper, tape it to one edge, and then proceed with wrapping. This can look intentional and creative.
- Wrinkles and Creases: Always pull the paper taut as you wrap. If wrinkles appear, gently smooth them out with your hand or a ruler. For stubborn creases, very carefully use a warm (not hot!) iron on the underside of the paper before wrapping.
- Tape Not Sticking: Ensure your surfaces are clean and dry. If using a textured paper, standard clear tape might struggle; opt for stronger craft tape or double-sided tape designed for various surfaces.
Personalization Matters:
- Adding a Handwritten Message: A simple, heartfelt note elevates any gift.
- Choosing Paper That Reflects the Recipient's Personality: Does your friend love vintage? Use old maps. Are they a minimalist? Kraft paper with twine. This shows you put thought into the entire presentation.
The Gift of Thoughtful Presentation
You've now got the tools, techniques, and creative ideas to tackle any gift this holiday season. From mastering the standard box to bravely facing odd shapes and embracing eco-friendly options, you're well-equipped to make every present shine. Remember, the effort you put into learning how to wrap Christmas gifts is a gift in itself. It’s a tangible expression of care, making the anticipation and the moment of unwrapping all the more magical.
Mason Ellis Grant reminds us that "the real expertise isn't just in the neat folds or perfect bows, but in the joy and personal connection you infuse into each gift." So go forth, create, and share the joy of beautifully wrapped presents this Christmas. We'd love to see your creations! Share your newly wrapped gifts on social media and tag us, or tell us your favorite wrapping tips in the comments below.
-d4c38c342cdf20ca.jpeg)


-b555fcc6b204c456.jpeg)


