-da0801079a650a2e.jpeg)
How to Put Lights on a Christmas Tree: The Ultimate Guide for a Dazzling Display
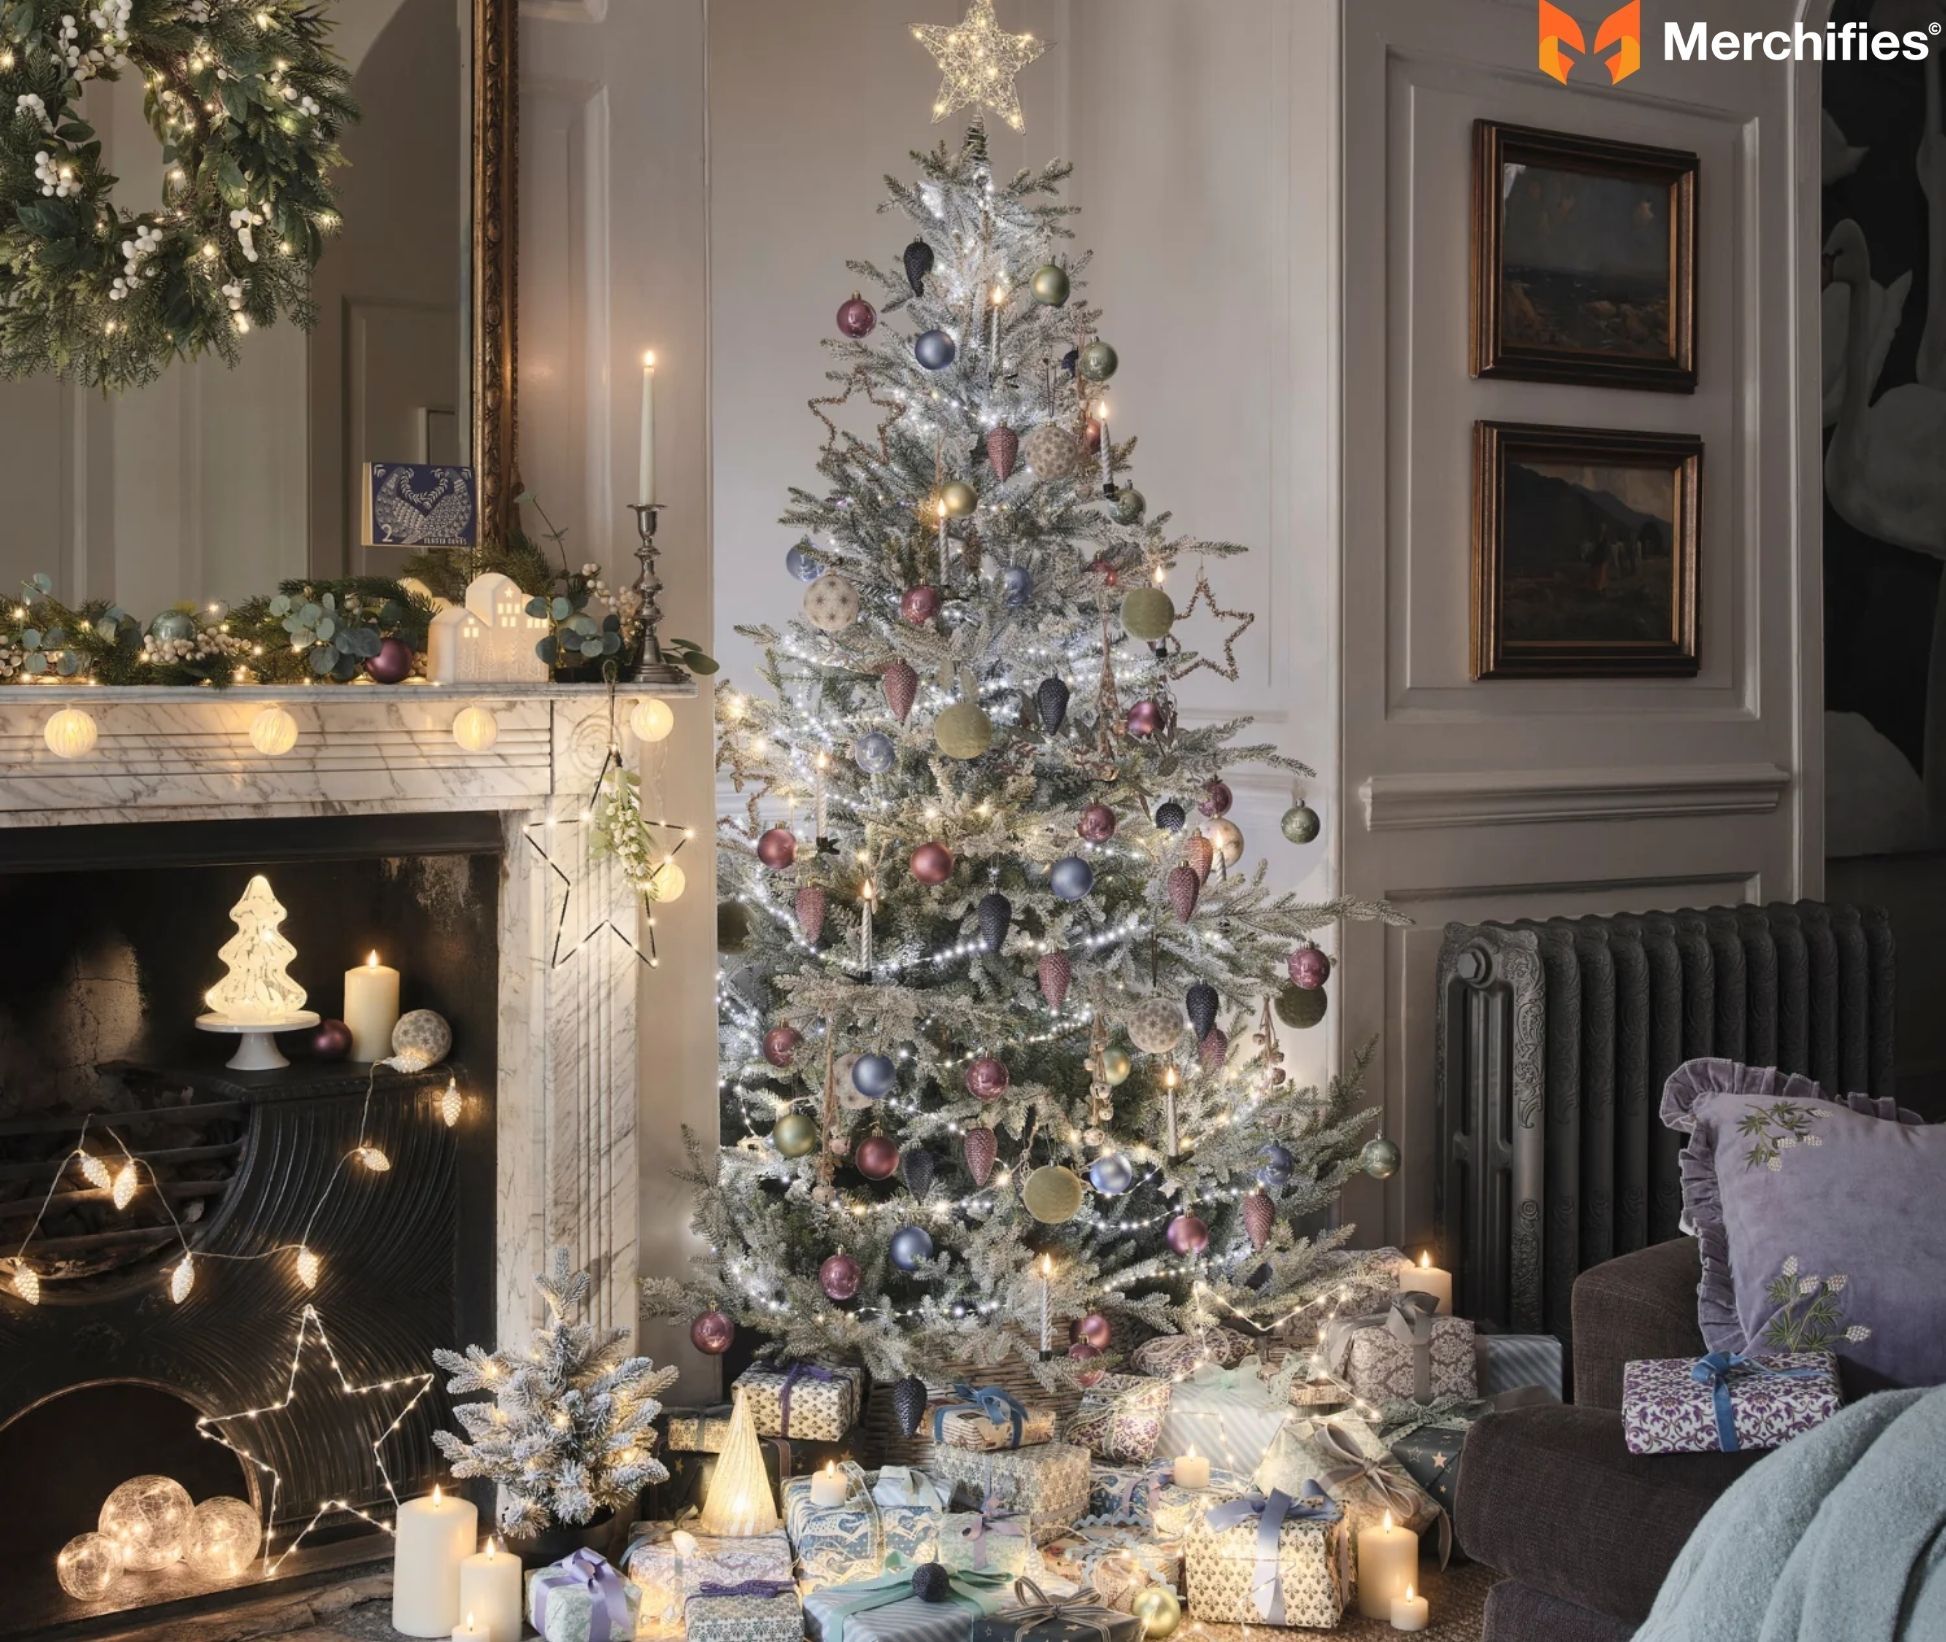
This guide walks you through the best techniques to put lights on a Christmas tree— from choosing the right type and number of lights to step-by-step wrapping methods that create a bright, balanced, and beautifully glowing holiday tree.

Blog Post Contents
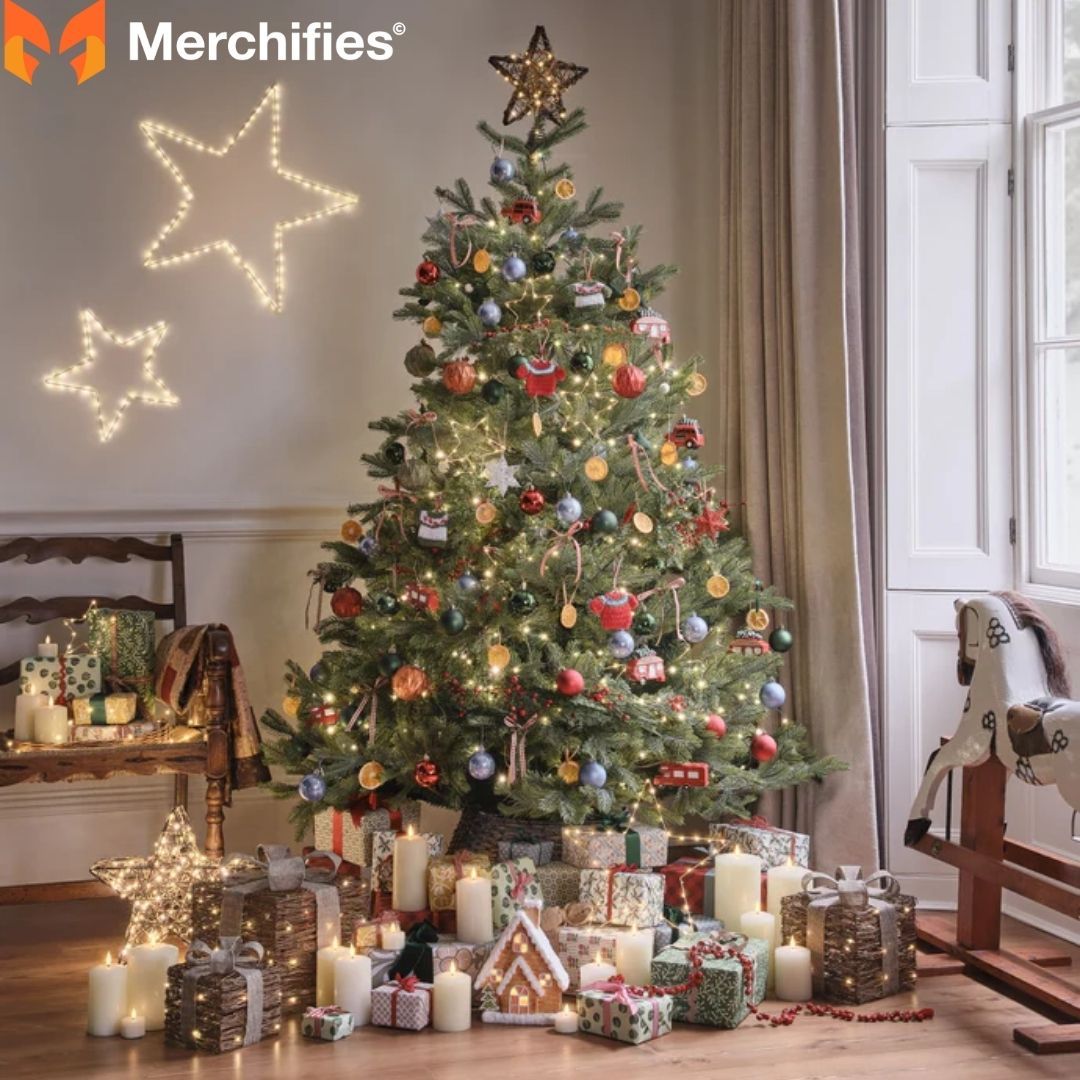
There's an undeniable magic that a beautifully lit Christmas tree brings to the holiday season. It's more than just decor; it's the warm, inviting glow that sets the festive mood, drawing family and friends together. Getting those lights just right isn't merely a task; it's an art that lays the foundation for your tree's overall beauty. If you've ever struggled with dark spots, tangled wires, or an uneven sparkle, you're in the right place. In this comprehensive guide, we'll walk you through everything you need to know, from selecting the perfect lights to mastering various placement methods, troubleshooting common issues, and sharing pro tips for a stunning, professional look. As Mason Ellis Grant, a seasoned holiday decorator and lighting enthusiast with over two decades of experience, often shares, "The lights are the heart of your tree; get them right, and the rest falls into place effortlessly." This article addresses the primary need for a clear, actionable guide, ensuring your tree shines brightest this year.
Before You Begin: Essential Preparations for a Flawless Tree
Pre-planning is crucial for an impeccable Christmas tree lighting experience. Skipping these initial steps often leads to frustration and wasted effort. Taking a moment to prepare ensures you avoid common mistakes and set yourself up for success.
Gather Your Supplies:
Before you even touch a string of lights, make sure you have everything at hand. This simple step can save countless trips to the garage or store.
- Christmas tree: Whether it's a fresh-cut pine or a beloved artificial tree, have it set up and fluffed.
- Lights: New or old, make sure you have enough.
- Extension cords, power strips: Ensure they are rated for indoor use and can handle the load.
- Ladder or step stool: Safety first when reaching higher branches!
- Zip ties or twist ties: Optional, but incredibly helpful for securing strands and hiding wires.
- Light tester: Highly recommended for quick troubleshooting.

Choosing the Right Christmas Lights for Your Tree:
The type of lights you choose significantly impacts your tree's overall look and feel. Understanding your options is a key part of decorating christmas tree lights.
Types:
- Incandescent: Offers that classic, warm, nostalgic glow. They tend to get warm and use more energy.
- LED: Energy-efficient, durable, long-lasting, and cool to the touch. They come in a wide range of hues.
- Bulb Size: Mini lights are versatile, while C7/C9 bulbs provide a bolder, more traditional look, often used for exterior lighting or as a base layer on large trees.
- Features: Consider warm white (yellowish tint), cool white (bluish tint), multicolor, smart lights (app-controlled), or twinkling functions for added flair.
- Indoor vs. Outdoor: Emphasize safety and proper usage. Always use lights specifically rated for outdoor use when how to put lights on a tree outside.
How Many Lights Do You Need? The Golden Rule & Beyond:
One of the most frequent questions for anyone decorating christmas tree lights is how many christmas tree lights are truly necessary.
- General guideline: A good starting point is 100 lights per foot of tree height. So, a 7-foot tree would need at least 700 lights.
- For a dense, professional look: Aim for 150-200 lights per foot. This creates a truly magical, full glow.
- Calculating for your tree: Multiply your tree's height (in feet) by your desired density (100, 150, or 200).
- Tip: When in doubt, it’s always better to have too many lights than too few. You can always tuck away extra lengths, but running out mid-decoration is a major setback.

Test Your Lights BEFORE You Start:
This step is absolutely crucial for any christmas tree lights guide. Nothing is more frustrating than meticulously placing lights only to find a string (or half a string) doesn't work.
- Uncoil each strand and plug it in to test it.
- Use a light tester to quickly identify burnt-out bulbs or loose connections, especially with older incandescent strings. Replace any faulty bulbs or fuses before placement.
Step-by-Step: Three Popular Methods to Put Lights on a Christmas Tree
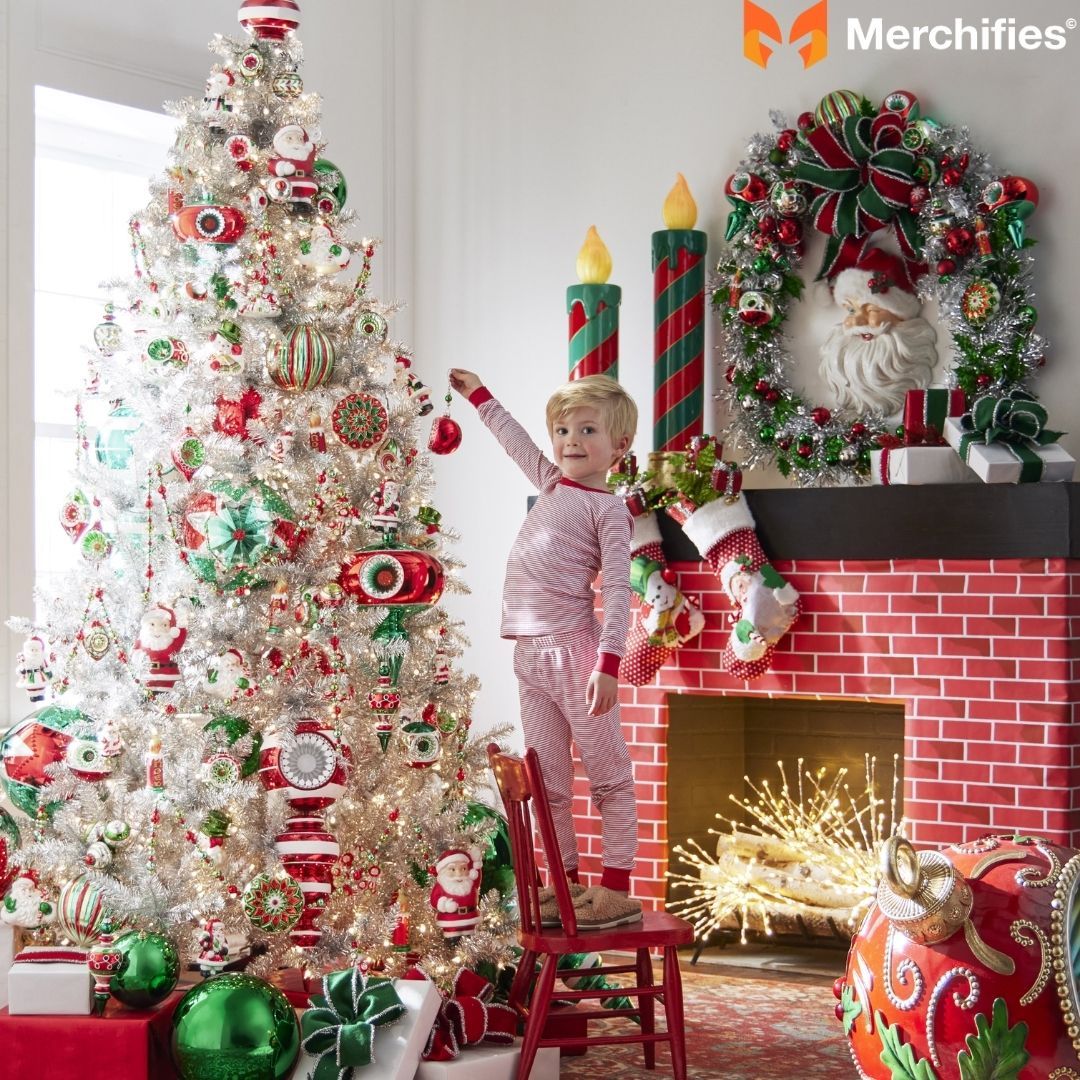
Now for the core "how-to." These methods offer diverse techniques, allowing you to choose the best approach for your tree and desired aesthetic. Each approach to how to put lights on a christmas tree offers a distinct look.
The Horizontal (Wrapping) Method: Classic & Even:
This is perhaps the most traditional method for how to put lights on a christmas tree. It creates a uniform, classic glow.
- Starting Point: Begin at the bottom of the tree, closest to your power outlet. Work your way up, or some prefer to start at the top and work down. Mason Ellis Grant often advises starting at the bottom for artificial trees, making it easier to manage the length of strands.
- Wrapping: Wrap the lights around the tree's circumference, moving inward toward the trunk and then outward to the tips of the branches. This helps fill the tree with light.
- Security: As you wrap, gently weave the lights through the branches, occasionally using zip ties or twist ties to secure strands if they feel too loose. This helps hide wires and keeps the lights in place.

How to Put Lights on a Christmas Tree Vertically (The Zig-Zag Method): Depth & Dimension:
The vertical or zig-zag method is excellent for creating a sense of depth and making your tree appear fuller. This answers directly how to put lights on a christmas tree vertically and how to put lights on a christmas tree zig zag.
- Starting Point: Begin at the top of the tree near the trunk.
- Running Strands: Run a strand vertically down the tree, from top to bottom, then zig-zag it back up in an adjacent section.
- Creating Depth: Push some lights deeper into the branches, closer to the trunk, and keep others closer to the branch tips. This layering effect adds rich dimension.
- Showcasing Ornaments: This method leaves more of the branch tips free, making it ideal for prominently displaying ornaments later.
The Branch-by-Branch (Weaving) Method: Integrated & Natural:
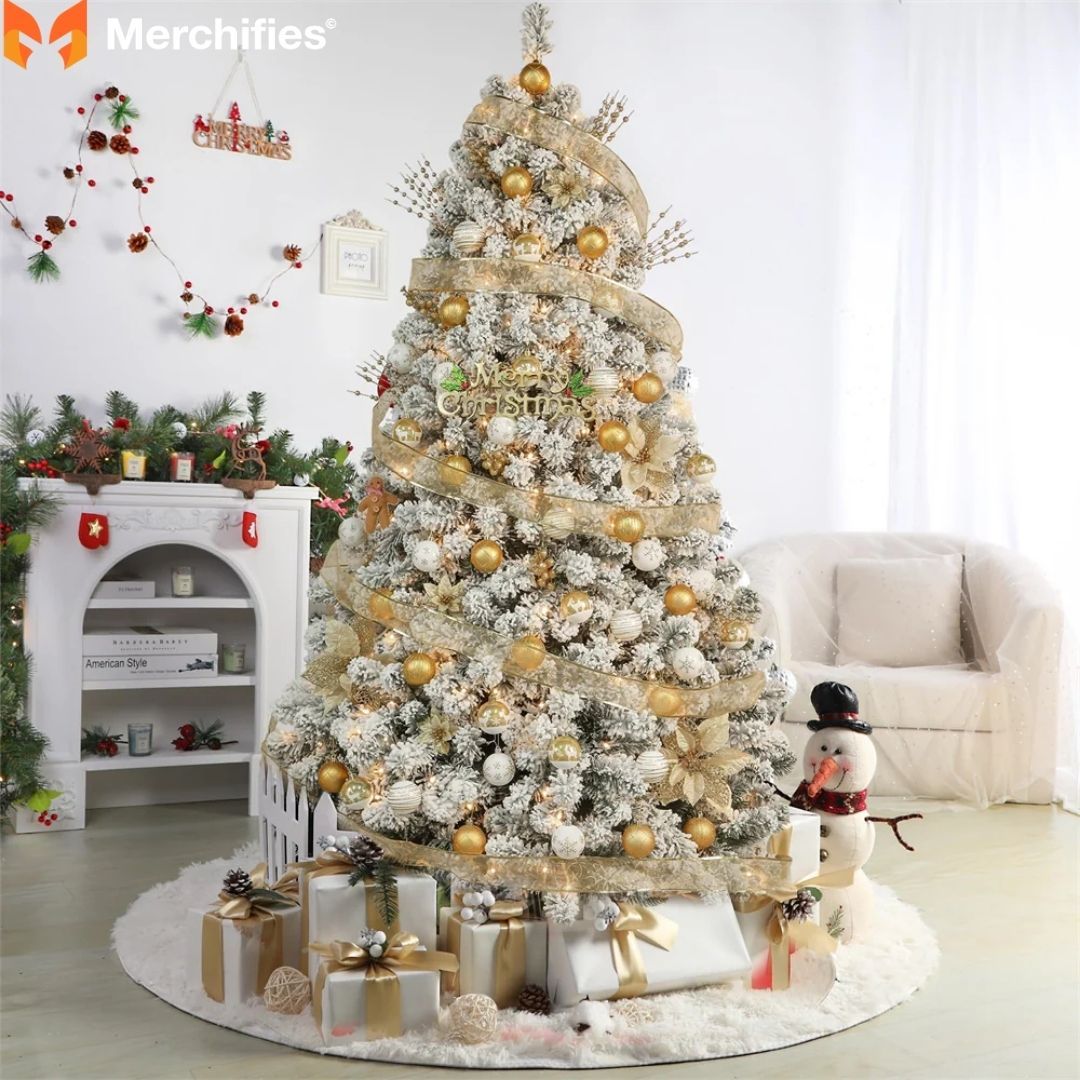
For a truly integrated look that appears to glow from within, the branch-by-branch method is unparalleled.
- Weaving: Take an individual strand and weave the lights along each branch, from the trunk out to the tip and back.
- Integrated Look: This method ensures lights are deeply nestled within the foliage, giving a very natural and full appearance.
- Best For: This technique works beautifully for real trees with distinct branches or very sparse artificial trees, where you want to emphasize every needle.
Key Principles for All Methods:
Regardless of the method you choose, a few universal tree lighting tips apply.
- Distribute Evenly: Aim for an even spread of lights across the entire tree, front to back, top to bottom.
- Dimension: Don't just place lights on the outside. Push some lights deeper into the tree's interior to create a radiant, multi-dimensional glow.
- Hide Wires: Conceal wires as much as possible by tucking them behind branches or using green ties that blend in.
- Start Near Outlet: Always begin stringing lights from the end of the strand closest to your power source to ensure easy plug-in and minimize visible extension cords.

How to Put Lights on a Christmas Tree Properly: Advanced Tips & Tricks for Dazzling Results
To truly achieve a "wow" factor, understanding how to put lights on a christmas tree properly involves a few expert techniques that elevate your display from good to spectacular. These advanced tips add value and expertise.
Layering Lights for Depth and Brightness:
Don't be afraid to mix and match! Layering lights adds incredible depth and luminosity.
- Combine Types: Start with larger C7/C9 bulbs deeper in the tree for a foundational glow, then add smaller mini lights closer to the branch tips for detailed sparkle.
- Warm & Cool: Experiment with combining warm white and cool white lights for a unique, multi-tonal effect that adds sophistication.
Strategic Placement of Extension Cords & Power Strips:
Safety and aesthetics go hand-in-hand here.
- Safety First: Never overload circuits. Ensure your extension cords are rated for the total wattage of your lights.
- Hiding Cords: Use green extension cords that blend with the tree. Tuck power strips behind the tree or within a tree skirt.
- Convenience: Consider using foot-activated switches or smart plugs for easy on/off control.
The "Off" Test: How Your Tree Looks in the Dark:
This is a simple yet vital tip often overlooked, as Mason Ellis Grant often points out.
- Turn off all other room lights to get a true sense of your tree's illumination. This will quickly reveal any dark spots or uneven distribution you might have missed in bright daylight. Make adjustments before you start adding ornaments.
Integrating Lights with Ornaments (A Sneak Peek):
Think about how your lights will interact with your ornaments even before you hang a single bauble.
- Highlight Ornaments: Place some lights strategically behind or within reflective ornaments to make them sparkle even more.
- Amplify Light: Utilize ornaments with metallic or mirrored finishes to amplify and bounce the light around the tree.

How to Put Lights on a Tree Outside: Illuminating Your Yard
Lighting outdoor trees, whether a festive evergreen or a deciduous tree in your yard, requires special considerations for safety and durability.
- Weatherproof Lights: Always use lights specifically rated for outdoor use, marked with a UL symbol for outdoor conditions. These lights have thicker insulation and sealed connections to withstand moisture.
- Outdoor Extension Cords: Just like lights, ensure all extension cords are rated for outdoor use and are heavy-duty enough to handle the elements and power load.
- GFCIs (Ground Fault Circuit Interrupters): Plug all outdoor lights into GFCI-protected outlets to prevent electrical shocks, especially important in wet conditions.
- Secure Fastening: Use plastic clips or weatherproof zip ties to secure lights to branches. Avoid wrapping too tightly, which can damage the tree as it grows or sways in the wind.
- Power Distribution: Plan your power distribution to avoid long, stretched cords. Use multiple outdoor-rated power strips strategically placed.
- Accessibility: Consider how you will turn the lights on and off. Smart outdoor plugs or timers are excellent solutions for convenience.
Troubleshooting Common Christmas Light Problems
Even with the best preparation, issues can arise. Knowing how to fix christmas lights can save you time and frustration.
"Half My String Isn't Working!"
This is a classic problem, especially with older incandescent strings.
- Individual Bulbs: Use your light tester to check each bulb in the non-working section. Often, one faulty bulb can break the circuit for several others. Replace it.
- Fuses: Check the fuses located in the light string's plug. Most strings have one or two small fuses that can blow due to power surges or too many strings connected. Replace with the correct amperage fuse.

Unevenly Lit or Dark Spots:
This means your distribution needs adjusting.
- Adjust Placement: Gently move lights from denser areas to fill in dark spots. Push some lights deeper into the tree for inner glow.
- Supplementary Strands: If you simply don't have enough lights, the easiest solution is to add another strand or two to fill in gaps.
Tangled Wires & Messy Cords:
Wire management is key to a clean look.
- During Setup: Work with one strand at a time, keeping it untangled. As you place them, tuck wires behind branches or use green zip ties to secure them discreetly.
After the Season: Storage & Maintenance for Next Year
Proper care for your christmas tree lights guide ensures they last for many seasons to come, demonstrating thoroughness and preparedness.
Careful Removal to Prevent Tangles:
Untangling lights next year is a chore no one wants.
- Reverse Order: Remove lights in the reverse order you put them on, coiling each strand neatly as you go.
- Organizers: Invest in cardboard light spools, plastic light reels, or even simply wrap them around a piece of cardboard to prevent tangling.

Proper Storage Techniques:
Storing your lights correctly protects them from damage.
- Dry & Pest-Free: Store lights in a cool, dry place, away from extreme temperatures and pests that could chew on wires.
- Labeling: Label each container or spool by type (e.g., "warm white LED," "C7 outdoor") for easy identification next year.
Conclusion: Let Your Christmas Tree Shine Bright!
Putting lights on a Christmas tree doesn't have to be a daunting task. By following these steps and tips, you can transform your tree into a breathtaking display that captures the true spirit of the holidays. We've covered everything from selecting the right lights and determining how many christmas tree lights you need, to mastering the horizontal, vertical, and branch-by-branch methods, plus advanced tricks for a professional finish. We've also explored how to put lights on a tree outside and fix christmas lights. Remember, the joy and satisfaction of a beautifully lit tree are well worth the effort. These insights, directly from the extensive experience of holiday lighting expert Mason Ellis Grant, are designed to empower you. We encourage you to try these techniques and let your creativity shine through. Share your dazzling tree photos, or comment below with your favorite lighting tips!
-d4c38c342cdf20ca.jpeg)


-b555fcc6b204c456.jpeg)


