-da0801079a650a2e.jpeg)
17 Year Anniversary Quotes: 110+ Funny, Romantic & Furniture Wishes (2026)
Mar, 12 2026
Learn how to wash veteran shirts properly to preserve colors and prints. Follow care tips for long-lasting quality, comfort, and patriotic pride.
You bought that veteran shirt to honor service. Then you washed it wrong. The eagle graphic cracked. The flag faded to pink. The unit insignia peeled off.
One wrong wash ruins prints worth $25-40. Heat, harsh detergent, and basic mistakes destroy military graphics faster than regular t-shirts.
This guide shows you exactly how to wash printed veteran shirts to keep graphics sharp for 200+ washes. You'll learn which methods work for different print types and how to keep graphic t-shirts long lasting.
Veteran shirts carry emotional value regular t-shirts don't. That Marine Corps shirt belonged to your father. The Navy tee commemorates your brother's deployment. You can't just buy another when the print cracks.
Military graphics are complex: multi-color designs, metallic inks, detailed insignias. Eagle feathers, flag stars, unit crests—each needs protection.
Proper care extends shirt life 2-3 times. From 50 washes to 150+ washes. The difference between one year and five years of wear.
Five washing mistakes destroy more veteran shirts than everything else combined. Avoid these and your prints last years longer.
Custom prints need 24 hours to cure. The ink must fully bond to fabric.
What happens when you wash too soon:
The fix: Wait minimum 24 hours before washing new veteran shirts.
Online orders usually arrive safe—most POD companies ship 2-3 days after printing. The curing happens during transit. But if you buy at a local event or custom shop, ask when it was printed. Fresh prints need patience.
I learned this the hard way. Bought a custom Navy veteran shirt at a military reunion. Washed it that night because I wanted to wear it the next day. Half the anchor graphic washed off. The printer explained the 24-hour rule. Expensive lesson.
Check your packaging. Some sellers include printing date stickers: "Printed [date] - wait 24 hours before washing."
Hot water breaks down ink, fabric fibers, and adhesive bonds simultaneously.
What happens with hot water:
Temperature damage by print type:
Cold water preserves prints and saves money. Your utility bill drops $50-100 yearly switching to cold water washing. Win-win.
I switched to cold water exclusively five years ago. Every veteran shirt I own looks nearly new. My brother still uses hot water—his shirts look five years old after one year of wear.
Fabric softener feels good on regular clothes. On printed veteran shirts, it's poison.
The problem: Chemicals in fabric softener coat fabric and print. The coating degrades adhesive holding ink to fabric.
The progression:
The fix: Never use fabric softener on printed veteran shirts. Not liquid softener. Not dryer sheets. Neither one.
Alternative: White vinegar. Half cup per load in the fabric softener dispenser. Vinegar softens fabric, brightens colors, and preserves prints. Natural, cheap, effective.
My grandmother taught me the vinegar trick. She's been washing clothes for sixty years. Her printed shirts from the 1980s still look vibrant. Vinegar works.
Dryer heat dries out ink and causes thermal stress. The fabric shrinks around a rigid print that can't shrink. Disaster.
Heat damage timeline:
The fix: Air dry on rounded hanger. Or tumble dry low heat for 10-15 minutes, remove early, finish air drying.
Heat doesn't just crack prints. It also sets stains permanently if you missed one during washing. Always check for stains before drying.
I use a hybrid method. Ten minutes in dryer on low heat to remove initial moisture. Then hang to finish drying. Saves time but protects prints.
Different printing methods need different care. Screen print care on a DTF shirt causes premature failure. Embroidery care on heat transfer? Disaster.
The problem: You must identify your print type before washing. The wrong method ruins prints that proper care would preserve for years.
The fix: Next section shows you exactly how to identify what you have. Thirty-second test tells you everything.
Understanding how to keep graphic t-shirts long lasting means avoiding these five mistakes. They're responsible for 90% of premature print damage.
Visual clues: Slightly raised surface, thicker ink layer, solid color blocks
Touch test: Feels like plastic layer
Flex test: Doesn't stretch with fabric
Durability: 200+ washes
Visual clues: Looks soaked into fabric, photo-realistic detail, soft feel, may smell like vinegar when new
Touch test: Feels like fabric
Flex test: Stretches with fabric
Durability: 100-150 washes
Visual clues: Slight sheen, very smooth, vibrant colors
Touch test: Smooth, slightly plasticky but flexible
Flex test: More flexible than screen print
Durability: 150-200 washes
Visual clues: Obvious plastic/rubber layer, thick, sometimes shiny
Touch test: Distinct rubber feel, inflexible
Flex test: Doesn't flex with fabric
Durability: 50-75 washes (most vulnerable)
Visual clues: Threads sewn into fabric, 3D raised design
Touch test: Textured, you see stitches
Durability: 500+ washes (most durable)
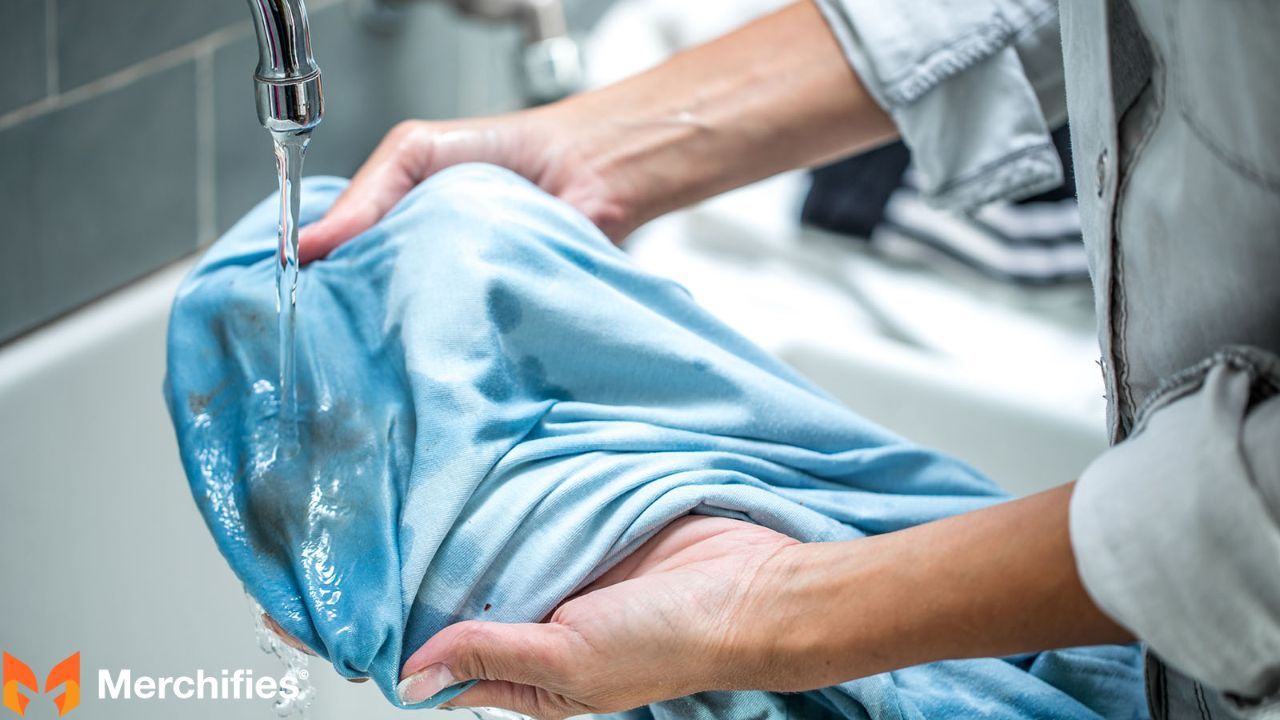
Hand Washing:
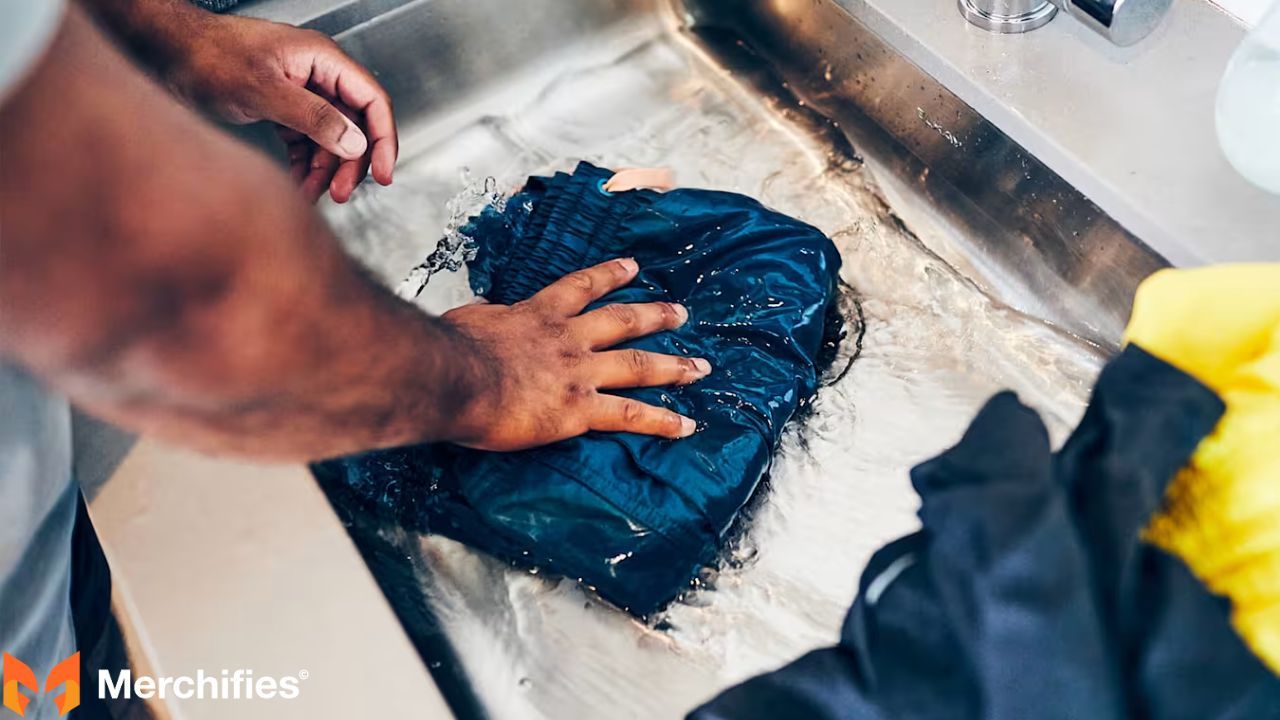
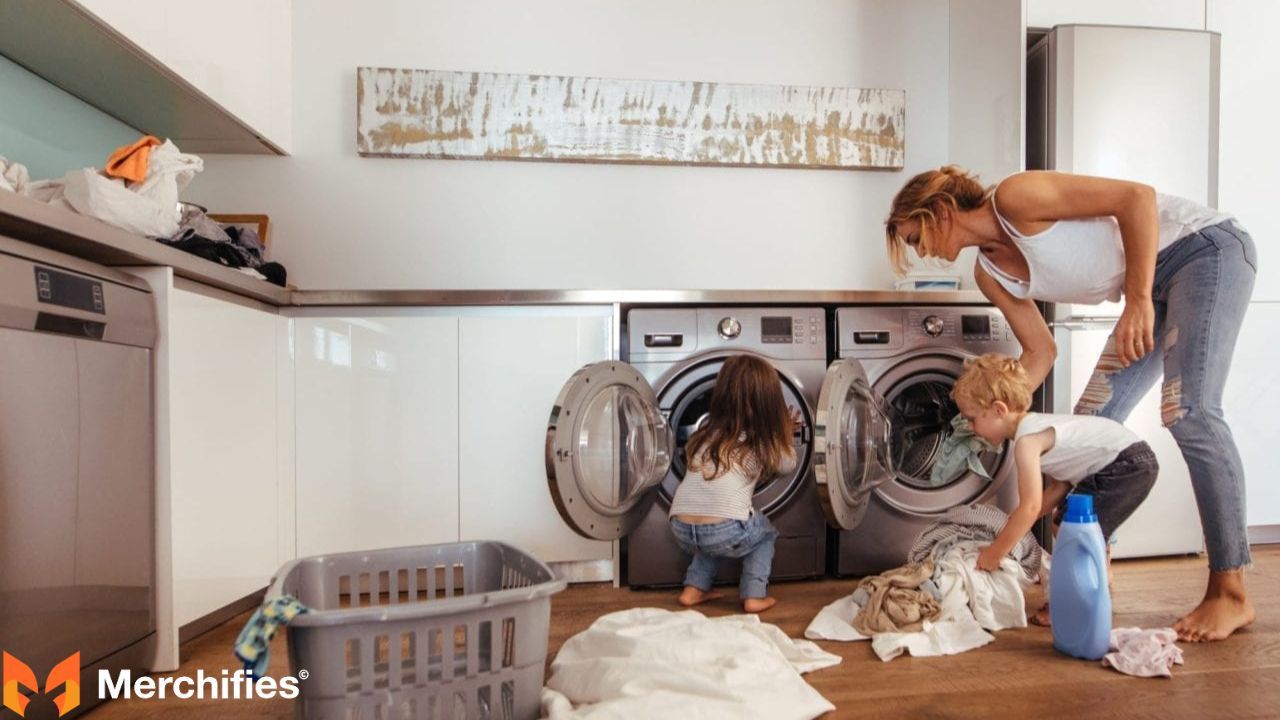
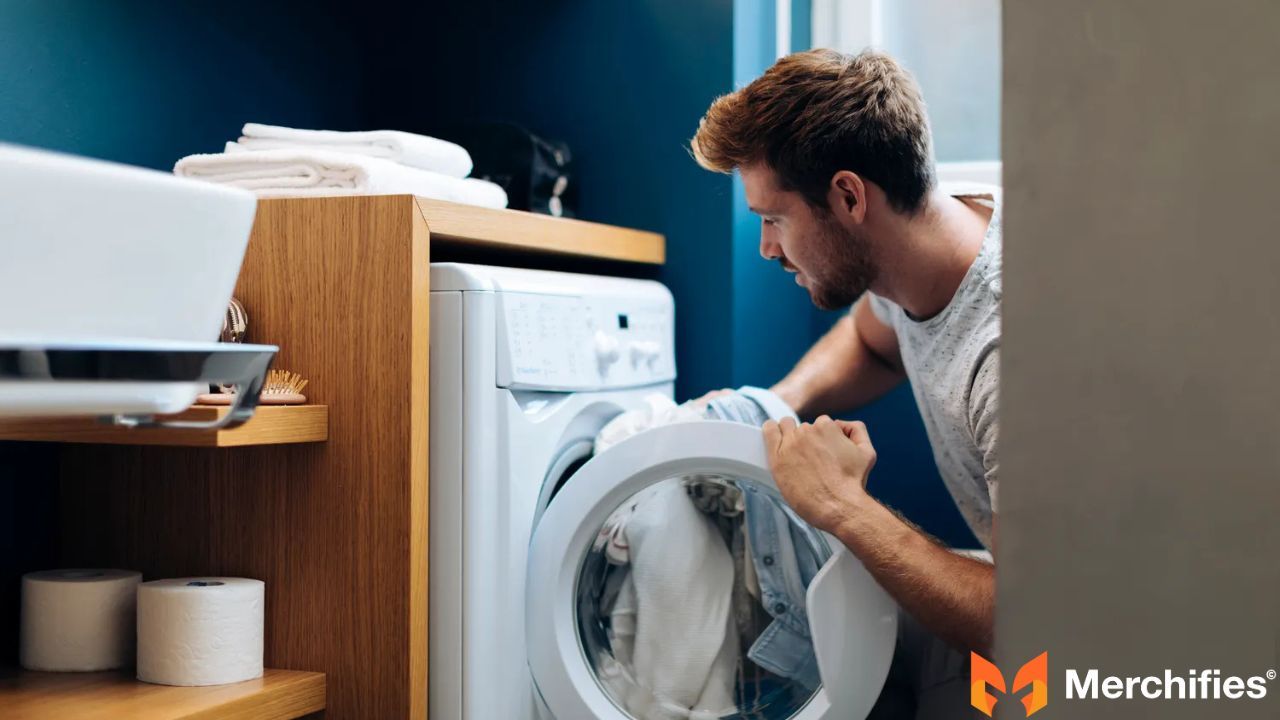
Machine Washing:
Recommended detergents: Woolite, Tide Free & Gentle, Seventh Generation Free & Clear
Special notes: Vinegar smell is normal (goes away after first wash). Avoid direct sunlight before washing (causes sun staining).
Storage tip: Fold without creasing printed area.

Reality check: Expect cracking after 50-75 washes even with perfect care.
Tip: Press between towels to remove excess water.
Speed hack: Point fan at hanging shirts—cuts time in half.
Damage timeline: High heat = cracking after 10-15 washes. Low heat = cracking after 100+ washes. Air dry = cracking after 200+ washes.
Fresh stains lift easily. Set stains need harsh treatment that damages prints.
Timeline: 0-15 minutes = easy. 1-24 hours = moderate. 24+ hours = may be permanent.
Steps:
Never use hot water—sets protein stains permanently.
Critical: Cold water only. Hot water sets blood permanently.
Grass stains: Rubbing alcohol works better—dab on, sit 10 minutes, wash.
Woolite Gentle Cycle ($8-10)
Tide Free & Gentle ($12-15)
Seventh Generation Free & Clear ($10-12)
All Free Clear ($9-11)
Baby detergent for heat transfer (Dreft, Babyganics $10-13)
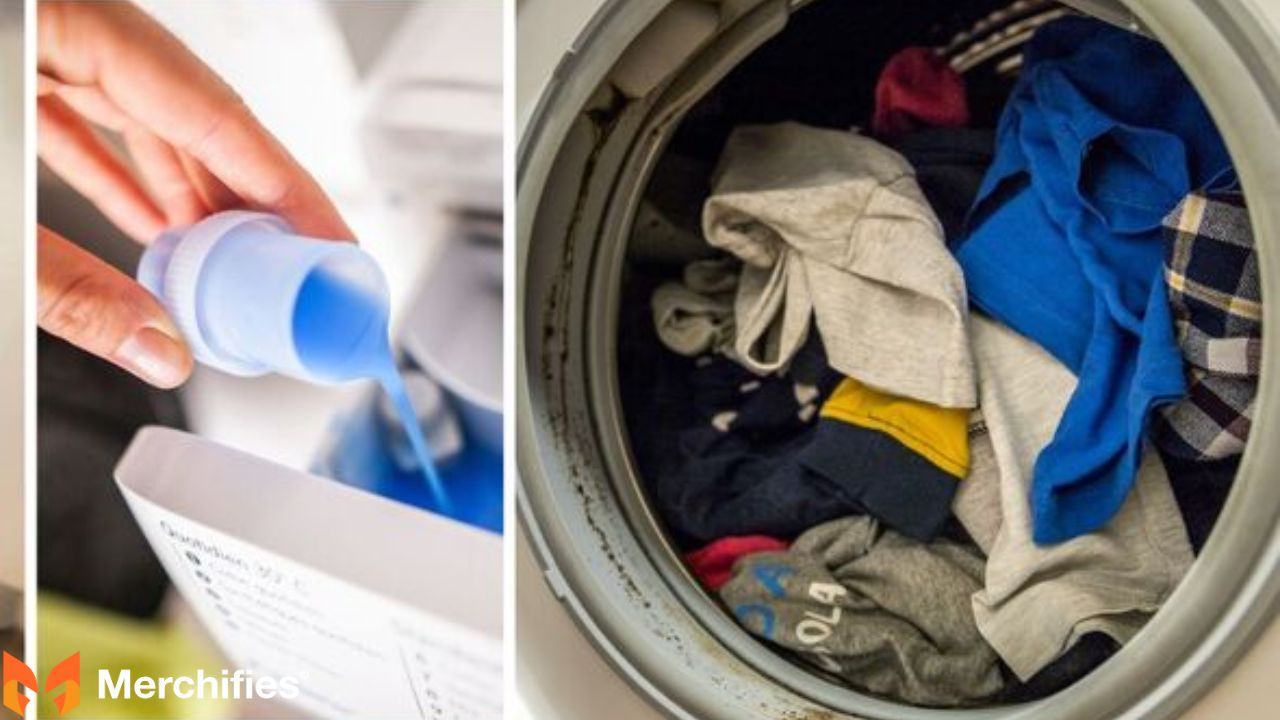
Use half the recommended amount.
Fabric softener (liquid or sheets)—use vinegar instead
Chlorine bleach—use oxygen bleach (OxyClean) if needed
Heavy-duty detergents
Enzyme-heavy detergents
Helpful Tools ($50-75 total)
Mesh laundry bags ($5-10)
Rounded plastic hangers ($10-15)
Stain remover spray ($6-8)
White vinegar ($3-5/gallon)
Drying rack ($20-30)
Ironing and De-Wrinkling
No steamer: Hang in bathroom during hot shower.
Wash after every wear: Heavy sweating, food stains, smoke exposure, visible dirt
Wash after 2-3 wears: Indoor events, light activity, no visible dirt
Spot clean: Minor spills, light odor
Smell test: Hang 24 hours—if it passes, wear again without washing.
Mineral buildup, dull colors, white residue, stiff prints, rough fabric.
High-risk regions: Arizona, Nevada, New Mexico, Kansas, Iowa, Montana, Wyoming, Utah
Vinegar pre-soak (best):
Other options: Laundromat with softener ($3-5/load), home water softener ($400-1,500), distilled water for hand washing ($1-2/gallon)
Situations: Very old/vintage shirts (pre-1990s), extremely valuable pieces, set-in stains you can't remove, existing print damage, unknown fabric content
Cost: $8-15 standard dry cleaning, $50-200 textile restoration
Tell them: Print type, "gentle process please," point out damage, "avoid high heat," "no harsh chemicals"
Wait 24 hours minimum for ink to cure.
Air dry best. If using dryer: inside-out, low heat, 10-15 minutes, finish air drying.
Normal from pre-treatment. Goes away after first wash.
Cold only (≤30°C/86°F) for all types.
No. Use white vinegar instead (half cup per load).
Rinse from back with cold water, dish soap, let sit, rinse, wash cold.
Never. Iron inside-out with towel barrier. Better: steam from inside.
Yes. Similar colors and lightweight fabrics only.
Cold water always. Turn inside-out. Mild detergent. Air dry. No fabric softener. Match care to print type.
Wait 24 hours before washing new shirts. Cold water prevents 90% of damage. Air drying doubles lifespan. Fabric softener destroys prints—use vinegar.
These shirts honor service and sacrifice. Proper care preserves that honor for years.
Start simple: cold water only this week. Inside-out next week. Air dry the following week
Now you know how to wash printed veteran shirts and how to keep graphic t-shirts long lasting. Wash with purpose. Preserve with pride.
-d4c38c342cdf20ca.jpeg)


-b555fcc6b204c456.jpeg)


