-da0801079a650a2e.jpeg)
17 Year Anniversary Quotes: 110+ Funny, Romantic & Furniture Wishes (2026)
Mar, 12 2026
This ultimate guide shows you how to tie dye shirts step by step for bold, vibrant results. If you're looking to learn how to tie dye shirts, you'll discover the best preparation methods, folding techniques, dye application tips, and setting processes to create long-lasting, colorful designs. Perfect for beginners, DIY lovers, and anyone wanting fun, custom tie-dye shirts.
The vibrant world of tie-dye offers a unique blend of creativity and personalized style, transforming ordinary garments into wearable art. There's a special joy in taking a plain white t-shirt and, with a few simple steps, turning it into a kaleidoscope of colors. This enduring craft, loved by generations, is more than just a trend; it's a satisfying way to express yourself and refresh your wardrobe.
Whether you're a complete novice eager to try your hand or someone looking to refine existing skills, this comprehensive guide is for you. Here, we'll demystify the process, demonstrating that with the right techniques and materials, anyone can create stunning, vibrant tie-dye shirts. We'll cover everything from essential supplies and diverse patterns to crucial tips for achieving lasting, brilliant colors. As experienced textile artist and crafting enthusiast, Mason Ellis Grant, often shares, the key lies in understanding a few fundamental principles that unlock truly spectacular results.
Beyond just making a colorful garment, tie-dye offers a multitude of benefits. Learning how to tie dye shirts is a fantastic avenue for self-expression and personalization, allowing you to craft unique pieces that reflect your style. Imagine the delight of creating custom gifts for friends and family, or the fun of a group tie-dye session for parties and events. It's also an excellent way to breathe new life into old, plain clothes, giving them a second, more exciting chance. Ultimately, tie-dyeing is a satisfying, hands-on craft that delivers tangible, vibrant rewards.
Before diving into the creative process, gathering your materials is key. Having everything ready ensures a smooth and enjoyable experience.
For beginners, a pre-packaged tie-dye kit is an excellent starting point. These kits often contain powdered dyes, rubber bands, and protective gloves, making them super convenient. However, if you're selecting dyes separately, prioritize fiber-reactive dyes (like Procion MX). These are specifically designed for natural fibers like cotton and offer superior color vibrancy and permanence. You'll also need applicator bottles for mixing and applying your dyes neatly.
This is a critical decision! For the best color absorption and vibrancy, 100% cotton shirts are highly recommended. The natural fibers readily soak up the dye, leading to brighter, more consistent results. While white shirts are ideal for beginners to see the full spectrum of colors, other light-colored garments can also work, just remember the existing color will blend with your applied dyes. Other natural fibers such as rayon, linen, and hemp can also be successfully tie-dyed, but always check the fabric composition.
Safety and cleanliness are paramount. You'll need plenty of rubber bands in various sizes, or strong string, to create your patterns. Rubber gloves are absolutely essential to protect your hands from dye stains. Plastic bags or plastic wrap are needed to keep your dyed shirts damp while the color sets. To protect your work surface, lay down plastic sheeting or old newspaper. Wear old clothes or an apron yourself to avoid unwanted stains. Finally, a bucket or large bowl will be useful for soaking and rinsing.
These additional items can elevate your tie-dye results from good to absolutely stunning:
Embarking on your first tie-dye project can be incredibly rewarding. Follow these easy steps to ensure a successful and vibrant outcome.
Before you even think about dye, set up your work area. Lay down plastic sheeting or several layers of old newspaper to thoroughly protect your table or floor. Ensure good ventilation, especially if working indoors. Don your rubber gloves right away – dye stains are no joke! Double-check that all your materials are within easy reach.
This step is crucial for achieving truly vibrant and even colors. Wash your shirt in a washing machine using hot water and a mild detergent like Synthrapol. Avoid using fabric softener, as it can interfere with dye absorption. Pre-washing removes any factory sizing, dirt, or oils that might repel the dye. You want a clean, damp canvas for the best results.
The soda ash bath is where the magic truly begins for fiber-reactive dyes. Mix your soda ash with warm water according to your kit or package instructions (typically 1 cup of soda ash per gallon of water). Submerge your damp, pre-washed shirt in this solution, ensuring it's fully saturated. Let it soak for 10-20 minutes. After soaking, wring out the excess water thoroughly; your shirt should be damp, not dripping. As recommended by Instructables and other seasoned crafters, adding a couple of tablespoons of common salt to the soda ash solution can enhance dye penetration and brightness. This step is critical because soda ash raises the pH of the fabric, allowing the dye molecules to permanently bond with the cotton fibers. Without it, the dye will simply wash out.
Carefully follow the instructions provided with your tie-dye kit for mixing the dye powders with water. Most kits will tell you exactly how much water to add to each squeeze bottle. For those who desire pastel colors, Camp Southern Ground's experts suggest adjusting the water ratio by diluting the dye a bit more. Always mix thoroughly until all powder is dissolved.
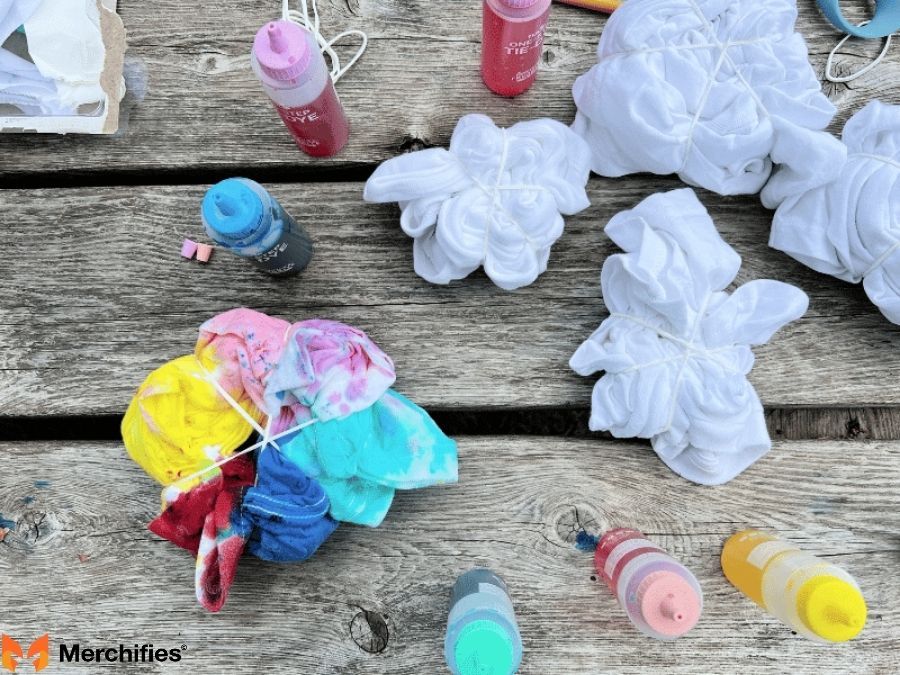
Now for the fun part! This is where you decide what design you want to create on your shirt. We'll explore several popular patterns in the next dedicated section, but for now, understand that this step involves folding, twisting, or crumpling your shirt and securing it tightly with rubber bands or string to create resist areas.
Understanding different tying techniques is fundamental to creating diverse and exciting tie-dye designs. Mason Ellis Grant, a keen observer of crafting trends, notes that while the spiral remains a favorite, exploring other patterns can truly elevate your tie-dye game.
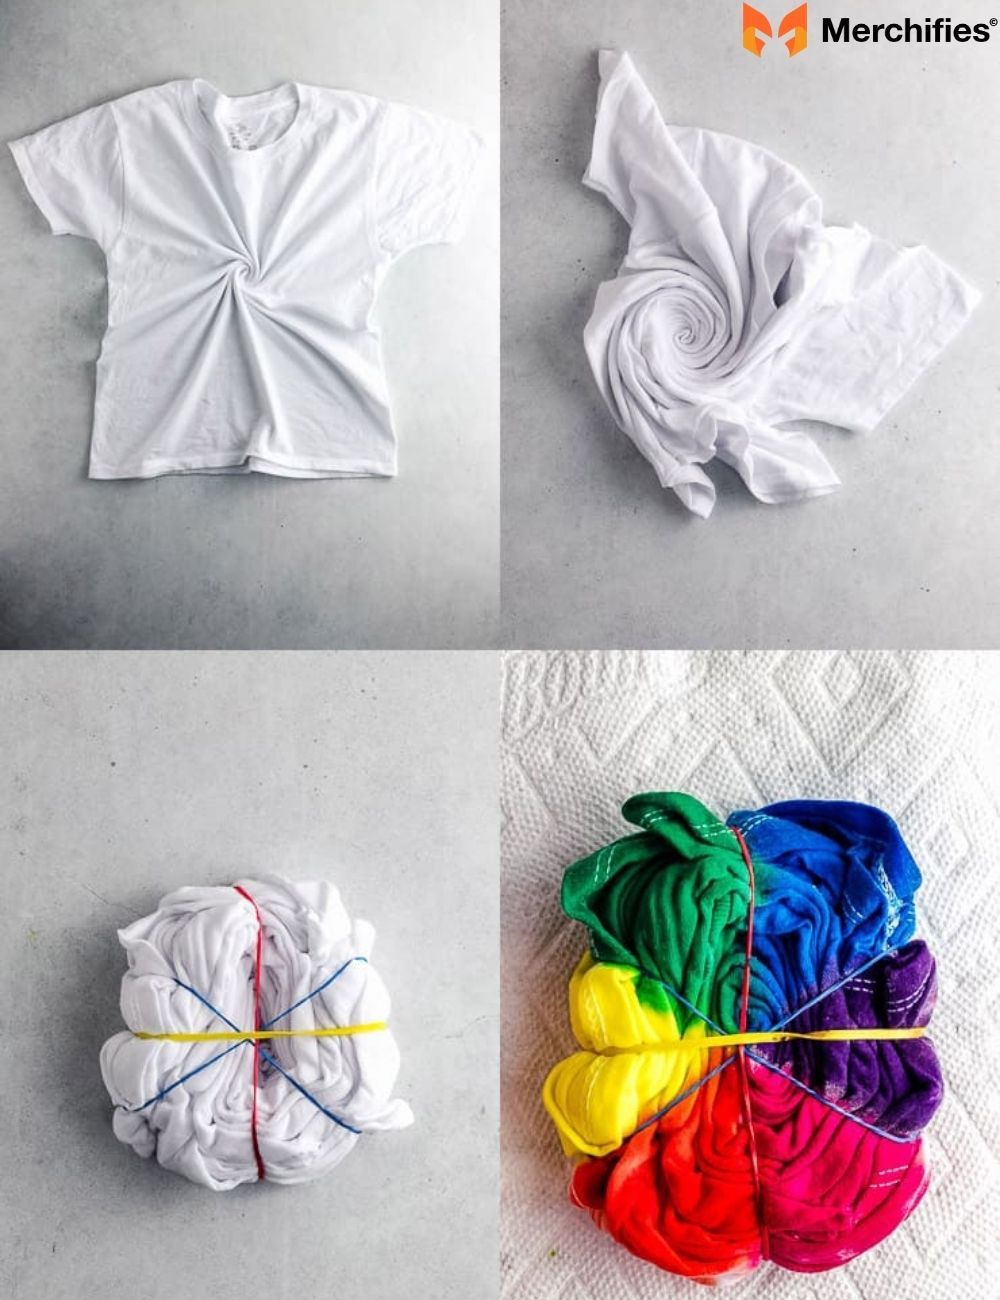
The spiral is arguably the most iconic tie-dye pattern. To achieve it, lay your damp, soda-ash-treated shirt flat on your protected surface. Pinch the fabric at the exact center of where you want your spiral to begin. Then, twist the fabric clockwise around that central pinch, continuously winding it into a flat, circular disc. A helpful YouTube tip suggests twisting with the back of the shirt facing up for a neater front pattern. Once fully coiled, secure the disc tightly with several rubber bands, crisscrossing them like spokes of a wheel. WikiHow advises that the number of rubber bands and how tightly they're applied will influence the amount of white streaks in your final design.
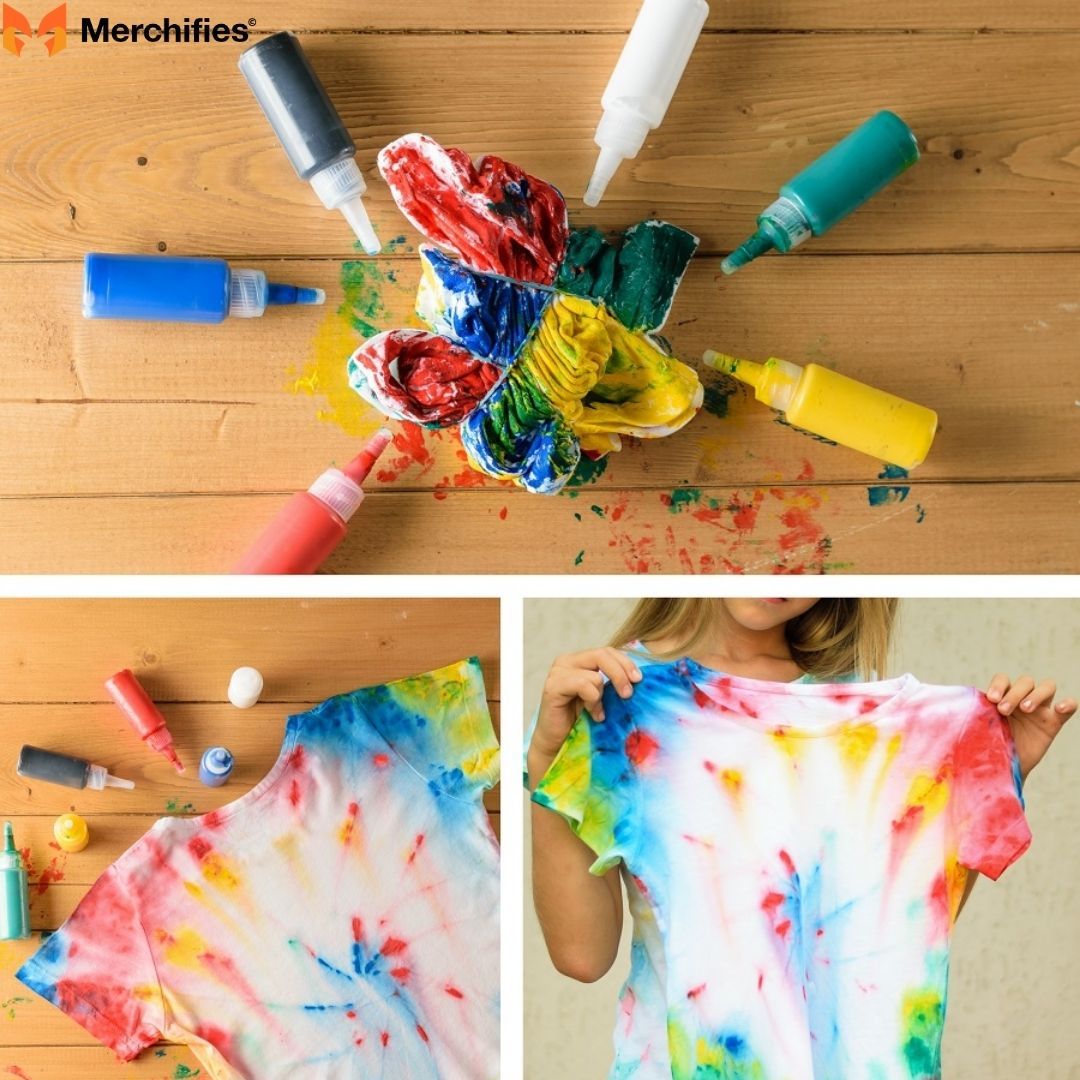
If you're looking for an effortless yet stunning effect, the scrunch technique is your go-to. This pattern is often lauded as the easiest for beginners. Simply lay your damp shirt flat, then randomly crumple and scrunch it up into a compact ball. Once it's a tight wad of fabric, secure it tightly in several places with rubber bands, creating various pockets and folds. This creates a beautifully organic, nebula-like pattern.
For a concentric circle effect, the bullseye is perfect. Lay your damp shirt flat. Pinch the fabric at the spot where you want the center of your bullseye to be, and pull it straight up. Then, starting a few inches down from your pinch, tightly wrap a rubber band around the gathered fabric. Add more rubber bands at even intervals further down the length of the gathered fabric. The more rubber bands you use, the more rings your bullseye will have.
Creating stripes is all about careful folding. Lay your shirt flat and begin folding it accordion-style, either horizontally, vertically, or diagonally. Ensure your folds are crisp and even. Once the entire shirt is folded into a narrow strip, secure it with rubber bands at regular intervals along its length. Where you apply the dye on these folds will dictate your stripe placement.
For a more intricate and charming design, try a heart pattern. As Sarah Maker details, this technique involves a specific folding and pleating method. Lay your damp shirt flat and fold it in half lengthwise. On the folded edge, use a washable marker to draw half of a heart shape. Then, starting from one edge of your drawn heart, begin pleating the fabric along the marked line, gathering the fabric into a tight accordion fold. Secure these pleats tightly with rubber bands along the entire heart outline.
For a subtle and elegant look, consider dipping. This technique, also explored by Sarah Maker, uses shallow dye baths to create beautiful gradient effects. You can dip parts of your tied shirt into different colors, allowing the dye to wick up the fabric, resulting in softer transitions between hues.
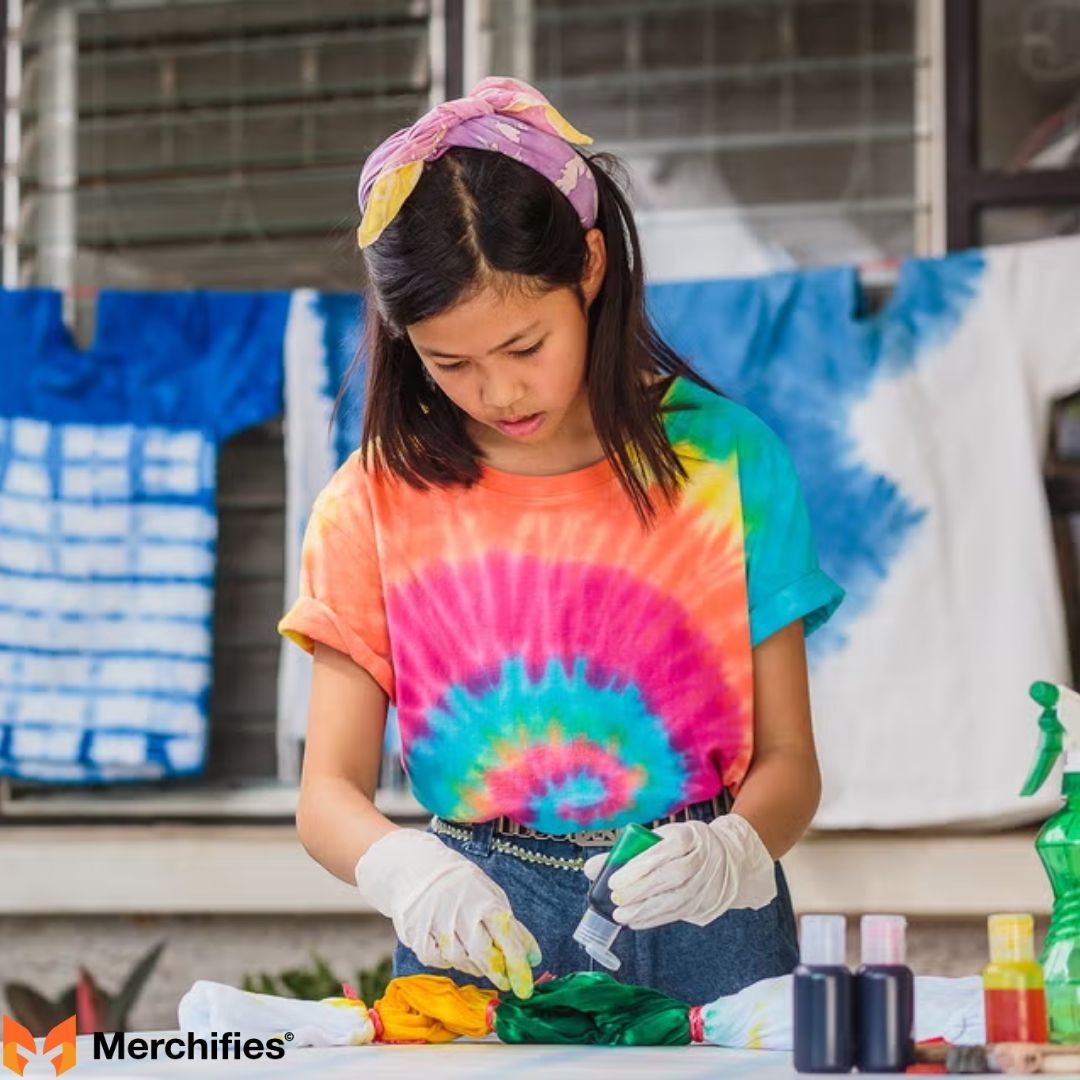
With your shirt tied and patterns ready, it’s time for the most exciting part: applying the vibrant colors. This is where your chosen design truly comes to life, so precision and thoughtful application are key.
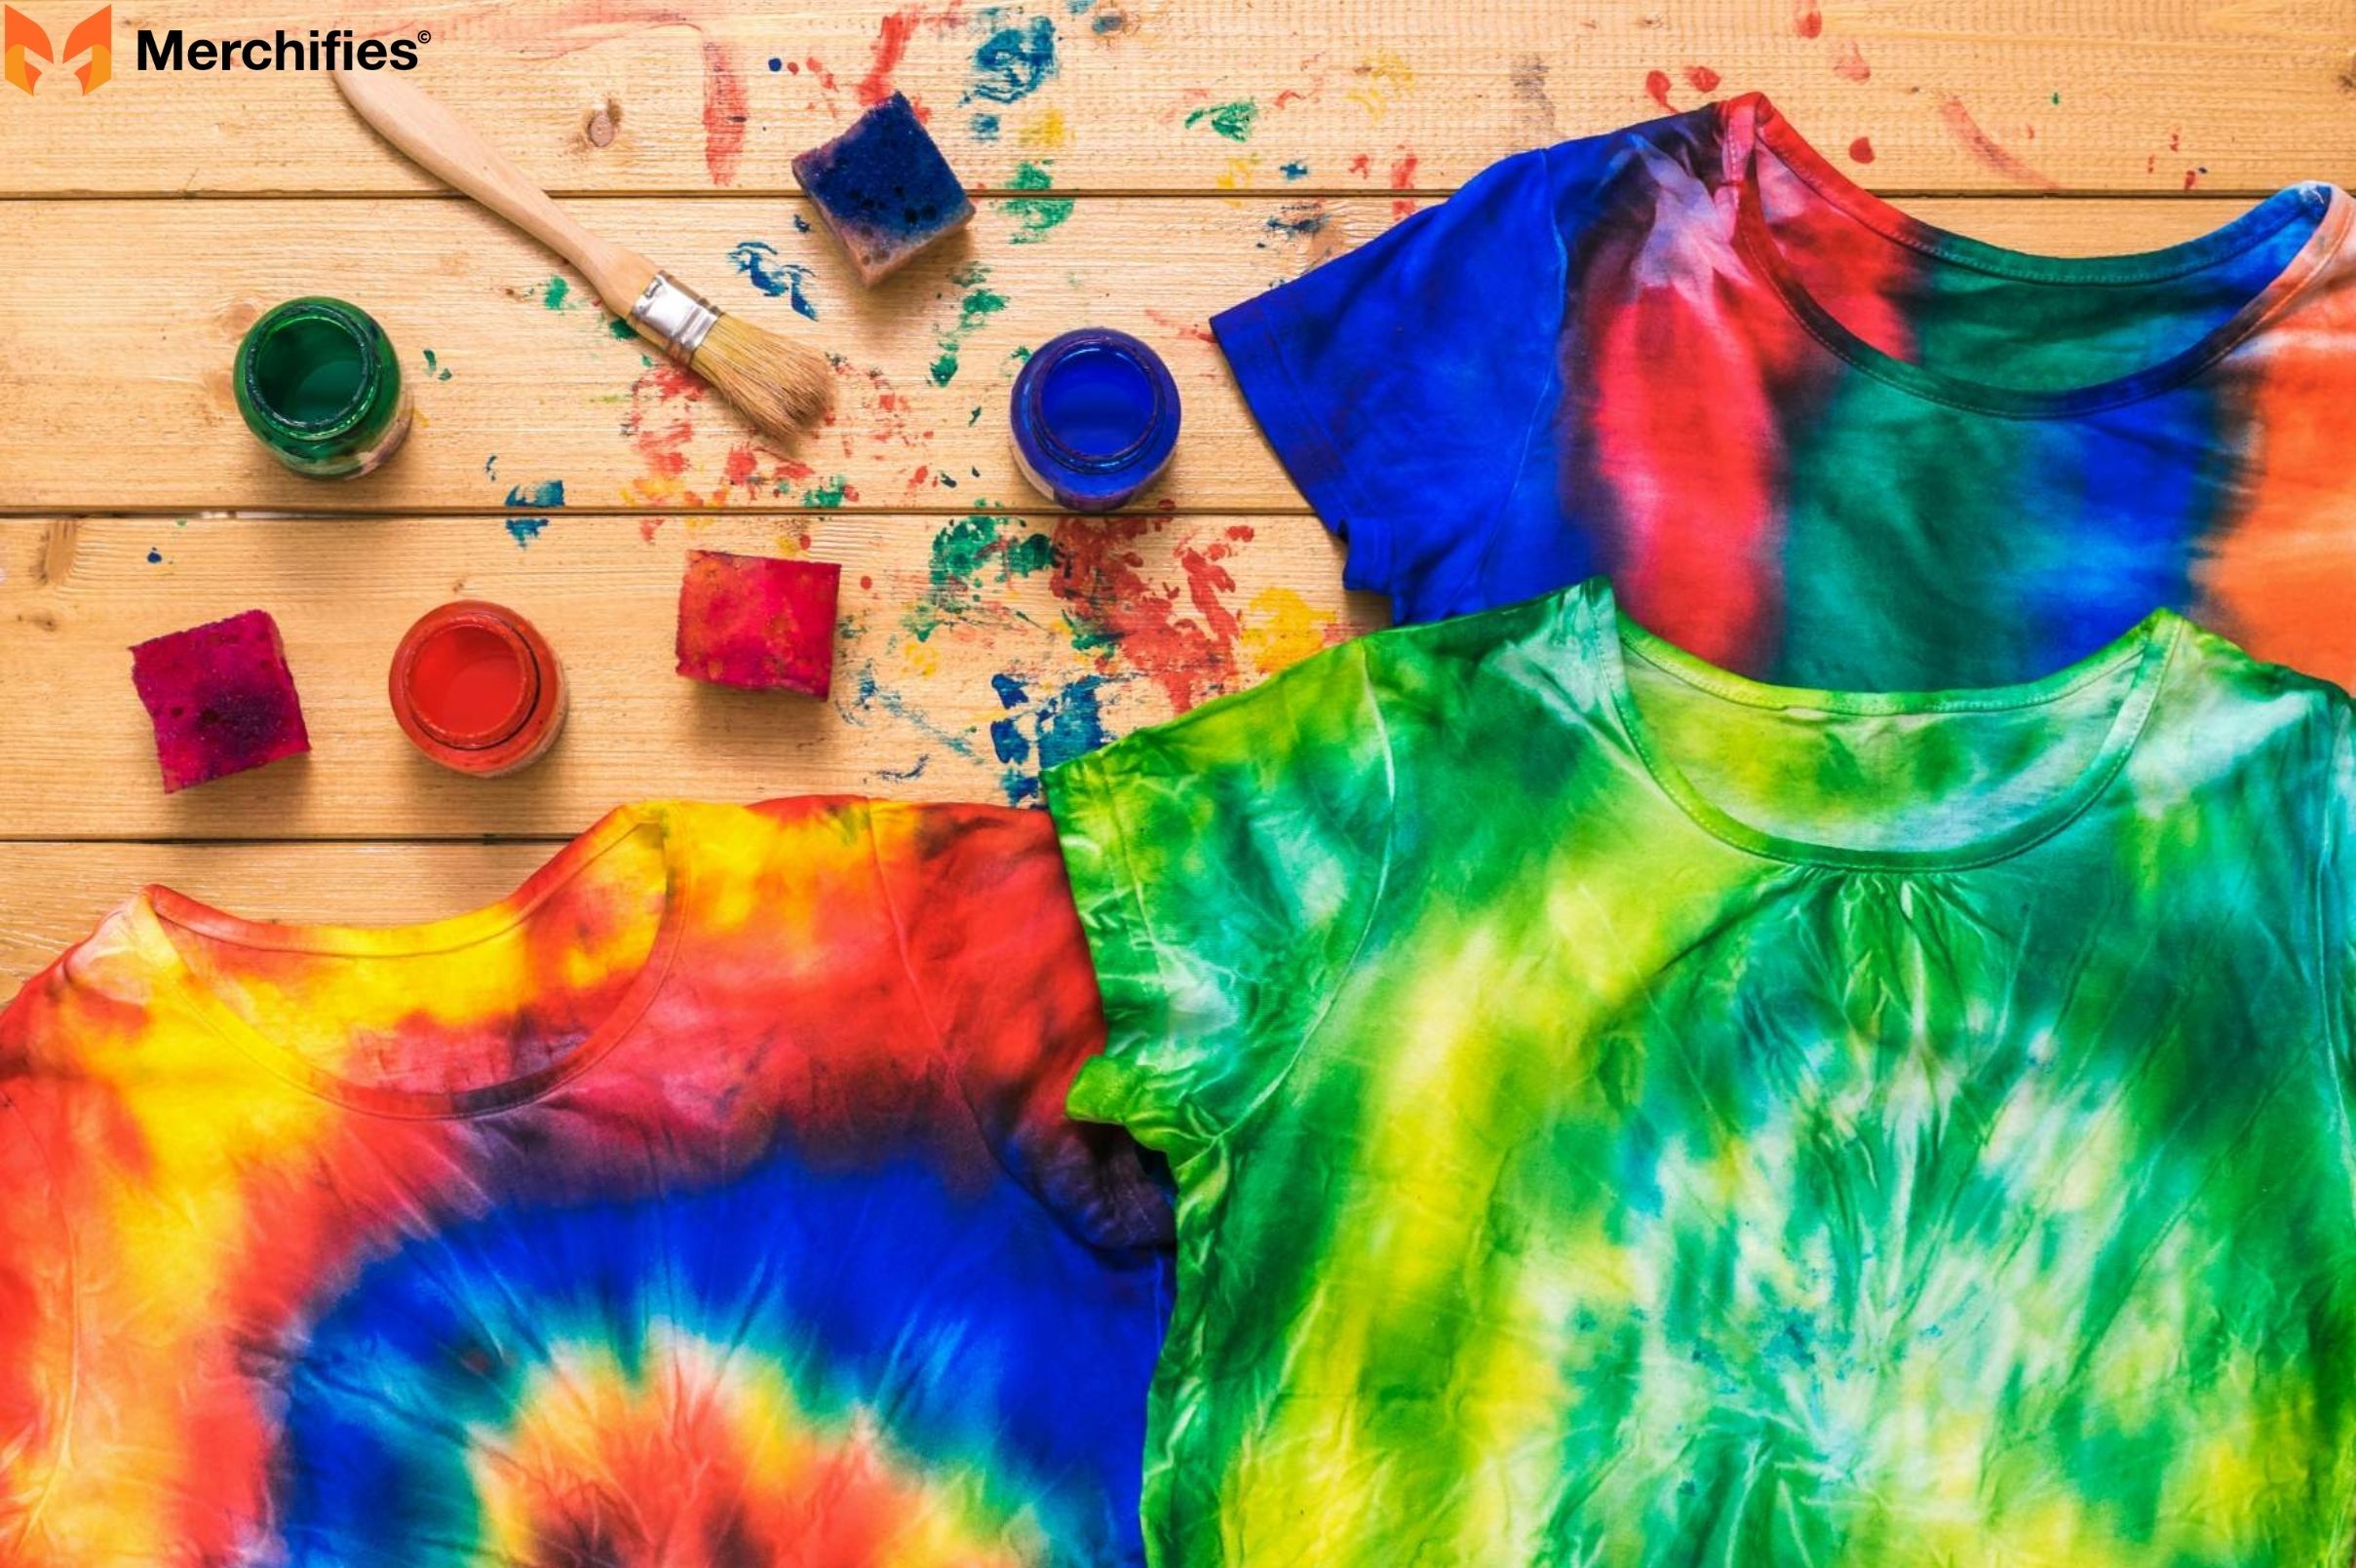
The most common and effective method involves using squeeze bottles to apply dye to different sections of your tied shirt. Aim for good saturation, ensuring the dye penetrates all layers of the fabric within each section. For more controlled application or intricate details, consider using paintbrushes or sponges, as suggested by Camp Southern Ground. These tools allow for greater precision, especially when working with smaller areas or multiple colors.
Thinking about how colors will interact is crucial for a stunning outcome. When placing colors next to each other, consider basic color theory to avoid muddy browns. Colors opposite each other on the color wheel (like red and green, or blue and orange) tend to neutralize each other when they blend, creating dull shades. Opt for analogous colors (like blue and green, or red and orange) for harmonious transitions, or complementary colors if you desire a sharp contrast. Utilizing a wire rack underneath your shirt during dyeing is highly recommended, as it prevents excess dye from pooling and unwanted blending on the underside, leading to cleaner lines and brighter sections, a tip often shared by experienced dyers on YouTube. Don't over-saturate your shirt with dye unless you specifically want a super dense, less defined pattern, as too much dye can also contribute to muddiness.
A common mistake for beginners is only dyeing the front. Once you’ve applied dye to all sections of the top side of your tied shirt, carefully flip the shirt over. Apply dye to the corresponding sections on the back, ensuring even coverage and saturation. This guarantees your design is complete on both sides and that no patchy white spots are left where dye didn't penetrate.

Once your shirt is beautifully colored, patience becomes your greatest virtue. This critical phase, known as "batching," is where the dye chemically bonds with the fabric.
During this setting time, the fiber-reactive dyes, activated by the soda ash, undergo a chemical reaction with the cellulose fibers of the cotton. This reaction creates a permanent bond, ensuring that your vibrant colors will last through many washes. Skipping or rushing this step means the dye won't properly adhere, leading to faded or washed-out results.
To ensure optimal dye bonding, place your dyed shirt directly into a plastic bag (or wrap it in plastic wrap) immediately after applying the dye. This keeps the shirt damp and creates a warm, humid environment, which is ideal for the chemical reaction. Camp Southern Ground and Sarah Maker both emphasize the importance of maintaining dampness for effective setting.
The moment of truth! After the crucial waiting period, it's time to reveal your artistic creation. This final stage requires careful handling to preserve your vibrant design.
Still wearing your gloves, carefully remove the rubber bands from your shirt. Head to a sink or utility tub and, under cold running water, begin rinsing the shirt. You will notice a lot of excess dye washing out – this is completely normal and expected, as Instructables reassures us. Continue rinsing thoroughly until the water runs clear. It's crucial to use cold water initially, as hot water can prematurely set unbonded dye, leading to muddy colors or backstaining.
Once the rinse water runs clear, it's time for the first official wash. Wash your tie-dye shirt separately from any other garments, especially for the first few washes, to prevent any residual dye from bleeding onto other clothes. Use a delicate cycle on your washing machine with cold water and a mild detergent (Synthrapol is excellent if you have it, otherwise a gentle laundry soap). This helps to remove any remaining loose dye particles without damaging your newly set colors.
After washing, your tie-dye shirt is ready for drying. You can either air dry it by hanging it up or tumble dry it on low heat. Avoid high heat settings, as extreme temperatures can sometimes dull colors over time. Once dry, your masterpiece is ready to wear and show off!

Creating truly amazing tie-dye shirts goes beyond just following steps; it involves understanding the nuances of the craft. Here are some pro tips, many of which experienced textile artist Mason Ellis Grant emphasizes, to help you achieve professional-looking results every time:
Troubleshooting:
There’s an undeniable thrill in the reveal of a tie-dye masterpiece, a unique piece of art that you created with your own hands. This craft is not just about making a colorful shirt; it's about the process, the anticipation, and the pure satisfaction of personal expression. So, gather your materials, choose your favorite patterns, and dive into the wonderful world of tie-dye. This comprehensive guide, brought to you by experienced textile artist Mason Ellis Grant, equips you with everything you need to start creating stunning, vibrant tie-dye shirts today. We encourage you to unleash your inner artist and share your amazing creations with the world!
-d4c38c342cdf20ca.jpeg)


-b555fcc6b204c456.jpeg)


