-da0801079a650a2e.jpeg)
17 Year Anniversary Quotes: 110+ Funny, Romantic & Furniture Wishes (2026)
Mar, 12 2026
Learning How to Make a Gift Box represents one of the most valuable crafting skills you can develop because it combines creativity, practicality, and environmental consciousness into projects that enhance every gift-giving occasion throughout the year.
-dfa6380ca625a5e9.jpeg)
Ever found yourself scrambling for a gift box at the last minute? Or maybe you wanted to add a personal touch to your present, something a store-bought box just couldn't deliver.
After seventeen years as a packaging design consultant and craft instructor, I've helped thousands of people transform simple materials into stunning gift presentations. The frustration of paying premium prices for flimsy store boxes while watching meaningful gifts disappear into generic packaging motivated me to master DIY box creation.
Making your own gift boxes is surprisingly easy, and it adds a special, handmade feel to any gift.
Learning How to Make a Gift Box represents one of the most valuable crafting skills you can develop because it combines creativity, practicality, and environmental consciousness into projects that enhance every gift-giving occasion throughout the year.
Plus, it's a fun and creative project you can tackle with simple materials. Let's dive in!
The psychology behind handmade packaging reveals fascinating insights about gift perception and emotional impact. Recipients consistently rate handmade boxes as more thoughtful and valuable than commercial alternatives, regardless of the actual gift contents or construction complexity.
Modern American culture increasingly values sustainable practices, personalization, and unique experiences over mass-produced uniformity. DIY gift box creation perfectly aligns with these trends while providing practical skills that save money and reduce waste.
This comprehensive guide will transform your approach to gift packaging, teaching you professional techniques using common household materials that create impressive results worthy of any special occasion or recipient.
Understanding How to Make a Gift Box requires recognizing the engineering principles, aesthetic considerations, and practical constraints that determine successful box construction using paper and cardboard materials.
Structural integrity depends on proper folding techniques, appropriate material selection, and strategic reinforcement placement that distributes weight evenly while maintaining attractive appearances. These engineering concepts apply whether you're creating simple rectangular boxes or complex geometric shapes.
The cardboard box industry generates billions in revenue annually, yet basic box construction principles remain accessible to anyone with scissors, glue, and patience. Professional packaging designers use the same fundamental techniques you'll learn in this guide.
Cultural significance of handmade packaging extends beyond mere functionality into relationship building, environmental stewardship, and creative expression that commercial alternatives cannot replicate.
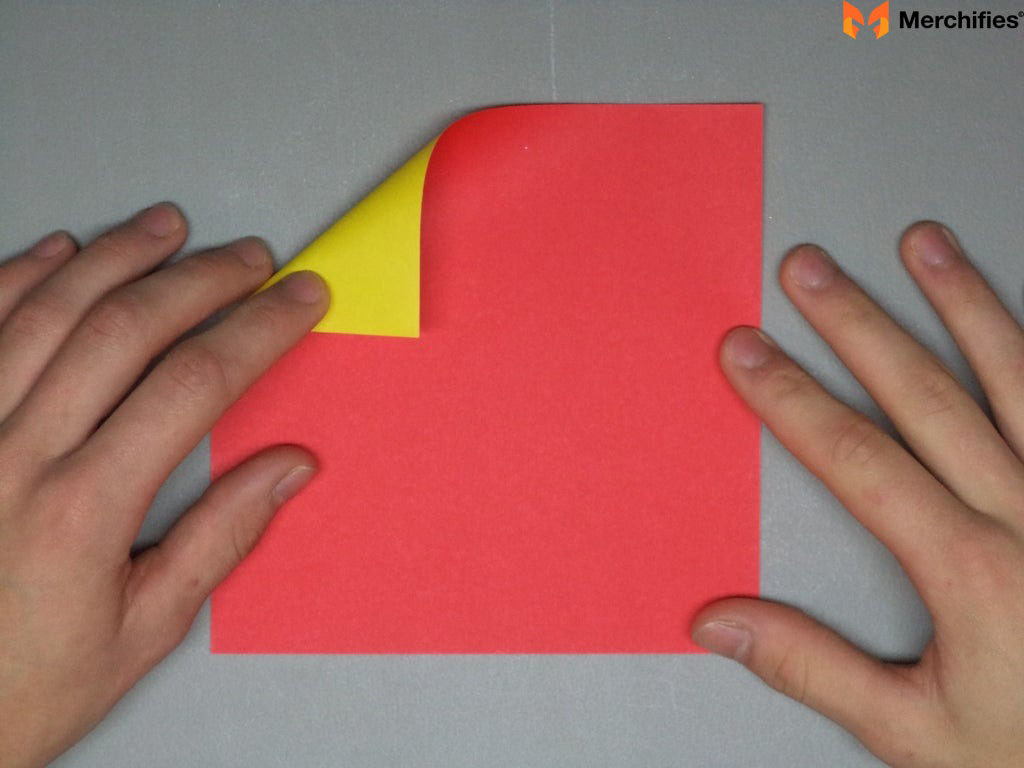
How to Make a Gift Box: Easy Guide with Paper and Cardboard. First, you'll need a few basic supplies.
-68860f60975ab9a6.jpeg)
Material selection determines both construction difficulty and final durability, making informed choices crucial for project success. The right materials make complex techniques achievable while poor materials doom even simple projects to failure.
Grab some sturdy paper or thin cardboard – think cereal boxes or poster board.
Recycled materials offer excellent construction properties while supporting environmental sustainability. Cereal boxes provide ideal thickness for medium-sized gifts, while poster board offers flexibility for smaller, decorative applications.
Scissors, glue or tape, a ruler, and a pencil are also essential.
Tool quality significantly impacts construction precision and final appearance. Sharp scissors create clean edges that fold crisply, while dull blades tear fibers and compromise structural integrity.
For added flair, you can use decorative paper, ribbons, or markers.
Decoration materials transform functional boxes into personalized artistic statements that reflect the giver's creativity and the recipient's preferences. Quality decorative elements elevate simple constructions to gift-worthy presentations.
If you want a super strong box, use corrugated cardboard.
Heavy-duty applications require materials that resist crushing while maintaining foldability. Corrugated cardboard provides excellent strength-to-weight ratios ideal for valuable or fragile gift contents.
I've found that using recycled materials adds a unique charm.
This experience reflects broader trends toward sustainability and authenticity in American crafting culture. Recycled materials often provide superior character and environmental benefits compared to new alternatives.
During my workshops, participants consistently report greater satisfaction when using materials with personal history—old shipping boxes, magazine pages, or fabric scraps—because these elements add narrative depth to their creations.
Consider material grain direction when planning folds, as cardboard and heavy paper fold more easily parallel to manufacturing grain lines. This technical detail prevents tearing and creates sharper creases.
Humidity affects paper and cardboard behavior significantly. Dry conditions make materials brittle while high humidity creates limp, difficult-to-fold surfaces. Plan projects around weather conditions for optimal results.
Let's start with a simple square or rectangular box.
Rectangular construction provides the foundation for all advanced box-making techniques because it teaches essential skills: accurate measurement, precise cutting, clean folding, and secure assembly that apply across all box types.
Measure your gift and decide on the box size.
Size planning requires considering not just gift dimensions but also padding requirements, lid clearance, and visual proportions that create pleasing final appearances. Boxes should feel appropriately sized rather than obviously oversized or cramped.
Cut your paper or cardboard to the appropriate dimensions, leaving extra for folding the sides.
Cutting accuracy determines assembly success because small measurement errors compound through multiple folds, creating gaps, overlaps, or misaligned corners that compromise both appearance and structural integrity.
Score the folding lines with a ruler and pencil, then fold the sides up.
Scoring creates controlled crease lines that ensure uniform folding while preventing random tears or wrinkles that destroy professional appearances. This technique separates amateur from expert results.
Secure the corners with glue or tape.
Corner assembly represents the most critical structural element because these points experience maximum stress during handling. Proper corner construction prevents box failure while maintaining clean visual lines.
To make a lid, repeat the process, making it slightly larger than the box base.
Lid sizing requires precise calculation to ensure proper fit without excessive looseness or binding. Professional packaging uses specific clearance measurements based on material thickness and intended use patterns.
Visual aids are super helpful here, so look up a quick video if you're unsure.
Video demonstrations provide spatial understanding that written instructions cannot convey effectively. Complex folding sequences become clear through visual observation of hand movements and timing.
I always test the strength of the corners before adding the lid.
Quality control prevents failures after decoration and gift insertion. Simple stress testing reveals construction weaknesses that can be reinforced before they become problems.
Professional box makers develop systematic testing approaches that evaluate all stress points, joint integrity, and functional requirements before considering construction complete.
Want something a little different?
Shape variation demonstrates advanced How to Make a Gift Box skills while accommodating gifts that don't fit standard rectangular containers. These techniques expand your creative possibilities significantly.
Cylindrical boxes are great for things like candles or rolled-up items.
Cylindrical construction uses different geometric principles than rectangular boxes, requiring adapted measurement, cutting, and assembly techniques that accommodate curved surfaces and circular bases.
Simply cut a rectangular piece of cardboard for the sides and roll it into a cylinder, securing the edges.
This technique transforms flat materials into three-dimensional curved forms through strategic cutting and assembly. Understanding circumference calculations ensures proper fit and professional results.
For the base, cut a circle and attach it to the bottom.
Circle cutting requires compass techniques or template methods that create accurate curves. Attachment methods must accommodate the stress concentration that occurs where curved and straight surfaces meet.
You can adapt this method for other shapes too, but be prepared for a bit more trial and error.
Creative problem-solving becomes essential for unusual shapes that don't conform to standard construction principles. Experimentation and iteration often produce innovative solutions.
I once made a triangular box for a set of art supplies.
This personal example demonstrates how specific gift requirements can inspire creative construction solutions that better serve functional needs than standard rectangular approaches.
Advanced shapes require understanding of geometry, material behavior, and assembly techniques that build upon rectangular construction fundamentals while adapting to unique challenges.
To make your box extra sturdy, especially for heavier gifts, reinforce the bottom with an extra layer of cardboard.
Weight-bearing capacity determines box functionality for valuable or heavy gifts. Strategic reinforcement prevents bottom failure while maintaining attractive appearances and reasonable construction complexity.
You can also add strips of cardboard to the inside corners for added support.
Corner reinforcement addresses the weakest structural points in box construction by distributing stress across broader surface areas. This technique prevents joint failure under normal handling stress.
For the lid, consider using thicker cardboard or adding a layer of decorative paper for reinforcement.
Lid durability requires special consideration because repeated opening and closing creates stress patterns different from base loading. Multi-layer construction provides strength while accommodating decorative requirements.
A little extra reinforcement goes a long way.
This principle reflects engineering reality that small material investments in critical stress points prevent catastrophic failures that would destroy the entire project and its contents.
Strategic reinforcement focuses on high-stress areas rather than uniform thickness increases that add unnecessary weight and material costs while providing minimal functional benefit.
Consider reinforcement placement during initial design rather than attempting additions after construction completion. Integrated reinforcement provides superior strength and cleaner appearances.
Now for the fun part!
Decoration transforms functional boxes into personalized artistic expressions that reflect both giver and recipient personalities while demonstrating care and investment in the relationship.
Personalize your box with colors, patterns, and embellishments.
Color psychology influences emotional responses to gift presentations, making informed color choices important for creating desired impressions and recipient reactions.
Use decorative paper, ribbons, bows, or labels.
Traditional decorative elements provide proven approaches to enhancement that work across cultural contexts and personal preferences while offering familiar techniques for beginners.
You can even use markers or paint to add your own designs.
Hand-created artwork adds unique personal touches impossible to achieve through commercial alternatives. These elements often become treasured keepsakes beyond the original gift contents.
Recycled materials like fabric scraps or buttons can add a unique touch.
Mixed-media approaches create textural interest and demonstrate environmental consciousness while utilizing materials that might otherwise become waste.
Let your creativity run wild!
Creative freedom within structural constraints challenges makers to develop innovative solutions that balance artistic vision with functional requirements.
I like to use natural elements, like dried flowers, to decorate my boxes.
Natural materials provide seasonal appropriateness, environmental consciousness, and unique aesthetic qualities that manufactured decorations cannot replicate while demonstrating creativity and resourcefulness.
Accurate measurements are crucial for a well-made box.
Measurement precision separates professional results from amateur attempts because small errors compound through multiple operations, creating cumulative problems that can't be corrected without complete reconstruction.
Take your time and double-check your measurements before cutting.
Time investment in planning prevents material waste and frustration while ensuring successful outcomes. The carpentry principle "measure twice, cut once" applies perfectly to box construction.
If you're struggling with uneven folds, score the folding lines more deeply.
Troubleshooting techniques address common problems that occur during construction. Understanding cause-and-effect relationships helps identify solutions rather than abandoning projects.
If your corners are weak, use stronger glue or tape.
Joint failure represents the most common construction problem, typically resulting from inadequate adhesive selection or application techniques rather than design flaws.
And remember, you can always modify the box to fit your gift perfectly.
Adaptability prevents rigid thinking that forces gifts into inappropriate containers. Custom modifications often produce better results than standard approaches.
Practice makes perfect!
Skill development requires repetition and experimentation that builds muscle memory and intuitive understanding of material behavior and construction techniques.
What you'll need: A4 sized cardboard, ruler, pencil, scissors, glue, binder clips (optional)
Systematic construction approaches prevent confusion and ensure consistent results by breaking complex processes into manageable steps that build progressively toward completion.
The detailed 8-step process outlined in the original guide provides professional-quality results through careful attention to measurement accuracy, folding precision, and assembly techniques that create strong, attractive boxes.
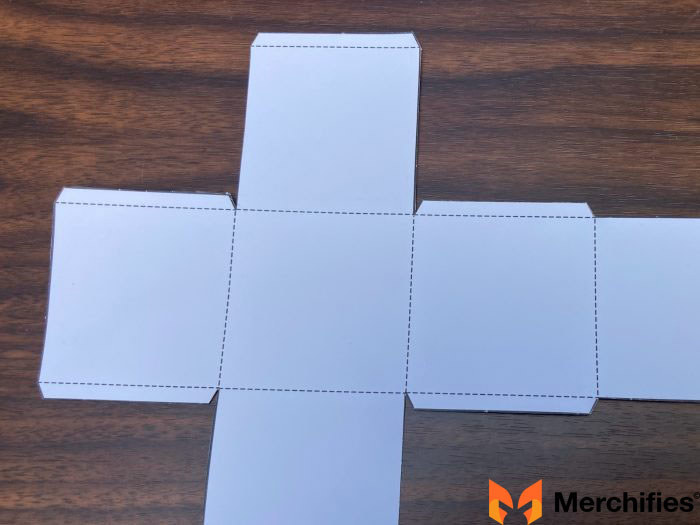
Step 1: Foundation Measurement Grab your A4 cardboard and the ruler. On the long side, use the ruler to lightly draw a line across the bottom short edge. This line will determine the depth of your box.
-ceb6cc284fbee791.jpeg)
Depth determination establishes the three-dimensional proportions that affect both functionality and visual appeal. Proper depth calculation ensures adequate capacity without excessive material usage.
Step 1: Grab your A4 cardboard and the ruler. On the long side, use the ruler to lightly draw a line across the bottom short edge. This line will determine the depth of your box.
Step 2: Turn the cardboard around and repeat this step to draw another line on the opposite short edge.
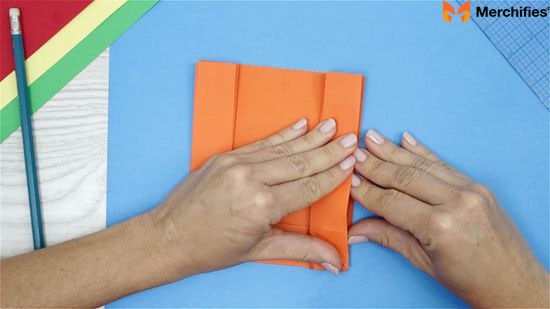
Step 3: Fold the card over the drawn lines to create the structure of the box.

Step 4: Draw lines vertically down the center of the cardboard and along the two outer folds you just created. These lines should all meet at the bottom edge of the cardboard.
Step 5: Carefully cut along these new lines, stopping just before the bottom horizontal line you drew in step 1.
Step 6: Bend the short flaps you just cut inwards, towards the center of the box. Apply glue along the edges of these flaps, then carefully press them down to stick to the sides of the box.
Step 7: You can use binder clips to hold the flaps in place while the glue dries. Repeat this process for the top of the box to create the lid.
Step 8: Once the glue is set, remove the binder clips (if you used them) and admire your perfectly homemade cardboard gift box.
-977f8f14f2bb4a62.jpeg)
This cardboard gift box is suitable for both showcasing handcrafted goods and surprising your beloved. It offers a cost-effective and eco-friendly way to make your gifts truly stand out.
What you'll need: Wrapping paper (choose a sturdy design that folds well), scissors (optional), glue stick
Paper construction requires different techniques than cardboard because the material properties—flexibility, thickness, and strength—create unique opportunities and constraints for construction methods.
The 10-step paper box process demonstrates origami-inspired techniques that transform flat materials into three-dimensional containers through strategic folding without requiring cutting or complex tools.
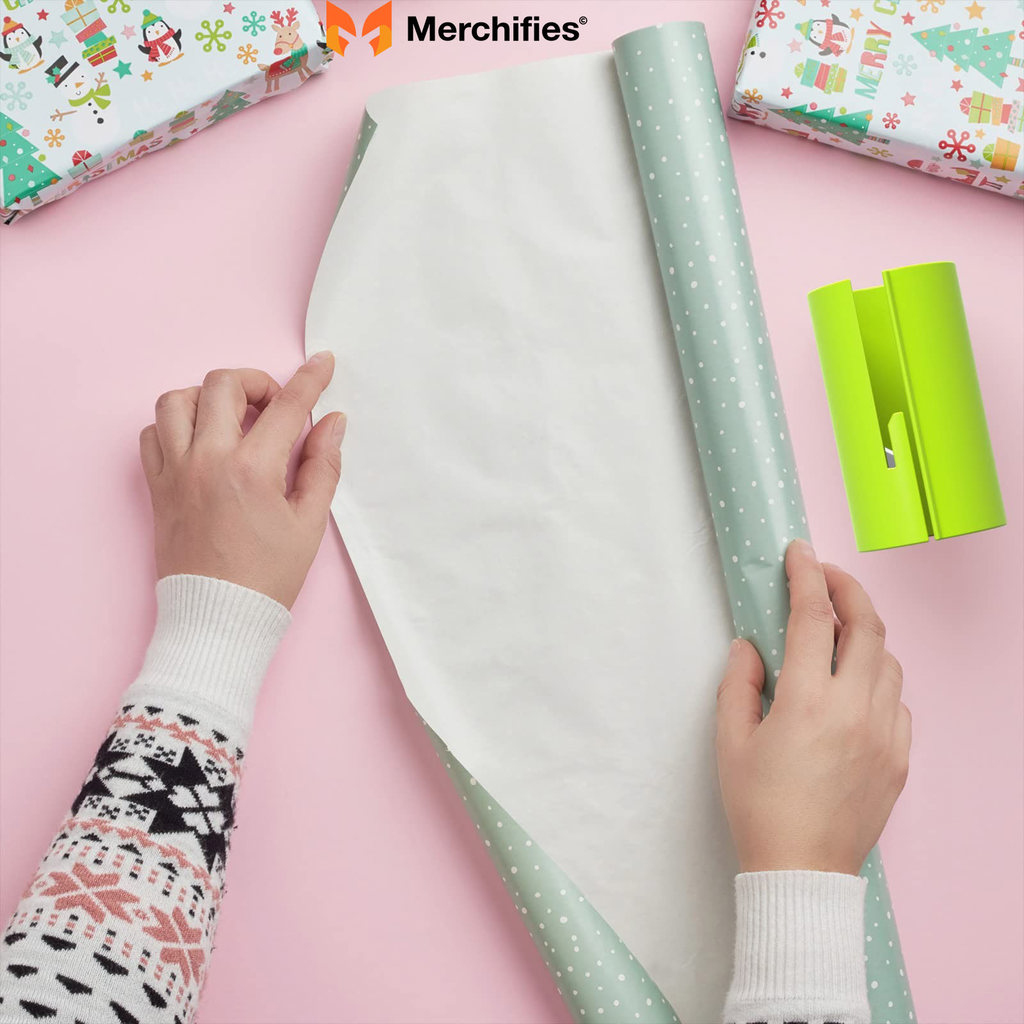
Step 1: Measure and cut the wrapping paper into a square shape. The size of the square will determine the final size of your gift box.
Step 2: Fold the square paper in half to form a rectangle, then unfold. Fold it in half again along the other edge to create a cross or plus sign shape when unfolded.
Step 3: Bring each corner of the square to the center point of the cross, creating a smaller square.
Step 4: Fold the smaller square into three equal vertical sections, then unfold. Do the same horizontally to create a grid on the paper.
Step 5: Open up the folds from step 3. Take one corner and fold it inward, stopping at two-thirds of the way down the paper.
Step 6: Repeat the fold from step 5 with the opposite corner.
Step 7: Fold along the pentagon shape created by the previous steps to form one edge of the gift box.
Step 8: Repeat steps 5 and 6 on the opposite side to form the lid of the box.
Step 9: Apply glue to the flaps and press them down to secure them in place, ensuring the box holds its shape.
Step 10: Your gift box is now ready to be filled with a gift and given to someone special.
-718366e9728218d4.jpeg)
This paper gift box is ideal for small, lightweight items like jewelry or keychains. It's one of the easiest box styles to create.
Material-appropriate applications ensure successful results by matching construction techniques to intended use patterns and load requirements.
Origami homemade gift wrapping boxes are simple to create and make a lovely gift idea.
-b2a4743d63da8e7a.jpeg)
Origami techniques provide elegant solutions for How to Make a Gift Box projects that emphasize artistic folding over decorative additions. These approaches appeal to minimalist aesthetics and mathematical precision.
Start by searching for folding tutorials on the internet. These boxes can be customized with different paper designs, ideal for small presents.
Online learning resources expand technique possibilities beyond basic construction methods by providing access to traditional Japanese folding patterns adapted for modern gift-giving applications.
You can transform regular paper bags into unique gift boxes with straightforward folding and decorating methods.
Upcycling existing materials demonstrates environmental consciousness while creating unique presentations that can't be purchased commercially. These approaches align with growing sustainability awareness.
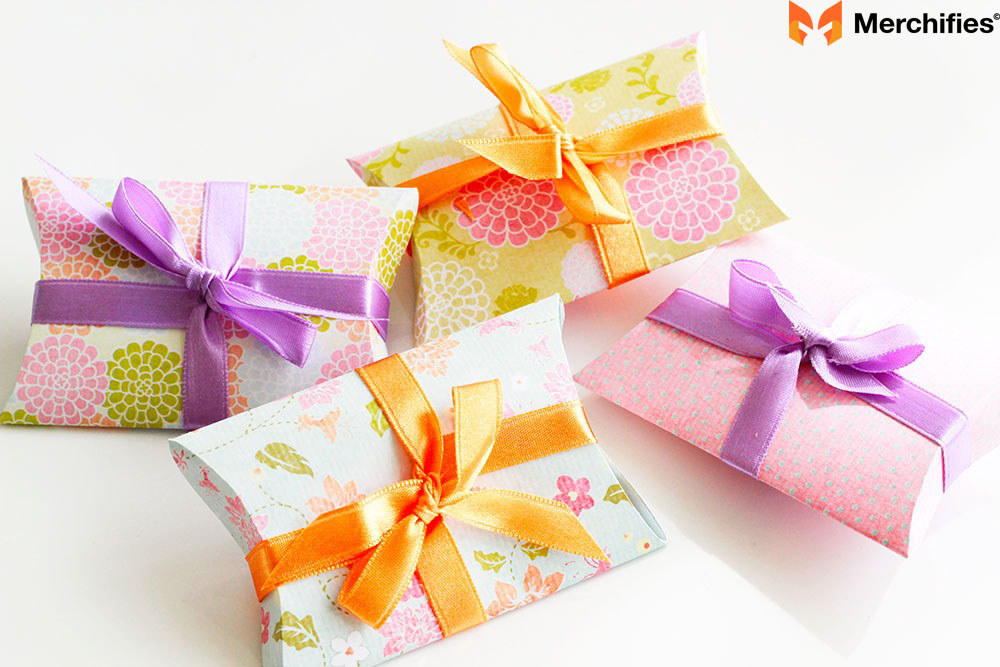
Paper Tube Gift Boxes: Create cylindrical gift boxes using recycled materials such as toilet paper rolls or cardboard tubes instead of purchasing new ones.
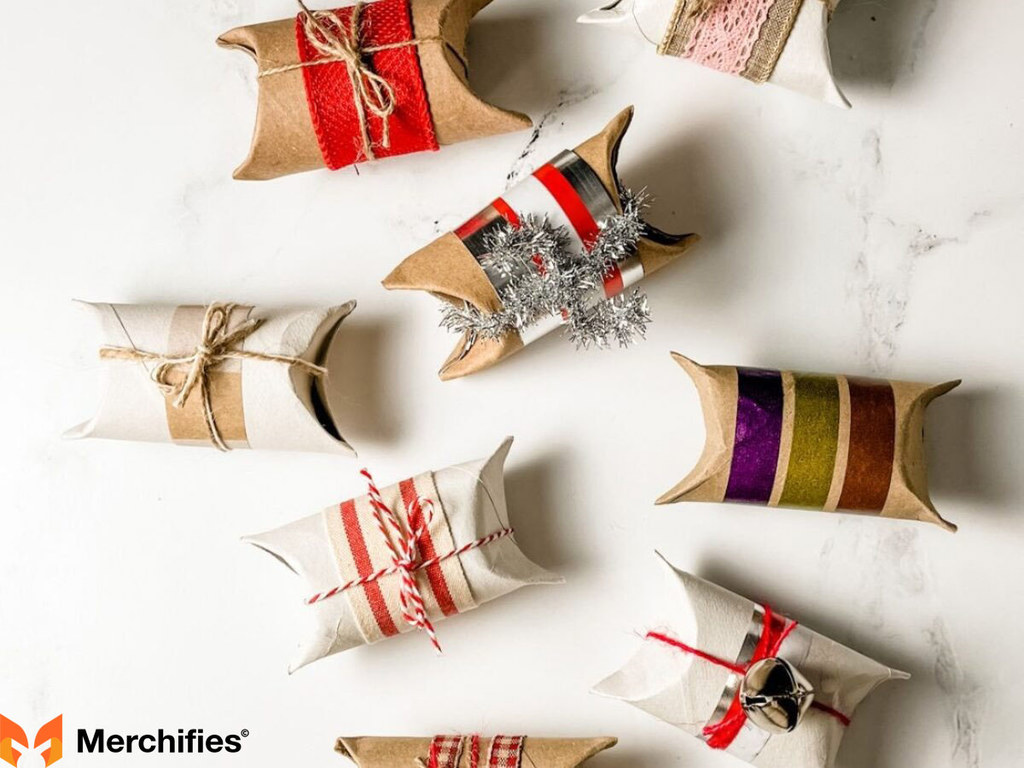
Waste stream diversion creates functional packaging while reducing environmental impact. These projects teach resource conservation while producing attractive results.
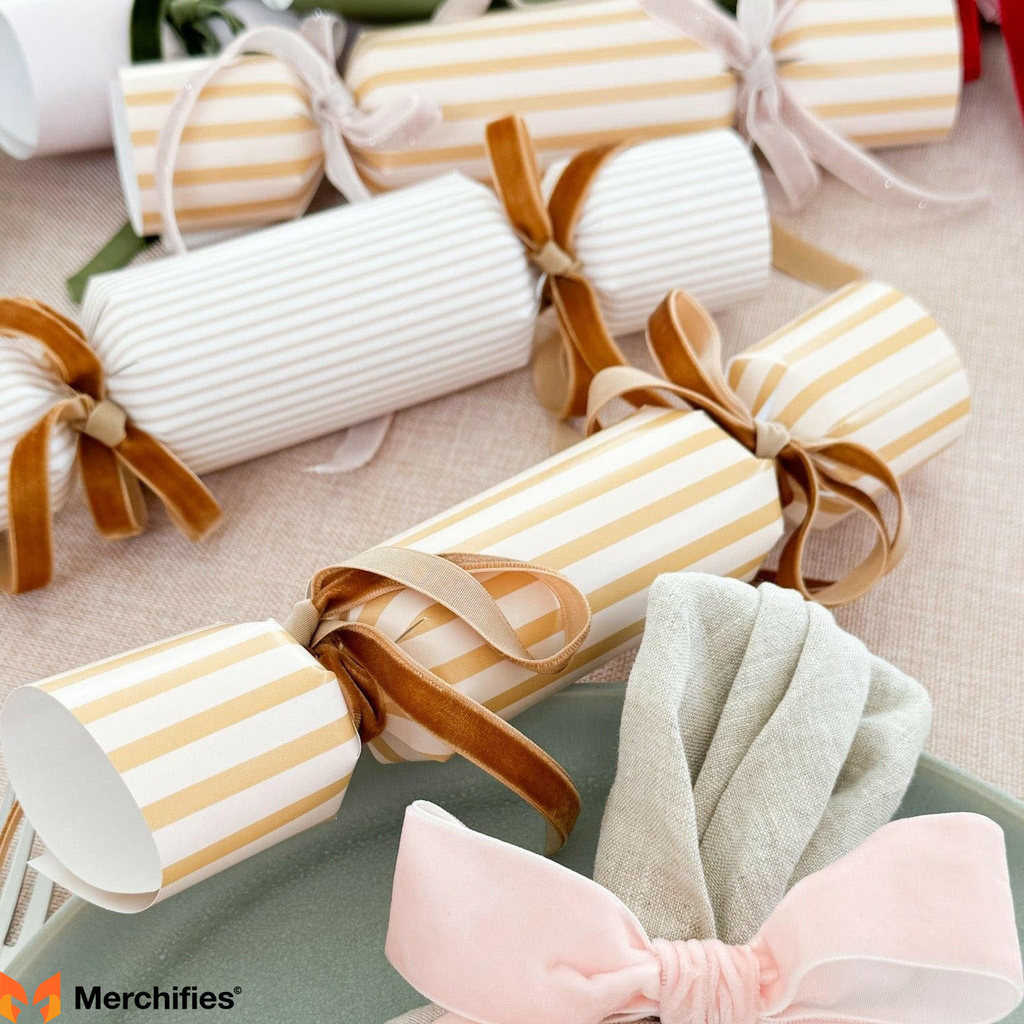
DIY Christmas Crackers: Why bother with store-bought Christmas crackers when you can easily make your own?
Holiday-specific applications demonstrate how basic box-making skills adapt to cultural traditions and seasonal celebrations that require specialized packaging approaches.
Creating your own crackers with a printable design is enjoyable and allows you to personalize gifts for your guests.
Personalization opportunities make DIY approaches superior to commercial alternatives for creating memorable experiences that reflect individual care and creativity.
Understanding material science helps optimize construction choices for specific applications, weight requirements, and aesthetic goals that determine project success and user satisfaction.
Corrugated cardboard provides superior strength for heavy items while maintaining workability. Understanding flute direction, adhesive compatibility, and folding characteristics enables professional-quality results.
Fabric integration creates textile gift boxes that offer reusability and unique aesthetic qualities. These techniques require different assembly methods that accommodate fabric properties.
Professional results require appropriate tools that match project complexity and material requirements. Basic hand tools suffice for most applications, while complex projects benefit from specialized equipment.
Workspace organization affects both efficiency and quality by providing adequate space, proper lighting, and systematic material organization that prevents errors and reduces construction time.
Box construction involves predictable challenges that experienced makers learn to anticipate and prevent through proper planning, technique selection, and quality control measures.
Measurement errors represent the most common problem source, typically resulting from inadequate planning, tool limitations, or calculation mistakes that compound through multiple operations.
Assembly failures usually occur at corner joints where stress concentrations exceed material strength or adhesive capabilities. Understanding stress distribution prevents these failures.
Inappropriate material choices cause construction difficulties that can't be overcome through technique improvements. Understanding material properties guides selection decisions.
Environmental factors like humidity, temperature, and storage conditions affect material behavior during construction and subsequent use. Planning accounts for these variables.
How to Make a Gift Box techniques vary across cultures, with different traditions emphasizing specific aesthetic principles, construction methods, and symbolic meanings that influence design choices.
American DIY culture increasingly values environmental sustainability, making recycled material usage and waste reduction important considerations in project planning and execution.
Regional material availability affects technique selection and project planning. Urban areas provide different resource options than rural locations, requiring adaptive approaches.
Different celebrations require specialized box designs that accommodate specific gift types, cultural expectations, and traditional aesthetic preferences that enhance appropriateness.
Holiday color schemes, symbolic elements, and cultural motifs integrate into box construction through material selection and decorative choices that honor traditions while expressing creativity.
Developing consistent excellence in How to Make a Gift Box projects requires systematic practice, technique experimentation, and ongoing skill refinement that builds both technical ability and creative confidence.
Create a dedicated workspace with proper storage for materials and tools. Organization reduces project time while preventing damage to supplies and works in progress.
Document successful techniques, material combinations, and decoration approaches that work well for your style and needs. This personal reference library accelerates future project development.
Consider taking workshops or online courses that teach advanced techniques beyond basic construction methods. Expert instruction accelerates learning while preventing bad habits.
Join crafting communities, both online and local, where you can share techniques, get feedback, and learn from others' experiences with different materials and methods.
Develop relationships with local businesses that generate clean cardboard waste—printing shops, retail stores, or shipping companies often provide excellent construction materials free.
Create seasonal material collection systems that gather appropriate decorative elements throughout the year. Natural materials work especially well when collected and preserved properly.
Making your own gift boxes is a simple and rewarding project that adds a personal touch to any gift.
Throughout my career helping people create meaningful gift presentations, I've observed that handmade packaging consistently generates more emotional impact than expensive commercial alternatives because it demonstrates genuine investment in the recipient's experience.
It's a great way to show you care, and it's a fun and creative way to spend an afternoon.
Understanding How to Make a Gift Box provides lifelong skills that serve multiple purposes: cost savings, environmental benefits, creative expression, and relationship building through thoughtful presentation that honors both the gift and the recipient.
So, grab your materials and give it a try. Please refer How to Make a Gift Box: Easy Guide with Paper and Cardboard above!
The techniques outlined in this guide work for beginners while providing foundation skills for advanced projects that can become serious hobbies or even small business opportunities for entrepreneurially minded crafters.
You might just discover your inner box-making artist!
Start with simple rectangular projects using recycled materials to build confidence and basic skills. Gradually progress to more complex shapes and decorative techniques as your abilities develop through practice and experimentation.
Remember that every professional box maker started with basic projects and simple materials. Your journey toward expertise begins with the first cut, fold, and assembly that transforms flat materials into three-dimensional containers worthy of your most precious gifts.
The investment in learning these skills pays dividends through improved gift presentations, reduced packaging costs, and the satisfaction that comes from creating beautiful, functional items with your own hands that bring joy to both maker and recipient.
-d4c38c342cdf20ca.jpeg)


-b555fcc6b204c456.jpeg)


