How to Create T-Shirt Designs: A Complete Step-by-Step Guide for Beginners
Learn how to create T-shirt designs from scratch with this complete step-by-step guide for beginners. From brainstorming ideas and choosing your design software to selecting colors, fonts, and graphics, this guide covers everything you need to create eye-catching, print-ready designs. Perfect for aspiring designers, print-on-demand sellers, and DIY enthusiasts, it will help you turn your creative ideas into professional-quality T-shirts that people will love to wear.
Blog Post Contents
Have you ever dreamed of wearing your own unique art, promoting your brand with custom apparel, or even launching a profitable online store? Creating your own T-shirt designs can be an incredibly rewarding journey, offering a powerful way to express yourself, share a message, or connect with a specific audience. It might seem daunting at first, but with the right guidance, anyone can learn how to create T-shirt designs that truly stand out.
This comprehensive guide, informed by the expertise of design professional Mason Ellis Grant, will walk you through every essential step, from sparking your initial idea to preparing your design for print. Mason Ellis Grant, a recognized expert and experienced professional in graphic design and print-on-demand, has helped countless aspiring designers bring their visions to life. We’ll cover everything you need to know, ensuring you gain the knowledge and confidence to transform your creative concepts into wearable art.
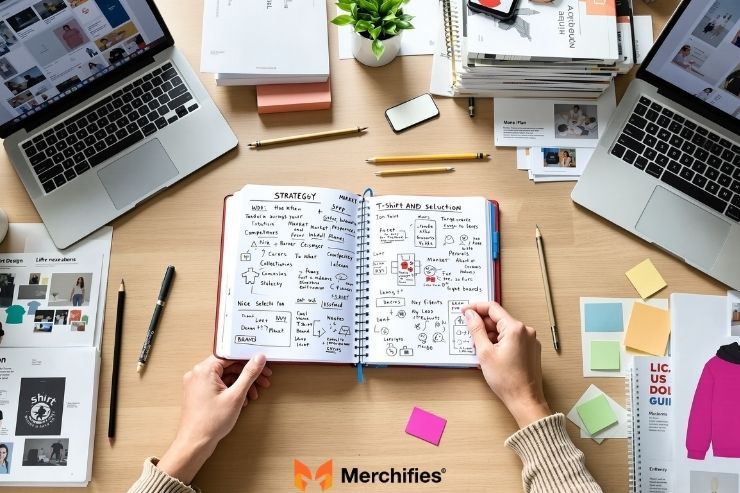
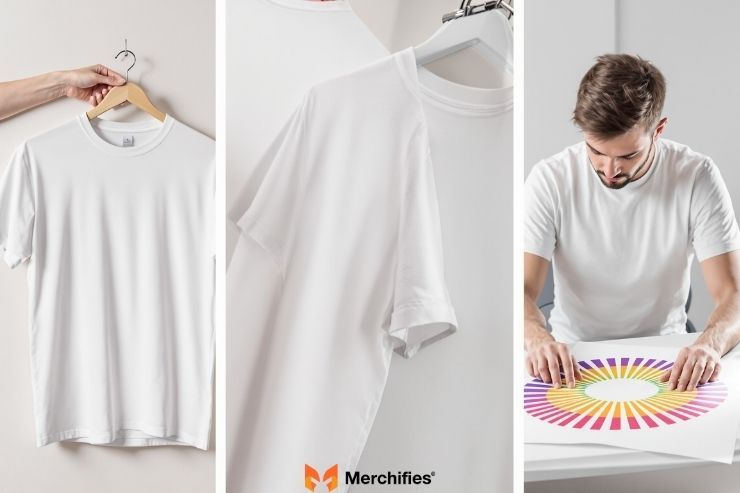
Section 1: Laying the Foundation – Before You Design
Before you even open a design program, taking the time for strategic planning is paramount. This initial phase defines your project's direction and significantly impacts its eventual success, especially when considering how to create T-shirt designs that resonate.
Define Your Niche & Target Audience
Who are you designing for? This is the most crucial question. Are your designs aimed at gamers, eco-conscious individuals, dog lovers, or urban fashion enthusiasts? Understanding your target audience’s demographics, interests, sense of humor, and even their preferred clothing styles will inform every design decision. For instance, a design for teenagers might be bold and trendy, while one for a local charity event might be more subtle and community-focused. As Mason Ellis Grant often emphasizes, "A design without an audience is just pretty art; a design for an audience is a powerful connection."
Brainstorming T-Shirt Design Ideas
Once you know your audience, it’s time to generate ideas. Inspiration is everywhere!
Visual Platforms: Explore Pinterest, Dribbble, Behance, and Instagram for current trends and visual aesthetics.
Everyday Life: Look at humor, popular culture, quotes, local landmarks, or personal passions.
Techniques: Try mind mapping (starting with a central theme and branching out), creating mood boards (collecting images, fonts, and colors that capture a feeling), or simply free association. Don't censor yourself during brainstorming; quantity over quality at this stage!
Understanding Your Design's Purpose
What is the ultimate goal of your T-shirt? Is it for:
Personal Use/Gift: Focus on individual preference and sentiment.
Brand Promotion: Integrate logos, brand colors, and clear messaging.
Print-on-Demand (POD) Sales: Consider marketability, trends, and scalability.
Statement/Protest: Ensure clarity and impact of your message.
The purpose directly influences the complexity, style, and messaging of your design. For a simple personal tee, you might have more creative freedom, but for a commercial product, you’ll need to think about broader appeal and print feasibility.
Laying the Foundation – Before You Design
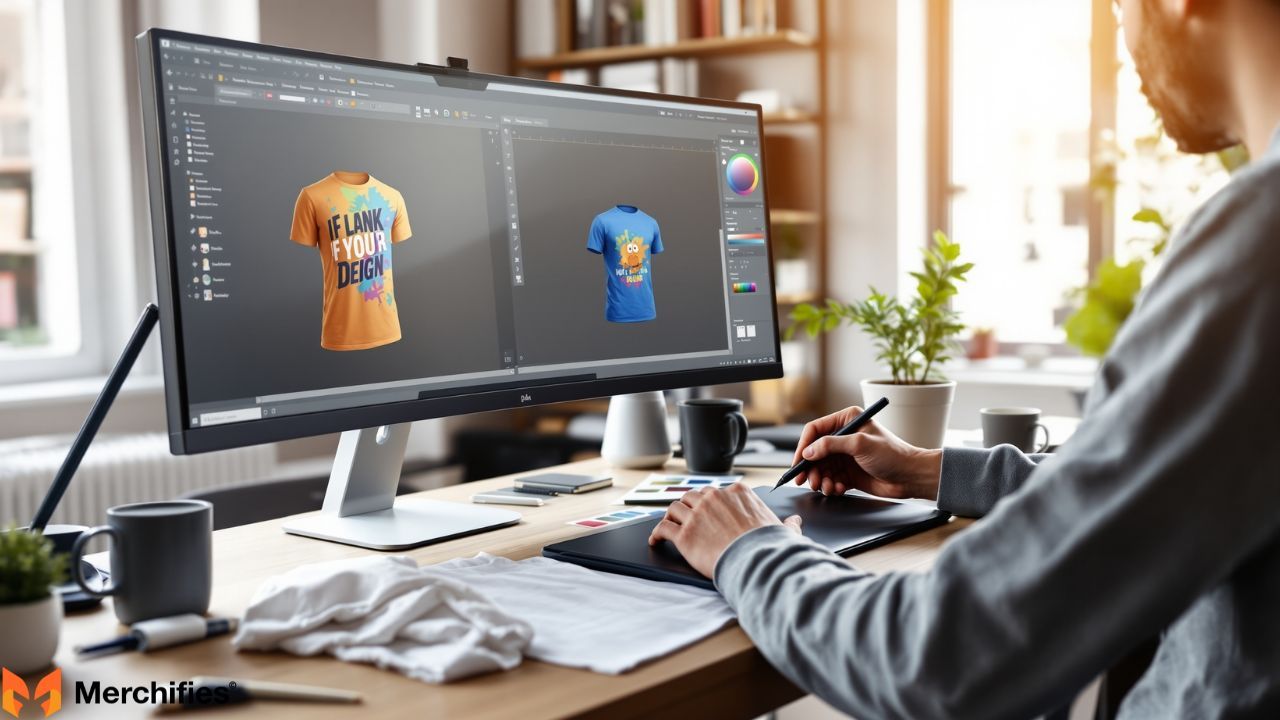
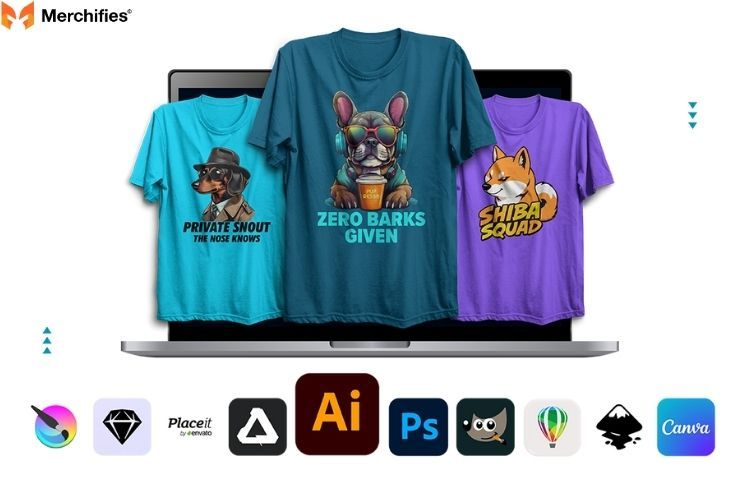
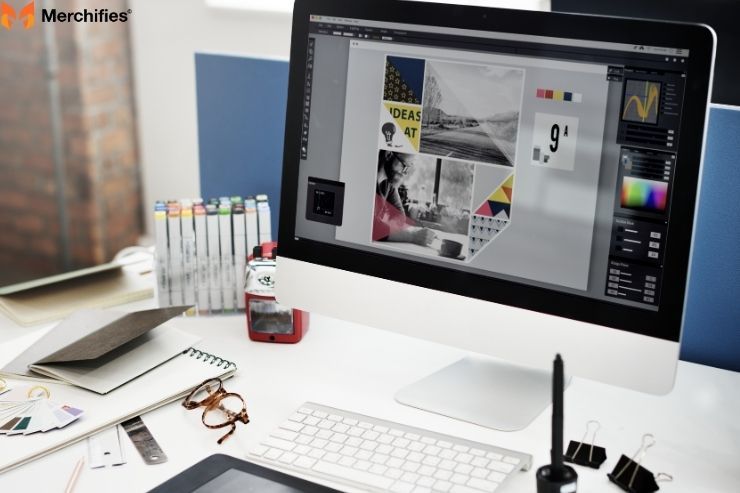
Section 2: Essential Tools & Software for T-Shirt Design
The right tools can make all the difference when you're learning how to create T-shirt designs. From free, user-friendly options to industry-standard professional software, there's a tool for every skill level and budget.
Choosing the Right Design Software
Your choice of software largely depends on your experience level and the type of design you envision.
Beginner-Friendly/Free Options:
Canva: Excellent for quick, template-based designs with a drag-and-drop interface.
GIMP / Krita: Free, open-source alternatives to Photoshop, great for raster-based images and detailed painting.
Procreate: (iPad only) Fantastic for hand-drawn illustrations and digital painting.
Professional/Paid Options:
Adobe Illustrator: The industry standard for vector-based graphics. Perfect for logos, typography, and illustrations that need to scale without pixelation.
Adobe Photoshop: Best for raster-based designs, photo manipulation, and complex effects. If your design involves photographs or intricate textures, Photoshop is ideal.
Affinity Designer: A powerful, one-time purchase alternative to Illustrator, offering both vector and raster capabilities.
When choosing, consider the cost, the learning curve, and whether you need vector (scalable, crisp lines) or raster (pixel-based, detailed images) capabilities.
Essential Tools & Software for T-Shirt Design
How to Design a Shirt on Canva
Canva is a fantastic starting point for anyone learning how to create T-shirt designs, especially if you're a beginner without prior design experience.
Start a New Design: Open Canva and select "T-Shirt" from the design options, which will give you a canvas with appropriate dimensions.
Explore Templates: Browse Canva’s vast library of T-shirt templates. These provide a great foundation and can be fully customized.
Add Elements: Use the left-hand menu to add text, graphics, photos, and shapes. Search for specific elements relevant to your niche.
Customize Everything: Change colors, fonts, sizes, and positions. Canva’s drag-and-drop interface makes it incredibly intuitive.
Upload Your Own: You can upload your own logos, illustrations, or photos to integrate into the design.
Download as PNG: For T-shirts, always download your final design as a PNG with a transparent background (if available in your Canva plan) to ensure it prints correctly without a white box around it.
Canva excels at quick concepts and simple graphic designs, making it perfect for personal projects or testing ideas before investing in more complex software.
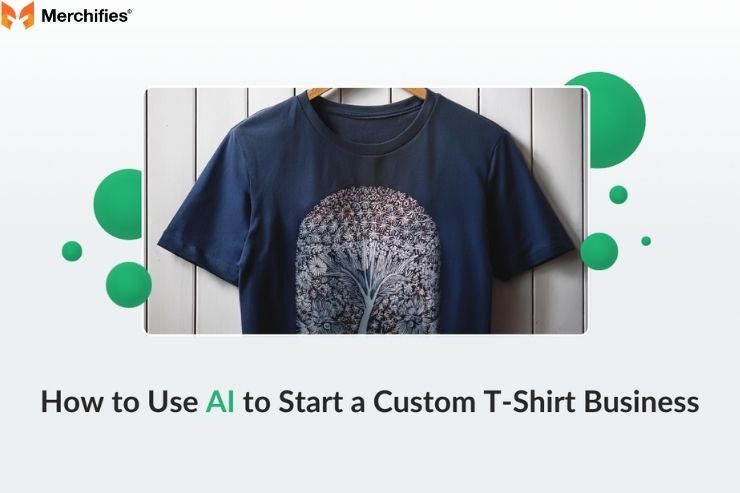
How to Create T Shirt Design with AI
Artificial intelligence (AI) tools are revolutionizing how to create T-shirt designs by offering new ways to generate concepts and visuals.
Choose an AI Art Generator: Popular options include Midjourney, DALL-E, Adobe Firefly, and Stable Diffusion. Each has its strengths and unique aesthetic.
Craft Your Prompt: This is key! Describe your desired T-shirt design in detail. Include keywords about style (e.g., "vintage retro," "minimalist line art"), subject matter (e.g., "cat wearing sunglasses," "mountain landscape"), color palette, and even emotional tone. Experiment with different phrases to get varied results.
Generate & Iterate: Let the AI generate images. You'll likely get several options. Refine your prompt based on what you see, adding or removing details until you get closer to your vision.
Refine in Design Software: AI-generated images often need post-processing. Import your AI art into a traditional design program like Photoshop or Illustrator.
Vectorize (if needed): If your AI art is raster-based and you need clean lines for screen printing, use a vectorization tool within Illustrator or a dedicated online service.
Clean Up & Enhance: Remove imperfections, adjust colors, add text, and combine multiple elements to create a cohesive T-shirt design.
Ensure Print Quality: Upscale images if they are low resolution, and prepare the file for printing as detailed in Section 4.
AI is fantastic for brainstorming unique visuals and generating base elements, but human refinement is usually necessary for a polished, print-ready T-shirt design.
How to Create T Shirt Design with AI
Hardware Considerations
While you can design on almost any computer, a few hardware upgrades can enhance your experience:
Sufficient RAM: 8GB is a minimum, 16GB or more is ideal for smooth operation with design software.
Good Processor: A modern CPU will speed up rendering and complex tasks.
Graphics Tablet: (Optional) If you plan to incorporate hand-drawn illustrations, a graphics tablet (like Wacom or iPad with Apple Pencil) offers much more precision than a mouse.
Section 3: The Step-by-Step T-Shirt Design Process
Now that you have your ideas and chosen your tools, it's time to dive into the practical steps of how to create T-shirt designs.
Sketching Your Concept
Even in a digital age, starting with a simple pencil and paper is invaluable. Sketching allows you to quickly explore different layouts, iconography, and text placements without getting bogged down by software intricacies. It helps refine your concept and ensures you have a clear visual direction before you go digital. This hands-on approach is something Mason Ellis Grant always advises, noting that "the best digital designs often begin as humble pencil scribbles."
Mastering Basic Design Principles
Understanding fundamental design principles is key to creating aesthetically pleasing and effective T-shirt designs.
Typography: Choosing the right font sets the tone. Consider readability, style (serif, sans-serif, script), and how fonts pair together. Avoid using too many different fonts.
Color Theory: Colors evoke emotions. Learn about color palettes (monochromatic, analogous, complementary), contrast, and how colors translate from screen to print.
Composition & Layout: How are elements arranged? Strive for balance, visual hierarchy (what should the viewer see first?), a clear focal point, and appropriate use of white space.
Imagery: Whether using icons, illustrations, or photos, ensure they are high quality and consistent with your design's overall style. If using photos, check their resolution carefully.
Digitizing Your Design
This is where your chosen software comes into play.
Import Sketches: If you sketched your design, import a photo or scan of it into your software as a reference layer.
Build with Shapes and Tools: Use the software's tools (pen tool, shape tools, text tool) to create your design. For vector software, focus on creating clean, scalable paths. For raster software, work at a high resolution from the start.
Work with Layers: Always use layers! This allows you to easily edit individual elements, move them around, or change colors without affecting other parts of your design.
Attention to Detail: Pay attention to line thickness, spacing between elements, and crispness of edges.
Refining and Iterating
Few designs are perfect on the first try.
Get Feedback: Share your design with friends, family, or your target audience. Listen to constructive criticism.
Make Adjustments: Be prepared to revise. Try different color variations, experiment with alternative font choices, or adjust the size and placement of elements on a T-shirt mockup. This iterative process is a hallmark of truly experienced designers and ensures your final product is polished.
The Step-by-Step T-Shirt Design Process
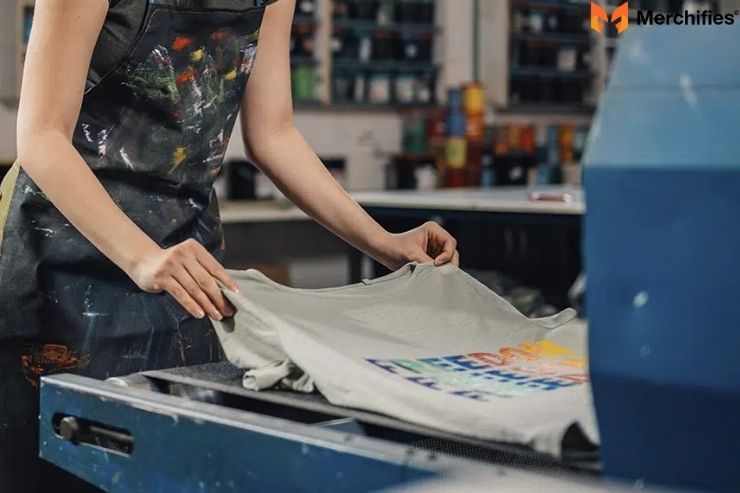
Section 4: Preparing Your Design for Printing
This is a critical section for anyone learning how to create T-shirt designs professionally. A great design on screen needs to be print-ready to look great on fabric.
Understanding File Formats
The file format you use depends on your design and the printing method.
Vector (AI, EPS, SVG, PDF): These formats are based on mathematical paths, meaning they can be scaled infinitely without losing quality. They are ideal for logos, text, and illustrations, especially for screen printing.
Raster (PNG, JPG, TIFF): These formats are made of pixels. They are best for photographic designs or complex artwork with gradients and detailed textures. Requires high resolution.
When to Use Which: For most graphic designs, vector is preferred. If you have a photographic element, PNG or TIFF at high resolution is necessary.
Resolution and DPI
DPI (Dots Per Inch) refers to the resolution of a raster image.
For T-shirt printing, a resolution of 300 DPI (dots per inch) is generally recommended at the actual print size.
If your design will be 12x16 inches on a T-shirt, your digital file should be 12x16 inches at 300 DPI. Using a lower resolution will result in pixelated or blurry prints.
Color Modes: RGB vs. CMYK
RGB (Red, Green, Blue): This is the color mode for screens (monitors, phones). It has a wider color gamut, meaning it can display more vibrant colors.
CMYK (Cyan, Magenta, Yellow, Key/Black): This is the color mode for print. Printers use these four inks to create all other colors.
Why it Matters: Colors can look different on screen (RGB) compared to print (CMYK). Printers often prefer CMYK files for consistency, though some Direct-to-Garment (DTG) printers can work with RGB. Always check with your printer's specifications.
Transparency and Backgrounds
If your design isn't meant to have a background color from the file itself (i.e., you want the T-shirt fabric to show through), save it as a PNG file with a transparent background. JPEG files do not support transparency and will always have a solid background, usually white. This technical nuance highlights the experience required for successful prints.
Exporting Your Print-Ready File
Before exporting, double-check:
File Format: As per printer's request (usually vector for screen print, high-res PNG/TIFF for DTG).
Resolution/DPI: 300 DPI at actual print size for raster.
Color Mode: CMYK or RGB as specified by your printer.
Outlined Fonts: For vector files, ensure all text is converted to outlines to avoid font issues if the printer doesn't have your specific font installed.
File Naming: Use clear names like "DesignName_Size_300DPI_CMYK.png" to help your printer.
Preparing Your Design for Printing
Section 5: Legal & Practical Considerations
Beyond the design itself, there are important legal and practical aspects to consider when you create T-shirt designs. These add to the trustworthiness and longevity of your work.
Copyright and Trademark Basics for T-Shirts
Avoid Infringement: Never use copyrighted images, characters, logos, or trademarked phrases without explicit permission. This includes popular cartoon characters, sports team logos, brand names, or even famous quotes that are protected.
Protect Your Own Designs: While simply creating a design gives you copyright, registering it can offer stronger legal protection. Consider trademarking unique brand names or logos associated with your T-shirt line. When in doubt, always create original artwork.
Mockups: Visualizing Your Design
Mockups are digital images of your design placed on a T-shirt model or flat lay. They are invaluable for:
Presentation: Showing clients or potential customers what the final product will look like.
Marketing: Creating eye-catching product images for your online store.
Testing: Visualizing your design on a shirt to spot any issues with placement or scale.
You can find free and paid mockup templates online (e.g., Placeit, Smartmockups, or free PSD files).
Choosing a Print Method (Brief Overview)
Your design choices can influence the best printing method.
Screen Printing: Best for large quantities, simple designs with limited colors, and vibrant results. More cost-effective in bulk.
Direct-to-Garment (DTG): Excellent for complex, full-color designs (like photographs) and smaller print runs.
Vinyl Heat Transfer: Good for simple text or shapes, often used for custom single items or small batches.
Embroidery: Adds a premium, textured look, ideal for logos or simple graphics.
Understanding these basics, as Mason Ellis Grant often explains, helps designers create with the end product in mind, avoiding costly reworks.
Legal and Practical Considerations When you Design T-shirts
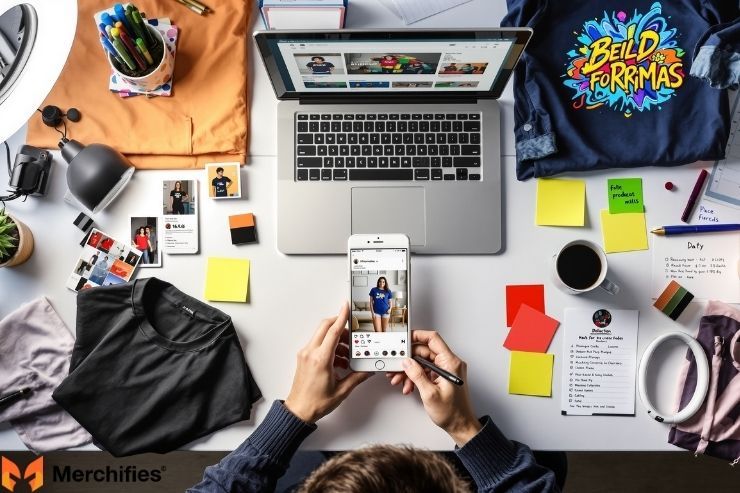
Section 6: Taking Your Designs to Market
Once your designs are ready, the next step is to get them onto T-shirts and into the hands of your audience.
Print-on-Demand (POD) Platforms
POD services are a fantastic way to sell your T-shirt designs without holding inventory.
How it Works: You upload your design, choose products, and when a customer buys, the POD company prints and ships it directly.
Platforms: Popular options include Printful, Printify, Redbubble, Teespring, and Merch by Amazon.
Pros: Low risk, no upfront costs for inventory, wide range of products.
Cons: Lower profit margins per item, less control over quality/shipping.
Working with Local Printers
For larger orders, specific print finishes, or greater control over the process, working with a local screen printer or custom apparel shop can be beneficial. Be sure to ask about their minimum order quantities, pricing structure, available apparel types, and file format requirements.
Marketing Your T-Shirt Designs
Having great designs isn't enough; you need to promote them!
Social Media: Use platforms like Instagram and Pinterest to showcase mockups and lifestyle photos of your T-shirts.
Online Stores: Set up your own e-commerce site (Shopify, Etsy) or leverage the marketplaces of POD platforms.
Targeted Ads: Consider running ads tailored to your defined niche audience.
Taking Your Designs to Market
Conclusion
Learning how to create T-shirt designs is a rewarding skill that blends creativity with technical know-how. From defining your audience and brainstorming ideas to mastering design software and preparing print-ready files, each step is crucial for transforming your vision into tangible, wearable art. Remember, practice makes perfect, and every design is an opportunity to learn and grow.
Don't be afraid to experiment, iterate, and seek feedback. The world of custom apparel is vast and full of possibilities. Now that you have this comprehensive guide, there's nothing stopping you from starting your design journey today. Go forth and create something amazing! The insights shared throughout this article, developed from years of experience by Mason Ellis Grant, serve as a strong foundation for your success.
-da0801079a650a2e.jpeg)
-d4c38c342cdf20ca.jpeg)


-b555fcc6b204c456.jpeg)


