Get crafty with DIY Valentine shirt ideas — creative, affordable designs you can make at home to personalize your celebration with handmade love and style.
Blog Post Contents
Valentine's Day beckons us to celebrate love in all its forms. While chocolates and flowers are classic, imagine the heartfelt smile when your loved one receives a gift that you've poured your creativity into. That's the magic of DIY Valentine shirts! This guide is your ultimate companion to crafting personalized, handmade Valentine t-shirts that truly speak from the heart.
By making your own, you tap into the unparalleled joy of personalization, creating something truly unique that reflects your affection. It's often more affordable than custom-ordered apparel, transforms into a fun and engaging activity, and results in a memorable, one-of-a-kind gift. Get ready to explore various techniques, discover delightful design ideas, and follow clear instructions to bring your creative vision to life.
Benefits of Crafting Your Own Valentine's Tee
Creating your own custom Valentine shirts offers a multitude of advantages that go beyond just saving a few dollars.
Personalization & Uniqueness: This is the cornerstone of DIY. You get to design something that perfectly captures your sentiment, making it a truly one-of-a-kind piece. No mass-produced shirt can match the unique charm of a personalized Valentine t-shirt.
Budget-Friendly: While specialized materials might seem like an initial investment, crafting multiple shirts or using readily available supplies often makes it much cheaper than commissioning custom work or buying designer apparel. It's a smart way to create easy Valentine shirt ideas without breaking the bank.
Meaningful Gift: A handmade gift carries an intangible value that money can't buy. The time, effort, and thought you put into a handmade Valentine t-shirt make it a deeply heartfelt present that will be cherished.
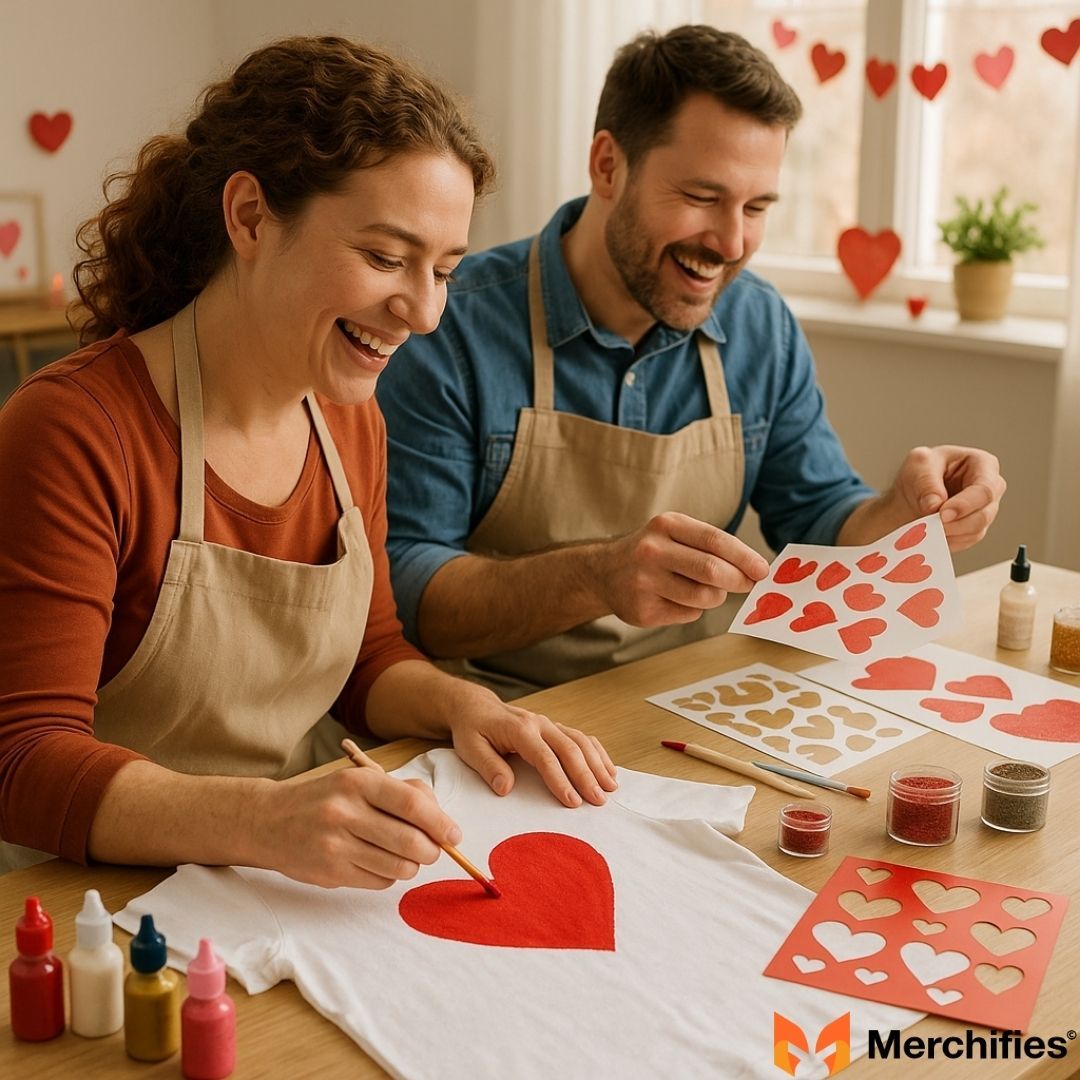
Fun & Creative Activity: Crafting is inherently therapeutic and enjoyable. Whether you're flying solo, collaborating with a partner, or engaging the whole family, making DIY Valentine shirts can be a delightful and memorable experience. It's a fantastic Valentine craft project for all ages.
Eco-Friendly: Give new life to old, plain shirts by upcycling them, or opt for ethically sourced blank tees. This conscious choice contributes to a more sustainable lifestyle.
Top DIY Valentine Shirt Methods & Techniques
The world of how to make Valentine shirts is vast and exciting, offering techniques for every skill level and aesthetic preference. From beginner-friendly options to more intricate designs, you’ll find a method that suits your creative spirit.
Iron-On Vinyl (Heat Transfer Vinyl - HTV)
This is arguably one of the most popular and versatile methods for creating DIY Valentine shirts. HTV offers a smooth, professional-looking finish with relatively little effort. It's excellent for achieving clean lines, crisp text, and intricate graphic designs. While a cutting machine like a Cricut or Silhouette makes the process incredibly precise, you can also cut simpler designs by hand using a craft knife.
Best for: Text, detailed graphics, multi-layered designs.
Materials: Heat Transfer Vinyl (HTV), cutting machine (or craft knife), iron or heat press, blank cotton or poly-blend shirt.
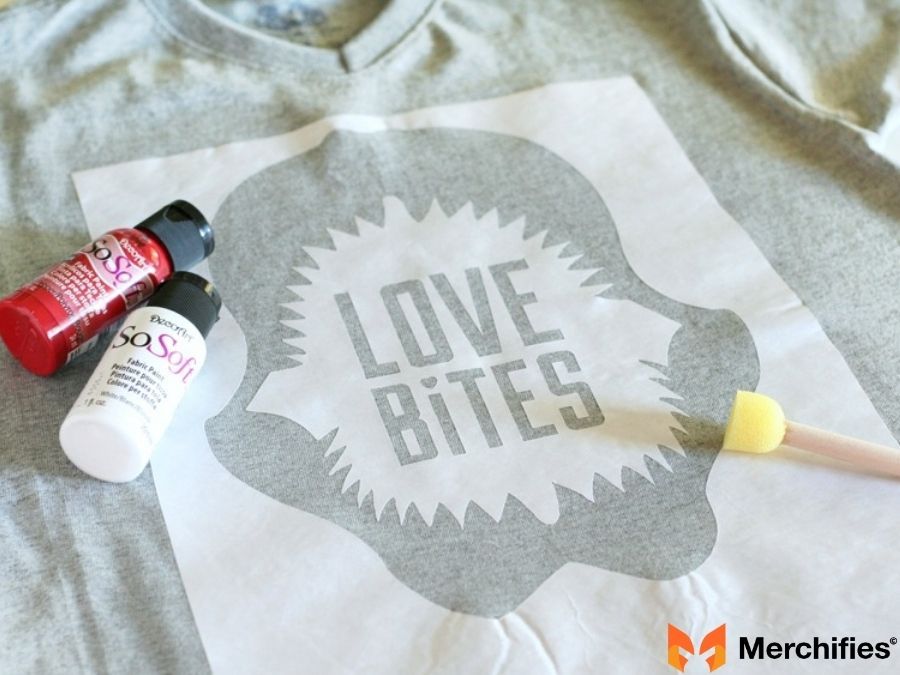
Fabric Paint & Stenciling
A classic for a reason, fabric paint allows for vibrant colors and artistic freedom. Stenciling simplifies the process, enabling you to replicate designs with ease. This method is perfect for creating bold designs, hand-painted effects, or repeating patterns on your DIY Valentine shirts.
Best for: Bold designs, hand-painted looks, stenciled patterns.
For those who love the crispness of a stencil but want complete control over their design, freezer paper is a game-changer. This method creates a temporary, adhesive stencil that prevents paint from bleeding, resulting in incredibly sharp edges. It's an excellent technique for custom graphics and typography on handmade Valentine t-shirts.
Best for: Custom stencils, graphic designs with sharp edges.
When simplicity and spontaneity are key, fabric markers are your best friend. This method is incredibly approachable, making it ideal for all ages, especially for kids wanting to create their own Valentine's Day DIY apparel. You can freehand draw, outline, add details, or even just sign your name with love.
Best for: Freehand drawing, outlining, adding personal details, kids' projects.
Materials: Fabric markers, pencil for sketching, blank shirt.
Appliqué & Embroidery
For those looking to add dimension and texture, appliqué and embroidery are rewarding techniques. Appliqué involves sewing fabric shapes onto your shirt, while embroidery adds decorative stitches. These methods, while more advanced, result in beautifully textured and unique diy valentine shirts.
Best for: Adding fabric shapes, detailed text, dimensional embellishments.
Looking for something truly unconventional? Bleach pens allow you to create unique distressed or patterned effects on dark-colored shirts. It’s like drawing with negative space, revealing lighter tones where the bleach is applied. This method is fantastic for abstract designs or subtle, edgy patterns.
Best for: Abstract designs, subtle patterns, distressed looks on dark fabric.
Materials: Bleach pen, dark blank shirt, cardboard insert, gloves.
Easy DIY Valentine shirt ideas for creative couples and crafters.
Creative Valentine Shirt Ideas & Inspiration
Once you've chosen your method, it's time to brainstorm designs for your DIY Valentine shirts! The possibilities are endless, allowing you to tailor your creation to the recipient and your personal style.
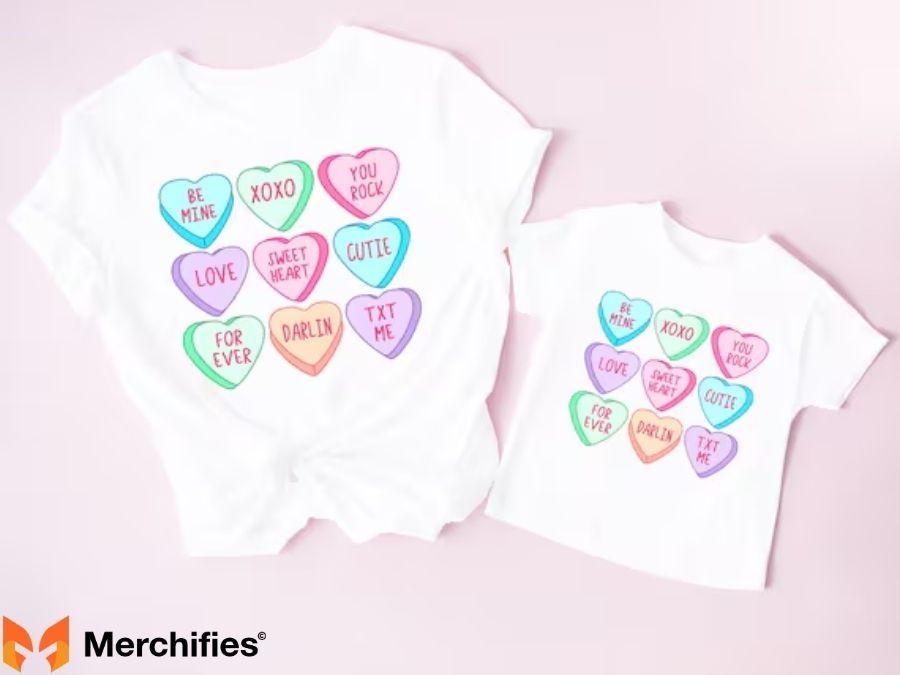
For Kids & Family
Kids love showing off their festive spirit! Think charming phrases and cute motifs.
"Mommy's Little Valentine," "Future Heartbreaker," "My First Valentine's Day."
Matching family sets: "Love Bug" series with different sized "bugs."
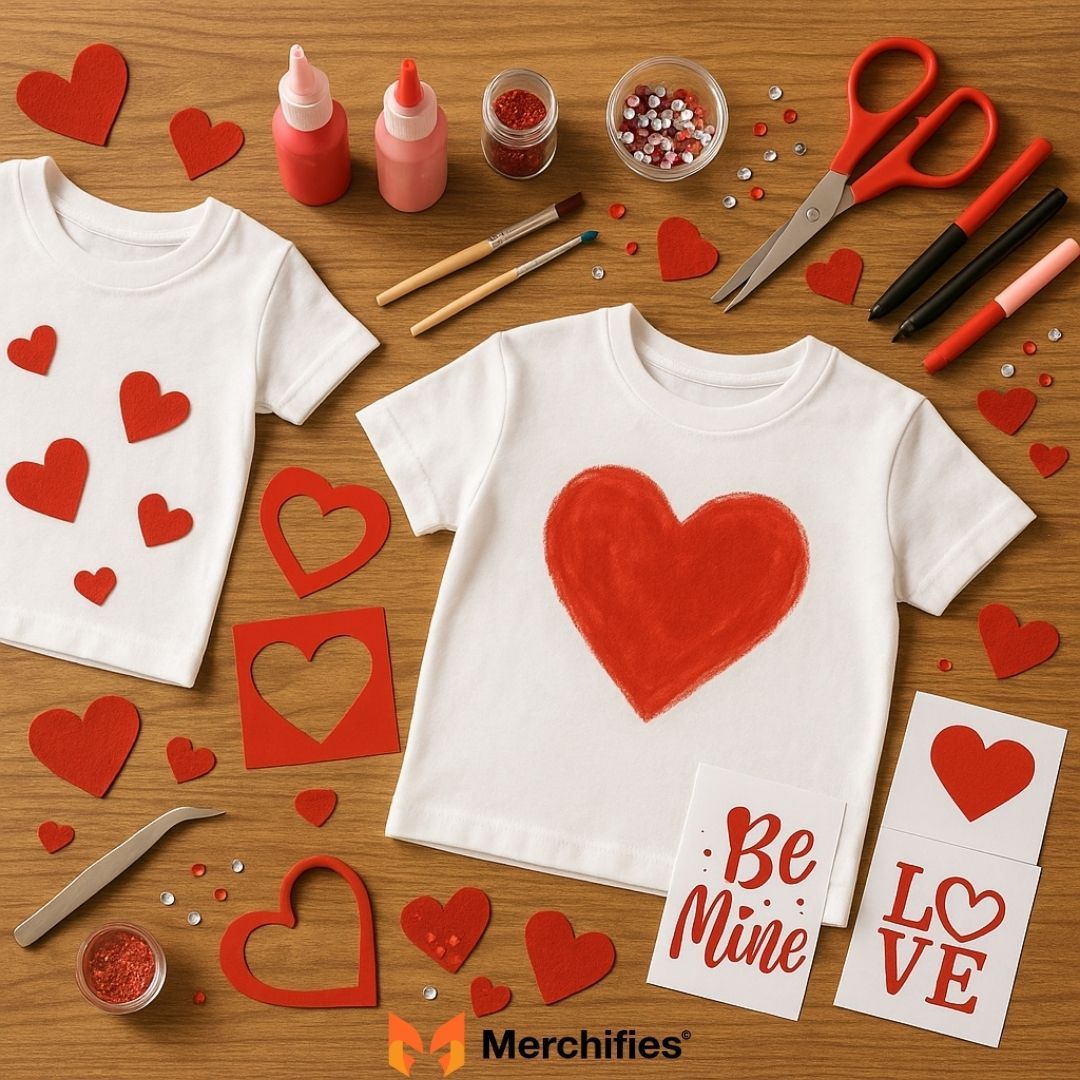
Simple heart cutouts, handprints, or footprint hearts for babies.
For Couples & Best Friends
Celebrate your bond with coordinated or complementary designs. These make wonderful custom Valentine shirts for two.
"Better Together," "My Missing Piece," "Soulmate."
Interlocking designs: Two halves of a heart or a quote split between two shirts.
Personalized with initials, significant dates, or nicknames.
Cute & Punny Sayings
Inject humor and playfulness into your easy Valentine shirt ideas with witty phrases.
"I Love You S'more," "You Make My Heart Soar," "Panda-monium for You."
Playful food puns ("You're the 'Raisin' I'm Happy"), animal puns, or sweet declarations.
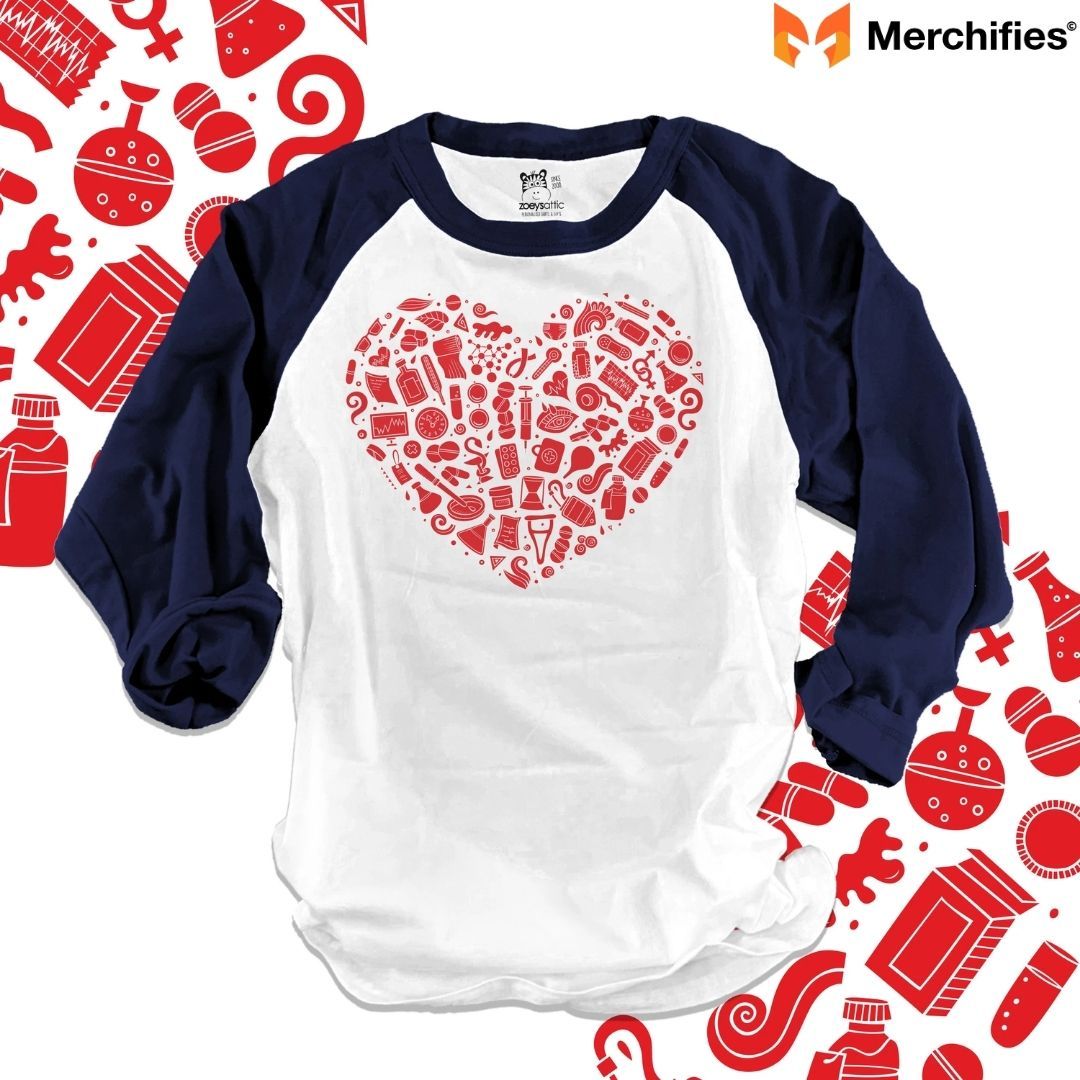
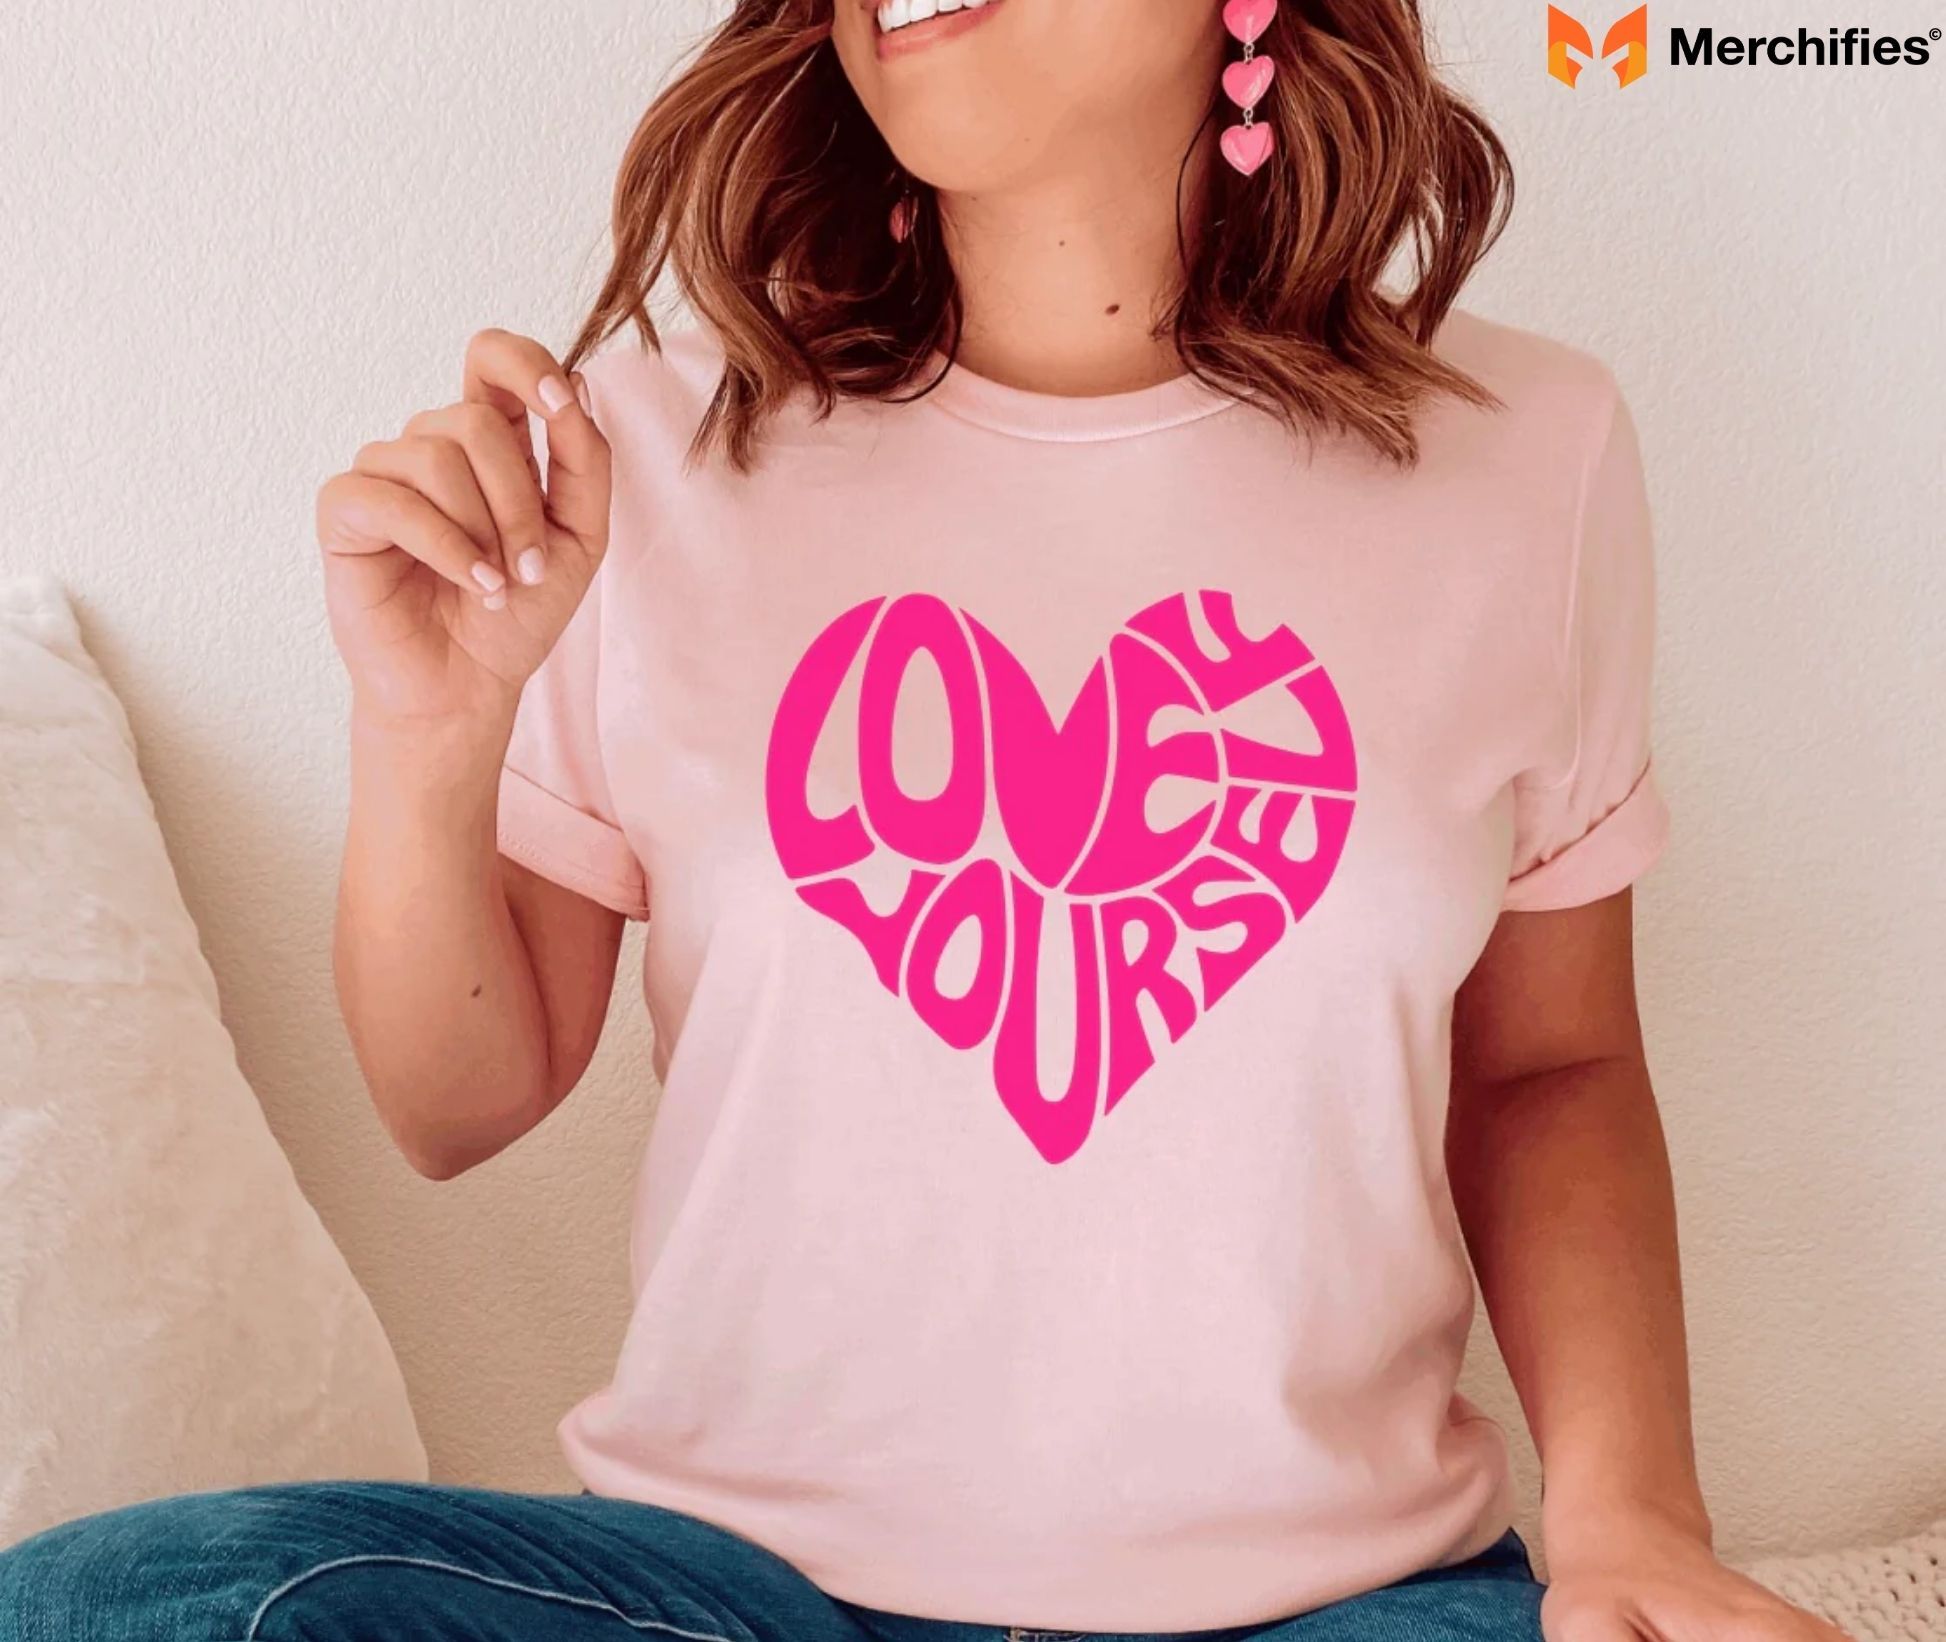
Minimalist & Chic Designs
Sometimes, less is more. Elegant simplicity can make a powerful statement.
A small, elegant heart placed subtly on the sleeve, collar, or pocket area.
Simple "Love" script in a sophisticated font.
Abstract heart patterns using geometric shapes or delicate lines.
DIY Valentine T-shirt designs for crafty lovers and handmade gift fans.
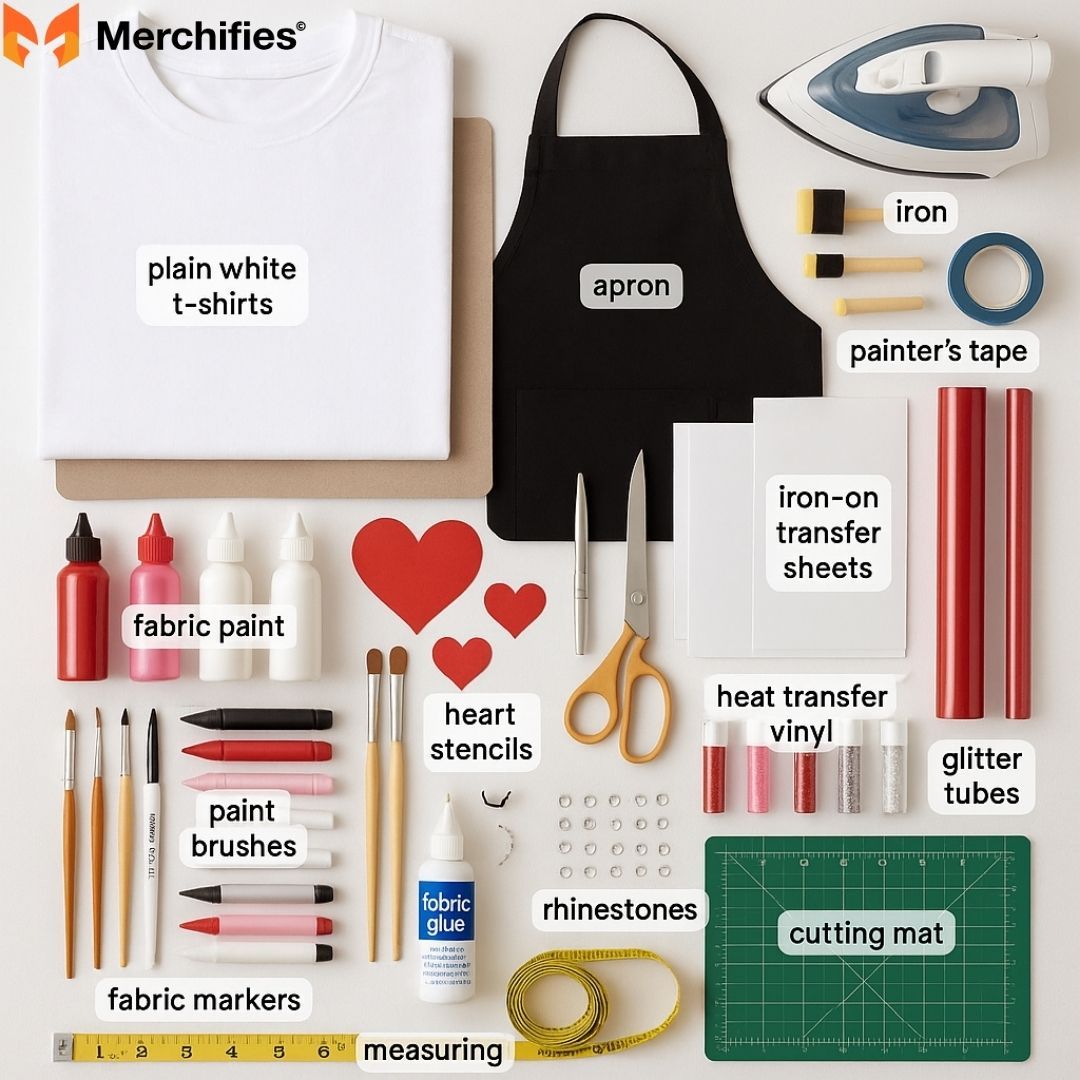
Essential Materials & Tools Checklist
Having the right supplies on hand makes all the difference for a smooth crafting experience. According to Ruby Wilder's extensive experience, being prepared is half the battle when undertaking Valentine craft projects.
Blank T-Shirts: High-quality cotton shirts are generally best for most methods. Consider the color – light shirts for paint, dark shirts for bleach pens, and any color for HTV.
Design Mediums:
HTV: Rolls or sheets of Heat Transfer Vinyl.
Fabric Paint: Various colors, possibly glow-in-the-dark or glitter.
Fabric Markers: Fine tip, brush tip, or broad tip.
Freezer Paper: For custom stencils.
Fabric Scraps & Embroidery Floss: For appliqué and embroidery.
Bleach Pen: For reverse effects.
Cutting Tools:
Scissors
Craft knife (X-Acto knife)
Cutting machine (Cricut, Silhouette Cameo) – highly recommended for HTV.
Application Tools:
Iron (for HTV, freezer paper)
Heat press (for HTV – optional, but gives best results)
Old newspapers or drop cloth (to protect your work surface)
Design Tools (Optional):
Printer (for design templates)
Pencil, ruler, tracing paper
Computer/tablet with design software
Essential Materials & Tools Checklist for valentine's shirt DIY
Step-by-Step Tutorial: Your First DIY Valentine Shirt (Example: Iron-On Vinyl)
Let's dive into a detailed tutorial for one of the most popular and professional-looking methods: Iron-On Vinyl (HTV). This will guide you in how to make Valentine shirts with a sleek finish.
Design Creation
Choose your design: Browse inspiration sites like Pinterest, find free SVG files online (search "free Valentine SVG"), or sketch your own simple heart, phrase, or graphic. Remember, simpler is often better for your first attempt.
Size it correctly: Measure the area on your blank shirt where you want the design to go. Adjust your digital design to fit these dimensions perfectly.
Mirror the image (CRITICAL for HTV): Before cutting, always mirror or "flip" your design horizontally. If you don't, your text and non-symmetrical images will appear backward on the shirt.
Cutting the Vinyl
Load the HTV: Place your heat transfer vinyl onto your cutting mat with the shiny, carrier sheet side down. The duller, adhesive side should be facing up to be cut.
Cut the design: Load the mat into your cutting machine and select the appropriate HTV setting. If cutting by hand, carefully trace your mirrored design onto the dull side of the vinyl and use a craft knife to cut it out.
Weed away excess vinyl: Once cut, use a weeding tool (or a sharp, pointed object) to remove all the vinyl that isn't part of your design. You should be left with your design adhered to the clear, shiny carrier sheet.
Preparing the Shirt
Pre-wash and dry: Always wash and fully dry your blank t-shirt without fabric softener before applying any design. This removes any sizing or chemicals that could interfere with adhesion.
Iron out wrinkles: Ensure your shirt is completely smooth and wrinkle-free.
Pre-press the shirt: For a few seconds, press the area where the design will go with your iron or heat press. This removes any moisture from the fabric and creates a flat, smooth surface for better adhesion.
Applying the Design
Position the design: Carefully place your weeded design onto the pre-pressed shirt. The clear, shiny carrier sheet should be facing up. Use a ruler to ensure it's centered and straight.
Apply heat: Cover your design with a thin cloth (like a tea towel) if using an iron. Apply heat with your iron or heat press according to your specific HTV's instructions (temperature, time, and pressure are crucial). Press firmly and evenly, ensuring heat reaches all parts of the design.
Peel off the carrier sheet: Once the pressing is complete, carefully peel off the clear carrier sheet. Some HTV requires a "warm peel" (peel while still warm), others a "cool peel" (wait until completely cooled). Check your vinyl instructions! If any part of the vinyl lifts, re-press it with the carrier sheet for a few more seconds.
Finishing Touches
Final press (optional): Sometimes, a quick final press without the carrier sheet (but with a protective cloth) can help seal the vinyl even better.
Allow to cool: Let the shirt cool completely before wearing or stretching to ensure the vinyl fully adheres and cures.
(Image/Video Opportunity: Each step should ideally have a corresponding image or a short video clip demonstrating the action.)
Get inspired with simple DIY Valentine shirt ideas you can make at home.
Tips for Success & Troubleshooting
Even experienced crafters encounter hiccups! Here are some tried-and-true tips and common troubleshooting solutions for your handmade Valentine t-shirts.
Always pre-wash your shirts: As mentioned, this is crucial for proper adhesion and prevents design distortion after the first wash.
Test on scrap fabric first: If trying a new material or technique, do a small test run on an old piece of similar fabric. This is especially vital for bleach or new fabric paints.
Use a firm, flat surface for application: Whether you're painting or ironing, a stable, hard surface ensures even pressure and application.
Double-check mirroring for HTV: This is the most common beginner mistake. Before you cut, always confirm your design is mirrored!
Don't rush the peeling process: Be patient when peeling carrier sheets or stencils. A slow, steady peel minimizes lifting or tearing.
Troubleshooting:
Vinyl not sticking: Check your heat settings (too low?), pressure (not firm enough?), or dwell time (not long enough?). Sometimes, a quick re-press with more pressure solves it.
Fabric paint bleeding: You might have too much paint on your brush/sponge, or your stencil isn't fully adhered. Use less paint and dab, don't brush. For freezer paper, ensure edges are firmly ironed down.
Design cracking/peeling after wash: This often indicates the design wasn't fully adhered initially, or incorrect washing methods were used. Review care instructions.
Safety first: Work in a well-ventilated area, especially when using bleach or strong adhesives. Wear gloves when handling harsh chemicals.
Creative DIY Valentine shirts cute, romantic, and budget-friendly.
Caring for Your Handmade Valentine Shirt
You’ve poured your heart into creating these DIY Valentine shirts, so proper care is essential to ensure they last!
Wait to wash: Allow adequate cure time (24-72 hours) before the first wash. This lets paints fully set and vinyl adhesives bond properly.
Wash inside out: Turning your shirt inside out protects the design from friction during the wash cycle, preventing peeling, cracking, or fading.
Cold water, gentle cycle: Wash your handmade Valentine t-shirts in cold water on a gentle cycle. Harsh cycles and hot water can degrade designs.
Hang dry or tumble dry low: High heat is the enemy of most DIY shirt designs. Hang drying is best, or if using a dryer, select the lowest heat setting.
No fabric softener or bleach: Fabric softeners can break down adhesives and paints, and bleach can ruin colors and designs (unless intentionally used for a bleach pen effect!).
Iron inside out or avoid ironing directly on the design: If you need to iron wrinkles, turn the shirt inside out. Never iron directly on vinyl, puff paint, or glitter designs.
Caring for Your Handmade Valentine Shirt
Conclusion: Wear Your Heart on Your Sleeve!
There's truly nothing quite like the feeling of creating something unique and meaningful for those you love. Making DIY Valentine shirts and handmade Valentine t-shirts allows you to infuse your gifts with personal flair, warmth, and genuine affection. We've explored a spectrum of techniques, from the sleek finish of iron-on vinyl to the artistic freedom of fabric paint, alongside a bounty of creative inspiration to get your ideas flowing.
So, this Valentine's Day, don't just buy a gift – craft an experience, a memory, and a wearable symbol of your love. Embrace your inner artist, gather your materials, and start crafting! As Ruby Wilder, your guide through this creative journey, reminds us, the most cherished gifts are often those made with heart. We encourage you to share your beautiful creations on social media – tag us and inspire others to try out their own Valentine's Day DIY apparel! Celebrating love with a personal touch is always in style, and your unique shirt will be a testament to that timeless truth.
-da0801079a650a2e.jpeg)
-d4c38c342cdf20ca.jpeg)


-b555fcc6b204c456.jpeg)


