Merchifies.com
L
Post by Lila Monroe
Share

DIY New Year’s Eve Shirt Printing at Home

Learn how to create your own New Year’s Eve shirts at home with easy DIY printing tips, creative designs, and affordable materials for a festive look.

DIY New Year’s Eve Shirt Printing at Home

Blog Post Contents

Why settle for ordinary when you can create extraordinary? As the countdown to New Year's Eve begins, the excitement builds, and so does the desire to look your best. But store-bought New Years shirts can often feel generic, lack that personal touch, or simply break the bank. That's where the magic of DIY comes in! Creating your own New Years shirt offers not just a unique garment, but also a fantastic pre-celebration activity, saving you money and unleashing your inner designer.

In this comprehensive guide, Evelyn Sage, a recognized expert in creative crafting and DIY fashion, shares her insights and practical tips to help you design and create custom New Year's Eve apparel that truly sparkles. You'll learn inspiring ideas, discover essential supplies, master step-by-step instructions for various techniques, and get expert advice to ensure your DIY New Years shirts are a dazzling success. Get ready to make your own New Years shirt and celebrate in personalized style!

Why Go DIY for Your New Year's Eve Shirt?

Opting for a homemade approach to your festive attire offers a plethora of benefits that store-bought options simply can't match. It’s more than just saving a few bucks; it’s about expressing yourself and making memories.

Unleash Your Creativity

Designing your own shirt allows you to craft something truly unique that perfectly reflects your personal style and festive spirit. You’re not limited by what’s on the racks; your imagination is the only boundary for your custom New Year’s Eve apparel.

Budget-Friendly Fun

New Year's Eve celebrations can add up quickly. By choosing to make your own new year shirt, you can save a significant amount of money on clothing, allocating your budget to other party essentials while still looking absolutely fabulous. Many projects can be completed with materials you already have!

Personalized Statement

Want to wear your intentions for the new year, a cheeky message, or a meaningful quote? DIY gives you the freedom to wear exactly what you want to say. It's a fantastic way to make a personal statement as you ring in the new year.

Memorable Activity

Crafting your own shirt isn't just about the end product; it's a memorable experience. It’s a great solo project for some meditative crafting time, or a fantastic group activity for friends and family to bond over before the big night.

Sustainable Style

Give an old favorite shirt a new lease on life! Upcycling existing garments for your diy nye shirts is an eco-friendly choice, contributing to sustainable fashion practices and reducing waste.

Easy DIY New Year Shirt Printing Guide for 2026

Essential Supplies & Tools for Your NYE Shirt Project

Before you dive into the fun world of designing, gathering your materials is key. Having everything at hand makes the process smooth and enjoyable.

The Base Shirt

Choosing the right canvas is the first step.

T-shirts, sweatshirts, tank tops, hoodies: The type depends on your local climate and party style. Consider comfort and fit.

  • Fabric type: Cotton blends work best for most fabric paints and heat transfer vinyl (HTV) due to their absorbency and heat tolerance.
  • Color choices: A dark base shirt (black, navy, deep jewel tones) makes metallic and glitter designs pop, while light shirts (white, cream) are perfect for vibrant colors or bleach effects.

Design Application Materials

This is where the magic happens!

Fabric Paints &Markers:

  • Glitter fabric paint: Essential for that New Year's sparkle.
  • Metallic fabric markers: Great for fine details and shimmering accents.
  • Puff paint: Adds a raised, dimensional effect.
  • Glow-in-the-dark paint: A fun option for darker party venues.

Heat Transfer Vinyl (HTV):

  • Glitter HTV: A popular choice for bold, sparkling statements.
  • Metallic HTV: Offers a sleek, sophisticated shimmer.
  • Holographic HTV: Creates a mesmerizing rainbow effect.
  • Flocked HTV: Provides a soft, velvety texture.

Adornments:

  • Iron-on rhinestones: Add instant bling and sparkle.
  • Sequins: Can be hand-sewn or glued for a glamorous finish.
  • Fabric glitter: Sprinkle onto wet fabric glue or paint for extra shimmer.
  • Studs: For an edgier, punk-rock vibe.
  • Fabric glue (e.g., E6000): Crucial for securely attaching embellishments.

Stencils:

  • Pre-made letter/design stencils: Easy to use for precise shapes and text.
  • Materials to make your own: Cardstock or freezer paper are excellent for custom designs.

Bleach: For reverse tie-dye or bleach pen designs (use with extreme caution and proper ventilation).

Tools & Accessories

Don't forget the practical implements!

  • Cutting Machine (Optional but Recommended for HTV): A Cricut or Silhouette machine simplifies intricate HTV designs.
  • Heat Source: A dry iron (no steam!) or a heat press is vital for HTV application.
  • Application Tools: Paintbrushes and sponges for paint, tweezers for delicate rhinestone placement or weeding HTV.

Safety & Protection:

  • Cardboard insert: Prevents paint or glue from bleeding through to the back of the shirt.
  • Parchment paper/Teflon sheet: Protects your iron/heat press and the design during HTV application.
  • Protective surface cover: A drop cloth or old newspaper saves your work surface.
  • Gloves: Essential when working with bleach or strong adhesives.
  • Measuring/Marking: A ruler and fabric chalk or a washable pencil help with accurate placement and sketching.
Create Custom New Year’s Eve Shirts with DIY Printing

Inspiring DIY NYE Shirt Ideas & Designs

Now for the fun part – brainstorming your dazzling design! Get inspired by these popular themes and ideas for your custom new year's eve apparel.

Glitter & Glam Designs

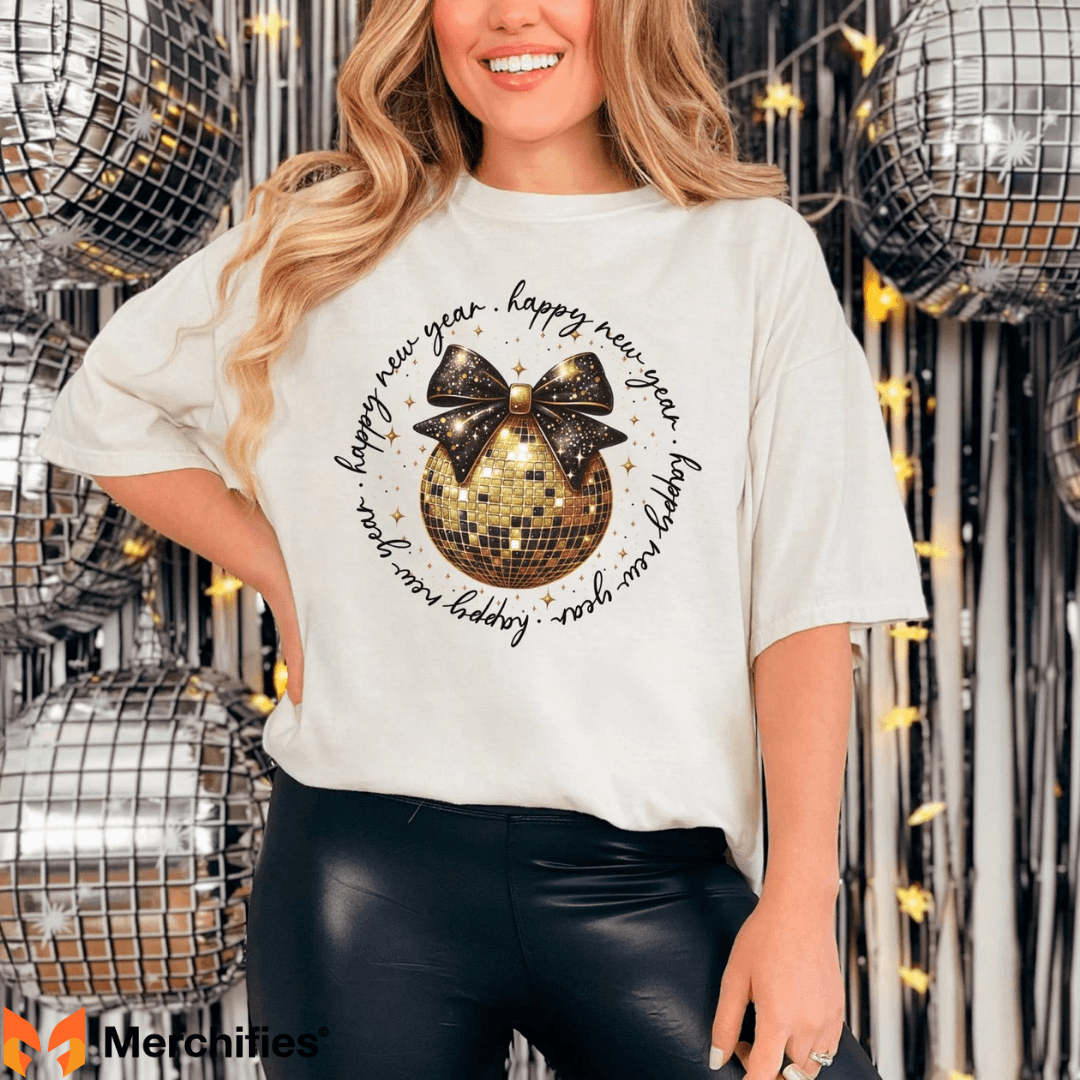
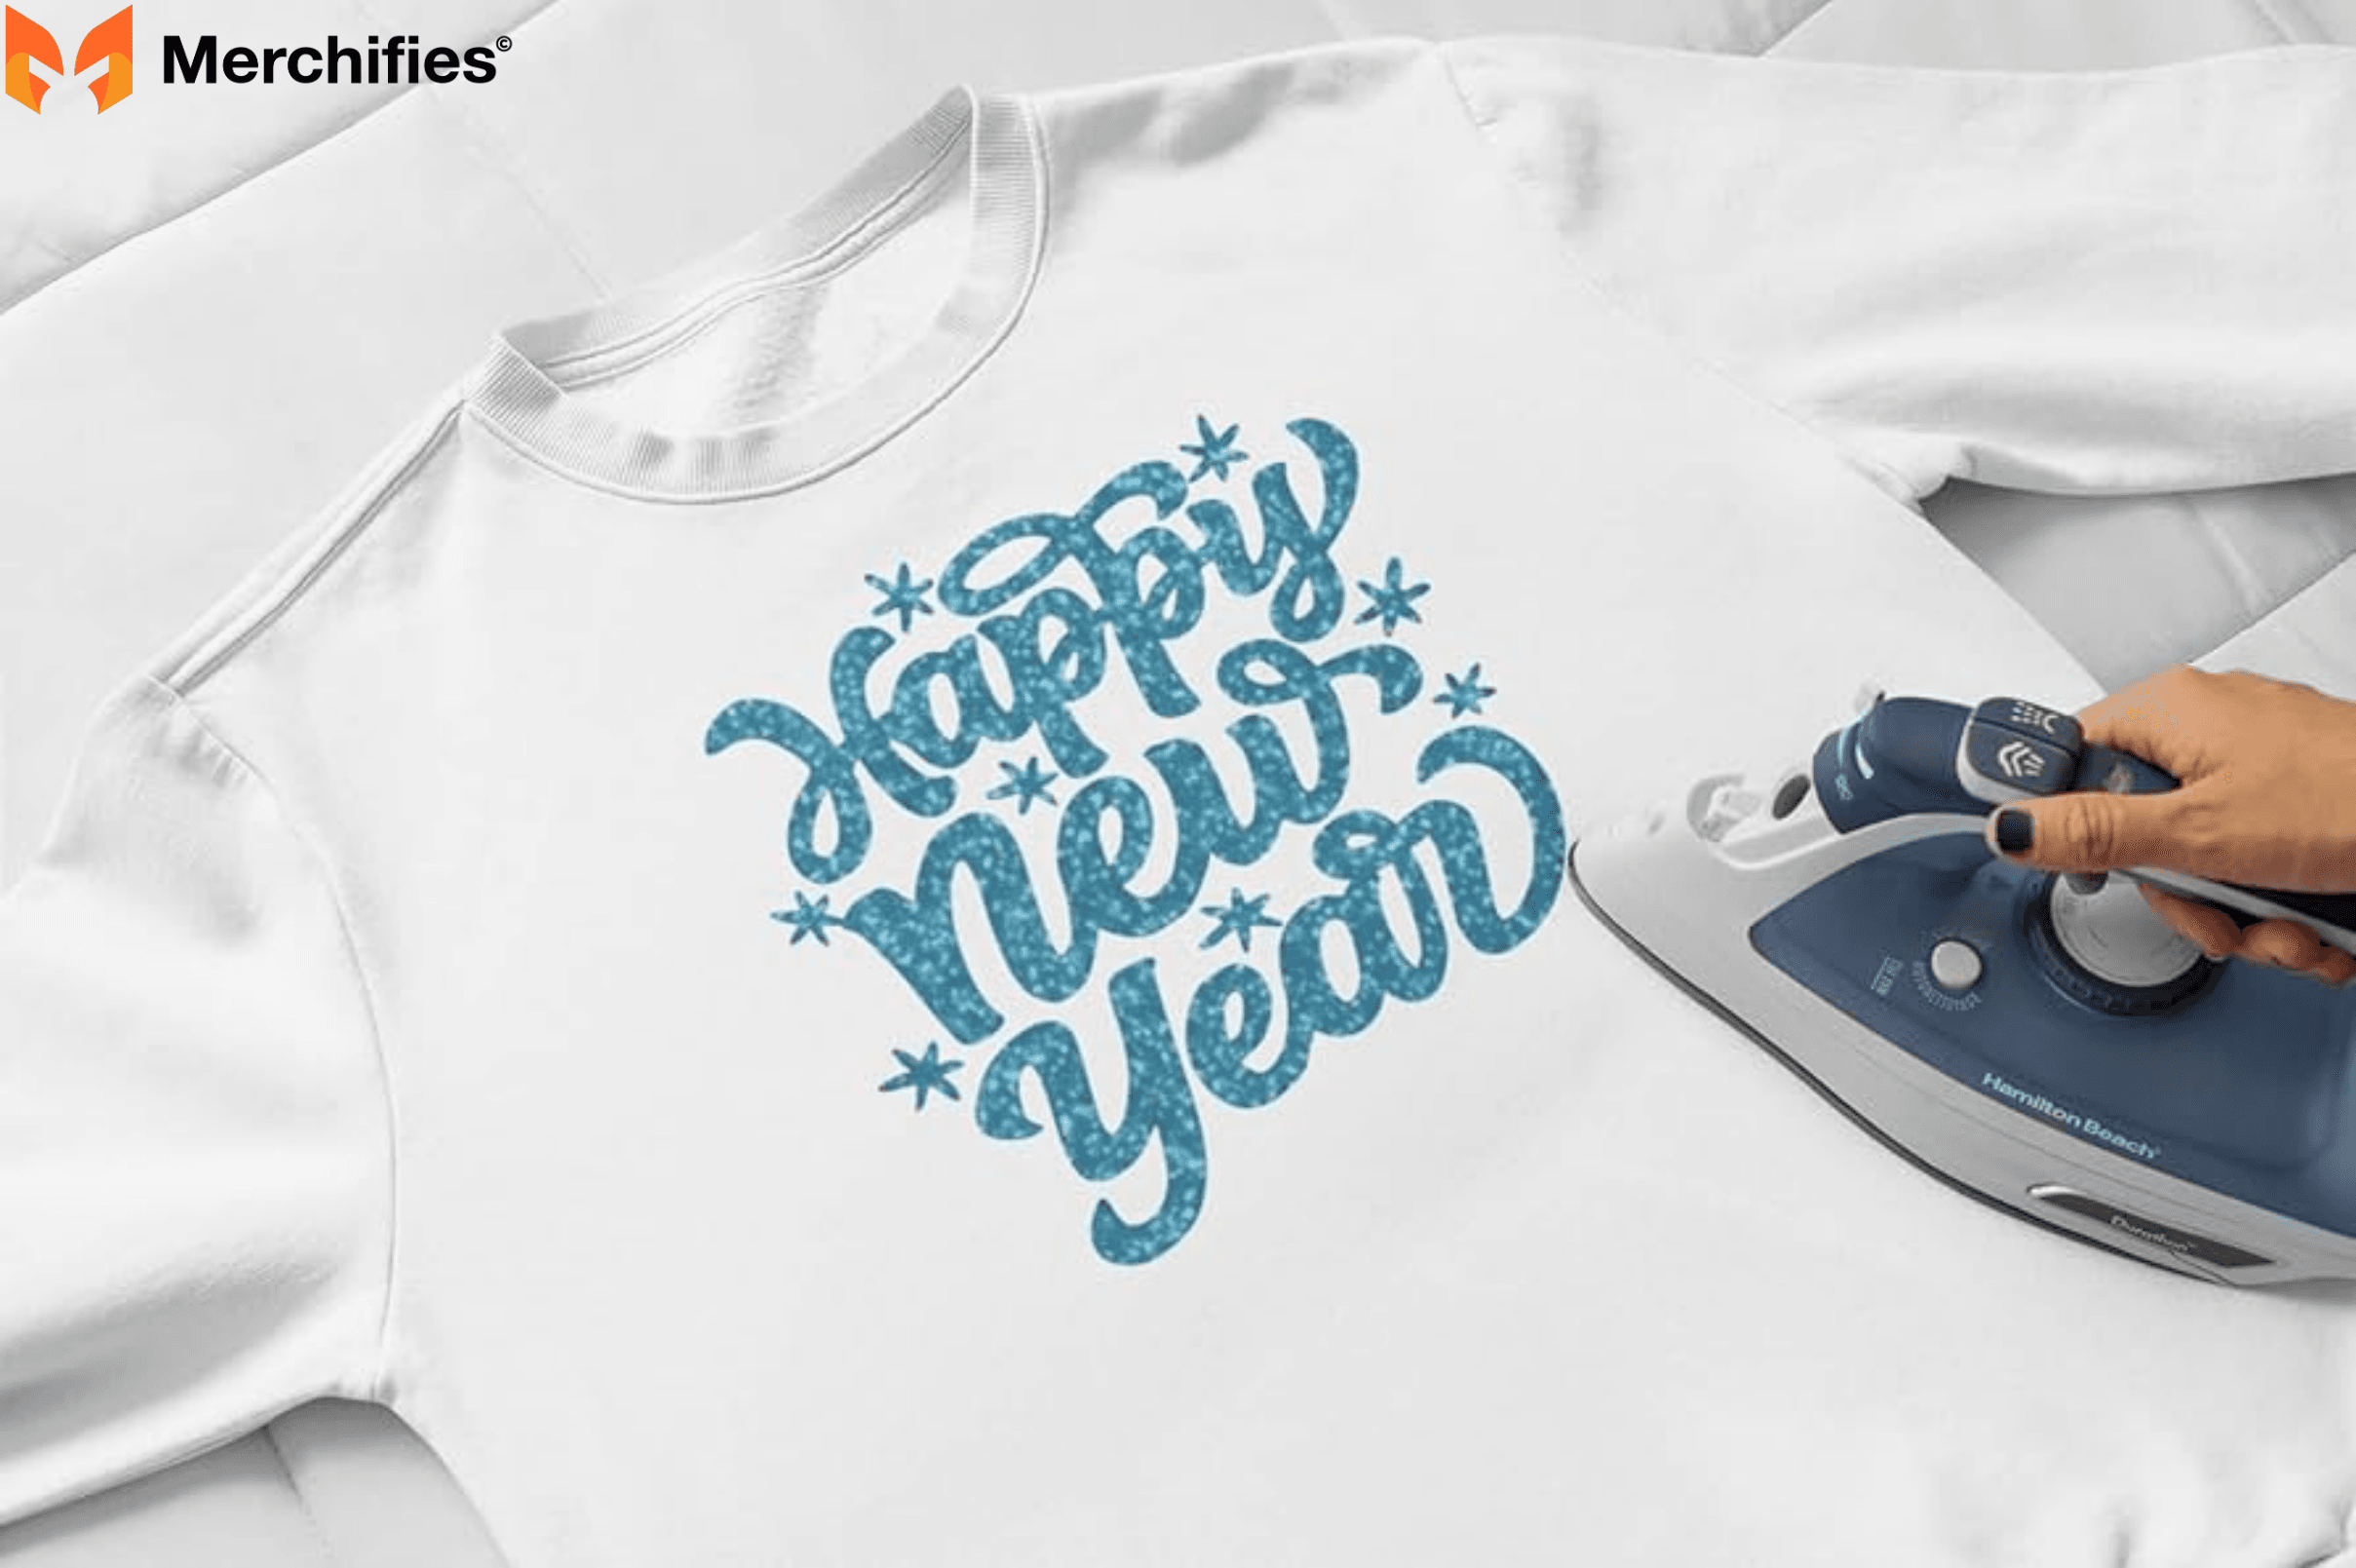
Embrace the sparkle that defines New Year's Eve!

  • "Cheers to 2024!" with glitter font: A timeless and celebratory message.
  • Sparkling champagne flutes, festive fireworks, or a shimmering disco ball motif are iconic designs.
  • Create ombre glitter effects by transitioning from a dark glitter shade to a lighter one.

Metallic & Holographic Magic

For a sleek, modern, and eye-catching look.

  • HTV cut-outs are perfect for bold statements like "New Year, New Me," "Pop the Bubbly," or "Countdown."
  • Incorporate geometric patterns such as stars, triangles, or abstract shapes with metallic accents.
  • Shimmering silhouettes of dancing partygoers or skyline scenes can create an elegant design.

Quirky & Humorous Statements

Show off your personality and make people smile.

  • Playful puns like "Feelin' 2026 (and Thriving)," "Kiss Me at Midnight," or "Level Up!" are always a hit.
  • Funny illustrations such as dancing figures, cartoon champagne bottles, or sarcastic resolutions add a lighthearted touch.

Elegant & Minimalist Approaches

Sometimes less is more, especially for a sophisticated New Year's Eve look.

  • A single, tastefully placed metallic word like "Cheers," "NYE," or "Joy" can be incredibly impactful.
  • Subtle sequin or rhinestone accents around the collar, cuffs, or pocket provide a touch of understated glamour.

Group & Couple Matching Shirts

Coordinate with your loved ones for memorable photos and a unified festive vibe.

  • "Team New Year" or "Squad Goals 2026" for friends.
  • "Mr. & Mrs. 2026," "Her New Year," "His Sparkle" for couples.

Complementary designs that go together, like one shirt with "Pop" and another with "Fizz."

DIY New Year’s Eve Shirt Ideas You Can Print Yourself

Step-by-Step Guides: How to Make Your Own New Year Shirt

Ready to roll up your sleeves? Here are detailed instructions for popular DIY methods to make your own new year shirt.

Method 1: Easy Glitter & Fabric Paint Application

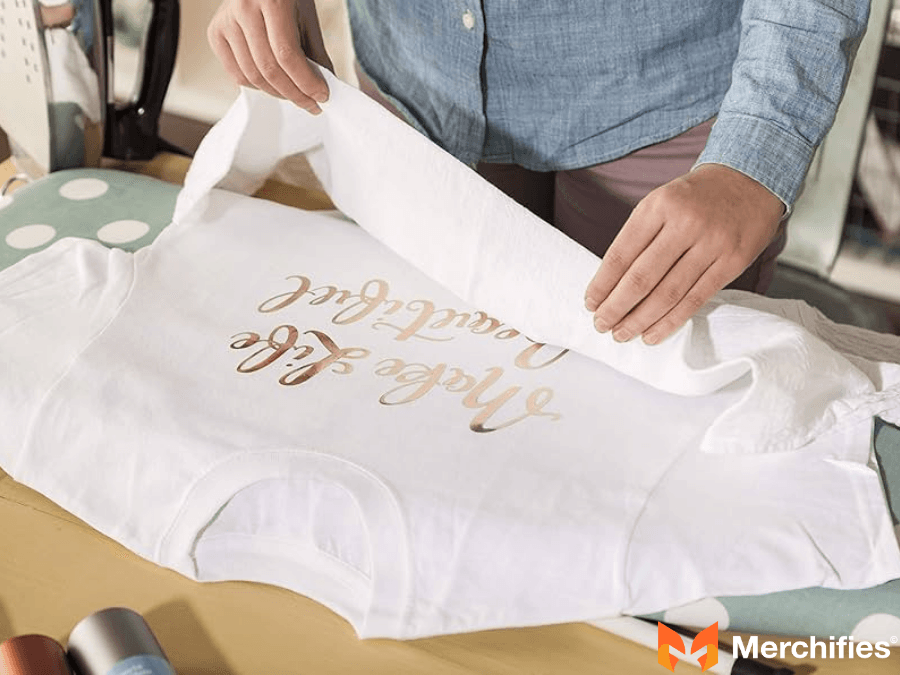
This is a straightforward method perfect for beginners wanting to create dazzling diy nye shirts.

  • Step 1: Prep the Shirt: Always pre-wash and dry your shirt to prevent shrinking after your design is applied. Iron out any wrinkles. Insert a piece of cardboard inside the shirt to prevent paint from bleeding through to the back.
  • Step 2: Design Transfer: Use fabric chalk or a washable pencil to sketch your design freehand. If using a stencil, secure it firmly with painter's tape to prevent shifting.
  • Step 3: Apply Paint: Using a paintbrush or sponge, apply fabric paint evenly over your design or within the stencil. Apply a second coat if needed for opaque coverage.
  • Step 4: Glitter Time! While the paint is still wet, generously sprinkle fabric glitter over the painted areas. Gently pat the glitter to ensure it adheres well.
  • Step 5: Drying & Sealing: Carefully remove the cardboard and allow the shirt to dry completely, which can take 24-72 hours depending on paint thickness and humidity. For extra durability and to minimize glitter shedding, consider applying a thin coat of fabric sealant once the paint is dry.

Method 2: Iron-On Vinyl (HTV) Creation

For sharp, professional-looking designs, HTV is your go-to.

  • Step 1: Design & Cut: Create your desired design using graphic software (like Cricut Design Space or Silhouette Studio). Crucially, remember to mirror the image before sending it to your cutting machine. Place your HTV shiny side down on the cutting mat.
  • Step 2: Weed Excess Vinyl: Once cut, use a weeding tool or tweezers to remove all the negative space, leaving only your design on the clear carrier sheet.
  • Step 3: Preheat: Turn on your iron to a dry, cotton setting (no steam!) or heat press to the recommended temperature for your specific HTV. Pre-press your shirt for 10-15 seconds to remove moisture and wrinkles.
  • Step 4: Position & Press: Place your weeded design (carrier sheet/shiny side up) onto the shirt. Cover with parchment paper or a Teflon sheet. Apply firm, even heat and pressure for the time specified by your HTV manufacturer (usually 15-30 seconds).
  • Step 5: Peel the Carrier Sheet: Depending on your HTV, you'll either "hot peel" (peel immediately while hot) or "cold peel" (wait for it to cool completely). Follow the product instructions carefully.

Method 3: Bling It Up with Rhinestones & Sequins

Add dazzling dimension with these shimmering embellishments.

  • Step 1: Plan Your Bling: Lay your shirt flat and mark out where you want your rhinestones or sequins to go. You can freehand designs or use a stencil.
  • Step 2: Apply Adhesive: Work in small sections to prevent the glue from drying prematurely. Apply fabric glue (like E6000) directly to the fabric in dots or thin lines where you want to place embellishments.
  • Step 3: Place Embellishments: Use tweezers, a rhinestone picker, or a wax crayon to carefully pick up and place rhinestones or sequins onto the wet glue. Press down gently to ensure good adhesion.
  • Step 4: Cure Time: Allow ample drying time for the glue to fully set – this can take 24 to 72 hours. Do not wear or wash the shirt until the glue is completely cured.

Method 4: Edgy Bleach Pen or Reverse Tie-Dye

For those looking for a unique, textured, and edgy look for their diy nye shirts.

  • Step 1: Safety First: Work in a well-ventilated area, preferably outdoors. Always wear gloves and protective eyewear. Cover your work surface with plastic sheeting or old towels.
  • Step 2: Prepare Shirt: This method works best on dark-colored cotton shirts. Ensure the shirt is clean and dry.
  • Step 3: Apply Bleach:
  • Bleach Pen: Draw designs directly onto the shirt with a bleach pen.
  • Reverse Tie-Dye: Scrunch, twist, or fold your shirt and secure with rubber bands. You can then spray a bleach-water solution (1:1 bleach to water) onto the banded areas or dip sections into the solution.
  • Step 4: Monitor & Rinse: Watch closely as the bleach works its magic – it will lighten the fabric. Once you achieve the desired lightness, immediately rinse the shirt thoroughly with cold water to stop the bleaching process.
  • Step 5: Neutralize & Wash: To neutralize any remaining bleach, soak the shirt in a mixture of water and a splash of hydrogen peroxide for 10-15 minutes, or use a commercial bleach-neutralizing agent. Finally, machine wash the shirt alone on a cold cycle with a mild detergent before wearing.
Affordable DIY Printing for Custom New Year Shirts

Pro Tips & Troubleshooting for Perfect DIY NYE Shirts

Even the most seasoned crafters encounter hiccups. Here are some expert tips from Evelyn Sage to ensure your custom new year's eve apparel turns out perfectly.

Pre-Wash Your Fabric

Always pre-wash and dry your base shirt before you begin any decoration. This prevents shrinkage that could distort your design later and removes any factory sizing that might interfere with paint or vinyl adhesion.

Always Use a Cardboard Insert

This crucial step, as Evelyn Sage often reminds her students, prevents paint, glue, or even strong bleaches from seeping through to the back of your shirt, keeping your design clean and crisp.

Test Your Materials

Before committing to your main shirt, test paints, glues, and HTV on a small, inconspicuous scrap piece of similar fabric. This helps you gauge drying times, adhesion, and overall effect.

Patience with Drying Times

Rushing the drying process is a common mistake that can lead to smudges, cracking, or poor adhesion. Allow ample time for paints and glues to fully cure as specified by the product instructions.

Layering Different Materials

When combining elements like paint and HTV, apply paint first, allow it to dry completely, then apply HTV. For rhinestones on top of HTV, ensure the HTV is fully adhered before adding glue and embellishments.

Sealing Glitter

To minimize glitter shedding from fabric paint designs, consider applying a thin, even coat of a fabric sealant spray once the glitter and paint are completely dry. This helps lock the glitter in place.

Make It Personal DIY New Year’s Eve Shirt Printing Tips

Care Instructions for Longevity of Your Custom NYE Shirt

To ensure your handmade diy nye shirts last well beyond the New Year's celebrations, proper care is essential.

Washing

Always turn your custom shirt inside out before washing. Use cold water on a gentle cycle with a mild detergent. Avoid harsh chemicals or bleach, as these can damage designs and embellishments.

Drying

Air dry your shirt by laying it flat or hanging it up. If using a dryer, tumble dry on the lowest heat setting. High heat can melt HTV, crack fabric paint, or loosen glue on rhinestones.

Ironing

If your shirt needs ironing, turn it inside out. For designs, place a pressing cloth (like a thin towel or parchment paper) over the embellished area and iron on a low-to-medium heat setting. Never iron directly on vinyl, glitter, or rhinestones.

Storage

Store your custom shirt flat or gently folded to protect any raised embellishments like rhinestones or puff paint from getting crushed or snagged.

Care Instructions for Longevity of Your Custom NYE Shirt

Frequently Asked Questions (FAQs)

Q: How long does it typically take to make a DIY NYE shirt?

A: The time varies greatly depending on the complexity of your design and the method chosen. A simple fabric paint design might take 1-2 hours of active crafting plus drying time (24-72 hours). HTV designs might take 1-3 hours of active work, including cutting and pressing.

Q: Can I use regular craft glitter instead of fabric glitter?

A: While you can, regular craft glitter is more prone to shedding and may not adhere as permanently as fabric-specific glitter. Fabric glitter is designed to withstand washing better when properly sealed with fabric paint or glue.

Q: What if my fabric paint or HTV cracks after washing?

A: Cracking can occur if the fabric wasn't pre-washed, too much paint was applied, or the HTV wasn't pressed correctly. Ensure you follow care instructions (cold wash, air dry) to prevent further damage. For HTV, sometimes a quick re-press with an iron can help.

Q: Where can I find affordable DIY NYE shirt supplies?

A: Craft stores like Michael's, Hobby Lobby, and Joann Fabrics often have sales. Online retailers like Amazon and Etsy also offer a wide range of supplies. Don't forget dollar stores for basic items or upcycling old shirts from your closet!

Q: Can these shirts be made for kids?

A: Absolutely! Making diy nye shirts can be a wonderful and creative activity for kids, with adult supervision. Opt for child-safe fabric paints and non-toxic glues. Avoid small embellishments that could be choking hazards for very young children.

Q: What are the best safety practices when using bleach or strong glues?

A: Always work in a well-ventilated area. Wear gloves and protective eyewear when handling bleach or strong adhesives like E6000. Keep these materials away from children and pets. Read and follow all manufacturer instructions and warnings.

Conclusion: Shine Bright in Your Hand-Crafted New Year's Eve Shirt!

You've now got all the inspiration and practical guidance you need to create your very own show-stopping New Year's Eve shirt. From glittering statements to humorous puns, the possibilities are endless when you make your own new year shirt. The joy and satisfaction of wearing something truly unique, crafted by your own hands, will make your celebration even more special. As Evelyn Sage often says, "Crafting isn't just about making things; it's about making memories." So go ahead, unleash your creativity, and let your personality shine bright as you ring in the new year. We encourage you to share your fabulous diy nye shirts creations on social media using #DIYNYEShirt and #MyNewYearShirt. Happy New Year!

Loading...