-da0801079a650a2e.jpeg)
17 Year Anniversary Quotes: 110+ Funny, Romantic & Furniture Wishes (2026)
Mar, 12 2026
DIY Father’s Day shirts are a creative and heartfelt way to celebrate dad with a personalized gift. This article explores easy shirt ideas you can make at home using simple materials like fabric paint, iron-on vinyl, or printable transfer paper. From funny dad quotes to handprint designs from kids and custom family messages, these DIY projects allow you to create a unique shirt that reflects your dad’s personality. Making a homemade Father’s Day shirt is not only affordable but also adds a meaningful, personal touch that store-bought gifts often lack.
There's something uniquely special about a gift made by hand, especially when it comes from the heart. While store shelves are brimming with options, a personalized creation stands out, conveying a level of love and thoughtfulness that no mass-produced item ever could. This Father’s Day, why not elevate your gifting by crafting a truly memorable present? We're diving deep into the wonderful world of DIY Father’s Day shirts, providing a comprehensive guide to help you create a truly cherished and handmade dad shirt.
As a seasoned craft expert, Jack Wilder has seen firsthand the joy these personal touches bring. She shares her insights on how to transform a simple Father’s Day shirt into a priceless keepsake, celebrating Dad in a way that’s as unique as he is. Get ready to unleash your creativity and make a gift that any dad will be proud to wear!
Opting for a handmade gift isn't just about saving money; it's about investing time, effort, and love into something truly meaningful. A custom shirt offers a blend of practicality and profound sentiment.
Unlike off-the-rack items, a custom shirt can perfectly capture Dad's unique personality, his favorite hobbies, or even an inside joke that only your family understands. This level of personalization shows you truly know and appreciate him, making it a gift "from the heart" that resonates deeply. It transforms a simple garment into a statement of affection.
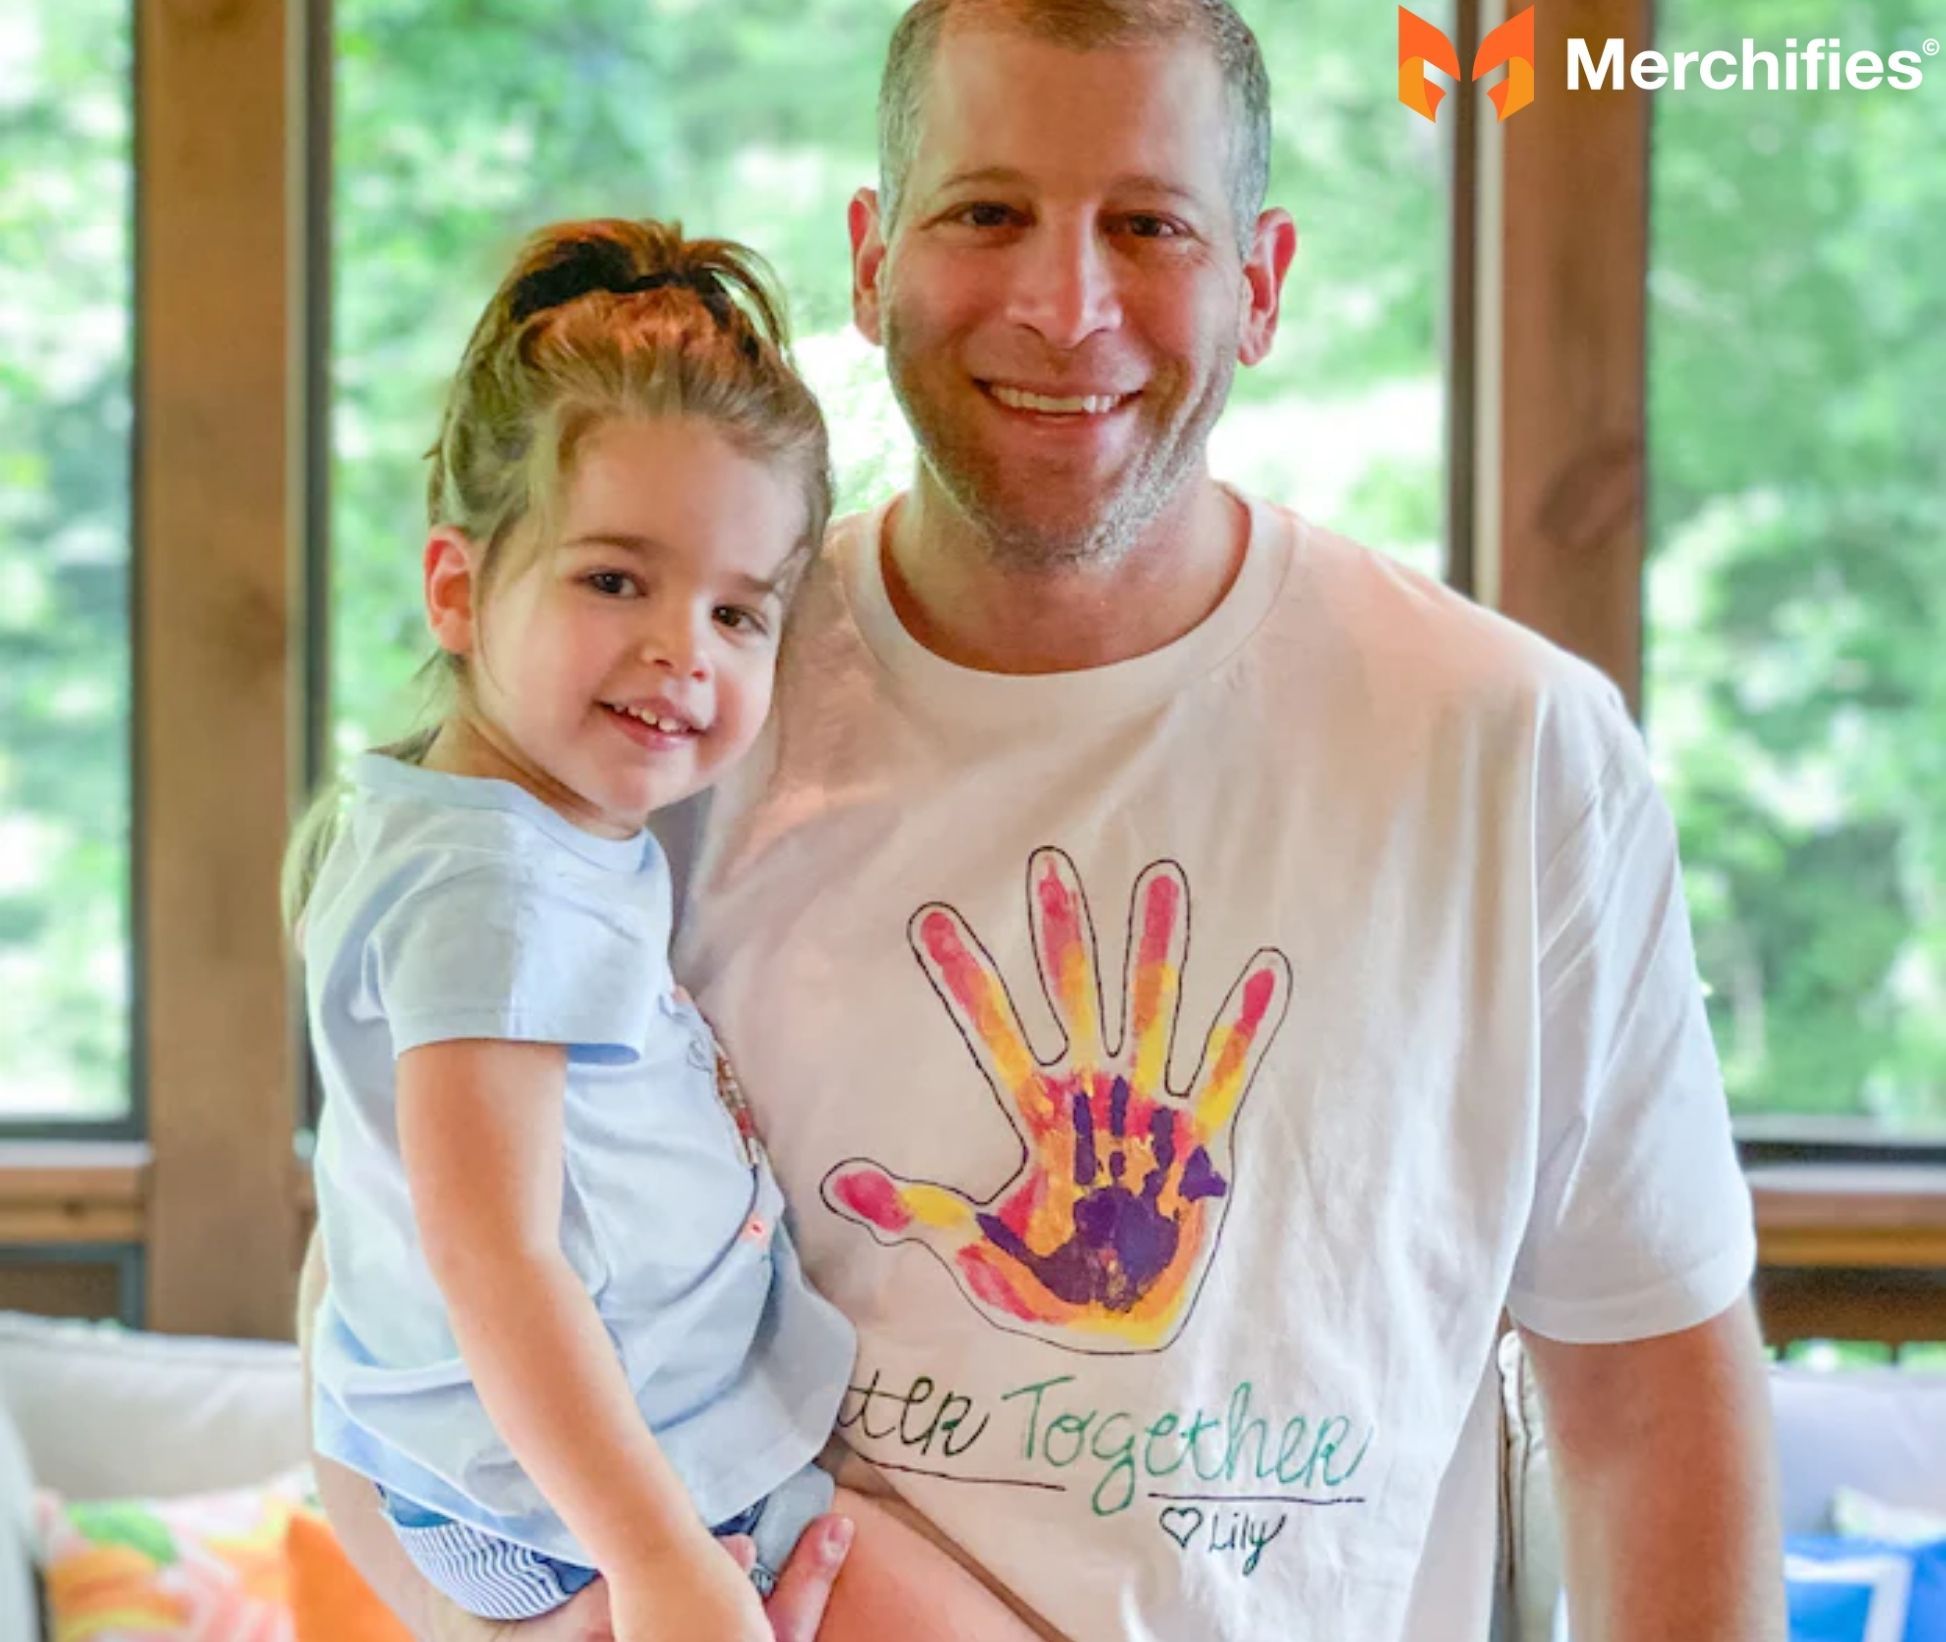
When kids get involved, DIY Father's Day shirts become more than just clothing; they're tangible memories. Imagine Dad wearing a shirt adorned with his child's handprints or a quirky drawing. These aren't just gifts; they're cherished keepsakes that capture a moment in time, creating lasting memories that generic store-bought items simply can't replicate. Each wear brings a smile and a warm reminder of your bond.
Creating your own gifts can often be much more economical than buying them, especially when you consider the sentimental value. With just a plain t-shirt and a few craft supplies, you can produce a high-quality, thoughtful present without breaking the bank. It's proof that the most meaningful gifts don't always come with the highest price tag.
Before you dive into the creative process, gathering the right materials is key. Having everything at hand ensures a smooth and enjoyable crafting experience, whether you're making an easy DIY t-shirt for dad or something more intricate.
Start with a blank canvas! A plain cotton t-shirt is usually the best choice due to its absorbency and durability, making it ideal for fabric paints and iron-on transfers. Cotton blends also work well. Consider the color – white or light colors make designs pop, while darker shirts require specific paints or transfer papers. Most importantly, ensure you get Dad's correct size for a comfortable fit.
No matter your skill level, there's a DIY Father's Day shirt technique that's perfect for you. Here are some of the most popular and effective methods, complete with step-by-step instructions and helpful tips.
This is a fantastic option for an easy DIY t-shirt for dad, especially when involving younger children.
What You'll Need: Plain shirt, fabric paints/markers, cardboard insert, stencils (optional), paintbrushes/sponges.
Step-by-Step Guide:
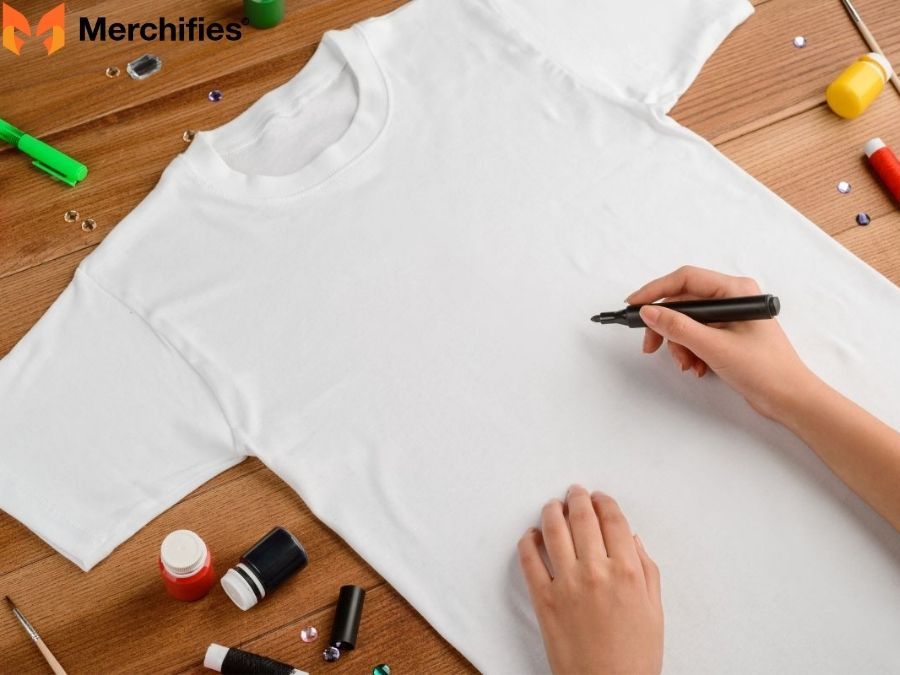
For designs that involve specific graphics, photos, or text, iron-on transfers are your best friend. This is perfect for capturing fathers day shirt ideas kids have drawn!
What You'll Need: Plain shirt, iron-on transfer paper, iron, printer, computer with design software.
Step-by-Step Guide:
This technique yields professional-looking, crisp designs with fabric paint, great for bold statements.
What You'll Need: Plain shirt, freezer paper, craft knife/X-Acto knife, cutting mat, fabric paint, iron, paintbrushes/sponges, cardboard insert.
Step-by-Step Guide:
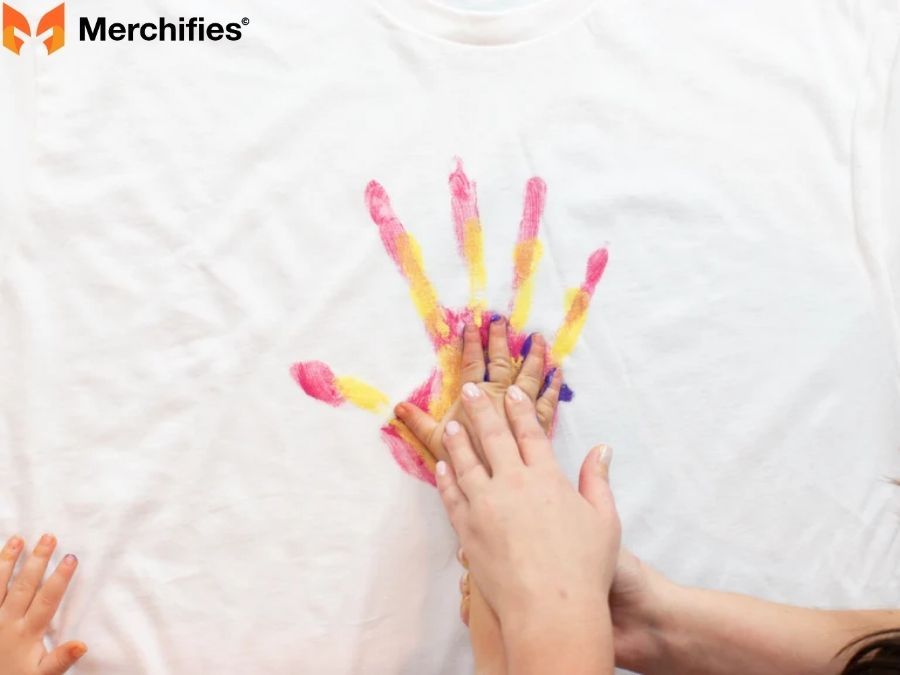
This is perhaps the most sentimental and popular personalized dad shirt craft for families with young children.
What You'll Need: Plain shirt, non-toxic fabric paint (child-safe!), paintbrushes or shallow dish, cardboard insert.
Step-by-Step Guide:
Need some inspiration to kickstart your DIY Father's Day shirts project? Here are some popular and heartfelt design concepts that Dad is sure to love.
These timeless designs are always a hit. Think variations like "Dad: A Real-Life Superhero," "World's Greatest Dad," or "My Dad is My Anchor." You can use bold lettering, a classic shield logo, or even a cape design on the back.
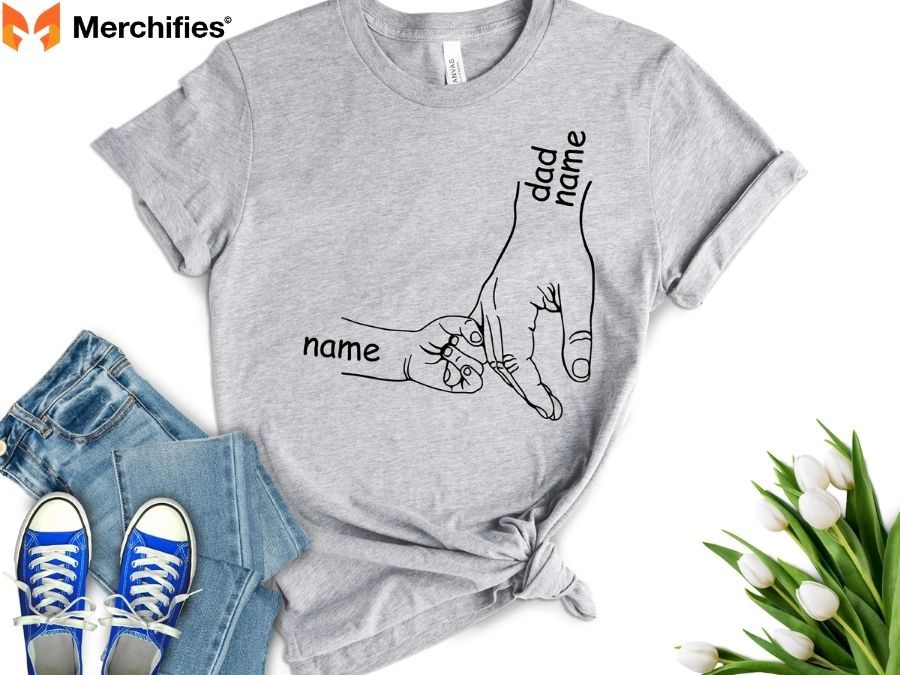
Nothing is more unique than a child's original masterpiece. Directly drawing onto the shirt with fabric markers or scanning their artwork and using iron-on transfers brings their creativity to life. The sentimental value of their unique creations makes these fathers day shirt ideas kids can contribute to truly priceless.
Tailor the shirt to Dad's passions. If he loves fishing, "My favorite fishing buddy calls me Dad" with a fish graphic is perfect. Other ideas include grilling tools, gaming controllers, sports team logos, musical instruments, or DIY tools, making it a truly personalized dad shirt craft.
Does your family have a funny catchphrase or an inside joke that Dad loves? Put it on a shirt! A meaningful quote about fatherhood or a personal message only he will understand adds a deeply intimate touch.
For a truly personalized touch, create a collage of family photos and apply them using iron-on transfers. This can be a timeline of special moments or a collection of silly faces, making a cherished handmade dad shirt.

To ensure your DIY Father's Day shirts turn out perfectly and last for years to come, keep these expert tips in mind.
Always wash and dry your blank shirt before beginning your project. This prevents any future shrinking that could distort your design and removes "sizing" chemicals, which can interfere with paint or transfer adhesion.
Crafting can get messy! Lay down newspaper, old towels, or a drop cloth to protect your table and surrounding areas. Don't forget to always insert a piece of cardboard inside the shirt to prevent any paint or ink from bleeding through to the back.
Especially if you're new to fabric crafting, test your chosen technique on a piece of scrap fabric or an old t-shirt first. This allows you to get a feel for the materials and ensures you're confident before working on the final product.
Patience is a virtue in crafting! Rushing the drying process can lead to smudges, cracks, or damage to your design. Always follow the manufacturer's recommendations for drying times for fabric paints and transfers.

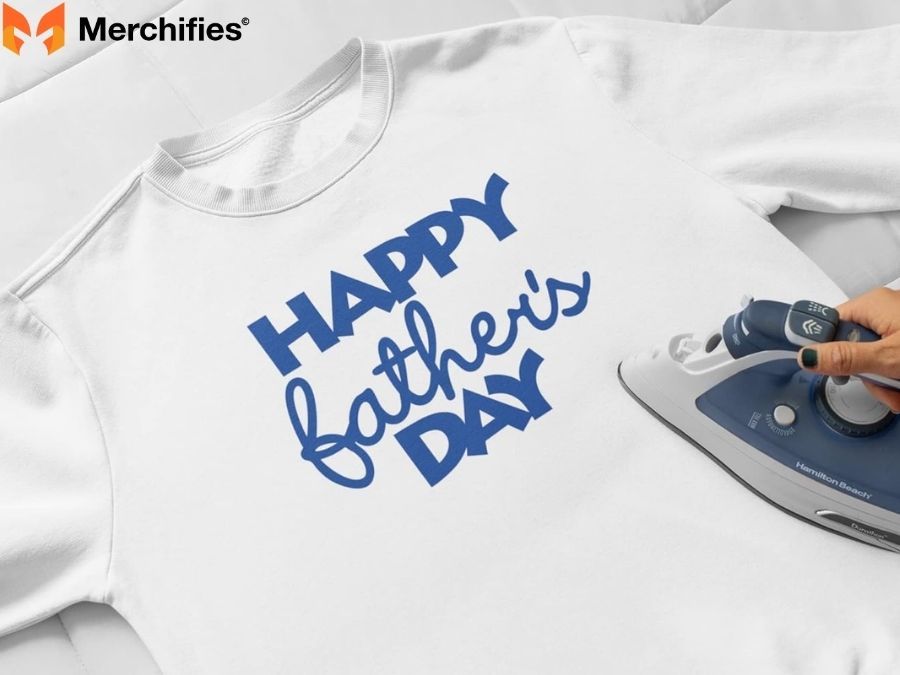
To make your handmade dad shirt last, proper curing is essential. Fabric paints and HTV often require heat-setting with an iron or heat press. As Jack Wilder explains, "Always follow the specific heat-setting instructions provided by the product manufacturer to ensure your design is fully cured and ready for washing." Once cured, advise Dad to wash the shirt inside out on a gentle cycle with cold water and to air dry or tumble dry on low to preserve the design. This is crucial for knowing how to make a custom shirt for dad that endures.
When involving little helpers, always prioritize safety. Use non-toxic paints and markers, and supervise closely, especially when handling sharp tools like scissors or craft knives, or hot items like irons. Make it a fun, safe, and memorable family activity.
A beautifully crafted DIY Father's Day shirt deserves an equally thoughtful presentation. These small details can elevate your gift even further.
Wrap the shirt in tissue paper, tie it with a nice ribbon, or place it in a stylish gift box. The way a gift is presented adds to the excitement and shows an extra layer of care.
Complete the package with a handmade or personalized card. This offers another opportunity for kids' drawings, a heartfelt poem, or a simple message expressing your love and appreciation for Dad.

This Father's Day, go beyond the ordinary and create something truly extraordinary. A handmade dad shirt isn't just a piece of clothing; it's a wearable testament to your love, effort, and creativity. The joy on Dad's face when he receives a custom DIY Father's Day shirt made just for him is a priceless reward.
We encourage you to embark on this rewarding crafting journey. Whether you choose paint, transfers, or a combination, the love you put into it will shine through. Share your incredible creations on social media using #DIYFathersDayShirt and inspire others! As Jack Wilder reminds us, "The effort and love poured into a DIY gift make it truly priceless, creating memories that last a lifetime."
-d4c38c342cdf20ca.jpeg)


-b555fcc6b204c456.jpeg)


